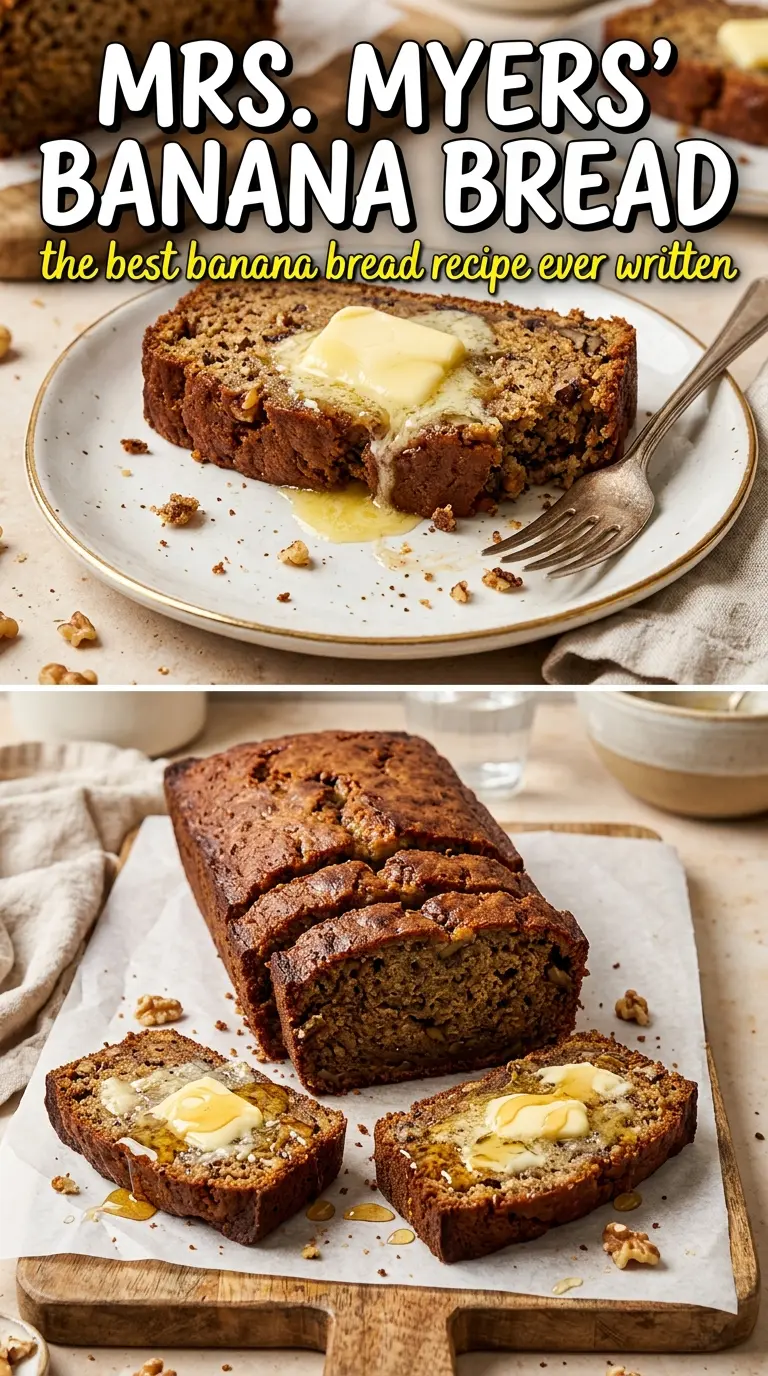
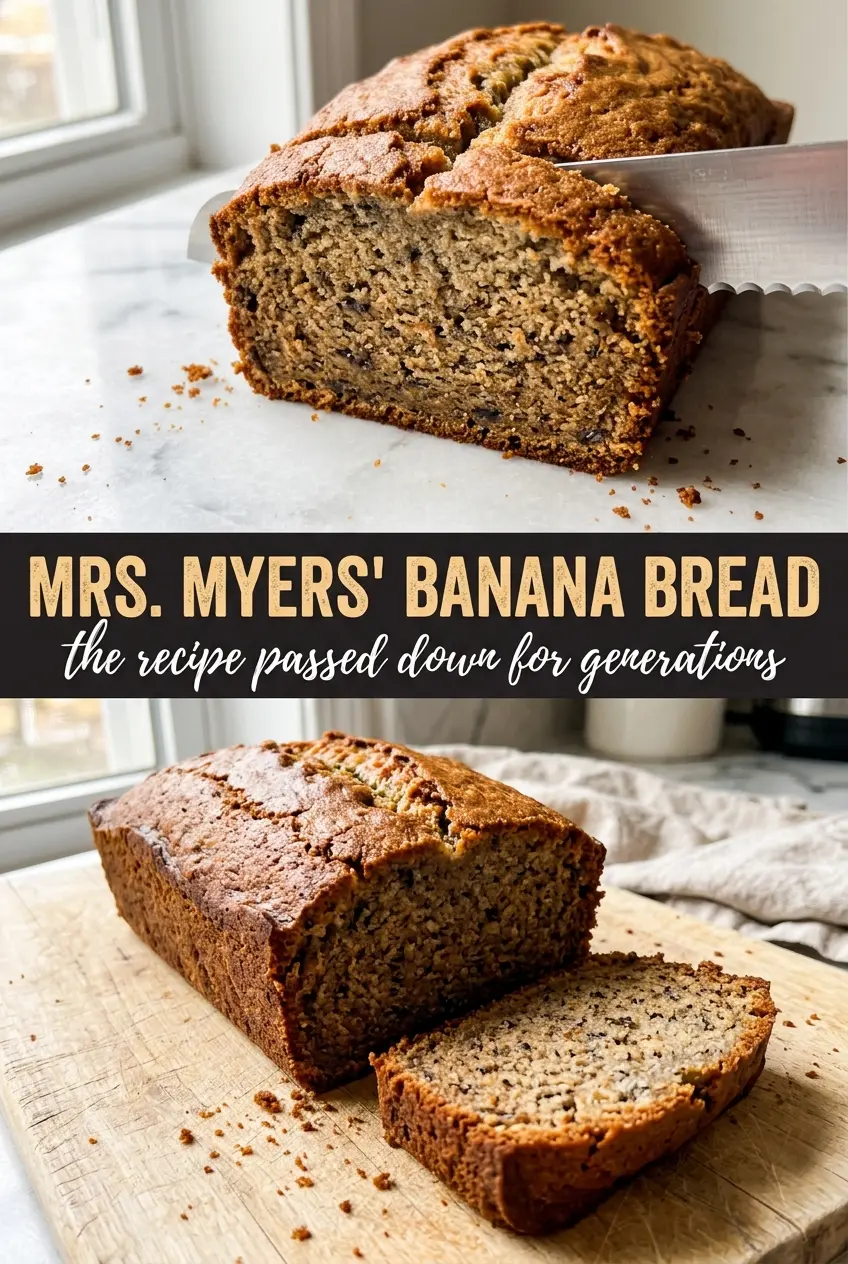
Mrs. Myers’ Banana Bread bakes up with a deep golden top, a tender crumb, and that old-fashioned banana flavor that tastes like it came from a well-loved index card recipe. It slices cleanly after a short rest, but the texture stays moist for days, which is why this kind of loaf tends to disappear before it ever makes it to the freezer.
The trick is in the balance: enough banana to taste rich and familiar, but not so much that the loaf turns heavy or gummy. Creaming the fat with sugar first gives the bread a lighter crumb than a one-bowl mash-and-stir version, and alternating the dry ingredients with the milk keeps the batter from tightening up. That little bit of structure is what makes the loaf rise evenly and crack beautifully across the top.
Below, I’ve included the cue I watch for when the center is done, plus a few smart swaps if you only have butter or want to use up extra-ripe bananas without changing the texture.
The loaf rose with that perfect crack down the middle, and the crumb stayed soft without being dense. I used butter, and it still sliced cleanly after cooling.
Like this old-fashioned banana bread? Save it to Pinterest for the days when you want a moist, crack-top loaf that stays tender for days.
The Batter Needs Air Before the Flour Goes In
Banana bread can turn dense fast if the fat and sugar never get properly creamed. That step isn’t there for looks; it traps tiny pockets of air that help the loaf rise and keeps the finished crumb from landing somewhere between cake and pudding. If the mixture still looks grainy after a minute or two, keep beating until it lightens in color and looks fluffier around the edges.
The other place people lose the texture is when the flour goes in all at once and gets stirred too long. Once the dry ingredients hit the bowl, the batter only needs enough handling to disappear. A few streaks are better than an overmixed loaf that bakes up tough and tight.
What Each Ingredient Is Actually Doing in This Loaf
- Ripe bananas — The darker and softer they are, the stronger the banana flavor will be. You want fully speckled fruit, but not fermented-smelling bananas. If yours are only half-ripe, the loaf will still bake, but it won’t have that deep, old-fashioned flavor.
- Shortening or butter — Shortening gives the most classic tender crumb, while butter adds a richer flavor and slightly firmer edge. Either one works. If you use butter, soften it fully so it creams properly; cold butter won’t trap air the way it should.
- Sugar — This does more than sweeten. It helps the crust brown and keeps the loaf moist. Cutting it too much changes the texture more than people expect, because banana bread needs that sugar to stay soft after day one.
- Flour — All-purpose flour gives the loaf enough structure to hold the bananas without sinking. Spoon it into the cup and level it off if you can. Packed flour is a common reason banana bread turns heavy.
- Baking soda — This is what gives the loaf its lift and helps the banana mixture bake up with that crackly top. It works best with very ripe bananas, which provide the acid it needs.
- Milk — Just enough to loosen the batter so it bakes evenly. Don’t skip it if the mixture looks thick after the flour goes in. The milk helps the loaf stay tender without making it wet.
Mix the Loaf in the Right Order and the Crumb Stays Tender
Creaming the Base
Start by beating the shortening or butter with the sugar until the mixture looks pale and fluffy. This takes longer than most people think, usually a good 2 to 3 minutes by hand mixer. If you rush it, the loaf can bake up flat and tight instead of having that soft, old-fashioned crumb.
Adding the Bananas and Eggs
Beat in the eggs one at a time, letting each one disappear before adding the next. Then stir in the mashed bananas and vanilla just until combined. The batter may look a little loose or curdled at this stage, and that is normal; it comes together once the flour goes in.
Bringing It Together
Fold in the flour mixture alternately with the milk, starting and ending with the dry ingredients. That keeps the batter smooth and prevents clumps from hiding at the bottom of the bowl. Stop as soon as the flour disappears. If you keep mixing past that point, the loaf gets chewy instead of tender.
Baking and Cooling
Scrape the batter into a greased and floured 9×5 loaf pan and bake until the top is deeply golden and a toothpick comes out clean from the center. The crack down the middle is a good sign; it usually means the loaf has lifted properly. Let it rest in the pan for 15 minutes before turning it out, then cool it fully before slicing if you want clean pieces instead of a gummy middle.
How to Adapt It Without Losing the Old-Fashioned Feel
Butter Instead of Shortening
Butter gives the loaf a fuller flavor and a slightly firmer edge. Shortening makes the crumb a little softer and more classic in texture. Either one works in the same amount, but butter needs to be fully softened so it creams properly.
Dairy-Free Banana Bread
Use shortening and swap the milk for an unsweetened non-dairy milk. The loaf stays tender and the banana flavor still comes through clearly. Avoid strongly flavored milks if you want the bread to taste like the classic version.
Add Nuts or Chocolate Without Changing the Structure
Fold in up to 3/4 cup chopped walnuts or chocolate chips at the very end, right after the flour disappears. Any more than that can weigh the loaf down. Toss the add-ins with a spoonful of flour first if you want them suspended through the batter instead of sinking.
Make It a Little Sweeter or Less Sweet
You can reduce the sugar slightly, but don’t pull it back too far or the loaf loses moisture and browns less evenly. If you want it sweeter, sprinkle a little sugar over the top before baking for a light crackly crust without altering the batter.
Storage and Reheating
- Refrigerator: Keeps for 4 days wrapped well or sealed in an airtight container. The crumb firms up a little in the fridge, but the flavor stays good.
- Freezer: Freezes well for up to 3 months. Wrap the cooled loaf or individual slices tightly in plastic, then foil, and thaw at room temperature.
- Reheating: Warm slices in a toaster oven or skillet for the best texture. Microwaving works in a pinch, but too long will make the crumb rubbery instead of soft.
Questions I Get Asked About This Recipe
Mrs. Myers' Banana Bread
Ingredients
Equipment
Method
- Preheat oven to 350°F and grease and flour a 9x5 loaf pan.
- Cream shortening or butter with sugar until light and fluffy.
- Add eggs one at a time, beating well after each addition.
- Stir in mashed bananas and vanilla until combined.
- Sift flour, baking soda, and salt together.
- Fold the dry mixture into the banana mixture alternating with the milk, just until no dry streaks remain.
- Pour batter into the prepared pan and bake at 350°F for 60–70 minutes until a toothpick comes out clean and the top is a deep golden brown.
- Cool in the pan 15 minutes before turning out.
- Rest fully before slicing for the cleanest cut.