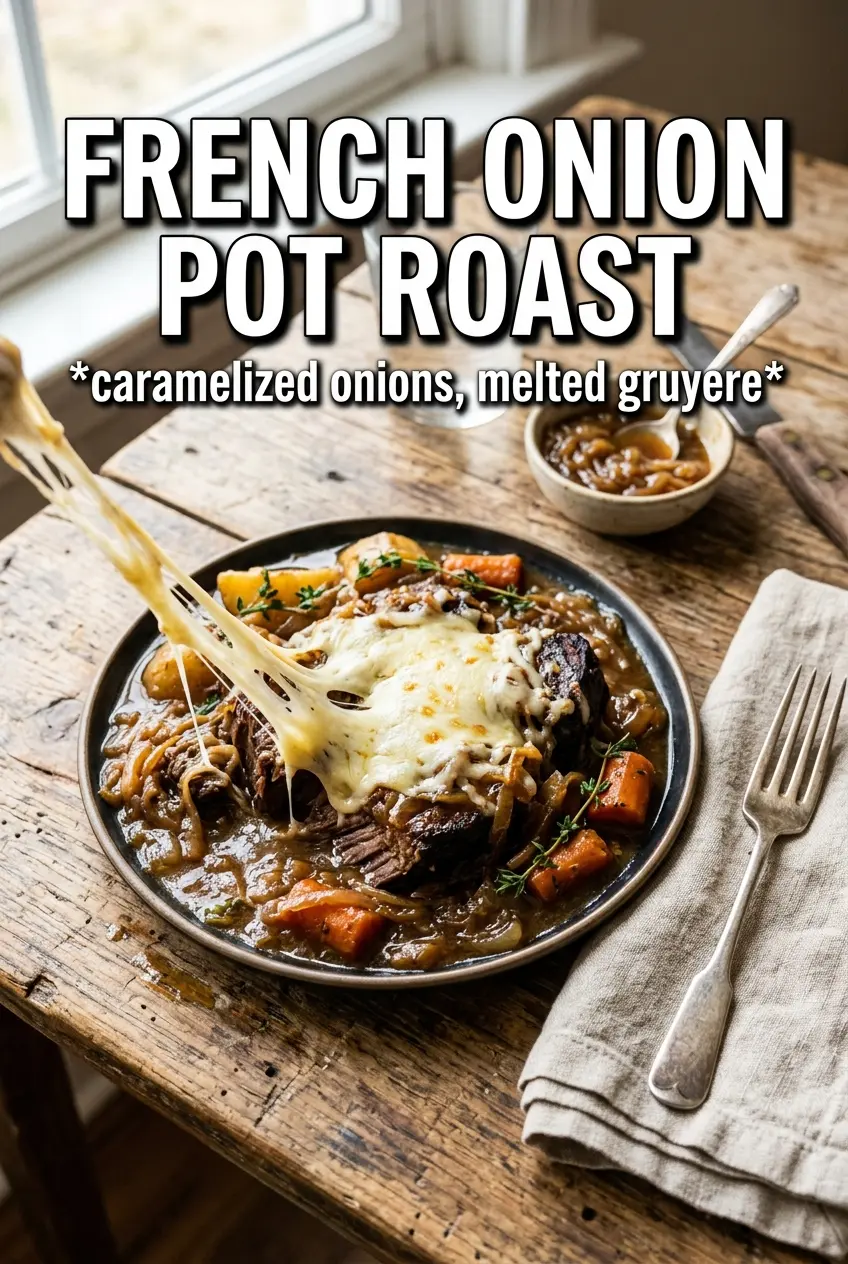
French onion pot roast gives you the deep, slow-cooked comfort of a Sunday roast with the savory sweetness of a proper onion soup. The beef turns spoon-tender, the onions melt into the broth, and the Gruyere on top pulls everything together with a nutty, browned finish that makes every bowl feel like the best part of dinner happened at the table.
What makes this version work is patience in the right places. The onions need time to turn jammy and sweet before the liquid goes in, and the roast needs a real sear so the braising broth picks up that browned flavor instead of tasting flat. A splash of wine helps loosen the fond, but beef broth does the heavy lifting if that’s what you have on hand.
Below, I’ll walk you through the point where most onion-based braises go wrong, plus the small detail that keeps the cheese from sinking into the pot instead of sitting on top where it belongs.
The onions turned silky and sweet, and the roast shredded right into the broth after 3 1/2 hours. I broiled the Gruyere on baguette slices at the end and it tasted like French onion soup and pot roast had the best possible dinner party.
Save this French Onion Pot Roast for the night you want deeply caramelized onions, fall-apart beef, and Gruyere-topped baguette in one pan.
The Reason the Onions Need to Finish Before the Braise Begins
The biggest mistake with French onion-style pot roast is rushing the onions. If they only soften, the broth tastes sharp and one-note. When you give them 30 to 35 minutes over medium-low heat, they collapse, darken, and turn sweet enough to carry the whole dish.
The other part that matters is the sear. You want a deep brown crust on the roast before it goes into the pot, because that crust seasons the braising liquid from the inside out. If the beef goes in pale, the broth has to do all the work, and it never tastes as layered.
Once the wine hits the pan, scrape up every browned bit. That fond is the backbone of the sauce, and it disappears fast once the liquid goes in.
What Each Ingredient Is Actually Doing in This Pot Roast
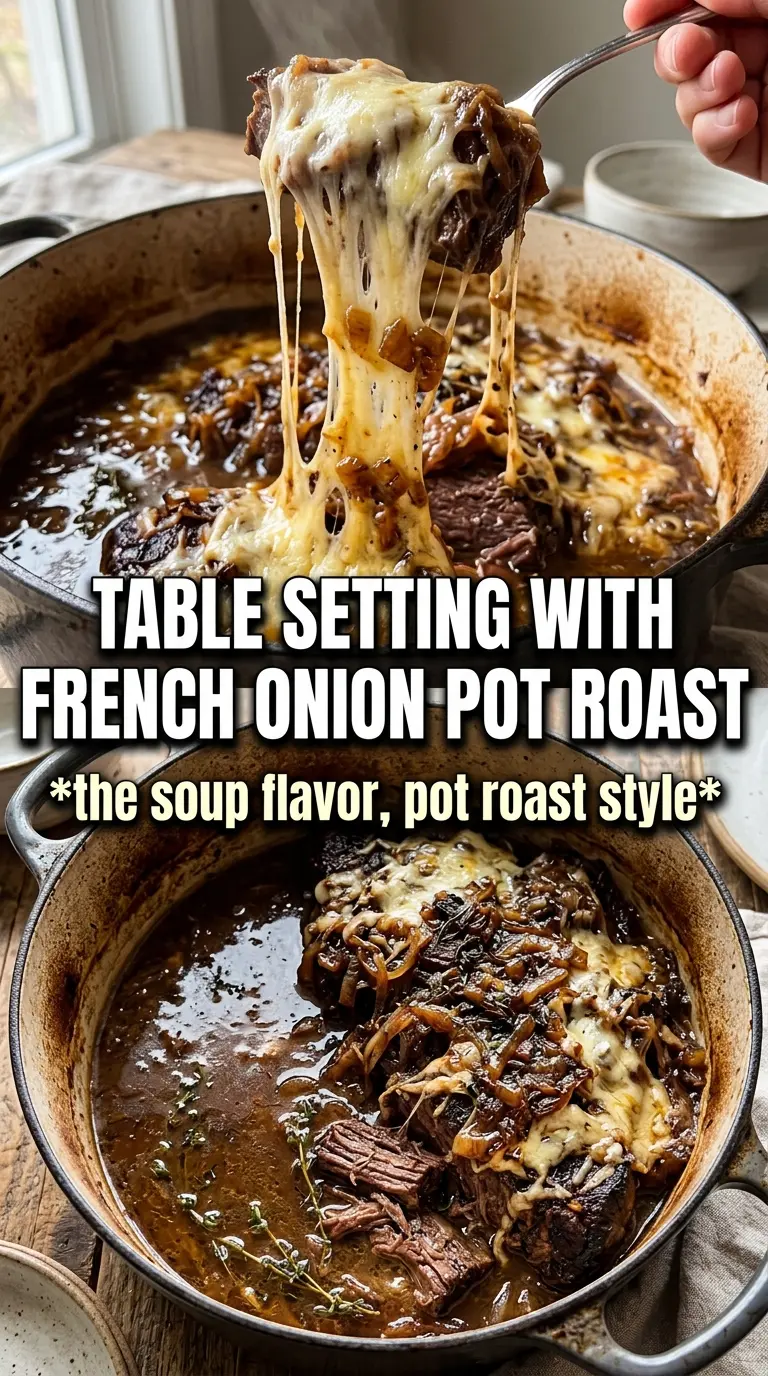
- Beef chuck roast — This is the cut that turns silky and pull-apart after a long braise. Leaner cuts dry out before the onions are done. Chuck has enough connective tissue to melt into the broth and give you that rich, spoonable texture.
- Onions — They’re not a background note here; they are the sauce. Yellow onions work best because they get sweet and deeply browned without falling apart too quickly. Slice them evenly so they caramelize at the same pace.
- Dry white wine or beef broth — Wine adds brightness and lifts the browned bits off the pot, but beef broth works if that’s what you have. If you skip the wine, add the broth slowly and scrape well so you still get all that flavor from the pan.
- Gruyere — It’s worth using the real thing if you can. Gruyere melts smoothly and gives the top that classic nutty finish. Swiss cheese will melt, but it won’t have the same depth.
- Baguette — Toast it before topping the bowls or it will turn limp under the cheese. You want something sturdy enough to hold the broth for a few minutes without dissolving immediately.
How to Build the Braise So the Beef Stays Tender
Getting the Sear First
Season the chuck roast well, then sear it in hot olive oil until the surface is deeply browned on all sides. The meat should release from the pan on its own once the crust forms; if it sticks, it needs more time. Pull it out while you cook the onions so the pot keeps all those browned bits.
Caramelizing the Onions Slowly
Use the butter and keep the heat at medium-low. Stir often, but not constantly, and watch for the onions to go from raw and sharp to soft, golden, and finally dark amber with a sticky sheen. If the pan starts looking dry before they’re ready, add a splash of broth and keep going instead of turning up the heat.
Deglazing and Braising
Once the garlic smells fragrant, pour in the wine and scrape the bottom of the pot with a wooden spoon. Let the liquid simmer for a minute, then add the broth, Worcestershire, thyme, and bay leaves before returning the beef. Cover the pot tightly and braise at 325F until the roast shreds easily with a fork and no resistance remains in the center.
The Finish Under the Broiler
Shred the beef right in the broth after you remove the bay leaves so it soaks up the sauce. Spoon it into bowls, top with toasted baguette rounds, and pile Gruyere over the bread so it melts onto the edges and not straight into the liquid. Broil just until the cheese bubbles and spots with gold; a minute too long and the top goes from bronzed to bitter.
How to Adapt This for Different Eaters and Different Nights
Make It Dairy-Free
Skip the Gruyere and top the bowls with olive oil toast instead. You lose the classic melted-cheese finish, but the broth, onions, and beef still carry plenty of richness on their own.
Gluten-Free Version
Leave out the baguette and serve the roast over mashed potatoes, polenta, or cauliflower mash. The braise itself is naturally gluten-free as long as your Worcestershire sauce is gluten-free.
Use Beef Broth Only
If you don’t want to open a bottle of wine, replace it with beef broth and add an extra teaspoon of Worcestershire for a little more depth. The braise will still be rich, just a touch rounder and less bright.
Storage and Reheating
- Refrigerator: Store the pot roast and broth in an airtight container for up to 4 days. The flavor gets even deeper overnight, and the onions will thicken the sauce as it chills.
- Freezer: This freezes well for up to 3 months. Freeze the beef and broth without the baguette and cheese, then add fresh toast and Gruyere when serving.
- Reheating: Warm it gently on the stove over low heat or in a covered baking dish at 325F until hot. Don’t boil it hard, or the beef can tighten up and the broth can turn greasy instead of silky.