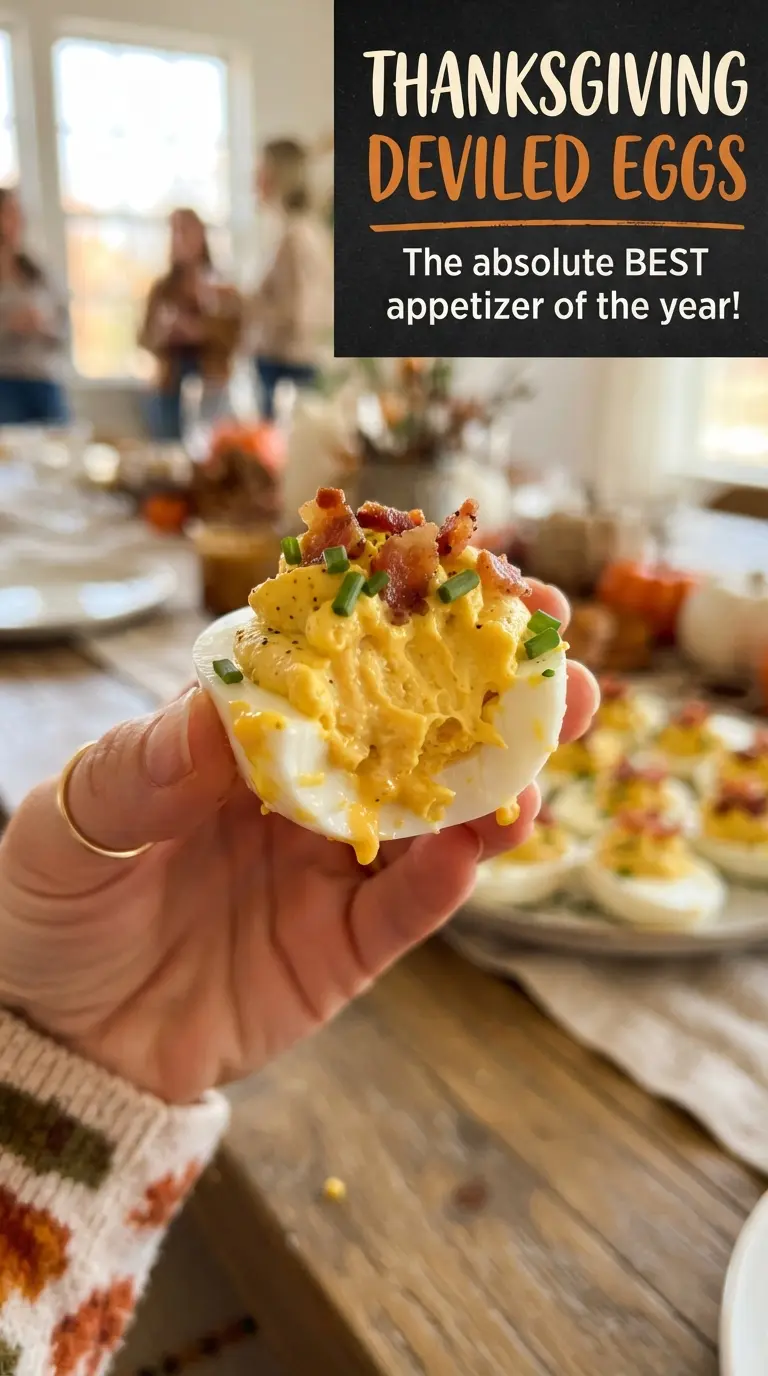
Thanksgiving deviled eggs turn a classic appetizer into a platter everyone stops to look at first and eat second. The filling stays creamy and tangy, with just enough smoked paprika to keep it from tasting flat, and the little turkey look makes them feel special without adding much extra work. They’re the kind of party bite that disappears fast because they’re familiar, but just playful enough to earn a grin before the first bite.
The part that matters most is the texture of the yolk filling. A smooth mash with mayonnaise, Dijon, and a splash of apple cider vinegar gives you a filling that pipes cleanly and holds its shape under the candy corn feathers. If you’ve ever had deviled eggs that taste heavy or grainy, the fix is simple: mash the yolks until they’re fine before adding the mayo, and don’t skip the chill after assembling. Cold eggs hold their shape better, and the decorations stay put.
Below, I’ve included the little details that help these come together neatly, plus a few practical swaps if you want to adjust the look or the flavor.
The filling piped so neatly, and the candy corn “tail feathers” actually stayed in place after chilling. I brought these to Friendsgiving and the tray was empty before the turkey was carved.
Save these Thanksgiving deviled eggs for a festive appetizer with creamy filling and candy-corn turkey tails.
The Secret to Neat Turkey-Topped Deviled Eggs
The trick here isn’t the decoration. It’s the filling. If the yolk mixture is too loose, the candy corn feathers sink and the eyes slide around before you get the tray to the table. A thicker filling pipes into a mound that supports the toppings, and that’s what makes these look polished instead of messy.
Boiling the eggs, covering them, then letting them stand off the heat gives you yolks that are cooked through without turning chalky green around the edges. The ice bath matters, too. It stops the cooking fast and helps the shells release more cleanly, which saves you from tearing the whites when you halve them.
- Mayonnaise — This is what makes the filling creamy and pipeable. Use a full-fat mayo for the smoothest texture; lighter versions tend to make the filling looser and less stable.
- Dijon mustard — Dijon gives the filling a sharper, cleaner bite than yellow mustard. If you need a substitute, use half Dijon and half prepared yellow mustard so the flavor stays balanced.
- Apple cider vinegar — Just a teaspoon brightens the yolks and keeps the filling from tasting heavy. White vinegar works in a pinch, but cider vinegar gives a softer tang.
- Smoked paprika — This adds a gentle smoky note and a deeper color to the filling. Regular paprika works, but you lose that subtle warmth that makes these taste a little more layered.
- Candy corn, bell pepper, and candy eyes — These are pure presentation ingredients, so freshness matters less than shape and size. Cut the pepper into tiny triangles ahead of time so you can assemble quickly before the filling starts to dry out.
What Each Ingredient Is Actually Doing in This Recipe
- Primary ingredient (the star) — Quality matters most. Choose the best you can find.
- Cooking medium (oil, butter, or broth) — This carries flavors and prevents dryness.
- Seasonings (salt, pepper, spices, herbs) — Layer flavors so nothing overpowers. Build depth gradually.
- Aromatics (garlic, onion, herbs) — Cook with fat to bloom flavors. Become the foundation.
- Supporting ingredients — Complement the main ingredient without overpowering it.
- Sauce or liquid (if applicable) — Brings flavors together. Balance richness with acid.
- Acid (lemon, vinegar, wine, or other) — Brightens and prevents flat-tasting results.
- Final finish (garnish, glaze, or sauce) — Prevents one-dimensional taste and adds visual appeal.
How to Build the Filling and Turkey Shape Without a Mess
Cooking the Eggs Evenly
Start the eggs in cold water, then bring the pot to a boil. Once it boils, cover the pot, move it off the heat, and let the eggs stand for 12 minutes. That method gives you set yolks without rubbery whites, which matters here because clean whites are what keep the eggs looking tidy on the platter.
Cooling and Peeling
Transfer the eggs straight into an ice bath as soon as the time is up. The sudden chill stops the cooking and helps separate the shell from the white, which makes peeling much easier. If the shells cling, crack them all over and peel under a thin stream of cool water.
Mashing the Yolk Mixture
Cut the eggs in half lengthwise and pop the yolks into a bowl. Mash them until they look fine and sandy before adding the mayonnaise, mustard, vinegar, paprika, salt, and pepper. If you leave lumps in the yolks, the filling will clog a piping bag and the tops won’t mound neatly.
Shaping and Decorating
Pipe or spoon the filling into the whites in a tall mound instead of leveling it flat. Press four candy corn pieces into the back of each egg for tail feathers, then tuck in a tiny bell pepper triangle for the beak and finish with two candy eyes. Chill the finished eggs until serving so the decorations set into place and the filling stays firm.
How to Change These Up Without Losing the Turkey Look
Dairy-Free and Naturally Egg-Forward
This recipe is already dairy-free as written, which makes it an easy appetizer for mixed gatherings. The main thing to watch is the mayonnaise brand you choose, since some versions are richer and thicker than others. Use the thickest mayo you can find if you want the filling to hold those turkey feathers cleanly.
A Little More Heat and Tang
Add a pinch of cayenne or a few drops of hot sauce to the yolk mixture if you want a sharper finish. That won’t change the structure, but it does cut through the richness and gives the filling more presence. Keep the amount small so the color and texture stay smooth.
Make Them Ahead for a Party Tray
You can boil, peel, and halve the eggs a day in advance, then store the whites and yolk filling separately. Assemble the turkey decorations the day you plan to serve them so the candy corn and eyes stay crisp and the filling doesn’t dry out at the edges. If you pipe them too early, the tops will still taste fine, but the presentation won’t be as sharp.
Storage and Reheating
- Refrigerator: Store covered for up to 2 days. The candy eyes may soften slightly, but the eggs will still taste fresh.
- Freezer: Don’t freeze assembled deviled eggs. The whites turn watery and the filling separates once thawed.
- Reheating: These are served cold, so there’s no reheating step. Keep them chilled until right before serving, because warm deviled eggs lose their shape and the decorations slide off.
Questions I Get Asked About This Recipe

Thanksgiving Deviled Eggs
Ingredients
Equipment
Method
- Place 12 large eggs in a pot and cover with cold water, then bring to a boil over high heat.
- Cover the pot, remove it from heat, and let the eggs stand for 12 minutes with the lid on.
- Transfer eggs to an ice bath to chill, then peel once fully cooled.
- Halve the peeled eggs lengthwise and transfer yolks to a bowl.
- Mash the yolks with mayonnaise, Dijon mustard, apple cider vinegar, smoked paprika, salt, and pepper until smooth and thick.
- Pipe the filling into the egg whites to form tall mounds.
- Press 4 candy corn pieces into the back of each egg to make tail feathers that fan slightly.
- Add a small red bell pepper beak and two candy eyes to the front of each mound, aligning them on the yolk.
- Chill the deviled eggs until serving, keeping the decorations intact and the filling firm.