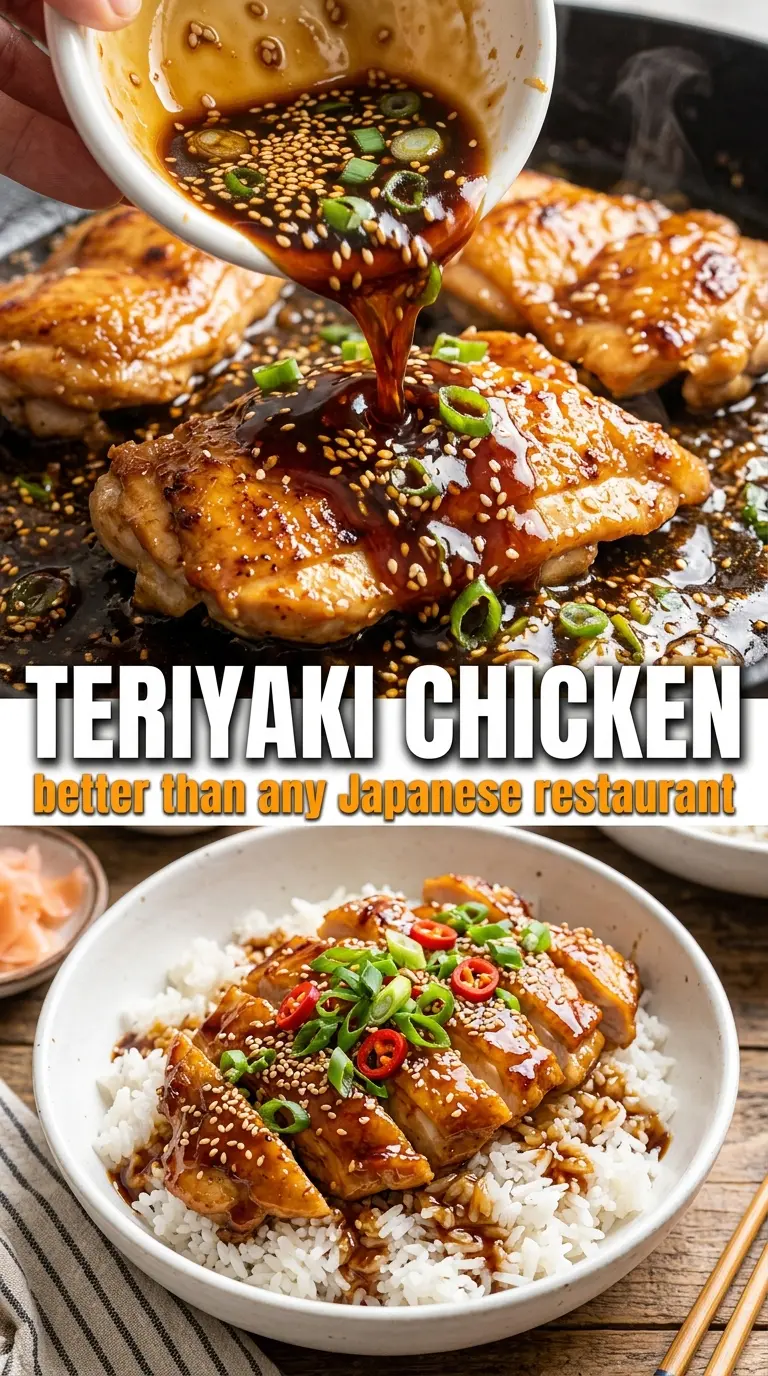
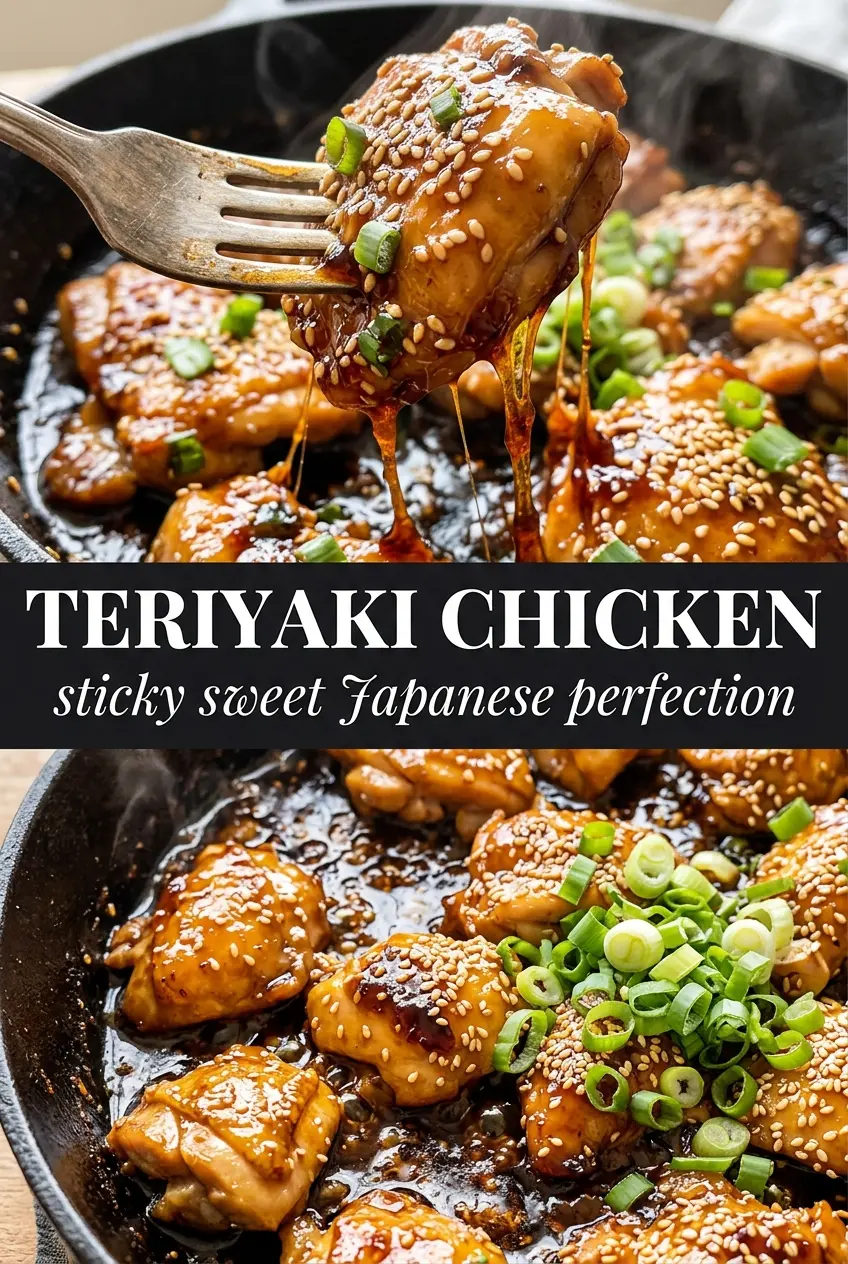
Sticky, glossy teriyaki chicken earns its place in the dinner rotation when the sauce clings to the meat instead of sliding off the plate. The best versions hit that balance between sweet, salty, and sharp, with caramelized edges on the chicken and a sauce that reduces into a lacquer instead of turning thin and syrupy.
This version uses one marinade-and-sauce base, which keeps the ingredient list short and gives the chicken a head start on flavor while still leaving enough liquid to simmer down into a proper glaze. Honey and brown sugar build that deep amber color, while ginger and garlic keep the sauce from tasting flat. A quick cornstarch slurry at the end is what turns it glossy and spoon-coating instead of watery.
Below, I’ve included the small adjustments that make a big difference: how long to marinate, when to add the sauce back to the pan, and what to do if you want the glaze a little thicker or a little less sweet.
The sauce thickened up fast and coated every piece of chicken without turning sugary. I also liked that the thighs stayed juicy after a quick sear, and the sesame seeds on top gave it that takeout-style finish.
Save this sticky teriyaki chicken for the nights when you want glossy takeout-style chicken over rice without ordering in.
The Reason the Sauce Stays Glossy Instead of Turning Thin
The mistake that ruins a lot of teriyaki chicken is letting the sauce boil too hard after the cornstarch goes in. That gives you a sauce that looks thick for a minute, then loosens again or turns a little gluey once it cools. The better move is a steady simmer, not a rolling boil, so the starch can thicken the liquid evenly while the sugar reduces into a shine.
Another thing that matters here is the split marinade. Half goes on the chicken for flavor, and the other half gets cooked into sauce. That keeps the chicken seasoned from the inside out without forcing you to throw away all that good liquid. If you skip the reserve-and-simmer step and use the raw marinade as-is, the sauce will be thin and unsafe.
- Chicken thighs — Thighs stay tender under high heat and give you the dark, caramelized edges this dish needs. Breasts can work, but they dry out faster and don’t give you the same juicy bite.
- Soy sauce — This is the backbone of the glaze. Use a regular soy sauce for the best balance; low-sodium works if that’s what you keep on hand, but the finished sauce will need the full simmer to taste complete.
- Mirin or rice vinegar — Mirin gives the sauce a softer, rounded sweetness. Rice vinegar makes it a little sharper, which is fine if you want a brighter finish, but it won’t taste as plush.
- Cornstarch slurry — This is what turns the sauce from thin marinade into a proper glaze. Mix it with cold water first so it disperses cleanly; if it hits the pan dry, you’ll get lumps.
What Each Ingredient Is Actually Doing in This Chicken Recipe
- Chicken (the foundation) — Quality chicken starts with good sourcing. Even simple seasoning tastes better on good meat.
- Olive oil or butter (the cooking medium) — Fat carries flavors and keeps chicken from drying. It’s also what makes food taste delicious.
- Salt and pepper (proper seasoning) — Season generously; underseasoned chicken tastes bland. Apply inside and outside so the seasoning penetrates.
- Garlic and onion (the aromatic base) — These add depth and complexity. They sweeten slightly when cooked, becoming mellow and round.
- Acid (lemon, vinegar, wine, or tomato) — This brightens the dish and prevents it from tasting heavy. It also helps balance rich sauces.
- Fresh herbs or spices (the character) — These define the personality of the dish. Choose ones that complement your other flavors.
- Cream or sauce base (optional richness) — A sauce keeps the chicken moist and flavorful. Make sure it’s balanced with acid and herbs.
- Proper cooking technique (the final step) — Whether baking, pan-searing, or simmering, the right method ensures juicy, tender results without drying out the meat.
How to Get the Chicken Dark and Caramelized Without Burning the Sugar
Mixing the Marinade Base
Whisk the soy sauce, brown sugar, honey, mirin, sake if you’re using it, garlic, and ginger until the sugar starts to dissolve. You want a smooth, dark mixture before it touches the chicken so the meat takes on flavor evenly. If the sugar is still gritty, give it another minute of whisking; that helps the marinade cling instead of settling at the bottom of the bowl.
Marinating for Enough Time to Matter
Twenty minutes is enough to season the surface of the chicken without making it soggy. Longer is fine if you need it, but this isn’t a marinade that needs hours to work. The chicken should look glossy and slightly tacky when it comes out of the bowl, not swimming in liquid.
Searing Until the Edges Blister
Heat the oil in a large skillet over medium-high heat and lay the chicken in a single layer. It should sizzle as soon as it hits the pan. Let it sit long enough to develop color before turning it; if you move it too early, the sugar in the marinade will smear instead of caramelizing, and you’ll lose that deep amber crust. Cook until the chicken reaches 165°F and the surface looks darkened in spots, with sticky edges that release from the pan.
Turning the Pan Drippings Into Sauce
Take the chicken out, then pour in the reserved marinade and bring it to a simmer. This is where the whole dish comes together, because the browned bits in the pan dissolve into the sauce as it heats. Stir in the cornstarch slurry and keep it moving for 2 to 3 minutes until the sauce turns shiny and thick enough to coat the back of a spoon. If it looks dull or cloudy, it needs another minute.
Coating and Serving
Return the chicken to the pan and turn each piece until it’s lacquered on all sides. Don’t let it boil hard here; you just want the sauce to cling and tighten around the chicken. Spoon it over steamed rice and finish with sesame seeds and sliced green onions so the sticky sauce has something fresh and crisp to land against.
How to Adapt This When You Need a Different Finish
Gluten-Free Teriyaki Chicken
Swap the soy sauce for tamari or a certified gluten-free soy sauce. The sauce will still reduce and glaze the same way, but tamari usually tastes a little rounder and less sharp, so you may want a tiny splash of rice vinegar at the end if you like more brightness.
Less-Sweet Teriyaki
Cut the brown sugar back by 1 to 2 tablespoons and keep the honey as written. You’ll get a tighter, more savory glaze that still caramelizes well, but it won’t cling as heavily or look quite as dark. If you reduce the sugar too much, the sauce can taste flat, so don’t cut both sweeteners at once.
Chicken Breast Version
Use boneless skinless chicken breasts cut into even cutlets or large chunks so they cook at the same rate. They’ll absorb the glaze just fine, but pull them from the pan as soon as they hit 165°F because the margin between juicy and dry is much smaller than it is with thighs.
Make-Ahead Lunch Boxes
Cook the chicken and sauce as written, then portion it with rice and broccoli after it cools slightly. The sauce thickens even more as it sits, which makes it great for packed lunches, but keep a small splash of water or extra soy sauce nearby when reheating so it loosens back up instead of clamping onto the rice.
Storage and Reheating
- Refrigerator: Store for up to 4 days in an airtight container. The sauce will thicken as it chills, but the chicken stays tender if you don’t overcook it the first time.
- Freezer: This freezes well for up to 2 months. Freeze the chicken and sauce together in a flat, sealed container; thaw overnight in the fridge before reheating.
- Reheating: Warm it gently in a skillet over medium-low heat with a splash of water to loosen the sauce. High heat can make the glaze stick and scorch before the chicken is heated through.
Answers to the Questions Worth Asking
Teriyaki Chicken
Ingredients
Equipment
Method
- Whisk together soy sauce, brown sugar, honey, mirin, sake, garlic, and ginger until the sugar dissolves. Reserve half of the mixture for the sauce and use the other half to coat the chicken.
- Marinate the chicken for 20 minutes. Let it sit at cool room temperature while the marinade works, so the glaze flavors soak in.
- Heat the vegetable oil in a large skillet over medium-high heat until shimmering. Add the marinated chicken and cook 5-6 minutes per side until caramelized and the internal temperature reaches 165°F.
- Remove the chicken from the skillet and pour the reserved marinade into the pan. Bring it to a simmer, scraping up the browned bits for a darker amber sauce.
- Stir in the cornstarch slurry and cook 2-3 minutes until thick and glossy. The sauce should coat the back of a spoon.
- Return the chicken to the pan and turn to coat in the teriyaki sauce. Cook for 30-60 seconds more so the edges look blistered and sticky.
- Serve the teriyaki chicken over steamed rice and drizzle with any extra sauce. Finish with sesame seeds and sliced green onions so the topping stays bright.