Sweet, creamy, and cut into those tall colorful slices that always disappear first, summer berry Jello lasagna brings a little old-school dessert fun without asking for much work. The Golden Oreo crust stays buttery and crisp under a fluffy cream cheese layer, and the strawberry and berry blue Jell-O set into clean, distinct layers that look sharp on the plate.
What makes this version work is the way each layer is cooled before it goes into the dish. Warm Jell-O is the fastest way to melt the cream layer and blur everything together, so the patience here pays off in those clean stripes. The whipped topping keeps the filling light instead of dense, and the Golden Oreos give the base a softer vanilla-caramel note than a plain chocolate cookie crust would.
Below, I’ve included the one timing detail that keeps the layers from bleeding, plus a few swaps for when you want to change the crust or make this dessert a little lighter.
The layers set up exactly like the photos, and chilling the Jell-O before pouring made all the difference. The strawberry stayed bright, the blue layer didn’t sink, and the crust held together when I sliced it.
Love those bright strawberry and berry blue layers? Save this Jello lasagna for your next no-bake dessert spread.
The One Mistake That Blurs the Layers
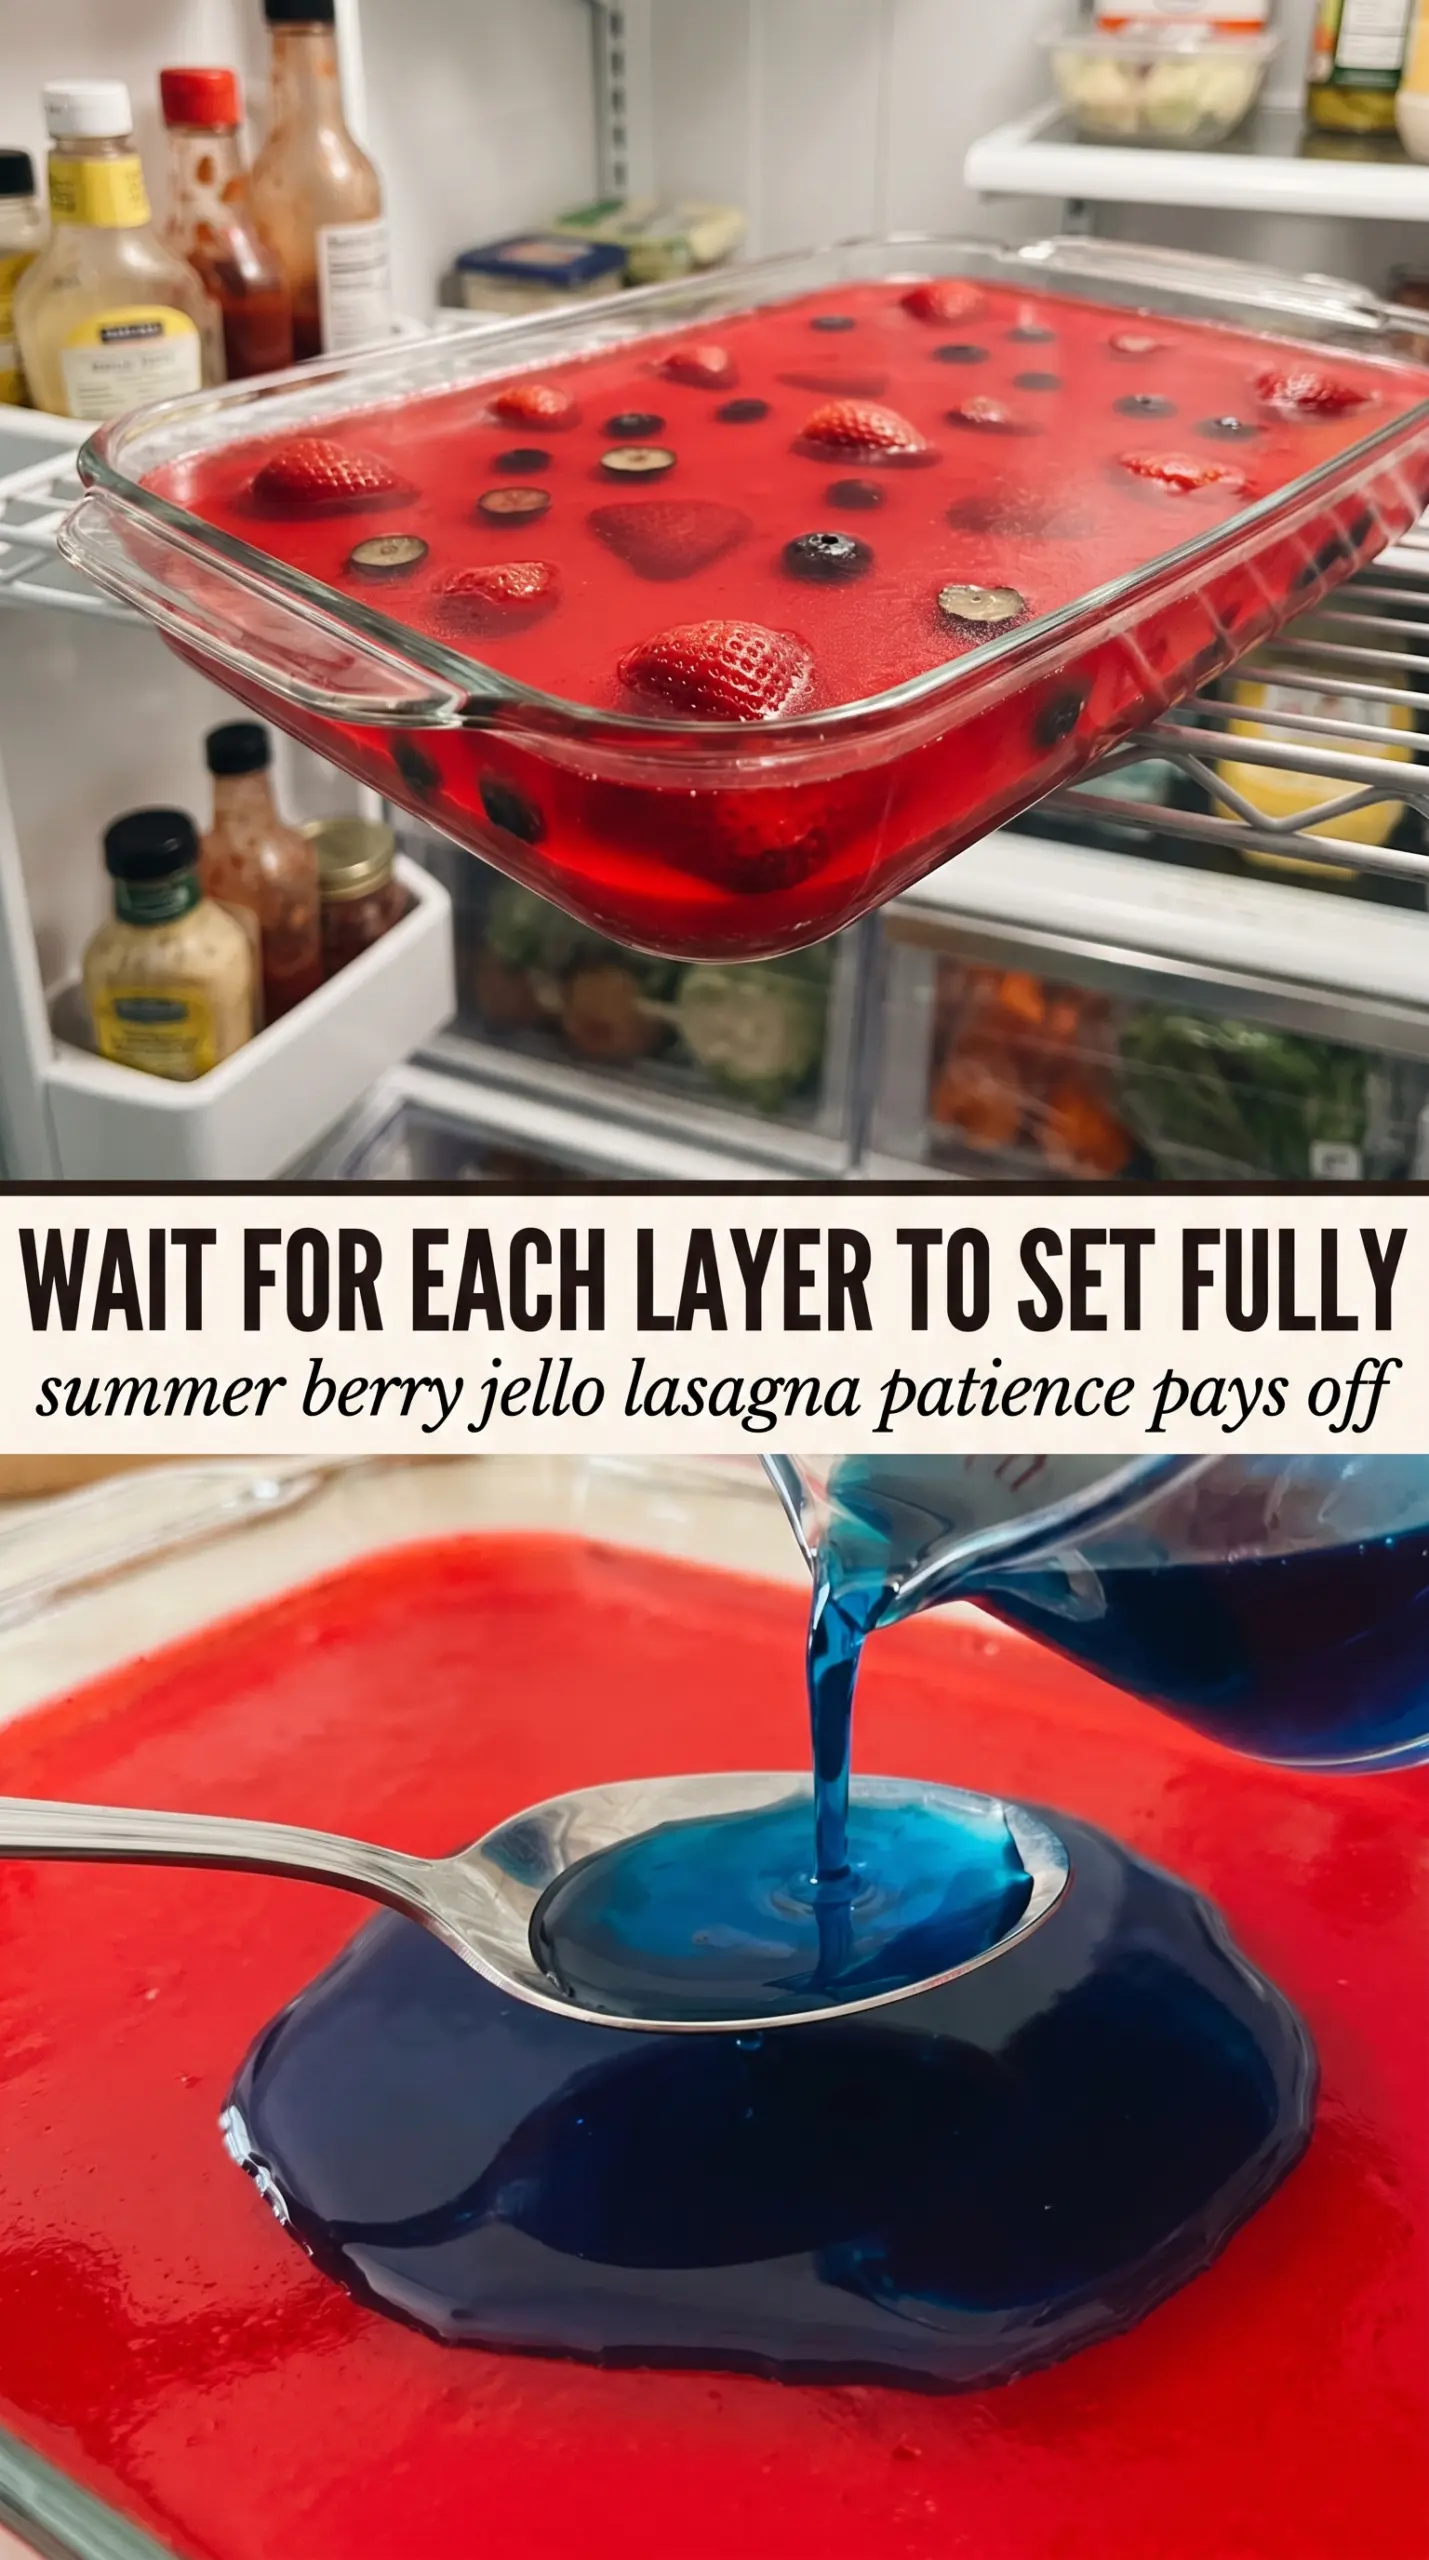
The layers only stay distinct when each one has enough time to cool and set before the next goes on top. If the strawberry Jell-O is still warm, it melts into the cream cheese layer and you lose that sharp middle stripe. If the blue layer goes on before the strawberry layer is firm, the colors bleed and the dessert turns muddy instead of clean and striped.
The other place people rush is the crust. Press it firmly into the pan so it compacts into a sliceable base, then chill it before adding the cream layer. That short chill gives the butter time to firm up, which keeps the bottom from crumbling when you cut the first piece.
What Each Layer Is Doing Here
- Golden Oreos — These give the crust a buttery vanilla flavor that fits the berry layers better than a darker cookie would. Finely crushing them matters because big chunks make the base uneven and harder to slice.
- Butter — Melted butter is what turns the crumbs into a firm crust. There isn’t a true substitute here if you want the same clean set, though coconut oil can work in a pinch; it will taste a little different and firm up more at cold temperature.
- Cream cheese — This gives the middle layer its tang and structure. Use it softened all the way through, or you’ll end up with little lumps that never fully smooth out.
- Whipped topping — This lightens the cream layer and helps it spread without tearing the crust. Real whipped cream can be used, but it softens faster and won’t hold quite as long in the fridge.
- Jell-O — The strawberry and berry blue packets are doing the visual heavy lifting. The important part is cooling them to room temperature before pouring; if they’re even slightly hot, they’ll sink into the layer below.
Building the Layers Without Melting the Middle
The Crust
Mix the crushed Golden Oreos with the melted butter until every crumb looks damp, then press the mixture firmly into a 9×13 dish. A flat-bottomed measuring cup makes this much easier and helps you get the crust tight at the corners. Chill it for 20 minutes so it firms up before the cream layer goes on. If the crust feels sandy instead of packed, it will fall apart when you serve it.
The Cream Cheese Layer
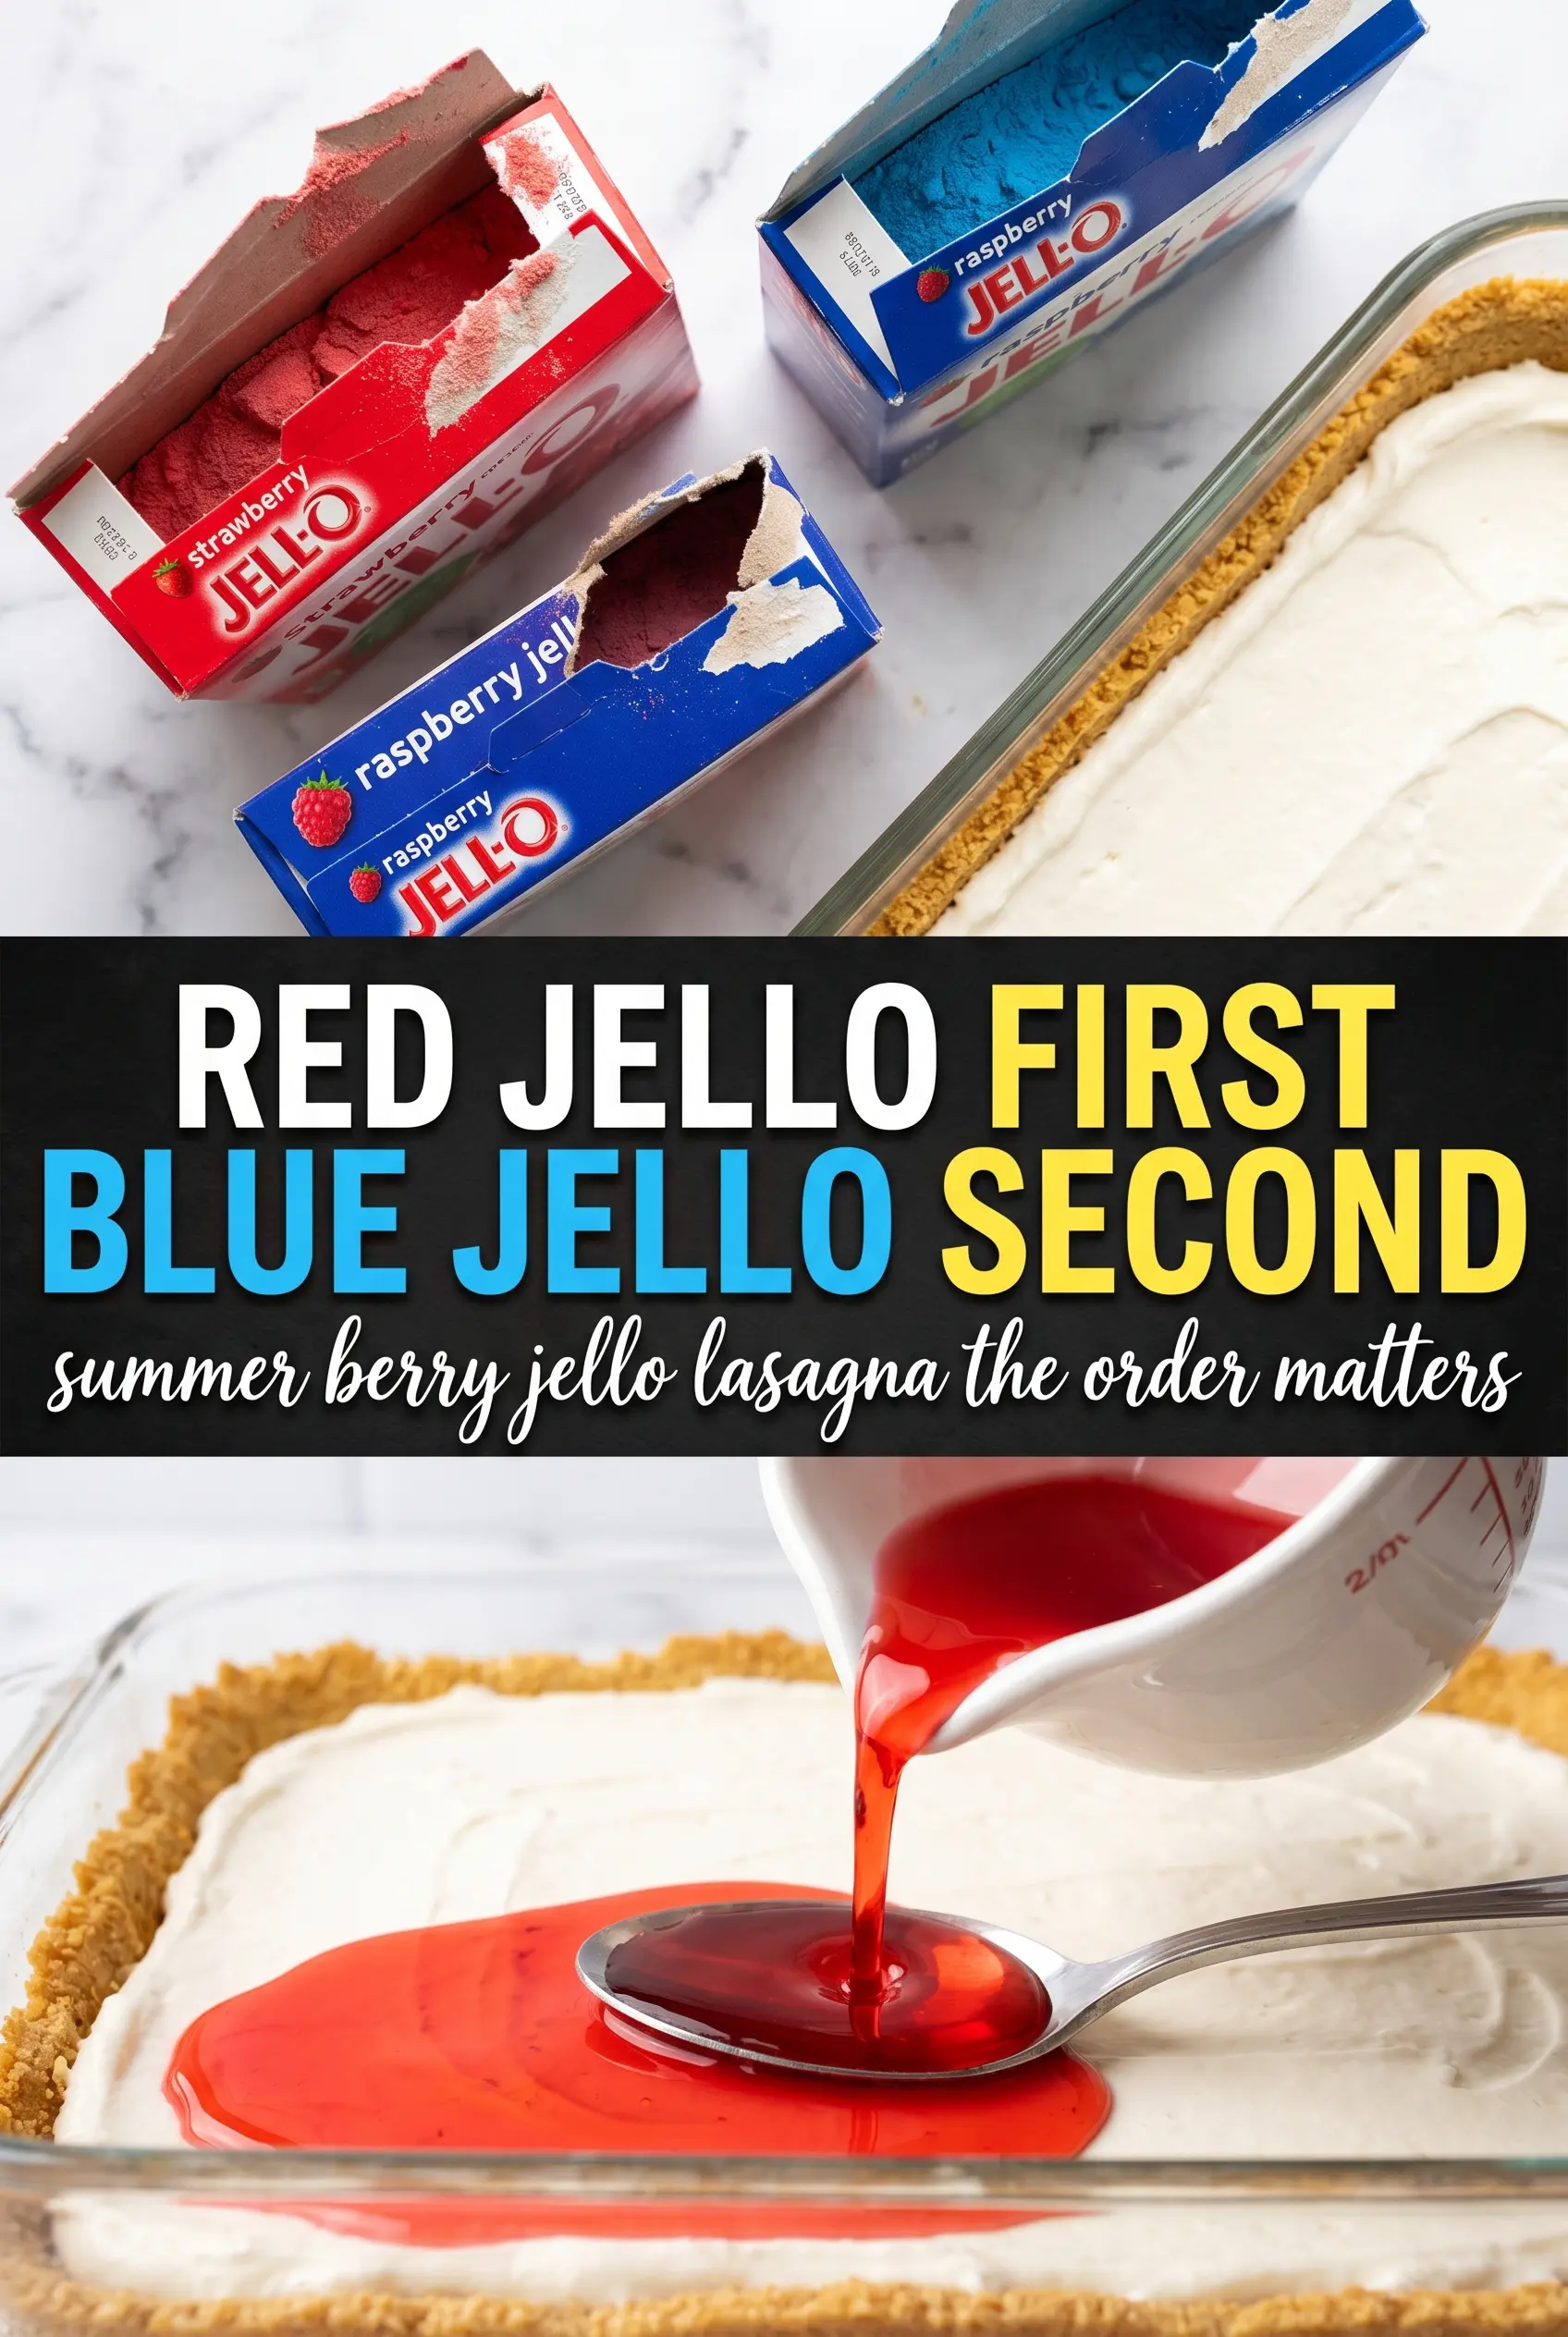
Beat the softened cream cheese and powdered sugar until smooth before folding in half the whipped topping. That first mix should look glossy and completely lump-free; once the sugar is in, any cold bits of cream cheese will show. Spread it over the chilled crust in an even layer, then tuck the dish back into the fridge while you work on the Jell-O. A cold cream layer is what keeps the colors from sinking.
The Strawberry Jell-O Layer
Dissolve the strawberry Jell-O in boiling water, stir in the cold water, and let it cool to room temperature. Don’t wait for it to thicken; you want it liquid but no longer warm. Pour it slowly over the cream layer, using the back of a spoon if needed so the stream lands gently. Chill until fully set before moving on, or the blue layer will mix in and cloud the edge.
The Blue Layer and Final Top
Repeat the same process with the berry blue Jell-O, then pour it carefully over the set strawberry layer. After that second chill, spread the remaining whipped topping across the top in a smooth blanket and give the dessert one last short chill so the surface firms up for slicing. A long thin knife wiped clean between cuts gives the neatest rectangles, especially if you want those layered sides to show.
How to Change This Dessert Without Losing the Clean Slices
Make it gluten-free
Swap in a gluten-free vanilla sandwich cookie or gluten-free shortbread cookie for the crust. The texture stays close, but some gluten-free cookies are drier, so press the crumbs tightly and don’t skimp on the butter.
Use homemade whipped cream instead of whipped topping
You can fold in about 2 cups of very stiff whipped cream in place of the whipped topping. The filling tastes a little fresher and less sweet, but the dessert won’t hold as long in the fridge, so serve it the same day if possible.
Change the berry flavor without changing the method
Strawberry and berry blue are the classic combination for the red, white, and blue look, but raspberry, cherry, or blueberry Jell-O all work in the same structure. Pick flavors that are bold and clearly different from the cream layer, or the dessert loses some of its contrast.
Storage and Reheating
- Refrigerator: Keep covered for up to 4 days. The top layer may soften a little, but the dessert still slices well when chilled.
- Freezer: I don’t recommend freezing this one. Jell-O and whipped topping both change texture after thawing, and the layers turn watery.
- Reheating: No reheating needed. Serve straight from the fridge, and if the slices start to slump, chill the pan for 15 to 20 minutes before cutting again.
Questions I Get Asked About This Recipe
Summer Berry Jello Lasagna
Ingredients
Equipment
Method
- Mix the finely crushed Golden Oreos with melted butter, then press firmly into the bottom of a 9x13 dish until the base is even and compact. Refrigerate for 20 minutes so the crust firms up and looks set at the edges.
- Beat the softened cream cheese and powdered sugar until smooth and lump-free, then fold in half of the whipped topping. Spread the mixture over the chilled crust in a smooth, level layer, then refrigerate while you prepare the Jell-O so it stays thick and holds its shape.
- Dissolve strawberry Jell-O in 1 cup boiling water, stirring until completely clear and no granules remain, then stir in 1/2 cup cold water. Cool to room temperature, aiming for a pourable, light-red liquid that does not look cloudy, then pour gently over the cream cheese layer and refrigerate for 1 hour until the surface is set with a slight jiggle.
- Dissolve berry blue Jell-O in 1 cup boiling water, stirring until fully dissolved, then stir in 1/2 cup cold water. Cool to room temperature to keep it from melting the layers, then pour gently over the set strawberry layer and refrigerate for 1 more hour until firm and glossy.
- Spread the remaining whipped topping over the top, covering the edges so the layers stay sealed. Chill for another 30 minutes, then slice into rectangles; the cut should show clean, distinct layers with vivid red, white, and blue stripes.