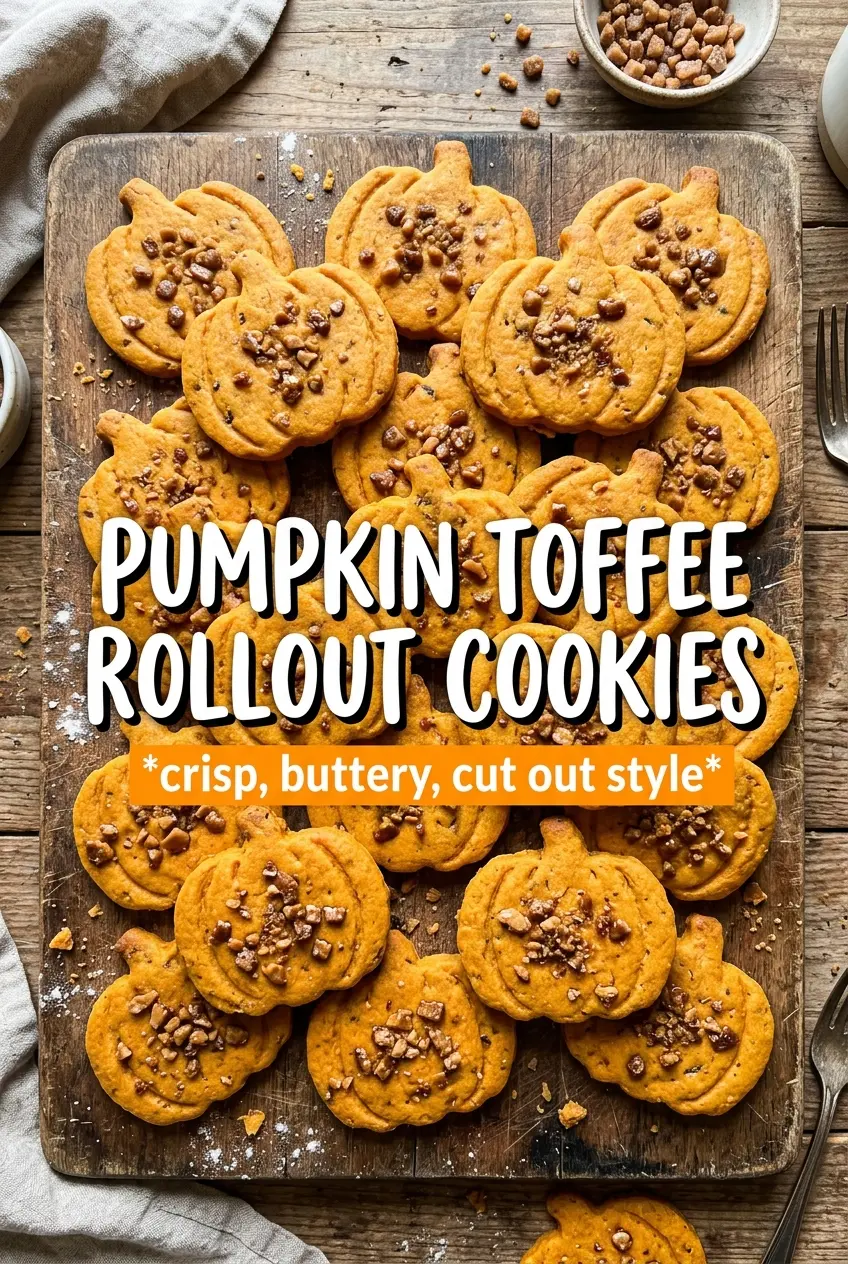
These pumpkin spice toffee rollout cookies bake up with crisp edges, a tender center, and those little pockets of toffee that turn caramel-like in the oven. They hold their shape well for cutouts, which means you get clean pumpkin edges instead of a puffy cookie that blurs into the pan. The cinnamon glaze finishes them with just enough sweetness to pull the warm spice and buttery dough together.
The trick is keeping the pumpkin puree dry. Even a little extra moisture can make rollout dough sticky and hard to cut, so I blot it first until it looks almost paste-like. That small step makes the dough easier to roll, keeps the cookies from spreading too much, and gives you a better texture after baking. Chilling matters here too. It firms the butter back up and helps the cut shapes stay sharp in the oven.
Below, I’ve included the ingredient details that matter most, plus the part of the process that keeps these cookies neat instead of fussy. If you’ve ever had cutout cookies lose their edges, this version gives you a much better shot at getting bakery-style results at home.
The cookies held their pumpkin shape perfectly, and blotting the pumpkin puree made the dough roll out cleanly instead of getting sticky. The cinnamon glaze set up with a soft finish that tasted like a bakery cookie.
Save these pumpkin spice toffee rollout cookies for when you want sharp cutout shapes, warm spice, and a cinnamon glaze that sets beautifully.
The Real Trick Is Controlling the Pumpkin Moisture
Rollout cookie dough fails for one of two reasons: too much moisture or too much warmth. In this recipe, the pumpkin puree adds flavor and color, but it also brings water into a dough that needs to stay firm enough to roll and cut cleanly. Blotting the puree first keeps the dough from turning soft and sticky before it even hits the fridge.
Chilling the dough after mixing does more than make it easier to handle. It gives the flour time to hydrate, which tightens the dough and helps the cookies bake with defined edges instead of spreading into rounded blobs. If your dough feels loose after mixing, resist the urge to add a lot more flour right away. That usually makes the cookies dry. A cold rest fixes the texture without throwing off the balance.
What Each Ingredient Is Doing in These Cookies
- All-purpose flour — This gives the cookies their structure and keeps the cutouts from collapsing. Measure it lightly or the dough can turn dry and crumbly, which makes rolling harder than it needs to be.
- Pumpkin puree — The flavor is mild here, but the moisture and color matter. Blotting it dry is the difference between neat cookie shapes and dough that sticks to everything.
- Butter — Softened butter creams with the sugars and traps air, which gives the cookies a lighter texture. Use real butter here; margarine won’t give the same flavor or structure.
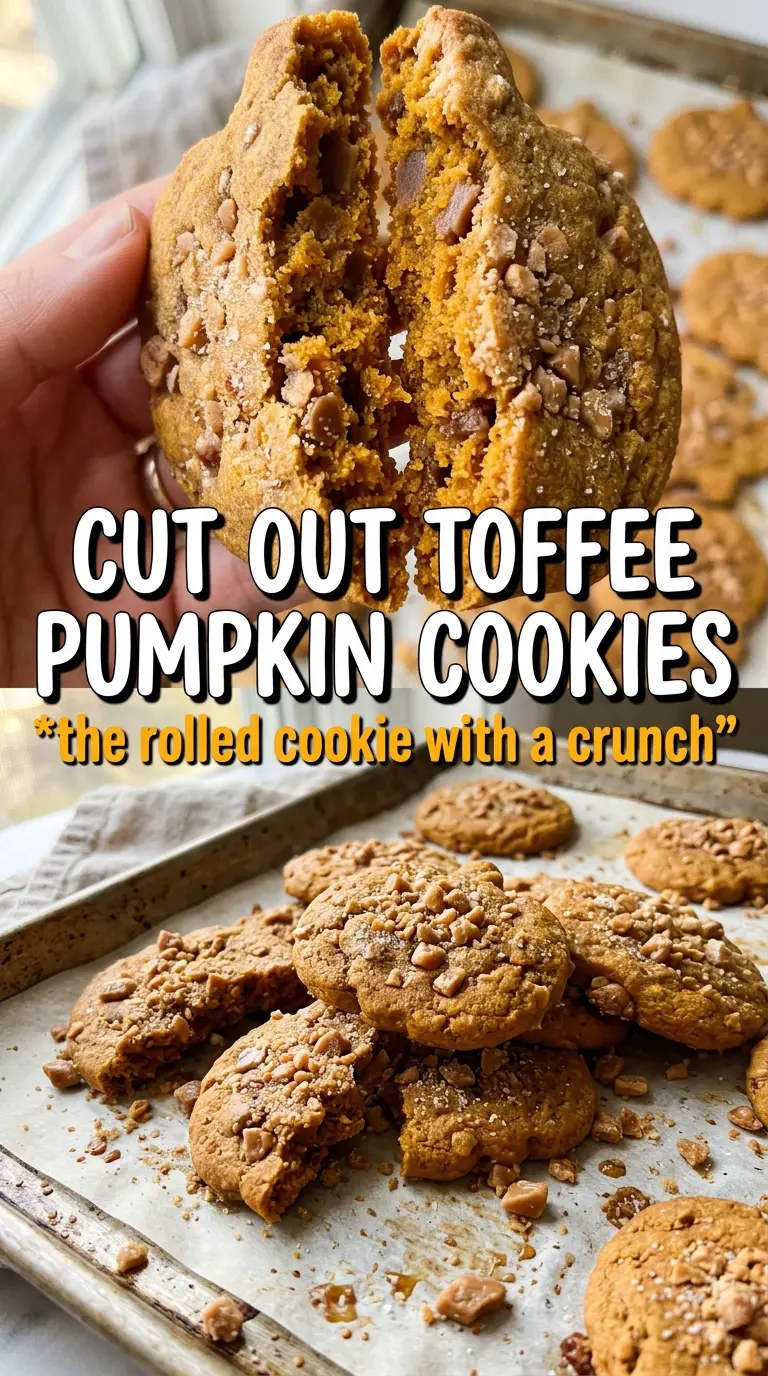
- Toffee bits — These bring little caramel-like crunch pockets that keep the cookies from tasting flat. Stir them in gently so they stay distributed instead of sinking into a dense spot in the dough.
- Pumpkin pie spice and cinnamon — The spice blend carries the pumpkin theme, while the extra cinnamon sharpens the finish. If you only have pumpkin pie spice, use it for both and keep the cinnamon in the glaze for a similar effect.
Rolling, Cutting, and Baking Without Losing the Shape
Mix the dough Until It Just Comes Together
Cream the butter with both sugars until it looks fluffy and a little lighter in color, then add the blotted pumpkin, egg, and vanilla. Once the flour and spices go in, stop mixing as soon as the dough comes together. Overmixing at this stage makes the cookies tougher and can warm the dough enough that it turns slack before chilling.
Chill Before You Roll
Divide the dough and refrigerate it for the full hour. You want it firm enough that a fingertip pressed into it leaves a slight mark instead of sliding through like soft frosting. If the dough still feels sticky after chilling, dust the surface and rolling pin lightly with flour rather than kneading more flour into the dough.
Bake Until the Edges Set
Roll the dough to about 1/4 inch thick and cut your shapes cleanly, then bake at 350F until the edges look set and the bottoms just start to turn golden, usually 10 to 12 minutes. The centers should still look soft when they come out. That carryover heat finishes them on the sheet pan. If you wait until they look fully browned in the oven, they’ll end up dry after cooling.
Glaze After Cooling
Let the cookies cool all the way before drizzling the cinnamon glaze. Warm cookies will melt the glaze into a thin wash instead of that pretty, set drizzle. If the glaze feels too thick, add milk a few drops at a time. It should ribbon off the spoon, not run like water.
How to Adapt These Cutout Cookies for Different Needs
Gluten-Free Version
Use a 1:1 gluten-free baking flour that includes xanthan gum. The dough may need an extra 10 to 15 minutes of chilling because gluten-free blends often feel softer at first, but the cookies still cut nicely if you handle the dough gently.
Skip the Toffee for a Nuttier Cookie
Swap the toffee bits for finely chopped toasted pecans. You lose the caramel crunch, but you gain a deeper, nuttier bite that works well with the pumpkin spice. Keep the pieces small so the dough still rolls out cleanly.
Make Them Without the Glaze
Leave off the cinnamon glaze if you want a less-sweet cookie with a cleaner spice finish. The cookies still taste complete on their own, especially if you bake them until just set and let the toffee bits crisp at the edges.
Storage and Reheating
- Refrigerator: Store in an airtight container for up to 5 days. The glaze stays set, though the cookies soften a little after the first day.
- Freezer: Freeze the baked cookies without glaze for up to 2 months. Layer parchment between them so the cut edges don’t stick together.
- Reheating: Thaw at room temperature. If you want a fresh-baked feel, warm unglazed cookies in a 300F oven for 3 to 4 minutes. Don’t microwave glazed cookies or the icing can melt and slide off.