Golden, crackly sourdough with a soft orange crumb and a gentle pumpkin sweetness is the kind of loaf that disappears fast on the counter. The crust bakes up deeply colored and rustic, while the inside stays tender and airy enough for thick slices of butter, toast, or a swipe of jam. The pumpkin doesn’t make this bread cakey; it adds color, moisture, and a roundness that plays beautifully with the tang of the starter.
The trick is balancing the added pumpkin puree with enough structure from bread flour and a good, active starter. Pumpkin brings extra moisture, so this dough needs time to hydrate and strengthen before it goes anywhere near the oven. A cold overnight proof helps the flavor deepen and makes the dough easier to score cleanly, which matters once that Dutch oven heat starts working on the crust.
Below you’ll find the one step that keeps this dough from turning slack, plus the ingredient choices that matter most if you want a loaf with oven spring, a clean ear, and a crumb that slices neatly after it cools.
The dough felt a little wetter than my usual sourdough, but the stretch and folds brought it together and the loaf came out with a soft, open crumb and a beautiful golden crust.
Save this pumpkin sourdough bread for the loaf with a tender crumb, overnight proof, and a deeply caramelized crust.
The Pumpkin Purée Is Working Against You Until the Dough Strengthens
Pumpkin purée adds moisture, but it also softens the dough enough that a rushed mix can leave you with a loaf that spreads instead of springs. The first autolyse gives the flour time to absorb the liquid before the salt tightens things up, which helps the dough feel less sticky and more cooperative. After that, the stretch-and-folds are doing real work here; they build strength without tearing the dough apart.
If the dough still looks loose after the second fold, that isn’t a failure. Pumpkin dough often needs the full four rounds before it starts holding shape. The goal is not a stiff dough. The goal is one that looks smoother, domes a little in the bowl, and shows small bubbles along the sides by the end of bulk fermentation.
- Active sourdough starter — Use it at peak rise so the loaf has enough lift to handle the extra weight from the pumpkin. A sleepy starter will leave this bread dense.
- Bread flour — This gives the dough the backbone it needs. All-purpose flour can work in a pinch, but the loaf will usually spread more and lose some chew.
- Whole wheat flour — Just enough for flavor and extra fermentation appetite without making the crumb heavy. It adds a subtle nuttiness that works with the spice.
What Each Ingredient Is Actually Doing in This Loaf
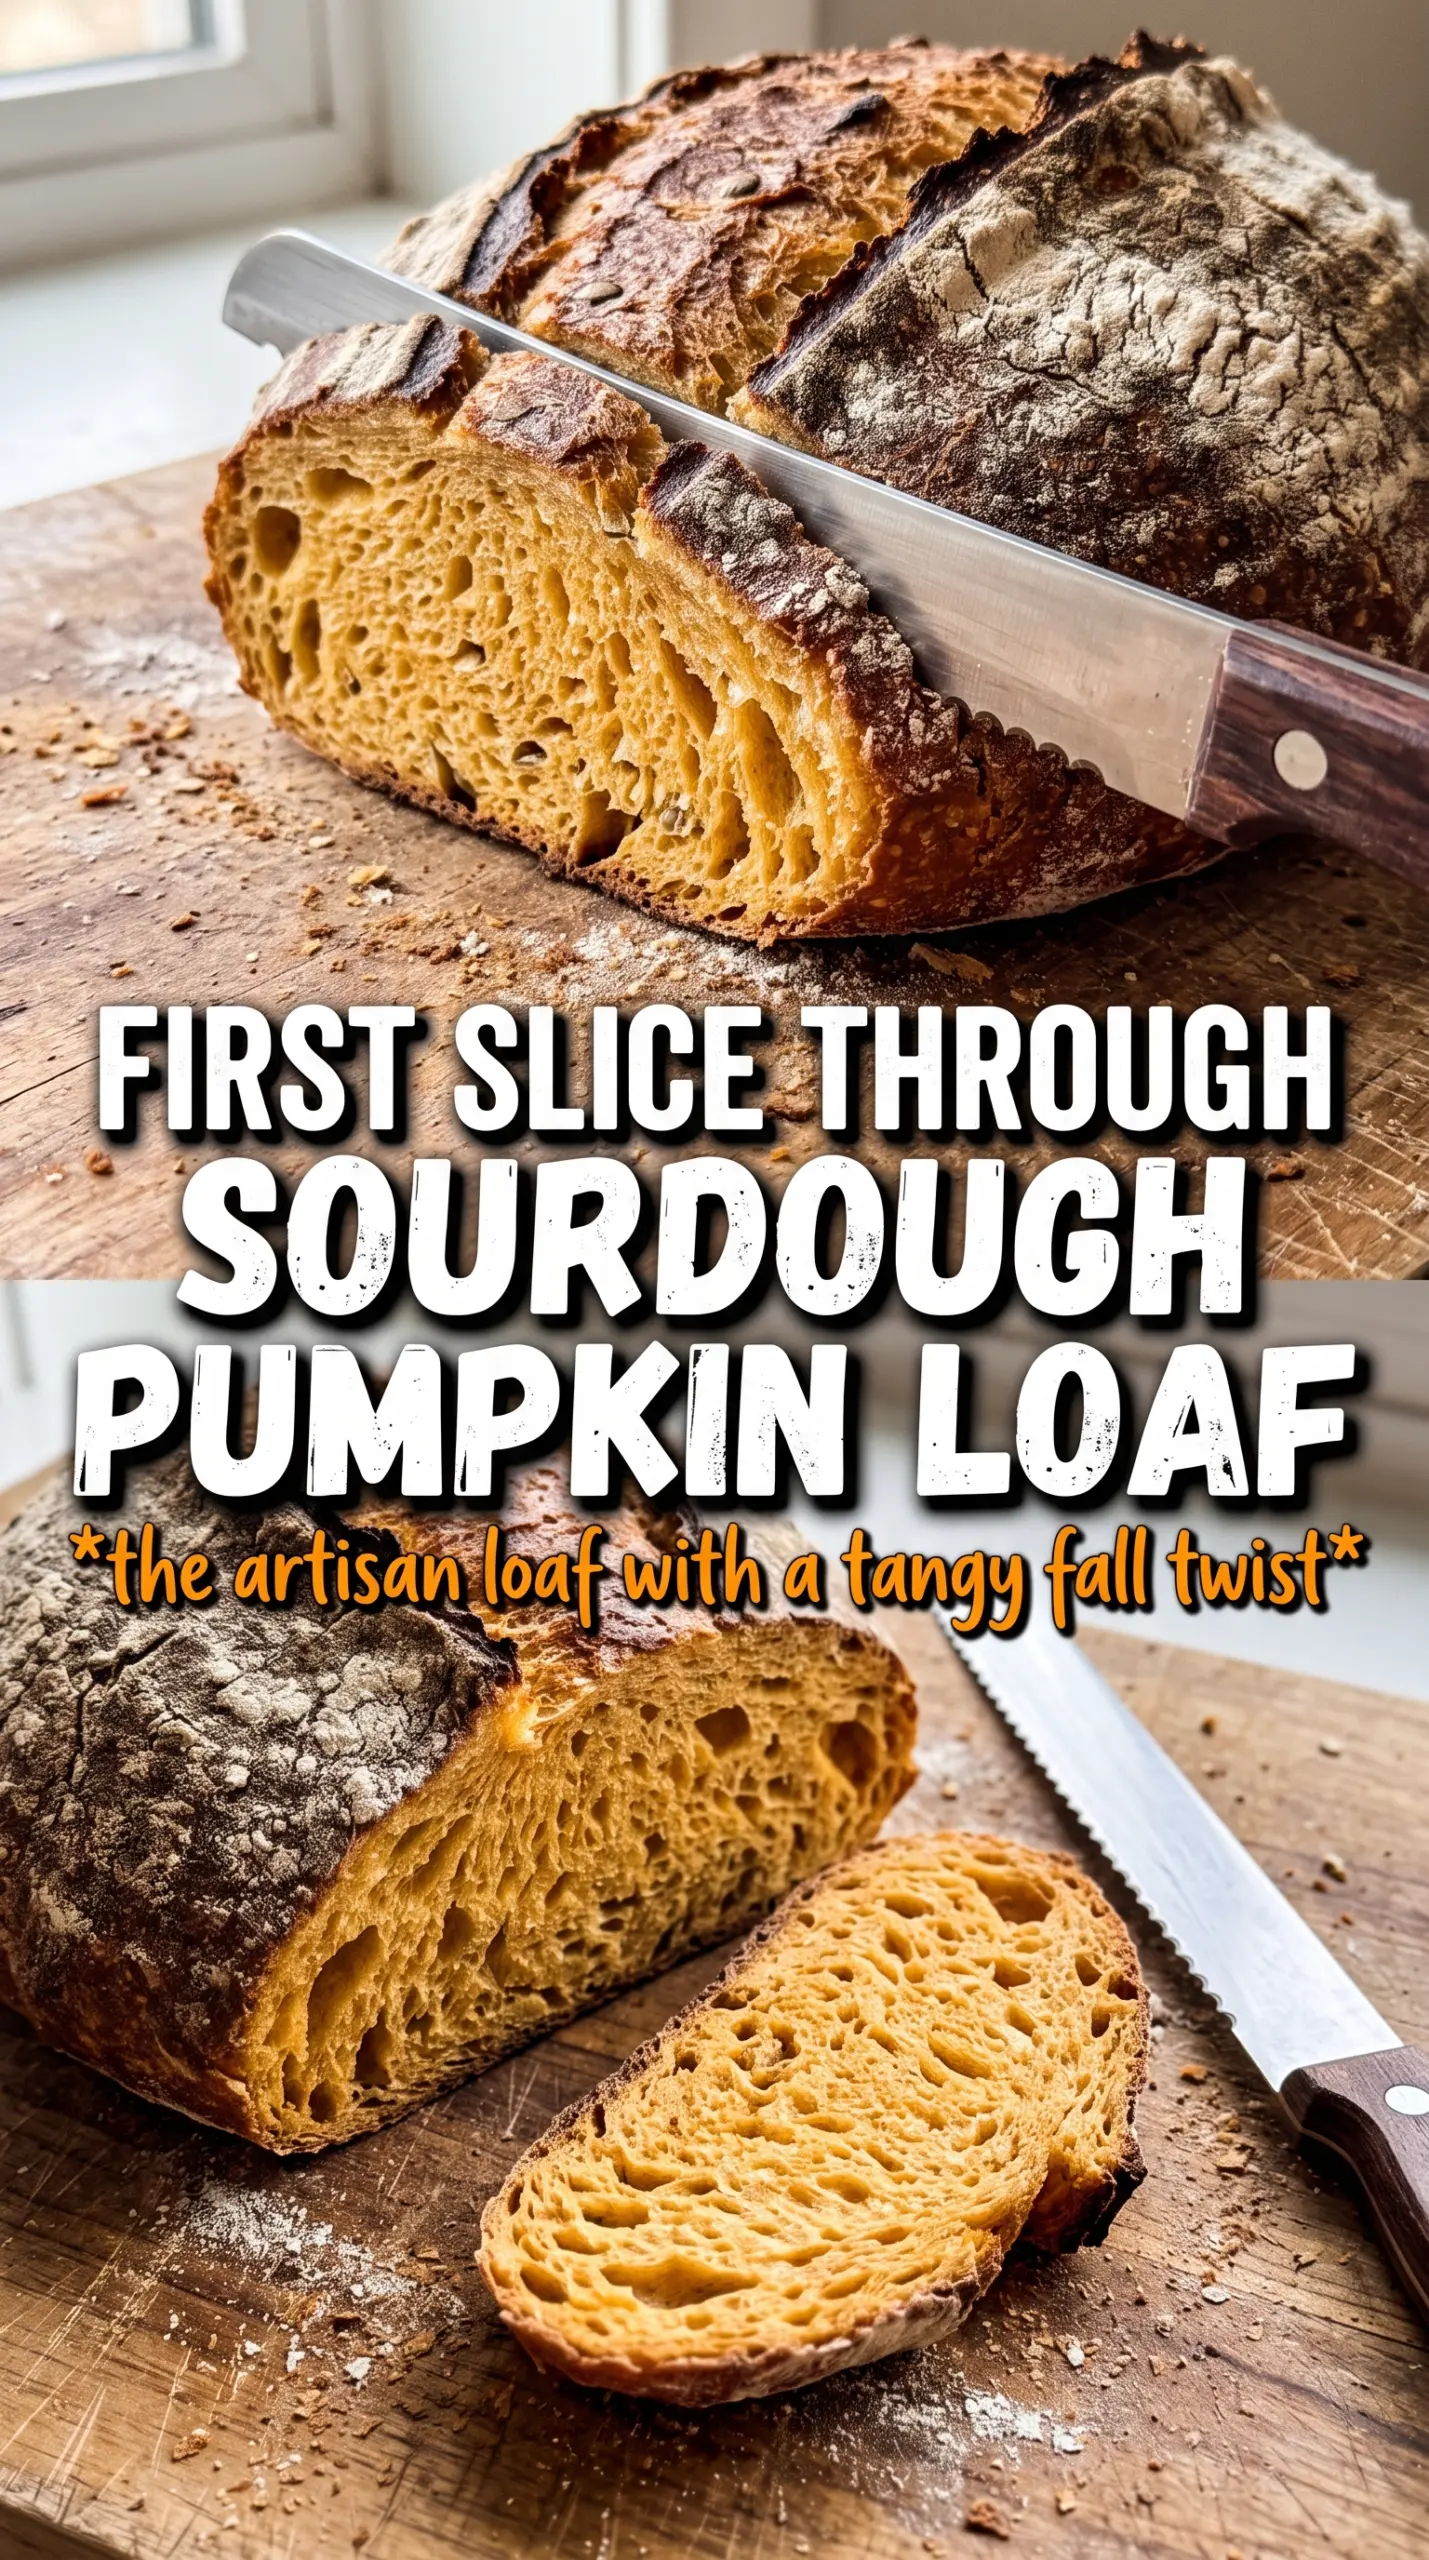
- Pumpkin purée — This is here for moisture, color, and a soft custardy crumb, not a strong pumpkin taste. Use plain canned pumpkin, not pumpkin pie filling, or the bread will bake up too sweet and spiced.
- Maple syrup — It rounds out the flavor and helps the crust brown. Honey can swap in easily, but the flavor will shift a little sharper and less woodsy.
- Pumpkin pie spice and cinnamon — These should stay in the background. Too much spice makes the loaf taste like dessert bread instead of a proper sourdough.
- Rice flour — This is the easiest way to keep the banneton from sticking during the cold proof. Regular flour absorbs more moisture and can glue itself to the dough.
Shaping and Cold Proofing Give This Loaf Its Structure
Building Strength Before the Bulk Ferment Ends
After the salt goes in, work through four sets of stretch and folds about 30 minutes apart. Each set should make the dough feel a little tighter and look a little more elastic. If it tears right away, stop pulling so aggressively and let the dough rest longer between folds. By the end of bulk fermentation, the dough should be puffy, dotted with bubbles, and have some bounce when you nudge it.
Shaping Without Knocking Out the Air
Turn the dough onto a lightly floured surface and shape it into a tight boule or batard, keeping the motions gentle but firm. A loose shape now means a flat loaf later, so use the bench to create surface tension as you tuck the dough toward you. Rice flour in the banneton matters here because pumpkin dough can be a little tacky even when it feels manageable on the counter.
The Overnight Proof That Makes Scoring Easier
Refrigerating the shaped loaf for 8 to 12 hours firms the dough and gives the flavor time to deepen. It also makes scoring cleaner, which is important because this dough can otherwise drag under the blade. If the loaf still feels extremely soft when it comes out of the fridge, it usually needed a little more bulk fermentation before shaping, not more flour at the end.
Baking for Lift, Color, and a Deep Crust
Preheat the Dutch oven until it is blazing hot; that first burst of heat is what gives the loaf its oven spring. Bake covered first so the dough can expand before the crust sets, then uncover to drive off moisture and deepen the color. The loaf is done when the crust looks mahogany and the bottom sounds hollow, but don’t slice it early or the crumb will seem gummy even if the bread is baked through.
How to Adapt This Pumpkin Sourdough Bread Without Losing the Texture
Dairy-Free as Written
This loaf is naturally dairy-free, so there’s nothing to change. The clean ingredient list keeps the crumb tender without butter or milk, which means the pumpkin and sourdough stay front and center.
Swap Honey for Maple Syrup
Honey works if that’s what you have, and it still helps with browning and softness. The loaf will taste a little warmer and floral rather than maple-sweet, which is nice, but the change is noticeable.
Use All-Purpose Flour for a Softer Crumb
You can replace the bread flour with all-purpose flour, but the loaf will be less chewy and a little more prone to spreading. If you go this route, keep a close eye on the dough during bulk fermentation and don’t overproof it.
Whole Wheat Boost
You can increase the whole wheat slightly for a nuttier loaf, but past a point the crumb gets tighter and the dough needs more water. I wouldn’t push it much higher unless you’re comfortable adjusting hydration by feel.
Storage and Reheating
- Refrigerator: Store sliced or whole at room temperature for 2 to 3 days, wrapped well. The fridge dries sourdough out faster than the counter.
- Freezer: Freeze the loaf sliced and wrapped tightly for up to 2 months. The texture holds up better if you thaw individual slices instead of the whole loaf.
- Reheating: Toast slices straight from frozen or warm a thawed loaf in a 325°F oven for 10 to 15 minutes. Don’t microwave it unless you want a rubbery crust and a damp crumb.
Questions I Get Asked About This Pumpkin Sourdough Bread
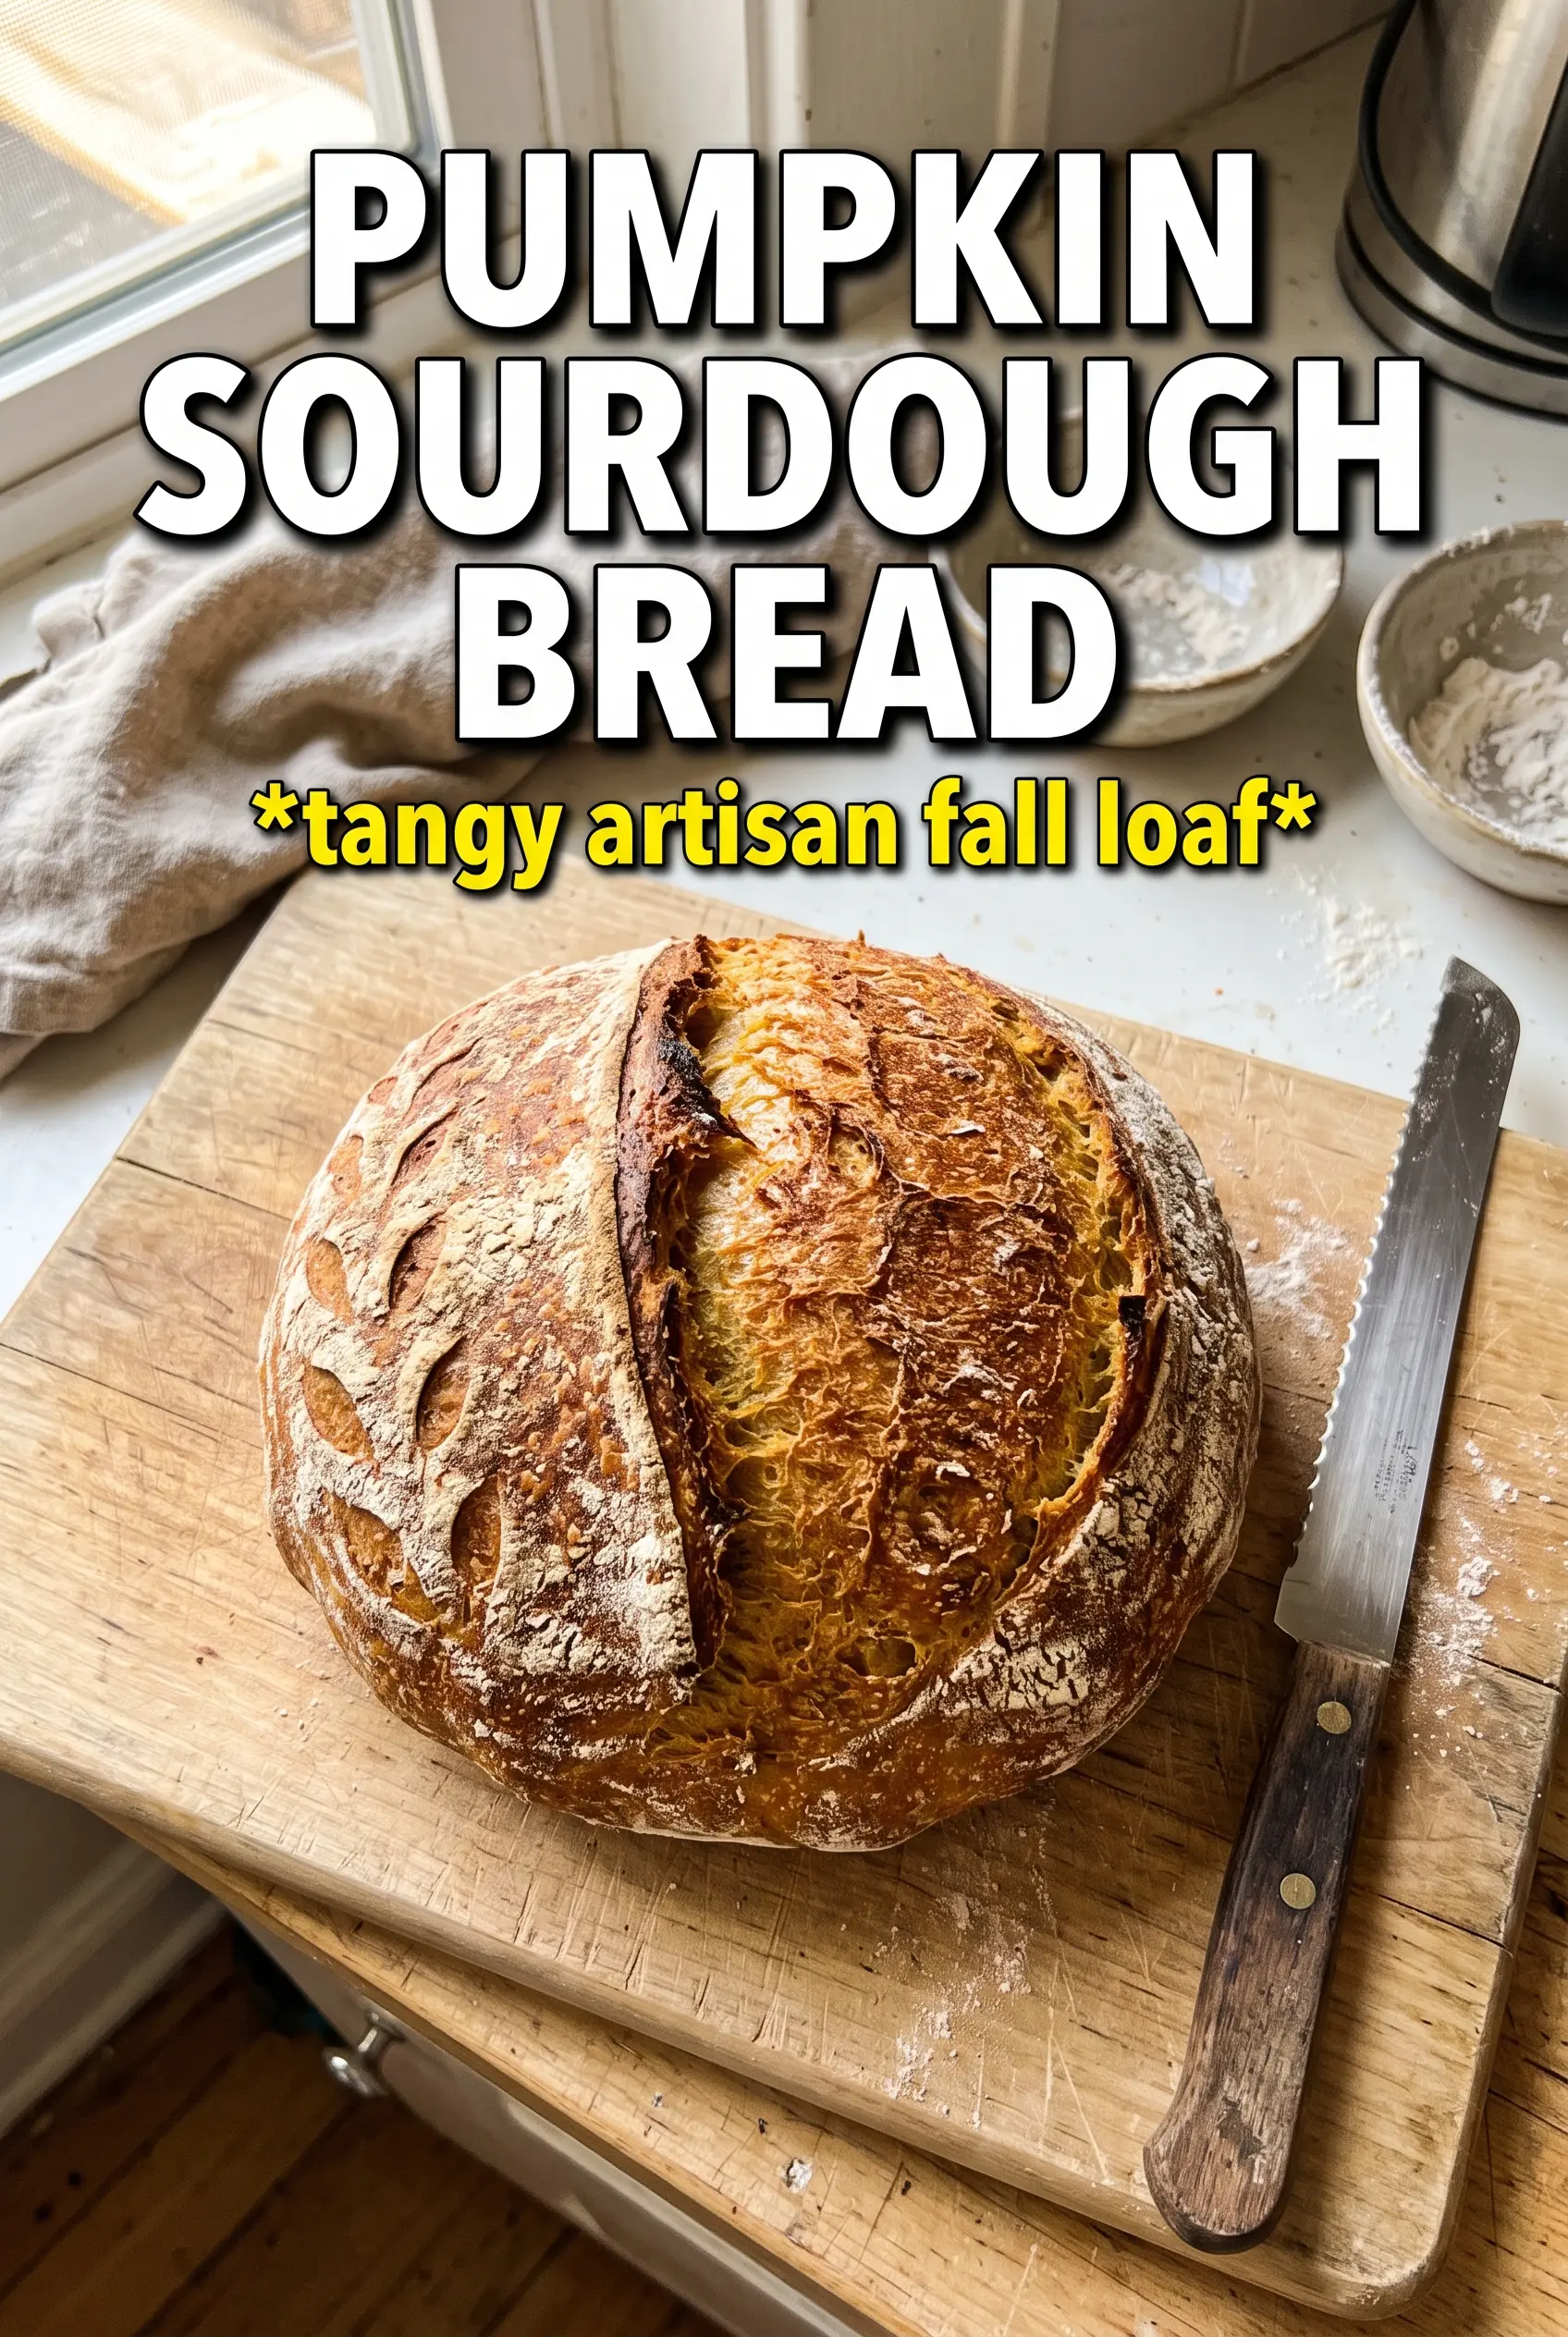
Pumpkin Sourdough Bread
Ingredients
Equipment
Method
- Mix bread flour, whole wheat flour, active sourdough starter, water, pumpkin puree, maple syrup, pumpkin pie spice, and cinnamon until no dry flour remains. Rest 30 minutes at room temperature so the dough hydrates and becomes smoother to handle.
- Sprinkle salt over the dough and mix thoroughly until fully incorporated. Rest briefly at room temperature while you prep for the first stretch and fold.
- Perform stretch and folds set 1 by lifting one side of the dough and folding it over itself. Every 30 minutes, repeat until you have completed 4 sets, and watch the dough tighten and feel more elastic.
- After the last set, allow the dough to continue fermenting undisturbed at room temperature. Bulk ferment 4-6 hours until doubled in size and visibly bubbly with a lighter, airy texture.
- Shape the dough into a boule or batard, then place it seam-side up in a floured banneton. Use rice flour for shaping so the loaf releases cleanly.
- Refrigerate the banneton overnight for a cold proof, 8-12 hours. The dough should look puffy and slightly domed after chilling, indicating it’s ready to bake.
- Preheat the oven to 500F with a Dutch oven inside for 45 minutes. Wait until the pot is fully hot so the loaf springs and the crust starts blistering immediately.
- Carefully score the top of the dough before baking. Aim for a confident slash to control expansion while keeping the surface rustic.
- Bake covered in the preheated Dutch oven for 20 minutes at 500F. Look for a dramatic oven spring and a crust that’s starting to set.
- Uncover and bake 20-25 more minutes at 500F until the crust is deeply golden. Continue until the loaf looks firm and sounds hollow when tapped.
- Cool the loaf completely on a wire rack before slicing. Letting it cool fully helps the crumb set so the open texture stays airy.