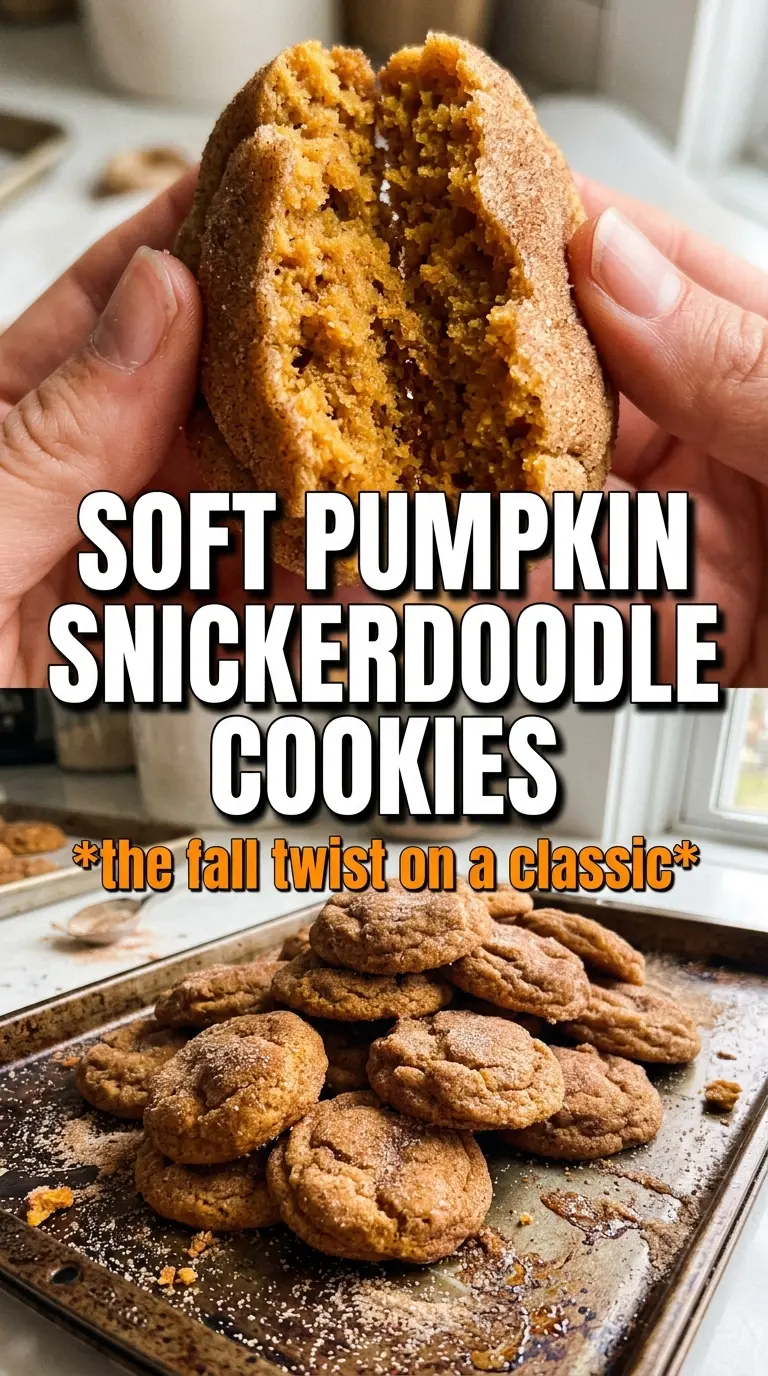
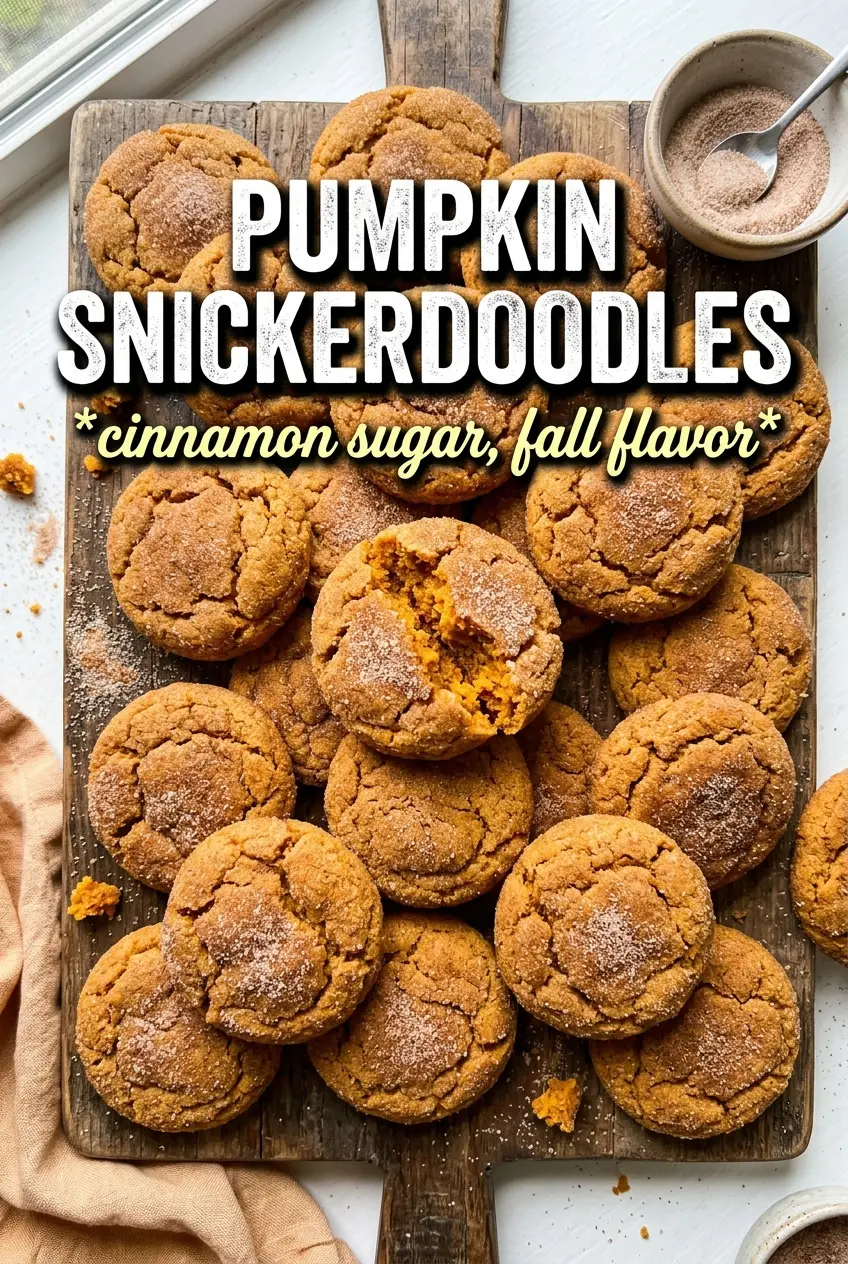
Pumpkin snickerdoodles bake up with soft, pillowy centers, crinkled cinnamon-sugar tops, and those little caramelized edges that make you reach for a second cookie before the first one is gone. They’ve got the familiar tangy snickerdoodle bite, but the pumpkin brings a warm color and a gentle fall sweetness without turning the cookies cakey.
The part that matters most is moisture control. Pumpkin puree holds a lot of water, and if it goes in straight from the can, the dough turns loose and the cookies lose that classic crinkled top. Blotting it dry first keeps the texture closer to a true snickerdoodle: tender, chewy, and just thick enough to hold their shape. Cream of tartar also earns its keep here, giving the dough that signature tang and helping the cookies spread in the right way.
Below, I’ll walk through the one step that keeps these from puffing up like little muffins, plus the small ingredient choices that make the spice coating taste warm instead of flat.
The pumpkin flavor came through without making them cakey, and the centers stayed soft for days. Blotting the puree dry was the trick I’d been missing.
Save these pumpkin snickerdoodles for the cookie tray days when you want soft centers, crinkled tops, and a cinnamon sugar coating that actually stays crisp.
The Moisture Mistake That Makes Pumpkin Snickerdoodles Puffy
Most pumpkin cookies go wrong because the dough starts too wet. That extra moisture pushes the cookies upward instead of letting them spread into those classic crinkled rounds, so you end up with something closer to a muffin top than a snickerdoodle.
Blotting the pumpkin puree is the fix, and it matters more than any fancy spice blend. Press it between paper towels until it looks noticeably drier and more concentrated; you want pumpkin flavor, not pumpkin water. The other thing that helps is not overmixing once the flour goes in. Overworked dough turns tough, and these cookies need to stay tender in the center while the edges set.
- Cream of tartar — This gives snickerdoodles their signature tang and helps create the texture people expect from the classic cookie. There isn’t a perfect substitute if you want the same flavor and lift.
- Blotted pumpkin puree — Drying it first keeps the dough firm enough to roll and helps the cookies spread instead of puff. Canned pumpkin is fine as long as you remove the excess moisture.
- Butter, beaten until fluffy — This traps air in the dough and gives the cookies a lighter center. Softened butter matters here; melted butter makes the cookies greasy and flatter.
- The spice coating — Cinnamon is the backbone, but the pumpkin pie spice adds depth so the outside tastes warm all the way through, not just sugary.
What Each Ingredient Is Doing in the Dough
- All-purpose flour — This gives the cookies enough structure to hold the pumpkin without collapsing. Spoon and level it so you don’t pack in too much and end up with dry cookies.
- Egg — It binds the dough and adds just enough richness to keep the centers soft. A second egg would make these more cakey, which is the opposite of what you want.
- Vanilla — It rounds out the spices and keeps the pumpkin from tasting one-note. Use pure vanilla if you have it; the flavor shows up clearly in a simple cookie like this.
- Nutmeg and allspice — These are small amounts, but they keep the spice flavor from reading as plain cinnamon sugar. Freshly opened spices make a bigger difference here than in a heavily frosted dessert.
Mixing, Rolling, and Baking for the Right Crinkle
Whisk the Dry Ingredients First
Whisk the flour, cream of tartar, baking soda, cinnamon, nutmeg, allspice, and salt until the spices are evenly distributed. This keeps you from getting little pockets of baking soda or spice in the finished cookies. If the dry mix looks streaky, keep whisking until it’s one even color.
Beat the Butter and Sugar Until Fluffy
Beat the butter and sugar until the mixture looks pale and airy, not just combined. That extra air helps the cookies bake up tender instead of dense. Add the egg, blotted pumpkin, and vanilla after the butter-sugar mixture is light; if the pumpkin goes in too early, it can knock the batter loose before the structure starts forming.
Roll Generously in the Spiced Sugar
Scoop the dough into 1 1/2 tablespoon portions and roll each one firmly in the cinnamon-sugar mixture. A thin coating disappears in the oven, but a generous coating creates that classic sparkly crust. If the dough feels sticky, chill it for 10 to 15 minutes before rolling so it’s easier to handle.
Bake Until the Centers Look Slightly Underdone
Bake just until the edges are set and the centers still look a little soft and crinkled. They’ll finish setting on the pan as they cool, and that’s what keeps them chewy instead of dry. If you wait until the middle looks fully baked in the oven, they’ll be overdone by the time they cool.
Three Ways to Make These Pumpkin Snickerdoodles Work for Your Kitchen
Dairy-Free Version
Swap the butter for a good plant-based butter stick, not a tub spread. You’ll lose a little of the classic buttery aroma, but the texture stays close if the replacement is firm enough to cream with the sugar.
Gluten-Free Adaptation
Use a cup-for-cup gluten-free flour blend that already includes xanthan gum. The cookies may spread a touch less and feel a little more delicate, but the cinnamon-sugar crust and soft center still work well.
Extra-Spiced Cookie Base
If you want a stronger spice finish, add another 1/4 teaspoon of cinnamon to the dough and a pinch more pumpkin pie spice to the rolling sugar. That gives the cookies a bolder finish without changing the texture.
Storage and Reheating
- Refrigerator: Store in an airtight container for up to 5 days. The sugar coating softens a little, but the cookies stay tender.
- Freezer: Freeze baked cookies for up to 2 months, or freeze dough balls after rolling in sugar and bake from frozen with 1 to 2 extra minutes.
- Reheating: Warm baked cookies in a 300F oven for 3 to 4 minutes. The common mistake is microwaving them too long, which makes the centers rubbery and melts the coating.
Questions I Get Asked About This Recipe
Pumpkin Snickerdoodles
Ingredients
Equipment
Method
- Preheat the oven to 375F and line baking sheets with parchment or silicone mats.
- Set the sheets aside while you prep the remaining ingredients.
- Blot the pumpkin puree thoroughly on paper towels until very dry, pressing firmly to remove excess moisture.
- Keep blotting until the puree looks less wet on the towels—this supports crinkled tops.
- Whisk together all-purpose flour, cream of tartar, baking soda, cinnamon, nutmeg, allspice, and salt until evenly combined.
- Beat the softened unsalted butter and granulated sugar until very fluffy.
- Add the egg, then mix in the blotted pumpkin puree and vanilla extract until smooth.
- Fold in the flour mixture just until no dry streaks remain.
- Mix the rolling spices in a shallow bowl: sugar, cinnamon, and pumpkin pie spice.
- Scoop 1-1/2 tablespoon dough balls and roll generously in the cinnamon spice sugar to coat.
- Bake at 375F for 10-12 minutes, until cookies look crinkled and the edges are set while centers remain soft.
- Let the cookies cool on the baking sheet briefly before transferring to a rack.