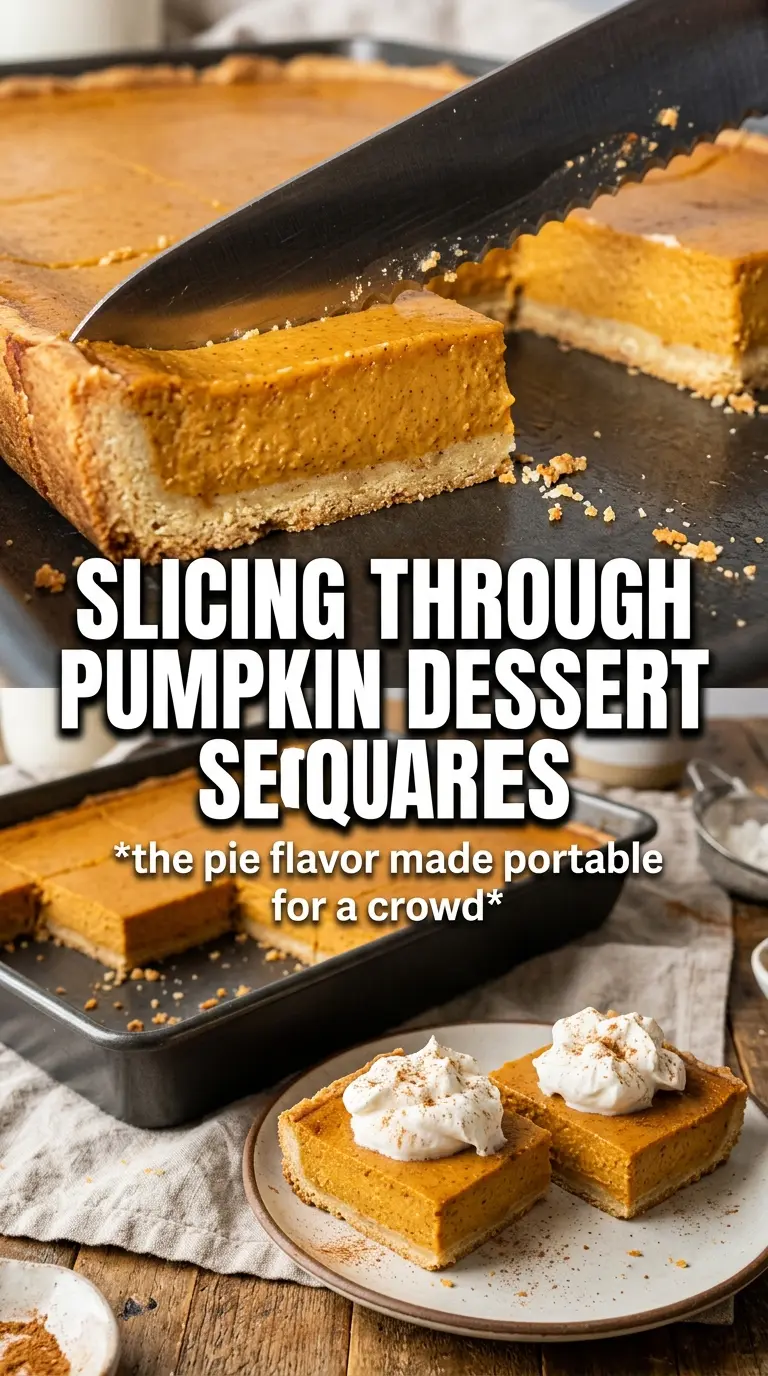
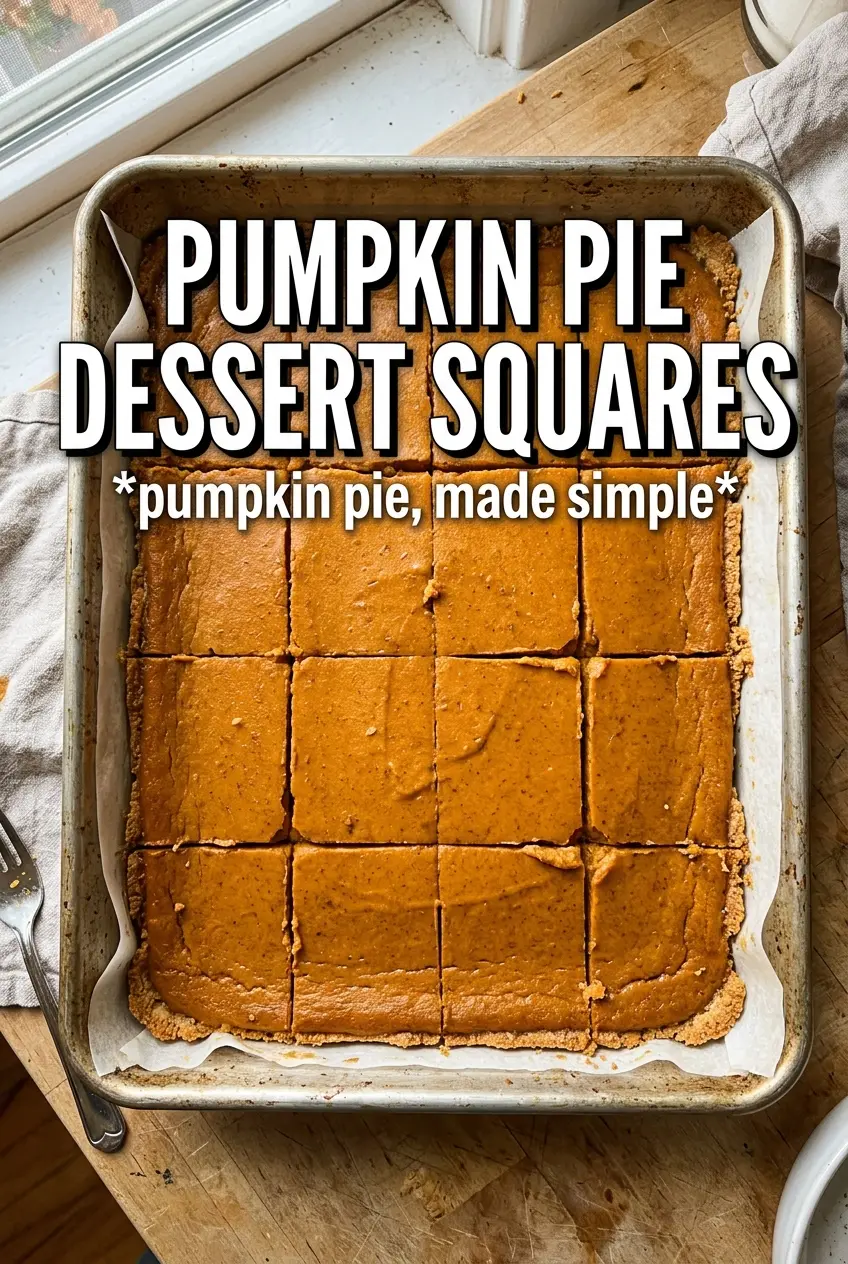
Pumpkin pie dessert squares hit that sweet spot between a classic pie and an easy potluck bar. The crust bakes up soft but sturdy enough to hold the custard, the pumpkin layer sets into a silky slice, and the cinnamon crumble on top gives each square a little extra texture without turning it into a fussy dessert. They cut cleanly once cooled, which is half the battle with pumpkin desserts, and they disappear fast when you bring them to a gathering.
The trick is baking the cake-mix crust just long enough to keep it from going soggy under the filling. The pumpkin layer uses evaporated milk for a smoother, richer set than regular milk, and the crumble goes on before the second bake so it toasts right into the surface instead of sitting loose on top. Let the pan cool all the way before cutting; that’s what gives you neat squares instead of a soft, messy middle.
Below, I’ll walk you through the one step people usually rush, plus the small ingredient swaps that still keep these squares tasting like pumpkin pie, just easier to serve.
The crust stayed tender but held together, and the pumpkin layer set perfectly after cooling. I loved that the crumble baked into the top instead of just falling off when I cut the squares.
Like these pumpkin pie dessert squares? Save them to Pinterest for a make-ahead dessert with a buttery crust and silky pumpkin custard.
The Reason the Crust Gets Prebaked Before the Filling Goes In
The biggest mistake with pumpkin bars like these is pouring the custard over an unbaked crust and hoping it all finishes together. The bottom layer needs that 10-minute head start so it sets up enough to support the filling instead of turning pasty under the weight of the pumpkin mixture. You’re not trying to brown it deeply. You’re giving it structure.
The other thing that matters is temperature contrast. The crust should be warm when the filling goes on, not scorching hot, or the eggs in the custard can start tightening at the edges before the center even gets a chance to bake evenly. That’s when you end up with a rubbery rim and a loose middle. Warm pan, even layer, steady bake. That’s the whole game here.
What Each Ingredient Is Actually Doing in This Pan
- Yellow cake mix — This does double duty as the crust and part of the crumble, which is why these squares come together fast. A basic store-brand mix works fine here because you’re adding butter and egg for flavor and structure.
- Pumpkin puree — Use plain pumpkin puree, not pumpkin pie filling. The pie filling already has sugar and spices mixed in, which throws off the balance and can make the custard too sweet.
- Evaporated milk — This is what gives the filling that smooth, pie-like texture. Regular milk won’t set as richly, and cream makes the filling heavier than it needs to be.
- Pumpkin pie spice, cinnamon, and ginger — The spice blend brings warmth, while the extra cinnamon and ginger keep the filling from tasting flat. Fresh spices matter more here than in a lot of baked desserts because the pumpkin itself is mild.
- Butter — Melted butter binds the crust, while cold butter in the crumble gives you those little toasty bits on top. If the crumble turns pasty, the butter was too warm or overmixed.
Building the Layers So the Squares Cut Cleanly
Pressing the Base
Mix the cake mix with the melted butter and egg until it looks like a thick dough, then press it firmly into the greased 9×13 pan. Use your fingers or the bottom of a measuring cup to get an even layer all the way to the corners. If the base is patchy, the filling will seep through and the squares won’t lift cleanly. Bake it just until set, not browned to a hard shell.
Whisking the Custard
Whisk the pumpkin, eggs, sugar, evaporated milk, and spices until the mixture looks smooth and fully blended. You want the sugar dissolved and the spices evenly distributed, with no streaks of egg white hiding in the bowl. If you rush this step, the filling can bake with tiny eggy bits or uneven pockets of spice. Pour it over the warm crust gently so you don’t break the base.
Making the Crumble
Combine the reserved cake mix, sugar, cinnamon, and cold butter until the mixture looks sandy with some pea-size clumps. Those clumps are what give you texture after baking, so stop mixing once it holds together loosely. If the butter softens too much, the topping melts into the filling instead of staying crumbly. Scatter it evenly over the pumpkin layer.
Waiting for the Set
Bake until the topping is golden and the center no longer sloshes when you nudge the pan. A slight wobble in the middle is fine; a liquid-looking center means the bars need more time. Pull them out and cool completely before cutting, because the filling firms up as it cools. If you slice while warm, the layers will smear and the bottom crust can tear.
How to Adapt These Squares for Different Tables
Dairy-Free Version
Use a dairy-free yellow cake mix if yours contains milk ingredients, swap the butter for a firm plant-based baking stick, and replace the evaporated milk with a full-fat canned coconut milk or dairy-free evaporated milk. The texture stays creamy, but coconut milk adds a faint coconut note that pairs well with pumpkin.
Gluten-Free Swap
A gluten-free yellow cake mix works here as long as it’s the same size and not an extra-dry blend. The finished crust will be a little more delicate, so let the squares cool fully before lifting them from the pan. That cooling time matters even more with gluten-free baking because the structure finishes setting as it rests.
Extra-Spiced Version
If you like a bolder pumpkin pie flavor, add an extra 1/2 teaspoon cinnamon or a small pinch of cloves to the filling. Keep the cloves light or they’ll take over and make the bars taste dark instead of balanced. This version is especially good with whipped cream on top.
Storage and Reheating
- Refrigerator: Store covered for up to 4 days. The crust softens a little, but the filling stays smooth and sliceable.
- Freezer: These freeze well. Cut into squares, wrap tightly, and freeze for up to 2 months. Thaw overnight in the refrigerator for the cleanest texture.
- Reheating: Serve chilled or let the squares sit at room temperature for 20 to 30 minutes. If you warm them, do it briefly and gently, because too much heat makes the custard loose and the crumble loses its texture.
Answers to the Questions Worth Asking
Pumpkin Pie Dessert Squares
Ingredients
Equipment
Method
- Preheat the oven to 350F and grease a 9x13 pan. Keep the pan ready for a warm press-in crust.
- Combine the reserved cake mix (remaining) with melted unsalted butter and the egg, then press the mixture into the pan. Press firmly for an even, compact base.
- Bake the crust for 10 minutes. Look for the edges to set slightly while the center stays lightly pale.
- Whisk pumpkin puree, eggs, granulated sugar, evaporated milk, pumpkin pie spice, cinnamon, ginger, and salt until smooth. Stir until no spice clumps remain.
- Pour the filling over the warm crust. Pour gently so the crust holds its shape.
- Combine the reserved 1 cup cake mix, sugar, cold unsalted butter, and cinnamon until crumbly, then scatter the crumbs over the filling. Cover evenly for a uniform golden top.
- Bake for 40-45 minutes at 350F until the topping is golden and the filling is set. The center should no longer jiggle when the pan is tapped.
- Cool completely before cutting into squares. This helps the custard set cleanly for neat pieces.
- Serve squares with whipped cream and a light sprinkle of cinnamon. Add right before serving for the best contrast of creamy and spiced.