Pumpkin pie cheesecake bars give you the best part of two desserts in one pan: a crisp, buttery gingersnap base, a creamy cheesecake layer, and that unmistakable pumpkin spice finish in every bite. The bars slice cleanly once chilled, and the swirled filling looks a lot fancier than the effort required to make it. That’s the kind of dessert I keep around for company, but it’s just as good when you want something a little more special after dinner.
The gingersnap crust is doing more work here than a plain graham crust would. It brings spice, extra crunch, and enough structure to stand up to the dense filling without turning soggy. The cheesecake layer stays smooth because the cream cheese gets beaten until it’s fully lump-free before the eggs go in, and the pumpkin goes into only half the batter so you get both classic cheesecake and pumpkin pie flavor in the same square.
Below, I’ve included the small details that keep the bars from cracking, a few smart swaps, and the storage notes that matter once they’ve had time to chill.
The swirls baked up beautifully and the bars held their shape after chilling overnight. The gingersnap crust stayed crisp under the cheesecake layer, which is usually where these desserts go soft for me.
Like this dessert? Save these pumpkin pie cheesecake bars for the next time you want a creamy cheesecake square with a spiced gingersnap crust.
The Trick to Keeping the Swirl Distinct Instead of Muddy
The biggest mistake with bars like this is overmixing after the pumpkin goes in. Once the batter is split, the pumpkin half needs just enough stirring to turn it even. If you keep beating it, the swirl disappears and the filling bakes into one uniform tan layer instead of the clean marbled look that makes these bars stand out.
Temperature matters too. Softened cream cheese beats smooth; cold cream cheese leaves little lumps that never fully disappear. The other place people run into trouble is the bake itself. Pull the pan when the center still has a slight wobble. It finishes setting as it cools, and that carryover is what keeps the bars creamy instead of dry and chalky.
What Each Ingredient Is Actually Doing in These Bars
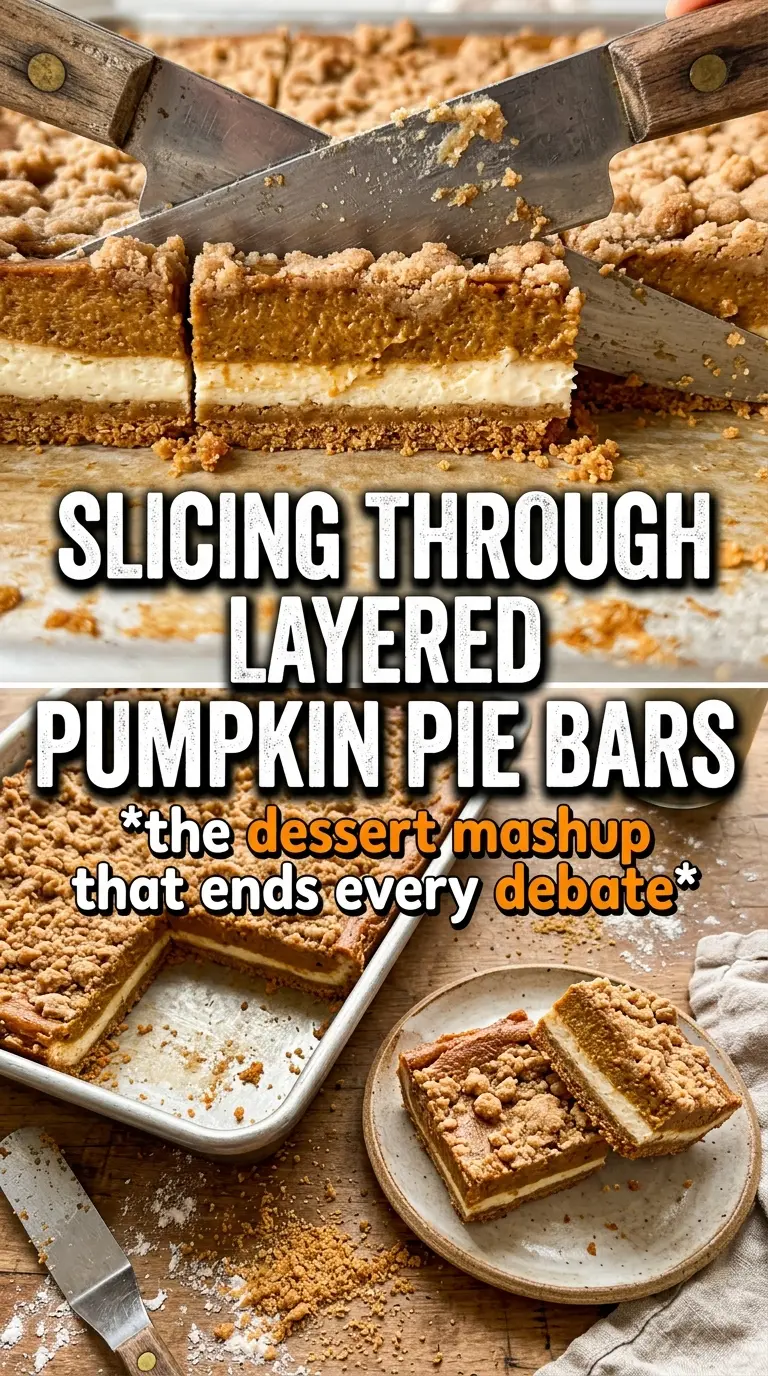
- Gingersnap crumbs — These give the crust its snap and spice. Graham crackers work in a pinch, but they taste milder and the crust loses that warm edge that plays so well with the pumpkin.
- Cream cheese — This is the backbone of the filling, and full-fat cream cheese gives the cleanest texture. Low-fat cream cheese can work, but the bars will be softer and a little less rich.
- Sour cream — It loosens the filling just enough and adds a subtle tang that keeps the bars from tasting flat. Plain Greek yogurt can stand in if that’s what you have, though the texture will be slightly firmer and the tang a bit sharper.
- Pumpkin puree — Use pure pumpkin, not pumpkin pie filling. Pie filling already has sugar and spices built in, which throws off both the flavor and the texture here.
- Brown sugar and pumpkin pie spice — The brown sugar deepens the filling and gives it a caramel note, while the spice blend rounds out the pumpkin without making it taste like potpourri. The cinnamon in the pumpkin half adds a little extra warmth and helps the swirl read clearly in the finished bars.
Building the Pan so the Bars Bake Cleanly
Pressing and Prebaking the Crust
Mix the gingersnap crumbs, sugar, and melted butter until the crumbs look evenly damp, then press them firmly into a lined 9×13 pan. Use the bottom of a measuring cup to pack the corners and edges tight, or the crust will crumble when you cut the bars. The short prebake matters because it sets the crust before the filling goes on and keeps the base from tasting raw under the cheesecake.
Making the Cheesecake Base Smooth
Beat the cream cheese with both sugars until it looks glossy and no lumps remain. Add the eggs one at a time so the mixture stays smooth instead of turning heavy and grainy. Once the sour cream and vanilla go in, stop as soon as the batter is combined. Extra mixing here adds air, and too much air is what leads to puffing and cracks later.
Creating the Pumpkin Swirl
Divide the batter in half, then stir the pumpkin puree, pumpkin pie spice, and cinnamon into one portion only. You want the pumpkin batter to look even, but you don’t need to keep stirring once it is. Alternate spoonfuls of the two batters over the crust, then drag a knife through the top in broad figure-eight motions. A few passes are enough; if you swirl too much, the pattern disappears and the two fillings blend together.
Baking Until Just Set
Bake at 325°F until the edges look set and the center has a slight jiggle when you tap the pan. The filling should not look wet, but it should still move a little in the middle. If the whole surface is firm in the oven, it’s already overbaked. Cool the pan at room temperature first, then chill it for at least 4 hours so the bars slice neatly and the texture firms up all the way through.
Dairy-Free Version with a Different Finish
Use a dairy-free cream cheese and plant-based butter for the crust. The filling will still set, but it won’t taste quite as tangy or rich as the original, so a tiny extra pinch of salt helps bring the flavor back into focus. The texture is a little softer, so chill it well before slicing.
Gluten-Free Crust Swap
Use certified gluten-free gingersnap cookies and crush them the same way. The rest of the recipe stays unchanged. You’ll still get the same spiced crunch, which is the part that matters most here.
Making Them Ahead for a Crowd
These bars are better after an overnight chill, so they’re built for making ahead. Bake them the day before, cover once fully cold, and cut just before serving. The slices come out cleaner and the pumpkin layer tastes more settled after the flavors have had time to meld.
Storage and Reheating
- Refrigerator: Store covered for up to 5 days. The crust softens a little over time, but the bars still slice well.
- Freezer: These freeze well. Wrap individual bars tightly and freeze for up to 2 months, then thaw overnight in the refrigerator.
- Reheating: No reheating needed. Serve chilled or let the bars sit at room temperature for 10 to 15 minutes if you want the filling a little softer. Don’t microwave them, or the cheesecake layer can turn loose and the crust gets greasy.
Answers to the Questions Worth Asking
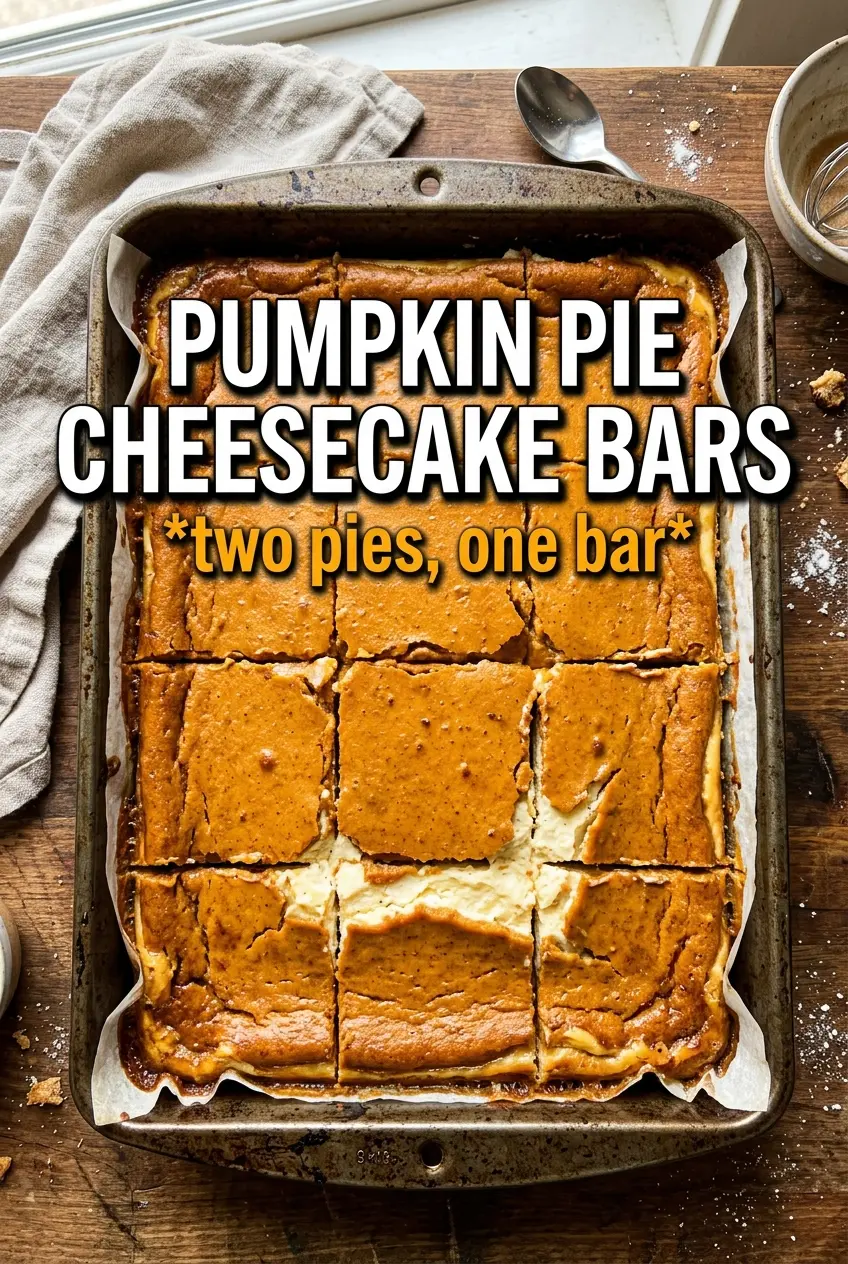
Pumpkin Pie Cheesecake Bars
Ingredients
Equipment
Method
- Preheat the oven to 325°F, then line a 9x13 pan and press the gingersnap crumbs mixture into an even layer. Bake for 10 minutes, then cool while you make the filling.
- Beat the cream cheese with the granulated sugar and brown sugar until smooth. Add the eggs one at a time, beating after each addition.
- Stir in the sour cream and vanilla, then divide the batter in half. Keep one half plain and reserve the other half for the pumpkin mixture.
- Stir the pumpkin puree, pumpkin pie spice, and cinnamon into the reserved batter half until evenly combined. You should have a spiced pumpkin cheesecake batter with a consistent color.
- Alternately pour the plain and pumpkin batters over the crust in a few spoonfuls, then swirl the two with a knife. Aim for visible ribbons without fully blending the batters.
- Bake at 325°F for 40-45 minutes, until the center is just set. Cool at room temperature, then refrigerate for 4 hours to firm up for slicing.
- Cut into bars and top each serving with whipped cream.