Golden oat crumble, a smooth pumpkin center, and a cool drizzle of icing make these pumpkin crumble bars the kind of dessert people keep cutting “just one more square” from until the pan is gone. The base bakes up sturdy enough to hold the filling, but it still crumbles cleanly when you bite into it, and that contrast is what makes these bars better than a plain pumpkin square.
The trick is giving the bottom crust a head start in the oven before the filling goes on. That short bake sets the butter and keeps the bars from turning soggy under the pumpkin layer. Cold butter matters here, too, because it creates those little pockets that bake into a crisp, nubby topping instead of a dense sheet.
Below, I’m walking through the part that keeps the filling smooth, plus a few swaps that help if you need to work with what’s already in the pantry. The icing is optional in theory, but in practice it ties everything together with just enough sweetness and spice.
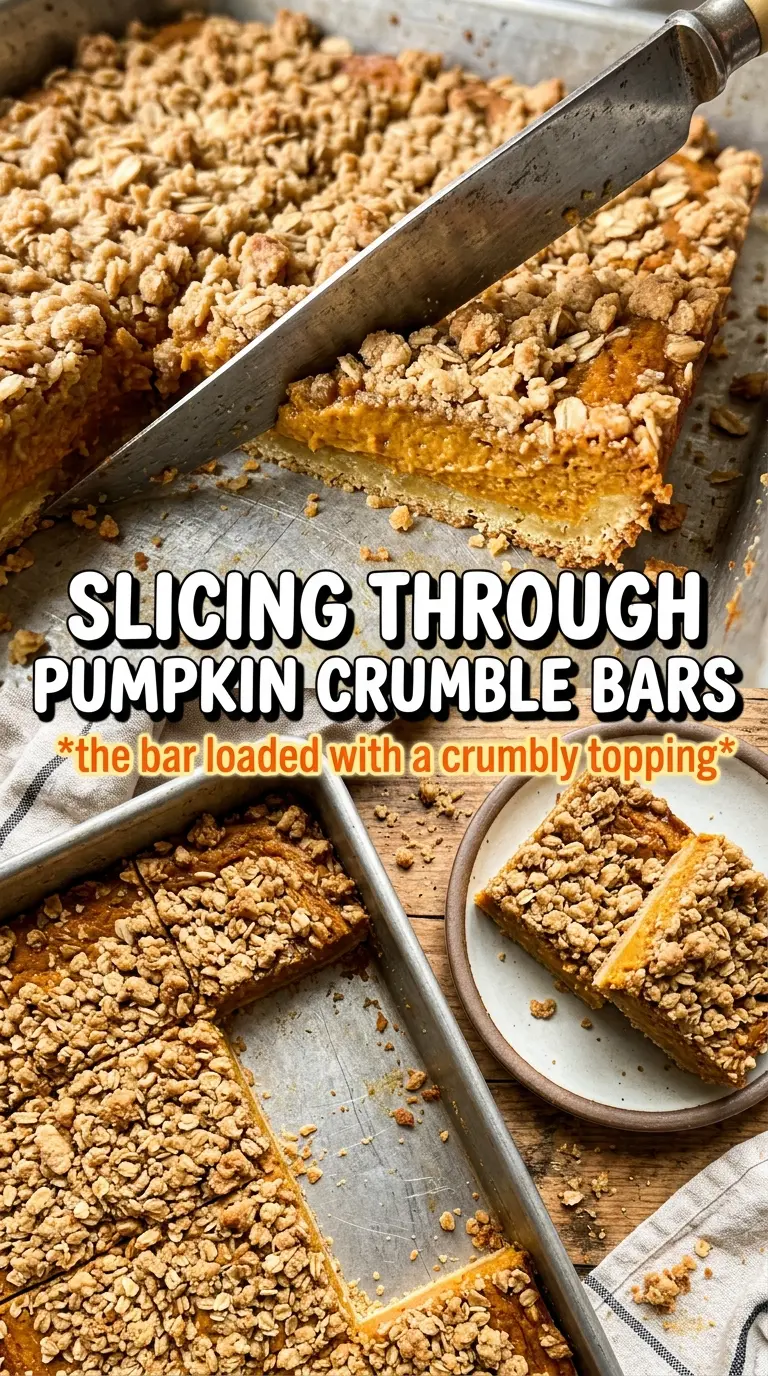
The crust stayed crisp under the pumpkin layer and the crumble on top baked into the perfect sandy texture. I chilled them overnight and the slices were clean and neat the next day.
Save these pumpkin crumble bars for the first dessert pan that needs a crisp oat topping and a smooth pumpkin layer.
The Crumble Needs a Head Start, or the Bottom Goes Soft
The biggest mistake with layered bar desserts is treating the crust like a single cookie dough and baking everything at once. Here, the bottom third of the crumble gets pressed firmly into the pan and baked first, which gives the butter time to set and the flour time to dry out just enough to stand up to the filling. If you skip that short bake, the pumpkin layer sinks into the base and the bars cut up heavy instead of clean.
The filling also works because it’s poured over a hot crust. That warmth starts the edges setting right away, which helps the center cook evenly without letting the bottom stay damp. When the bars come out, the top should be golden and the middle should still have the slightest wobble, not a liquid slosh.
What Each Ingredient Is Actually Doing in These Pumpkin Crumble Bars
- Rolled oats — These give the crumble its open, nubby texture. Quick oats turn softer and more dusty, so stick with rolled oats if you want those distinct toasty bits on top.
- All-purpose flour — This binds the crumble so it presses into a real base and still breaks into chunks after baking. Whole wheat flour can work in part, but the bars will taste heavier and a little drier.
- Brown sugar — It brings moisture and a deeper caramel note that plays well with pumpkin. White sugar works in a pinch, but the crumble loses some of that warm, almost cookie-like flavor.
- Cold unsalted butter — This is what makes the topping crumbly instead of pasty. Cube it cold and cut it in until the mixture looks like damp sand with some pea-size pieces left; that’s what bakes into texture.
- Pumpkin puree — Use plain pumpkin puree, not pumpkin pie filling. Pie filling already has sugar and spices mixed in, and it throws off both the sweetness and the set.
- Sweetened condensed milk — This is the ingredient that gives the filling its smooth, custardy body without needing cream cheese or extra starch. There isn’t a true substitute that behaves exactly the same way, so keep it if you want the bars to slice neatly.
- Pumpkin pie spice, cinnamon, and ginger — This combination gives the filling warmth without making it taste harsh or overdone. If your spice jar has been open forever, use a little more; stale spice disappears into the pumpkin fast.
- Eggs — They help the filling set into a soft custard. Whisk them until the mixture is completely smooth so you don’t end up with streaks or bits of cooked egg.
Press, Bake, Pour, and Let Them Set Up on the Counter
Making the Crumble
Start by stirring the oats, flour, brown sugar, cinnamon, and salt together, then cut in the cold butter until the mixture clumps when you squeeze it but still falls apart easily. If the butter softens too much, the crumble turns greasy and bakes up flat. The texture you want looks uneven on purpose, with some finer crumbs and some larger buttery bits.
Setting the Bottom Crust
Press about two-thirds of the crumble into a parchment-lined 9×13 pan and pack it firmly with the bottom of a measuring cup or your hand. The goal is an even layer that holds together without feeling dense like a cake base. Bake it for 10 minutes until it looks set and a little matte on top, not browned hard at the edges.
Building the Pumpkin Layer
Whisk the pumpkin puree, sweetened condensed milk, eggs, spices, salt, and vanilla until the mixture is smooth and glossy. Pour it over the hot crust right away so it settles evenly. If you see lumps now, they’ll stay in the finished bars, so whisk until the eggs disappear completely.
Finishing with the Crumble Top
Scatter the remaining crumble over the filling instead of pressing it down. That loose layer bakes into craggy golden bits while the filling sets underneath. Bake until the top is golden and the center only gives a small jiggle when you move the pan; if the middle still sloshes, it needs a few more minutes.
The Cool-Down That Makes Clean Slices
Let the bars cool completely before adding the icing. Cutting too early makes the filling smear and the crust crumble into pieces instead of squares. If you want the cleanest edges, chill the pan for an hour after it cools to room temperature, then drizzle and slice with a sharp knife wiped clean between cuts.
How to Adapt These Pumpkin Crumble Bars Without Losing the Good Texture
Make Them Gluten-Free
Swap the all-purpose flour for a good 1:1 gluten-free baking blend. The bars will still hold together, but the topping may feel a touch more delicate, so let them cool fully before moving them from the pan.
Dairy-Free Version
Use a plant-based butter that’s made for baking, and replace the drizzle with a simple powdered sugar glaze made with unsweetened non-dairy milk. The filling is harder to mimic without the condensed milk, so this swap works best if you’re okay with a slightly less custardy center.
Extra-Spiced Pumpkin Bars
Add another 1/2 teaspoon cinnamon or a pinch of cloves to the filling if you like a stronger spice note. Keep the balance gentle, though, because too much spice can blur the pumpkin flavor and make the filling taste dusty.
Storage and Reheating
- Refrigerator: Store covered for up to 5 days. The bars firm up in the fridge, which actually makes the slices neater.
- Freezer: They freeze well. Cut into bars, wrap individually, and freeze in a sealed container for up to 2 months; thaw in the refrigerator so the topping doesn’t go soggy.
- Reheating: These are best served cold or at room temperature, so there’s no real reheating needed. If you want the topping slightly softer, let a chilled bar sit out for 15 to 20 minutes before serving.
Questions I Get Asked About This Recipe
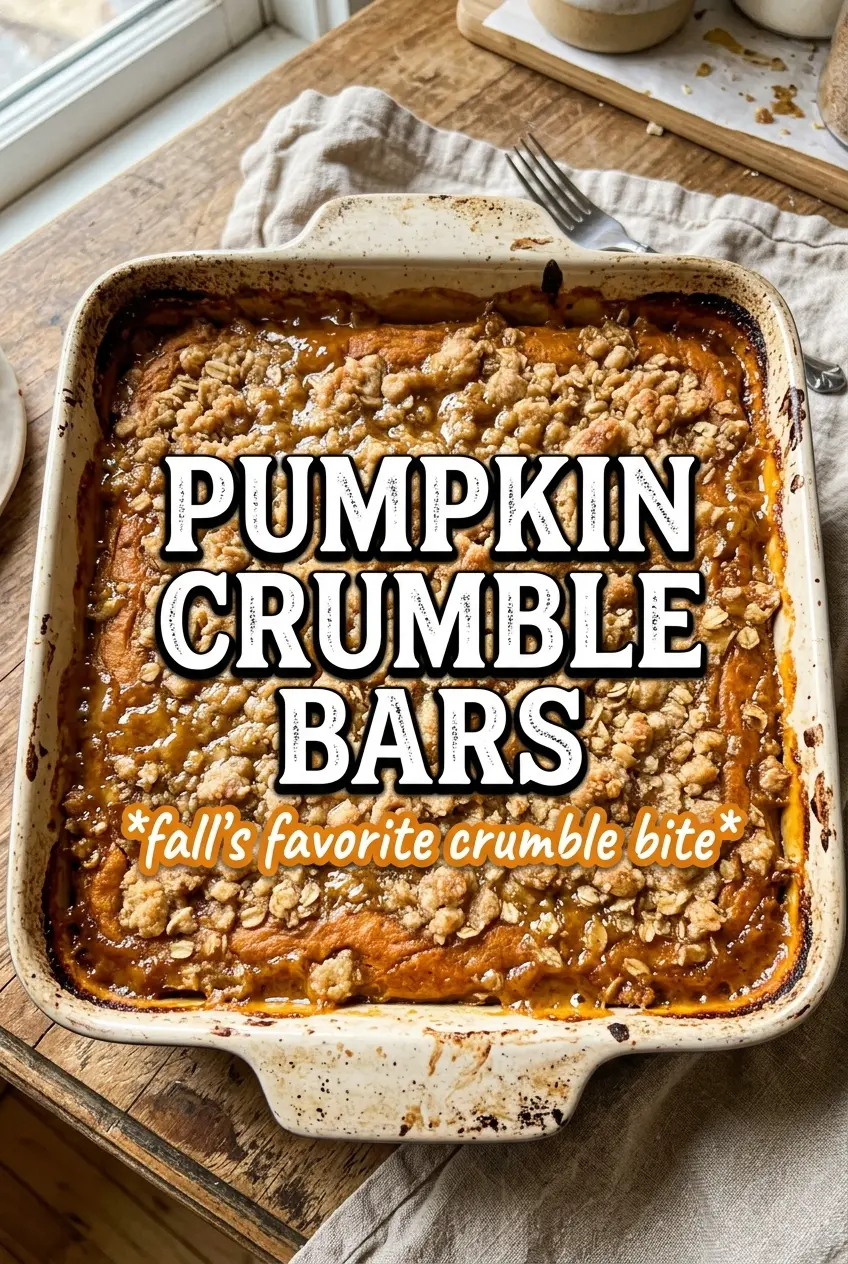
Pumpkin Crumble Bars
Ingredients
Equipment
Method
- Preheat oven to 350F and line a 9x13 pan with parchment, leaving overhang for easy lifting; set aside.
- In a bowl, combine rolled oats, all-purpose flour, brown sugar, cinnamon, and salt, then add cold cubed butter and work until the mixture forms crumbly clumps.
- Press 2/3 of the crumble mixture firmly into the prepared pan, using the back of a measuring cup for even coverage.
- Bake the crust for 10 minutes at 350F, until it looks lightly set.
- Whisk pumpkin puree, sweetened condensed milk, eggs, pumpkin pie spice, cinnamon, ginger, salt, and vanilla until smooth and glossy.
- Pour the filling over the hot crust, spreading to the edges.
- Scatter the remaining crumble over the filling, covering as evenly as possible without pressing.
- Bake for 28-30 minutes at 350F until the top is golden and the filling is just set in the center.
- Cool completely before slicing, then drizzle with icing made from powdered sugar, milk, and cinnamon.