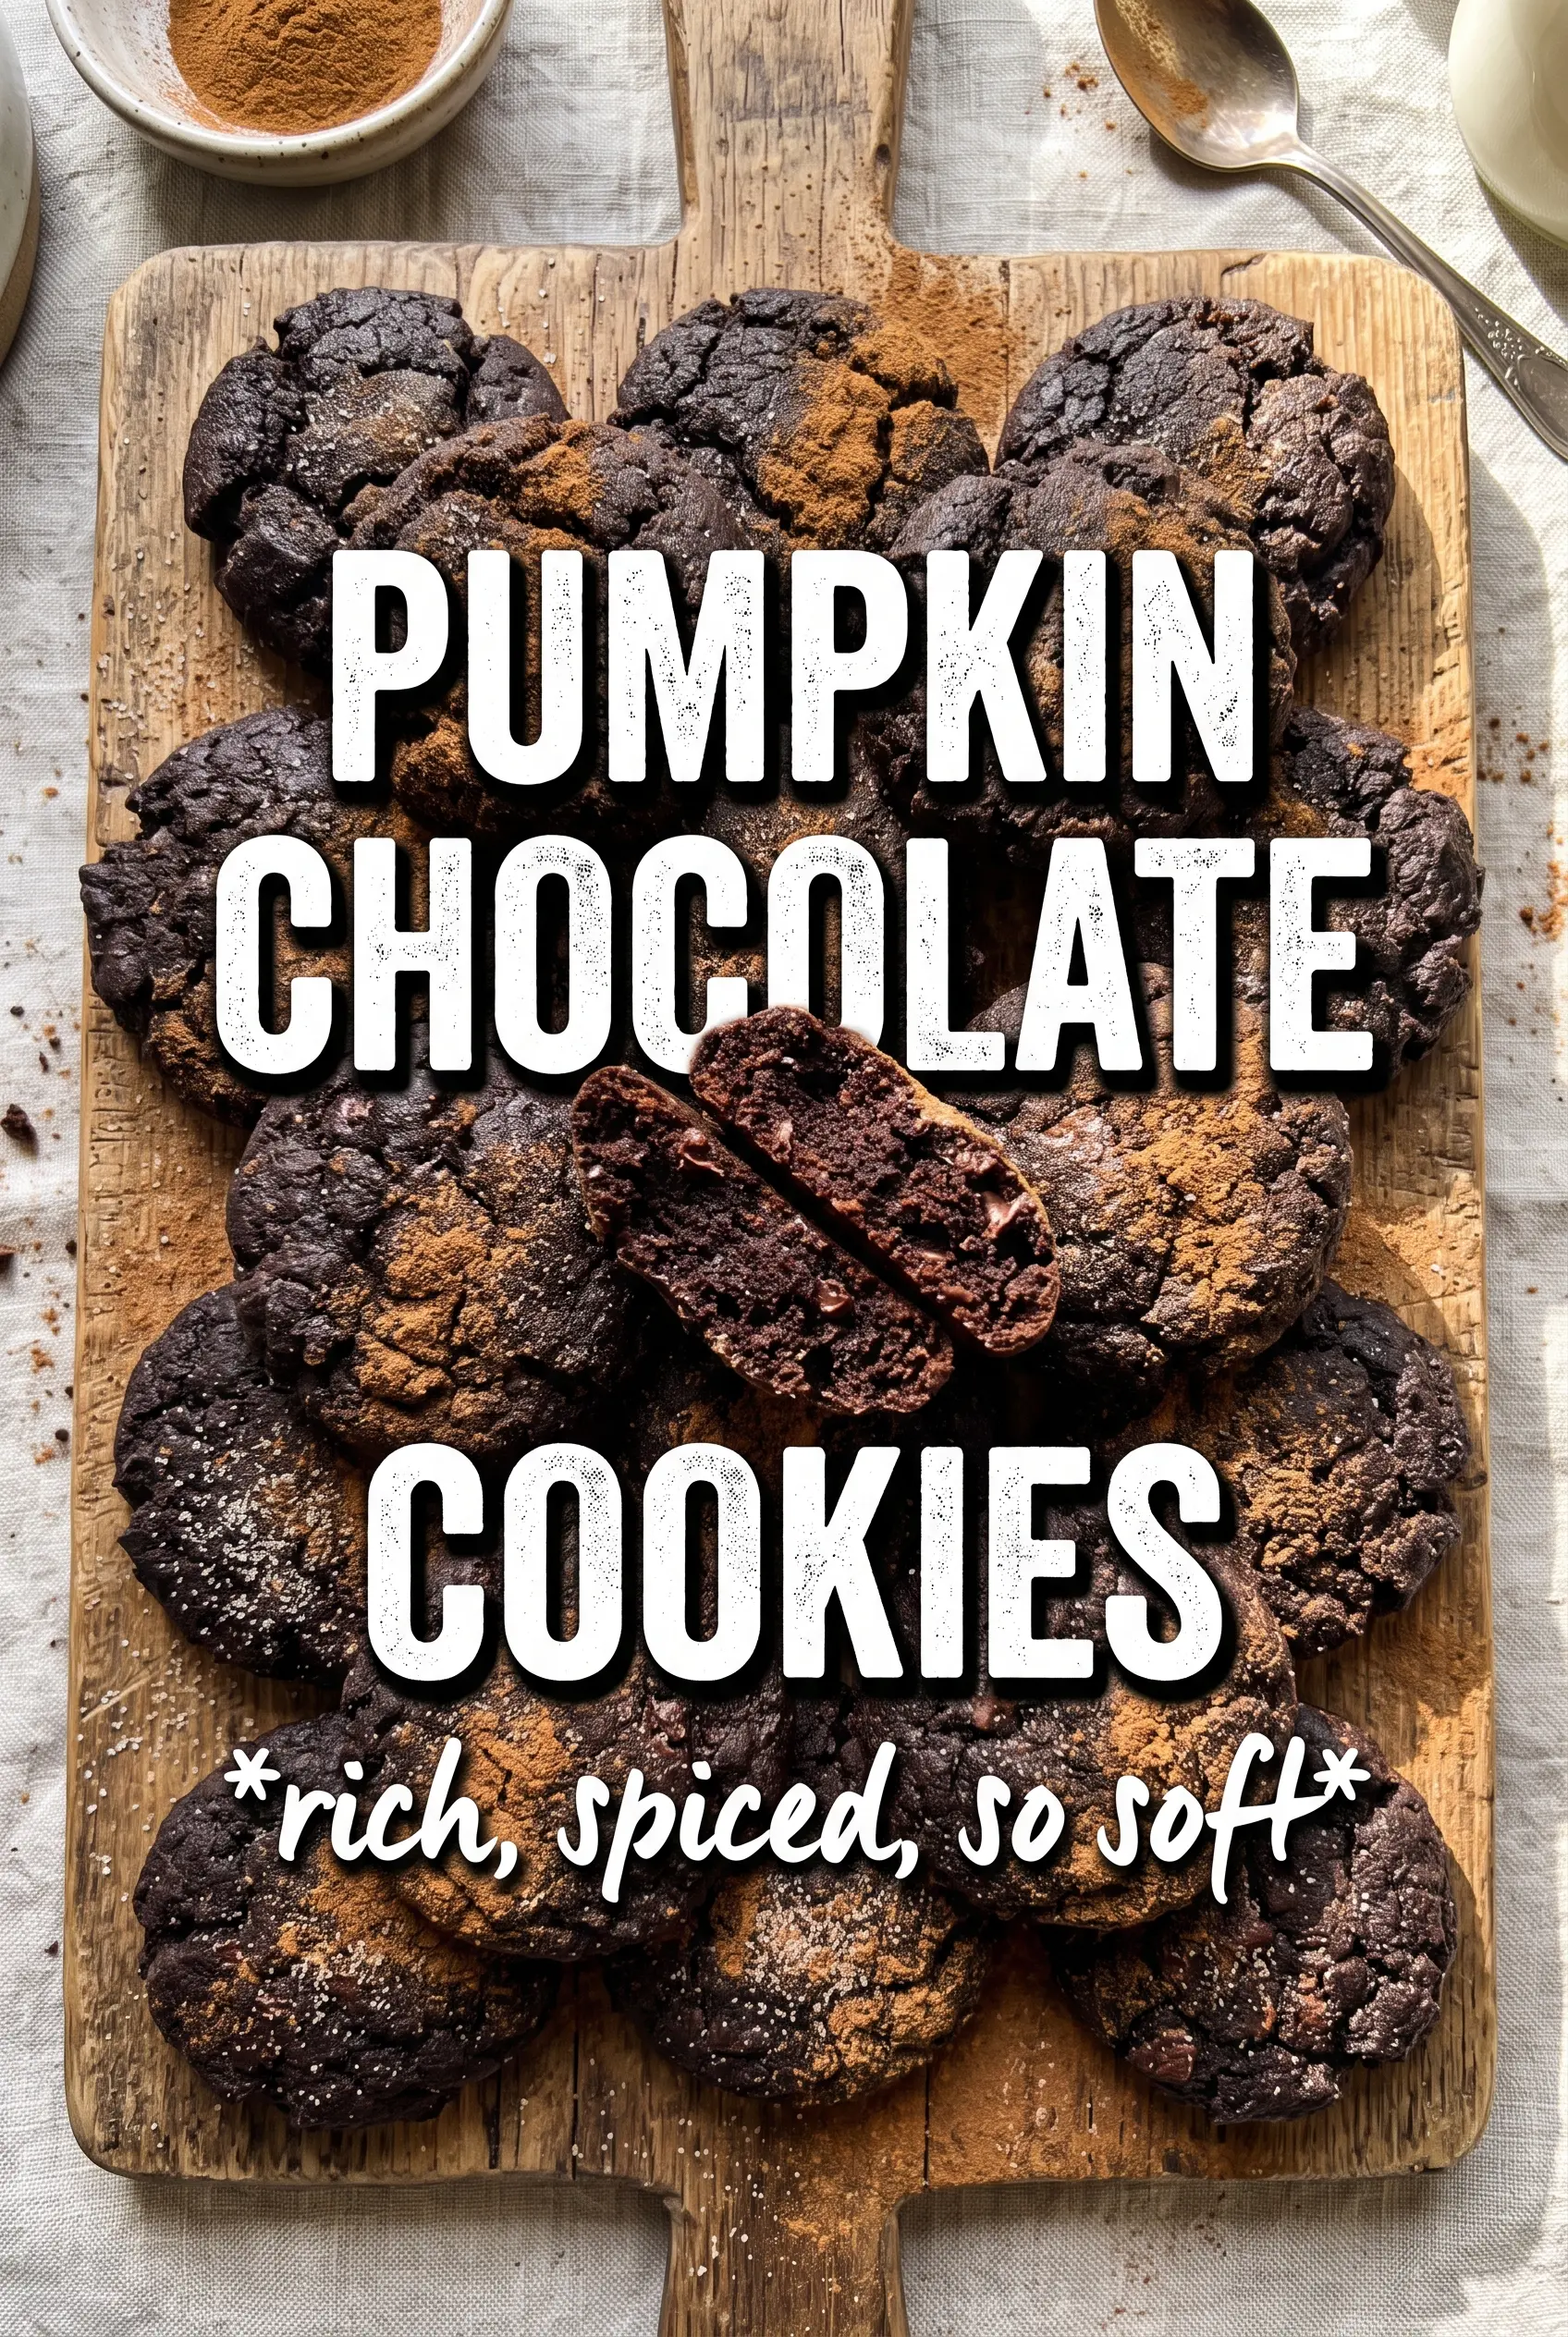
Pumpkin chocolate cookies bake up soft in the center with set edges, deep cocoa flavor, and little pockets of melted chocolate in every bite. The pumpkin doesn’t turn them cakey here. When it’s handled the right way, it adds a subtle earthy sweetness and keeps the cookies tender without stealing the chewy, brownie-like texture that makes them hard to stop eating.
The trick is simple: blot the pumpkin dry before it ever hits the bowl, then keep the dough from getting overloaded with flour or spices. Cocoa powder and brown sugar do most of the heavy lifting, while the pumpkin pie spice and cinnamon stay in the background and round out the chocolate instead of fighting it. A finish of flaky salt wakes up the whole cookie and keeps the sweetness in check.
Below, I’ve included the little details that matter most, from why the pumpkin has to be dried first to how to keep the cookies soft for days. If you’ve ever had pumpkin cookies turn puffy or bland, this version fixes both problems.
The pumpkin stayed in the background instead of making the cookies cakey, and the centers came out fudgy with those crisp edges you want. I sprinkled the flaky salt on right away and it made the chocolate taste even richer.
Love these fudgy pumpkin chocolate cookies? Save this recipe for when you want chewy centers, crinkled edges, and that last-minute flaky salt finish.
The Pumpkin Mistake That Makes Chocolate Cookies Puffy Instead of Fudgy
The biggest trap with pumpkin cookies is treating pumpkin puree like a wet ingredient that can go in straight from the can. Pumpkin holds a lot of water, and that extra moisture pushes cookies toward cake-like and bready instead of dense and chewy. Blotting it dry first changes the whole texture. It concentrates the pumpkin flavor and keeps the dough from loosening too much once the eggs go in.
Chocolate dough can handle a little more structure than a plain cookie dough, but it still needs balance. Here, the cocoa powder and flour give the cookies enough backbone to set at the edges while the softened butter and brown sugar keep the centers soft. The short bake time matters too. Pull them when the centers still look a touch underdone. They finish setting on the sheet without drying out.
What Each Ingredient Is Actually Doing in These Cookies

- Pumpkin puree — Use plain pumpkin puree, not pumpkin pie filling. The puree adds moisture and a faint earthiness, but only if you blot it dry first. If it’s too wet, the dough spreads oddly and loses that chewy center.
- Cocoa powder — This gives the cookies their deep chocolate base and helps offset the pumpkin. Natural cocoa works here, and you don’t need a premium brand, but a fresh one tastes fuller and less dusty.
- Brown sugar — Brown sugar keeps the cookies soft and adds the caramel note that pairs with pumpkin spice. White sugar alone would make them flatter and less chewy.
- Butter — Softened butter creams with the sugars and helps build a tender, slightly crisp edge. If it’s melted, the dough will spread too much before the cookies set.
- Dark chocolate chips — Dark chocolate keeps the cookies from tasting too sweet. Semi-sweet works too, but very sweet chips can blur the cocoa flavor.
- Flaky sea salt — This is not garnish for show. A few flakes on top right after baking sharpen the chocolate and keep each bite from tasting flat.
Building the Dough Without Losing the Fudgy Center
Blotting the Pumpkin First
Spread the pumpkin puree on a paper towel or clean kitchen towel and press out the excess moisture before you measure it for the dough. You want it thick, almost paste-like, not glossy and wet. If you skip this, the cookies lean cakey and the dough can feel loose before it even hits the oven. A few extra seconds here is the difference between chewy cookies and muffin-like ones.
Creaming for Structure
Beat the softened butter with both sugars until the mixture looks fluffy and a little lighter in color. That step traps air and gives the cookies enough lift to bake with crinkled edges instead of turning dense. Add the pumpkin, eggs, and vanilla after the butter mixture is ready, then mix just until combined. If the dough looks slightly broken at this point, it usually comes together once the dry ingredients go in.
Folding the Dry Ingredients Gently
Stir the flour, cocoa, baking soda, spice, cinnamon, and salt in just until the streaks disappear. Overmixing at this stage tightens the dough and can make the cookies tough. Fold in the chocolate chips last so they stay whole and don’t stain the dough completely brown. The finished dough should be thick enough to scoop cleanly, not runny like brownie batter.
Baking Until the Edges Set
Scoop 1 1/2 tablespoon rounds onto lined baking sheets and bake just until the edges look set and the tops have lost their raw sheen. The centers should still look soft when you pull them out. That’s what keeps them fudgy after cooling. Sprinkle the flaky salt immediately so it sticks while the surface is still warm.
How to Adapt These Cookies for Different Kitchens and Cravings
Gluten-Free Version
Swap in a good 1:1 gluten-free flour blend that includes xanthan gum. The cookies will still be soft and chocolatey, but they may spread a little less and bake up with a slightly more delicate center. Don’t use almond flour here; it changes the structure too much for this style of cookie.
Dairy-Free Swap
Use a plant-based butter stick, not a tub spread, so the dough holds its shape the same way. You’ll lose a little of the rich butter flavor, but the cookies still bake up soft with crisp edges. Keep the chill time and baking time the same.
Extra-Chocolate Version
Replace half the chocolate chips with chopped dark chocolate. The chopped pieces melt into puddles and give you those glossy pockets that make each cookie taste richer. Chips keep their shape; chopped chocolate gives you more melt.
Storage and Reheating
- Refrigerator: Store in an airtight container for up to 5 days. The cookies stay soft, though the chocolate chips will firm up a bit once chilled.
- Freezer: These freeze well baked or as dough balls. Freeze baked cookies in a single layer, then transfer to a container; freeze dough balls on a tray and bake from frozen, adding 1 to 2 minutes.
- Reheating: Warm baked cookies in a 300F oven for 3 to 5 minutes or give them 8 to 10 seconds in the microwave. Don’t overheat them or the centers dry out and the chocolate loses that soft melt.