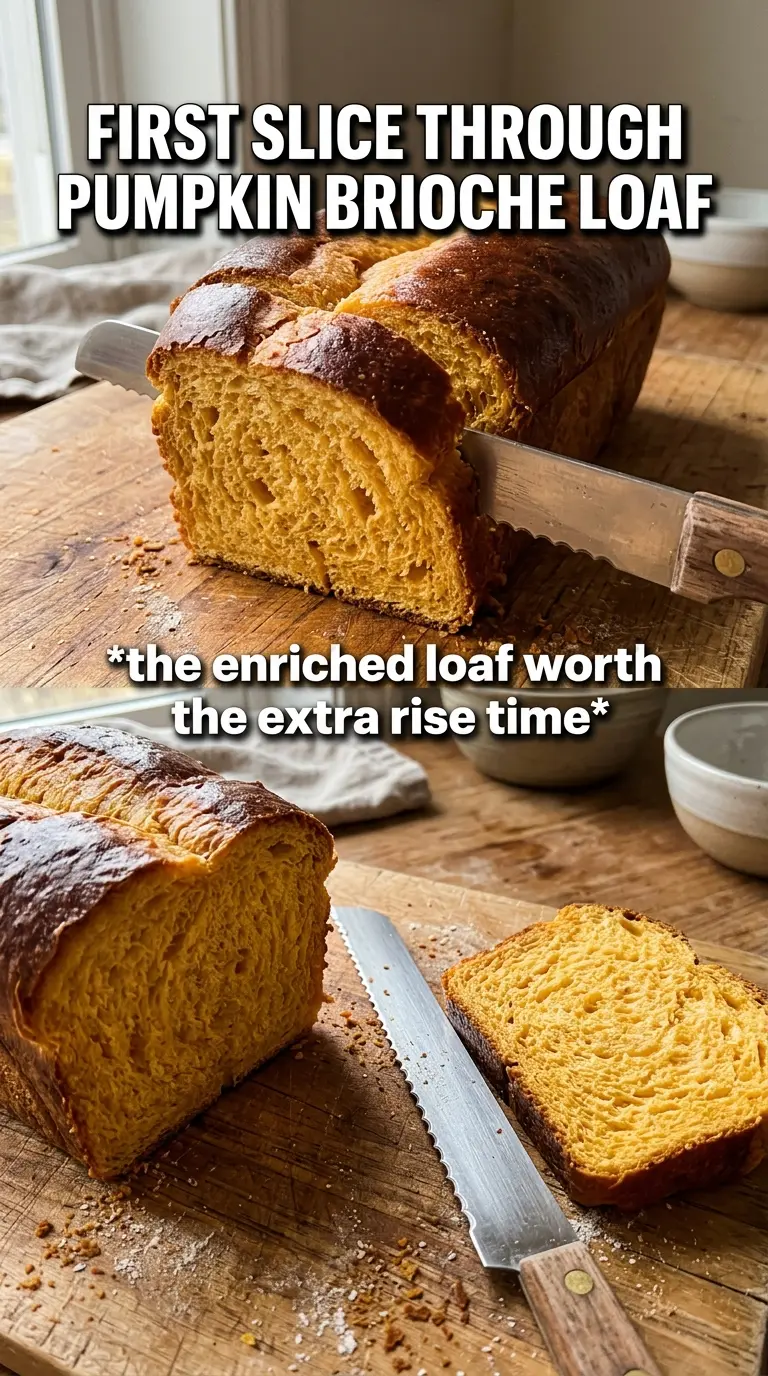
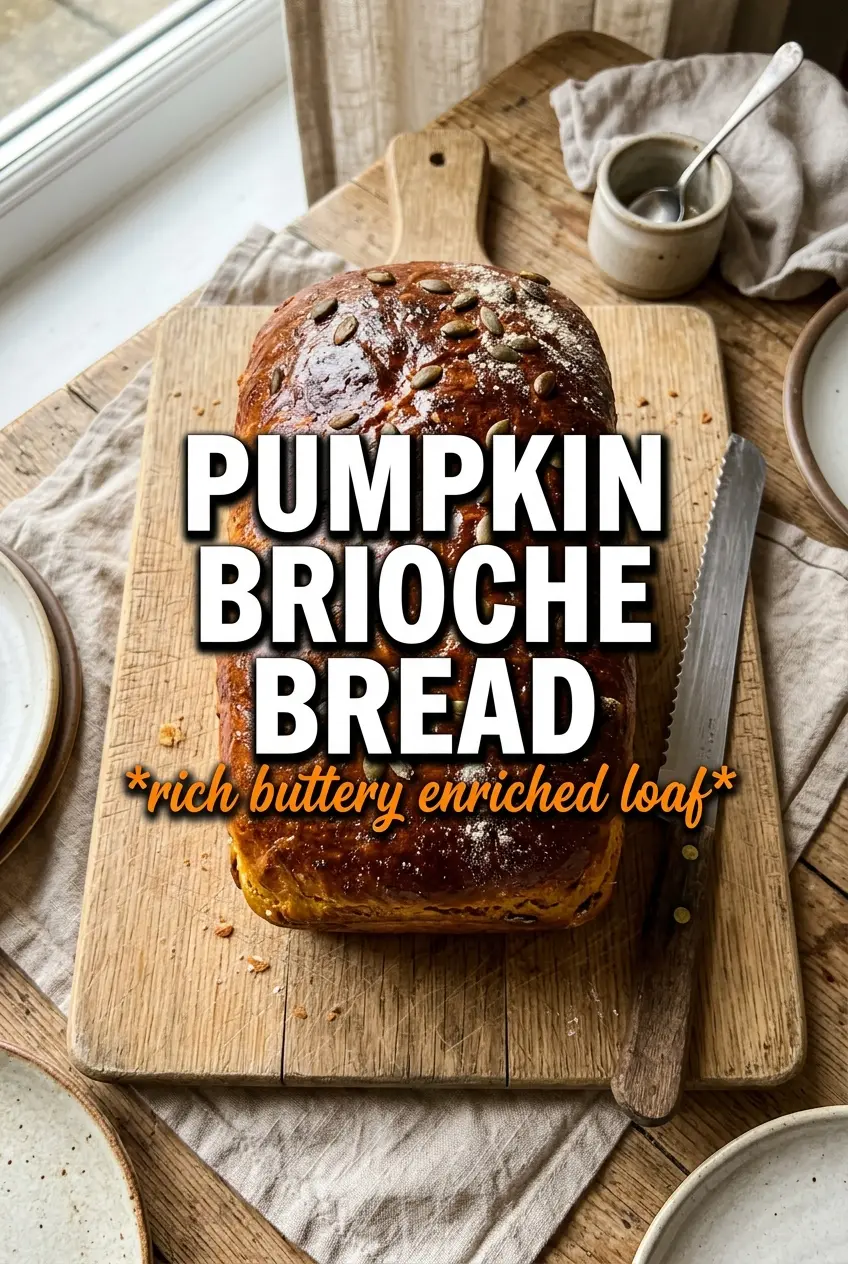
Pumpkin brioche bread bakes into the kind of loaf that stops conversation at the table: glossy, tall, and feather-soft with a tight, rich crumb that pulls apart in buttery layers. The pumpkin doesn’t make it heavy. It gives the bread a warm color, a gentle sweetness, and a soft finish that plays beautifully against the cinnamon and pumpkin pie spice.
What makes this version work is the way the butter goes in gradually after the dough has already started to develop. That slow addition keeps the dough silky instead of greasy, which matters a lot in enriched bread. Room-temperature pumpkin and eggs blend more smoothly too, so the dough comes together without fighting the mixer or warming up too fast.
Below, I’ll walk you through the rise timing, the overnight chill that improves the flavor, and the small visual cues that tell you when this loaf is ready for the oven. If brioche has ever felt fussy, this is the version that makes the process feel manageable.
The dough was unbelievably soft, and adding the butter a little at a time gave me the prettiest stretchy crumb. I chilled it overnight and the loaf baked up tall with a deep golden top.
Save this pumpkin brioche bread for the morning you want a soft, golden loaf with bakery-style layers and warm spice in every slice.
The Butter Needs to Go in Slowly or the Dough Turns Greasy
Pumpkin brioche falls apart fast when the butter is rushed. The dough needs time to absorb each small piece before the next one goes in, or the fat smears across the bowl and the structure never catches up. When it’s working, the dough turns glossy, stretchy, and almost custard-like in the mixer before it finally tightens just enough to cling to the hook.
The other place people lose the loaf is by adding too much extra flour too early. This dough should stay soft. It will look loose compared with a standard sandwich bread, but that’s exactly what gives you the pillowy crumb after baking. If it feels like brioche dough that can stand up on its own before the first rise, it’s probably already too dry.
- Bread flour — The extra protein gives the dough enough strength to hold all that butter and pumpkin without collapsing. All-purpose flour can work in a pinch, but the loaf will be a little less lofty and a bit more tender than chewy.
- Pumpkin puree — Use plain puree, not pumpkin pie filling. The puree adds color, moisture, and a subtle earthiness, but it’s not there to dominate the loaf.
- Eggs — They enrich the dough and help it bake up with that soft, brioche-style crumb. Room-temperature eggs blend in faster and keep the dough smoother.
- Instant yeast — This keeps the rise reliable even with all the sugar and fat in the dough. If you use active dry yeast, bloom it in the warm milk first and expect the rise to take a little longer.
- Softened butter — This is the ingredient that makes the loaf taste like brioche instead of pumpkin bread. It has to be soft enough to blend in cleanly, but not melted.
What Each Ingredient Is Actually Doing in This Recipe
- Primary ingredient (the star) — Quality matters most. Choose the best you can find.
- Cooking medium (oil, butter, or broth) — This carries flavors and prevents dryness.
- Seasonings (salt, pepper, spices, herbs) — Layer flavors so nothing overpowers. Build depth gradually.
- Aromatics (garlic, onion, herbs) — Cook with fat to bloom flavors. Become the foundation.
- Supporting ingredients — Complement the main ingredient without overpowering it.
- Sauce or liquid (if applicable) — Brings flavors together. Balance richness with acid.
- Acid (lemon, vinegar, wine, or other) — Brightens and prevents flat-tasting results.
- Final finish (garnish, glaze, or sauce) — Prevents one-dimensional taste and adds visual appeal.
Building the Dough Without Losing the Brioche Texture
Add the dry ingredients first and mix them thoroughly before the pumpkin, eggs, and warm milk go in. That gives the yeast, flour, and spice a chance to distribute evenly so the dough starts from the same place in every bite. Once it comes together, keep mixing until the dough looks smooth and elastic before the butter starts to go in.
Starting the Base
After the pumpkin, eggs, and milk are added, the dough should look shaggy at first, then smooth out after several minutes of mixing. You’re looking for a dough that pulls from the sides of the bowl but still feels soft and tacky. If it’s dry and tearing, the dough was overfloured; stop and let the mixer work before adding anything else.
Adding the Butter in Stages
Drop in one tablespoon of butter at a time and wait for each piece to disappear before adding the next. The dough will look broken for a minute or two, then it will snap back together and turn silky. If the butter starts to smear around the bowl, the dough is too warm, so pause and let it rest for 10 minutes before continuing.
Letting the First Rise Finish the Job
After the dough doubles, it should feel lighter and smoother when you press it gently. Don’t rush this stage; enriched dough rises more slowly because of the fat and sugar. If your kitchen is cool, give it the full time instead of judging by the clock alone, because under-proofed brioche bakes up dense and tight.
Shaping and Baking for a Clean Slice
Shape the dough into a loaf with a gentle hand so you don’t knock out all the air. The second rise should leave the dough puffy and domed at the top edge of the pan, and the egg wash gives it that deep burnished finish in the oven. Bake until the loaf is deeply golden and the top feels set; if the crust colors too fast, tent it loosely with foil for the last part of the bake.
Make It Overnight for a More Developed Flavor
After the first rise, cover the dough and refrigerate it overnight before shaping. The cold rest slows the yeast down and gives the pumpkin and spice time to deepen, which means the finished loaf tastes more rounded and less yeasty. It also makes the dough easier to handle since chilled brioche is much less sticky.
Dairy-Free Version
Use a thick plant-based butter and an unsweetened non-dairy milk in place of the dairy ingredients. The loaf will still be rich, but it won’t have quite the same delicate, buttery aroma or the same plush finish. Keep the butter cold but workable, since many vegan spreads soften faster than dairy butter and can make the dough greasy if they get too warm.
Gluten-Free Swaps Won’t Give You Brioche
A gluten-free flour blend can produce a decent pumpkin loaf, but it won’t behave like brioche because the dough can’t build the same elastic structure. If you need gluten-free, choose a tested enriched bread formula built for that flour style instead of forcing this one to do a job it can’t fully do.
Use the Dough for Rolls Instead of a Loaf
Divide the dough into even portions, shape into smooth rounds, and bake them in a buttered pan for pull-apart rolls. The texture stays the same, but you’ll get more crust and a softer center in each piece, which is handy if you want individual portions for brunch.
Storage and Reheating
- Refrigerator: Store the cooled loaf wrapped well for up to 4 days. The crumb stays soft, but the bread will firm up a little in the fridge.
- Freezer: Freeze whole or sliced, tightly wrapped and sealed in a freezer bag, for up to 2 months. Sliced bread is easiest because you can pull out only what you need.
- Reheating: Warm slices in a toaster or a low oven until just heated through. Don’t microwave it for long stretches or the enriched crumb will turn rubbery and lose that pillowy texture.
Answers to the Questions Worth Asking
Pumpkin Brioche Bread
Ingredients
Equipment
Method
- Whisk bread flour, granulated sugar, instant yeast, pumpkin pie spice, cinnamon, and salt in a stand mixer with the dough hook until evenly combined.
- Add pumpkin puree, eggs, and warm milk, then mix on medium until a smooth dough forms, about 5 minutes.
- Add the softened butter 1 tablespoon at a time, waiting until each piece is incorporated before adding the next, taking 10 to 15 minutes total.
- Let the dough rise until doubled, about 1.5 hours, until it looks puffy and increased in volume.
- Either refrigerate the dough overnight or shape immediately into a loaf in a greased 9x5 pan.
- Rise again until puffy and increased in height, about 1.5 hours.
- Brush the loaf with the egg wash until the top looks glossy.
- Bake at 375F for 30 to 35 minutes until the crust is deeply golden.
- Cool completely before slicing so the crumb sets and stays clean and pillowy.