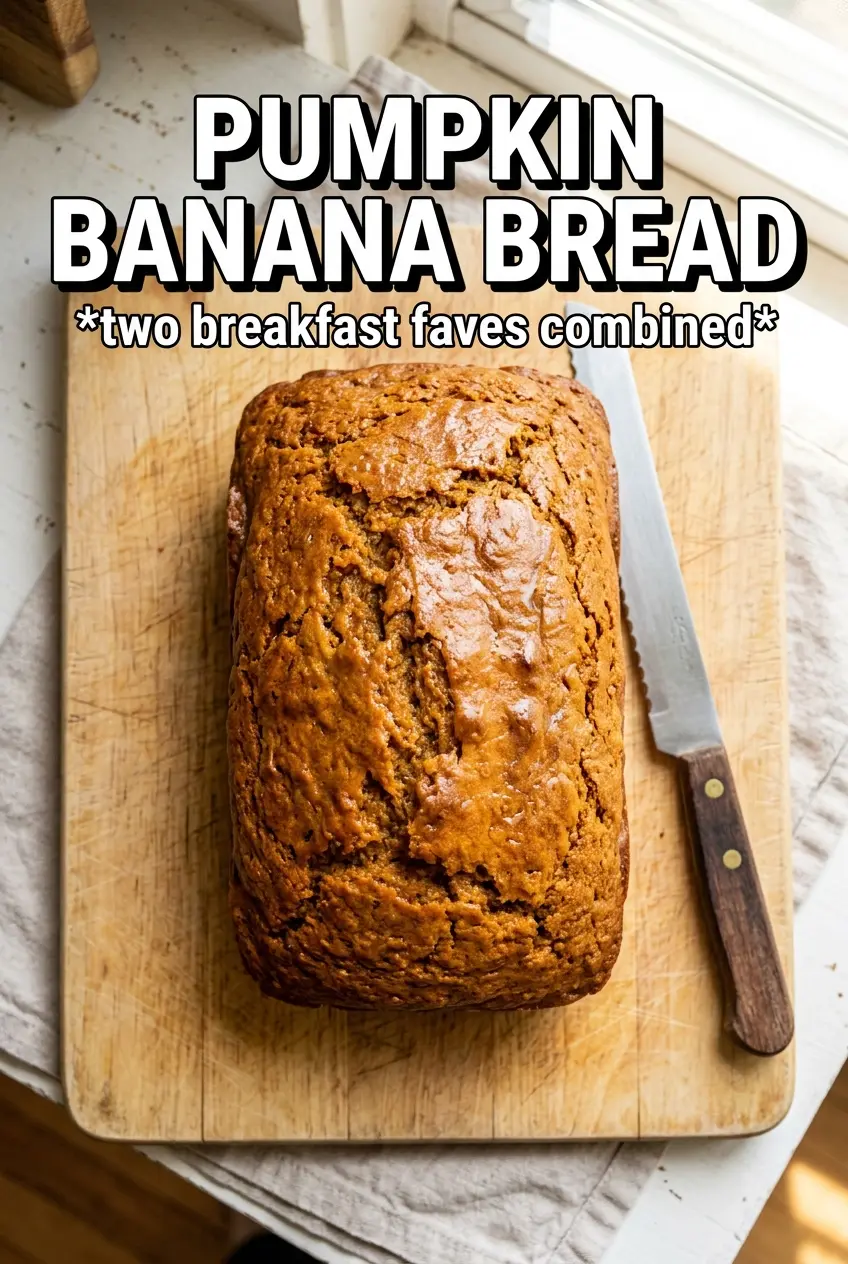
Pumpkin banana bread bakes up with a tender, almost custardy crumb and that deep, cozy flavor that makes a plain slice disappear fast. The banana keeps it soft for days, while the pumpkin brings body and moisture without making the loaf heavy. A thin maple glaze on top gives each slice a little sweetness that plays nicely with the warm spice underneath.
What makes this version work is the balance. You’re using both pumpkin puree and very ripe bananas, but neither one gets to dominate. The bananas should be mashed smooth so they disappear into the batter, and the dry ingredients only need a quick fold at the end. Overmixing is the easiest way to turn a moist loaf into a dense one, so stop as soon as the flour streaks are gone.
Below, I’ve included the small details that matter most: how to keep the crumb soft, what to watch for near the end of baking, and a few swaps if you want to adjust the glaze or make the loaf a little more your own.
The loaf stayed incredibly moist for days and the maple glaze set up just enough that it didn’t slide off when I sliced it. My bananas were extra spotty, and the crumb came out soft without being gummy.
Save this pumpkin banana bread for the mornings when you want a soft, spiced loaf with a maple glaze.
The Reason This Loaf Stays Tender Instead of Heavy
Pumpkin banana bread can go wrong fast if the batter is overworked or the fruit balance is off. Pumpkin adds moisture, but it also adds density, and bananas can bring their own heavy, pudding-like texture if they aren’t mashed smooth. This loaf stays soft because the wet ingredients are whisked until fully blended before the flour goes in, which helps the batter come together without extra stirring later.
The other thing that matters is the leavening. Baking soda and baking powder work together here to lift a batter that has a lot of moisture and sugar. If your loaf ever comes out sunken in the center, it’s usually because the batter was underbaked in the middle or the oven ran cool, not because pumpkin and banana can’t coexist. A loaf pan with good contact on the sides helps the edges set before the center overbakes.
What Each Ingredient Is Actually Doing Here
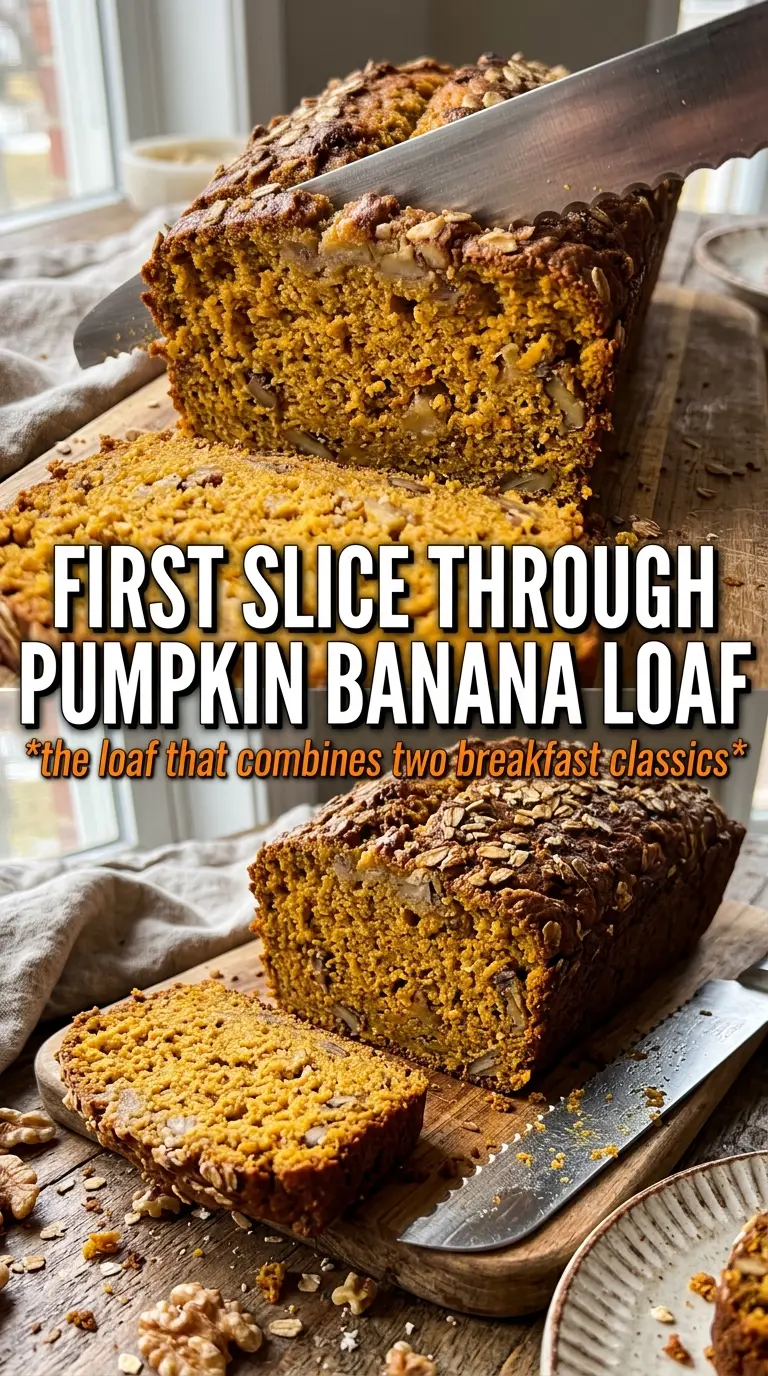
- Pumpkin puree — This gives the loaf that deep orange color and a dense, moist crumb. Use plain pumpkin puree, not pumpkin pie filling, or the loaf will end up too sweet and spiced before you’ve even added the sugar and spices.
- Very ripe bananas — The darker the peel, the better. You want the bananas soft enough to mash into a smooth base so they melt into the batter instead of leaving stringy pockets.
- Vegetable oil — Oil keeps the bread tender longer than butter does. Butter adds flavor, but it also firms up as the loaf cools, while oil gives you that soft slice the next day.
- Brown sugar and granulated sugar — The mix matters. Granulated sugar keeps the crumb light enough to slice cleanly, while brown sugar adds a little molasses depth that pairs well with the maple glaze.
- Pumpkin pie spice and cinnamon — The cinnamon keeps the spice mix from tasting flat. If you only have pumpkin pie spice, use it and skip the extra cinnamon; if you only have cinnamon, the loaf will still work, but the flavor will be less layered.
Getting the Batter Mixed Without Losing the Soft Crumb
Build the wet base first
Whisk the pumpkin, bananas, sugars, oil, eggs, and vanilla until the mixture looks smooth and glossy. You want the banana fully broken down here, because chunks stay dense and can sink through the loaf as it bakes. If the batter looks a little separated at this stage, keep whisking; it should come together before the flour goes in.
Add the dry ingredients gently
Stir the flour, baking soda, baking powder, spice, cinnamon, and salt together first, then fold them into the wet mixture just until you stop seeing dry flour. The batter will look thick, and that’s right. If you keep mixing after the flour disappears, the loaf turns tight instead of plush.
Bake until the center is set
Scrape the batter into a greased 9×5 loaf pan and bake at 350°F for 60 to 65 minutes. The top should be deeply golden and the center should spring back lightly when touched. A toothpick coming out clean is the best sign, but if you hit melted sugar or a moist crumb pocket, test again in a slightly different spot before pulling the loaf early.
Cool before glazing
Let the loaf cool all the way before adding the maple glaze. If you drizzle it on while the bread is warm, the glaze melts and runs straight off instead of setting in a thin layer. A cool loaf slices cleaner too, which matters with a tender bread like this.
How to Adapt It When You Want a Different Finish
Skip the glaze for a less sweet loaf
Leave off the maple glaze if you want something closer to breakfast bread than dessert. The loaf still tastes rich and spiced on its own, and without the glaze the crust stays a little drier and more bakery-style on the first day.
Make it dairy-free without changing the texture
The loaf is already dairy-free as written if you use milk in the glaze or swap in a plant-based milk there. The bread itself relies on oil, so you don’t lose tenderness the way you can with butter-based quick breads.
Turn it into muffins
Spoon the batter into lined muffin cups and bake until the tops spring back and a tester comes out clean, usually much sooner than the loaf. You’ll get more surface area and a slightly lighter crumb, though you lose the neat, sliceable texture of the pan bread.
Storage and Reheating
- Refrigerator: Keep covered for up to 5 days. The crumb stays moist, though the glaze softens a bit after the first day.
- Freezer: Freeze slices or the whole loaf tightly wrapped for up to 3 months. Thaw at room temperature before serving so the texture doesn’t turn rubbery.
- Reheating: Warm individual slices briefly in the microwave or a low oven. Don’t blast it on high heat, or the edges dry out before the center warms through.