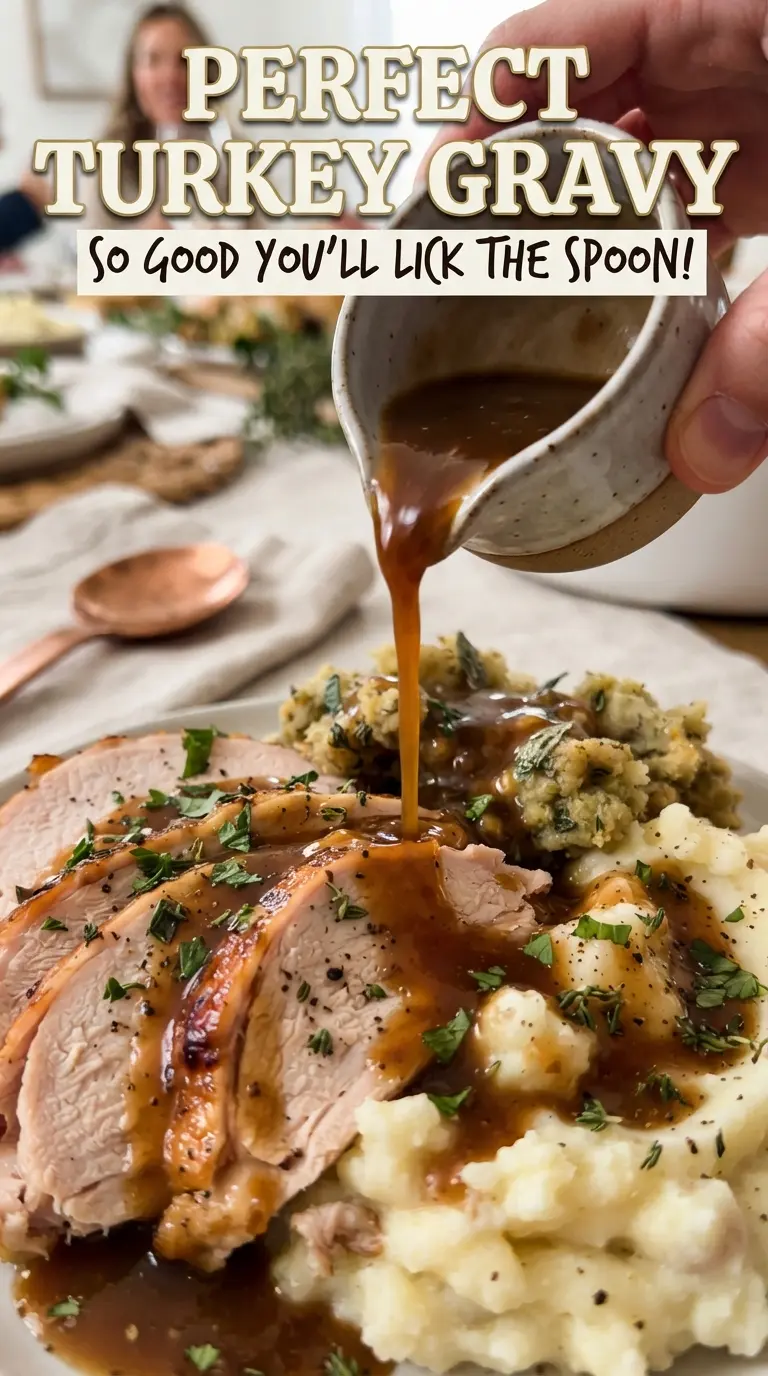
Silky turkey gravy is the kind of side that quietly decides whether the whole plate feels finished. When it’s right, it clings to mashed potatoes, drapes over sliced turkey, and carries all the roasted flavor from the pan without tasting heavy or floury. The difference between a flat gravy and a memorable one comes down to building the base properly and adding the stock at the right temperature.
This version starts with turkey drippings when you have them, which gives the gravy a deeper, more savory taste than butter alone. A short roux cooks out the raw flour taste, warm stock keeps the mixture smooth, and a spoonful of soy sauce adds color and background depth without making it taste like soy sauce. The thyme finishes it with that familiar roast-dinner note people expect from homemade gravy.
Below, you’ll find the cue I watch for when the roux is ready, why warm stock matters more than most people think, and the easiest way to strain out any tiny lumps if you want an especially smooth finish.
The gravy thickened up perfectly and stayed smooth even after I added the pan juices. I used the soy sauce like you said, and it gave the whole thing that deep roasted flavor without tasting salty.
Save this silky turkey gravy for the roast dinner nights when you want rich, smooth gravy that clings to every bite.
The Reason Gravy Turns Lumpy, and How This Roux Avoids It
Lumpy gravy usually starts the moment cold liquid hits flour that hasn’t had a chance to cook. The flour clings to itself, the starch tightens unevenly, and you end up whisking forever trying to smooth out little pockets that never fully disappear. This method avoids that by cooking the roux first, then adding warm stock in a slow stream so the flour disperses before it has the chance to seize.
The roux also needs a few minutes on the heat. Raw flour tastes dusty and flat, and a pale roux won’t give you the same depth or color. You’re looking for a light golden-brown color and a nutty smell; if it smells pasty, it needs more time. That short window is where the gravy gets its backbone.
What the Pan Drippings, Soy Sauce, and Thyme Are Doing Here
- Turkey pan drippings — This is where the best flavor comes from. Use the fat from the roasting pan if you have it, but if your drippings are scant, butter works fine. If the drippings are very dark or salty, taste the finished gravy before adding much extra salt.
- Warm stock — Warm stock blends into the roux faster and helps keep the gravy smooth. Cold stock can still work, but it takes longer to whisk out lumps and can cool the pan enough to slow thickening. If you’re using homemade stock, strain it first so bits of skin or herbs don’t end up in the gravy.
- Fresh thyme — Thyme gives the gravy that classic roast flavor without taking it over. Dried thyme can stand in, but use less since it’s stronger and more concentrated. Strip the leaves from the stem so you don’t end up fishing woody bits out at the table.
- Soy sauce — This is the quiet depth-builder. It deepens the color and gives the gravy a savory edge that makes it taste like it simmered longer than it did. You won’t taste soy sauce as a separate ingredient; you’ll just notice the gravy tastes fuller.
Building the Gravy So It Stays Smooth and Spoon-Coating
Separating the Fat From the Juices
Pour the roasting pan drippings into a measuring cup and let them sit long enough for the fat to rise. You want the fat for the roux and the juices for flavor, so don’t pour everything into the pan at once. If the roasting pan has stuck-on browned bits, loosen them with a splash of stock and scrape them up; that’s where a lot of the turkey flavor lives.
Cooking the Roux
Whisk the flour into the measured fat over medium heat and keep it moving until it turns golden brown, about 3 to 4 minutes. The mixture should look smooth and a little glossy, not dry and sandy. If it starts to darken too fast or smells burnt, pull it off the heat immediately and start over, because burnt roux gives the whole gravy a bitter edge.
Whisking in the Stock
Add the warm stock gradually while whisking constantly, then pour in the defatted pan juices. The gravy will look thin at first, then it will suddenly begin to smooth out as the flour hydrates. If you dump the liquid in all at once, the roux can clump around the edges, so take your time here and keep the whisk in motion.
Finishing the Simmer
Stir in the thyme and soy sauce, then let the gravy simmer until it lightly coats the back of a spoon, usually 8 to 10 minutes. It should bubble gently, not boil hard, or it can reduce too quickly and get pasty. Taste at the end and season with salt and pepper only after the gravy has thickened, since reduction concentrates everything already in the pan.
Make It Without Pan Drippings
If you don’t have enough turkey fat, use butter for the roux and add a little extra stock for richness. You’ll lose some of the roasted depth, but the soy sauce and pan juices will still give the gravy a convincing savory finish. This is the best option when you’re making gravy from a regular roast chicken or when the pan drippings are too lean to measure out cleanly.
Gluten-Free Gravy
Use a good gluten-free all-purpose flour blend in place of the regular flour, or thicken the stock with cornstarch slurry at the end if that’s what you keep on hand. The texture will be slightly glossier and a touch less rustic, but it still coats mashed potatoes well. If using cornstarch, don’t boil it hard after adding it or the gravy can thin back out.
Extra-Deep Holiday Flavor
A splash of white wine added to the pan after the roux cooks gives the gravy a sharper, slightly brighter finish. Let it bubble for a minute before adding the stock so the raw alcohol taste cooks off. This version works especially well if your turkey is very rich and you want the gravy to taste a little lighter on the palate.
Storage and Reheating
- Refrigerator: Store in an airtight container for up to 4 days. It will thicken as it chills, so expect it to look much firmer than it did on the stove.
- Freezer: It freezes well for up to 2 months. Cool it completely, portion it into freezer containers, and leave a little headspace because it expands slightly.
- Reheating: Reheat slowly in a saucepan over low heat with a splash of stock or water, whisking often. High heat can make it break or scorch on the bottom before the center loosens up.
Answers to the Questions Worth Asking

Perfect Turkey Gravy
Ingredients
Equipment
Method
- Pour the roasting pan drippings into a measuring cup and let the fat rise to the top for easy separation.
- Spoon 0.25 cup of the fat into a saucepan over medium heat, then whisk in 0.25 cup all-purpose flour until a paste forms.
- Cook the roux for 3-4 minutes, whisking constantly, until golden brown and fragrant.
- Gradually whisk in 4 cups warm turkey or chicken stock, including the defatted pan juices, until smooth.
- Add 1 tsp fresh thyme leaves and 1 tsp soy sauce, then simmer for 8-10 minutes until thick enough to coat a spoon, with visible gentle bubbling.
- Season with salt and black pepper to taste, then strain if desired for a silky finish and serve hot.