Peanut butter chocolate chip banana bread lands somewhere between a breakfast loaf and a proper dessert, and that’s exactly why it disappears so fast. The crumb stays tender and moist from the bananas, the peanut butter gives it a dense, nutty richness, and the chocolate chips melt into little pockets that make each slice taste like it came from a bakery case.
The trick here is balance. Too much peanut butter can make banana bread heavy and tight, so this version uses enough to bring real flavor without crowding out the banana. Melted butter keeps the loaf soft, ripe bananas carry the moisture, and the batter is mixed just enough to bring it together. That means you get a loaf that slices cleanly once cooled instead of one that crumbles apart or bakes up gummy in the center.
Below, I’ve included the one swirl move that makes the top look as good as it tastes, plus a few substitutions and storage notes that come in handy when your bananas are extra brown and your pantry is doing most of the work.
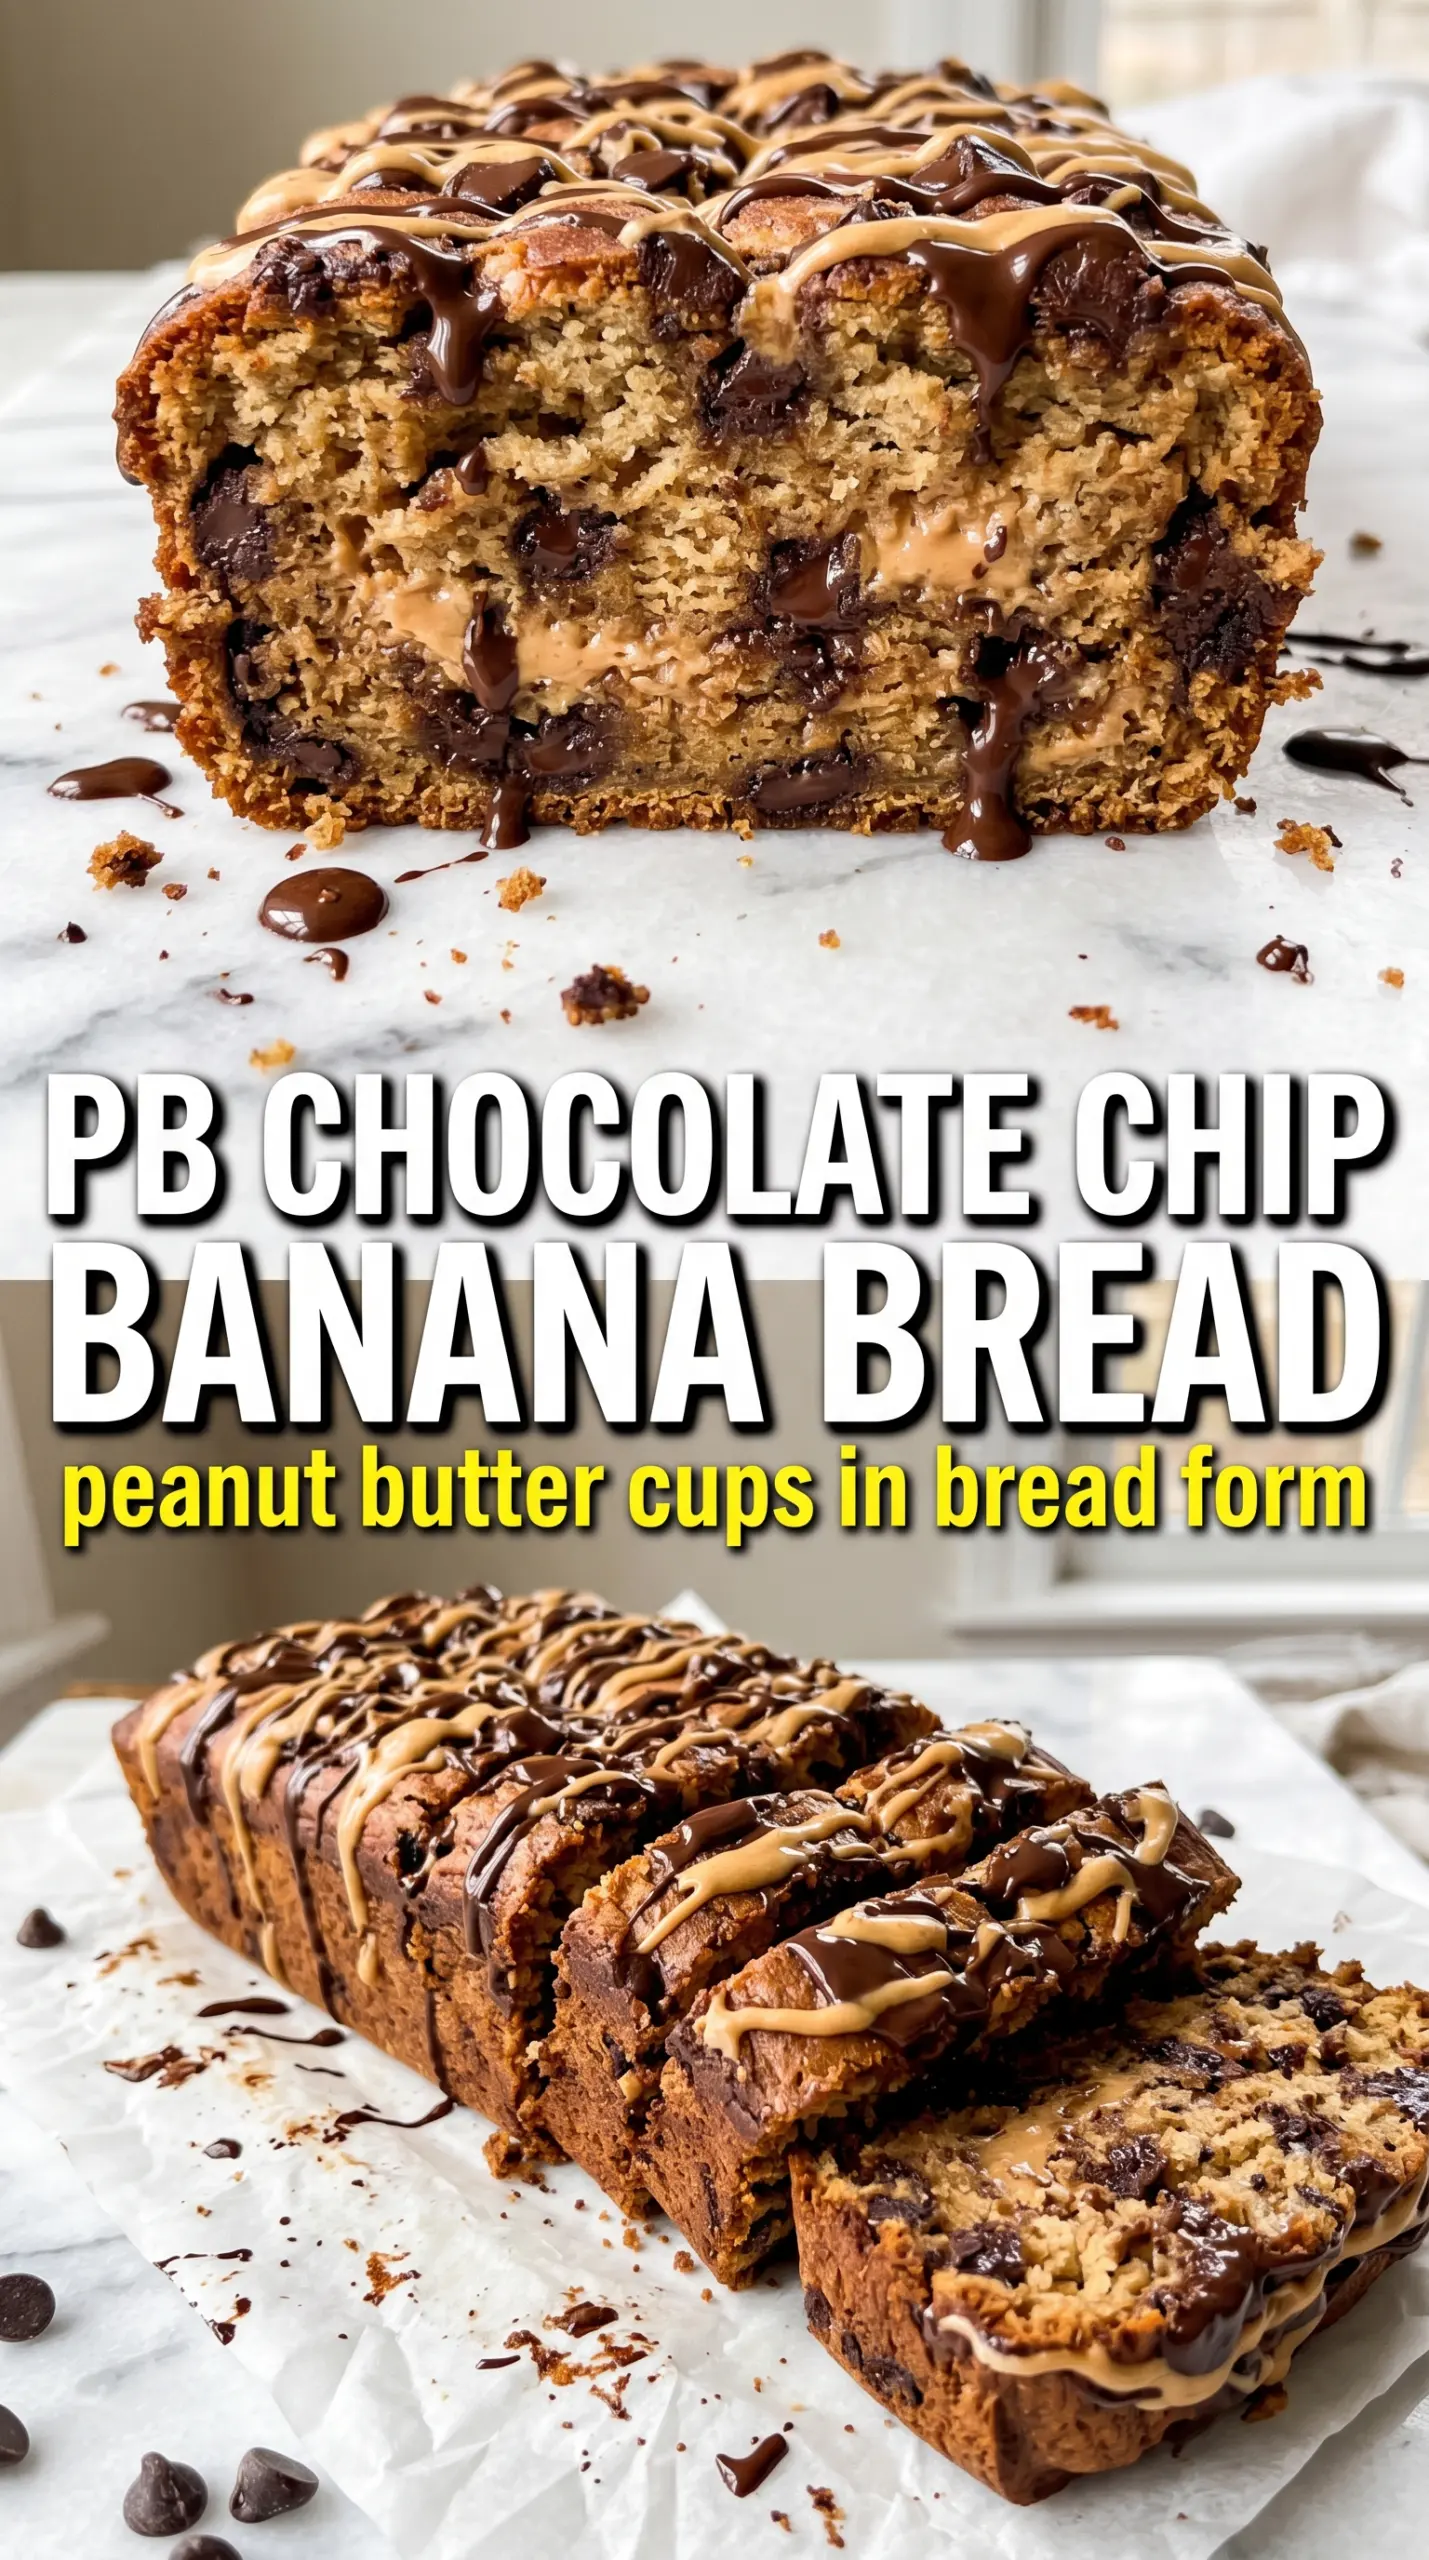
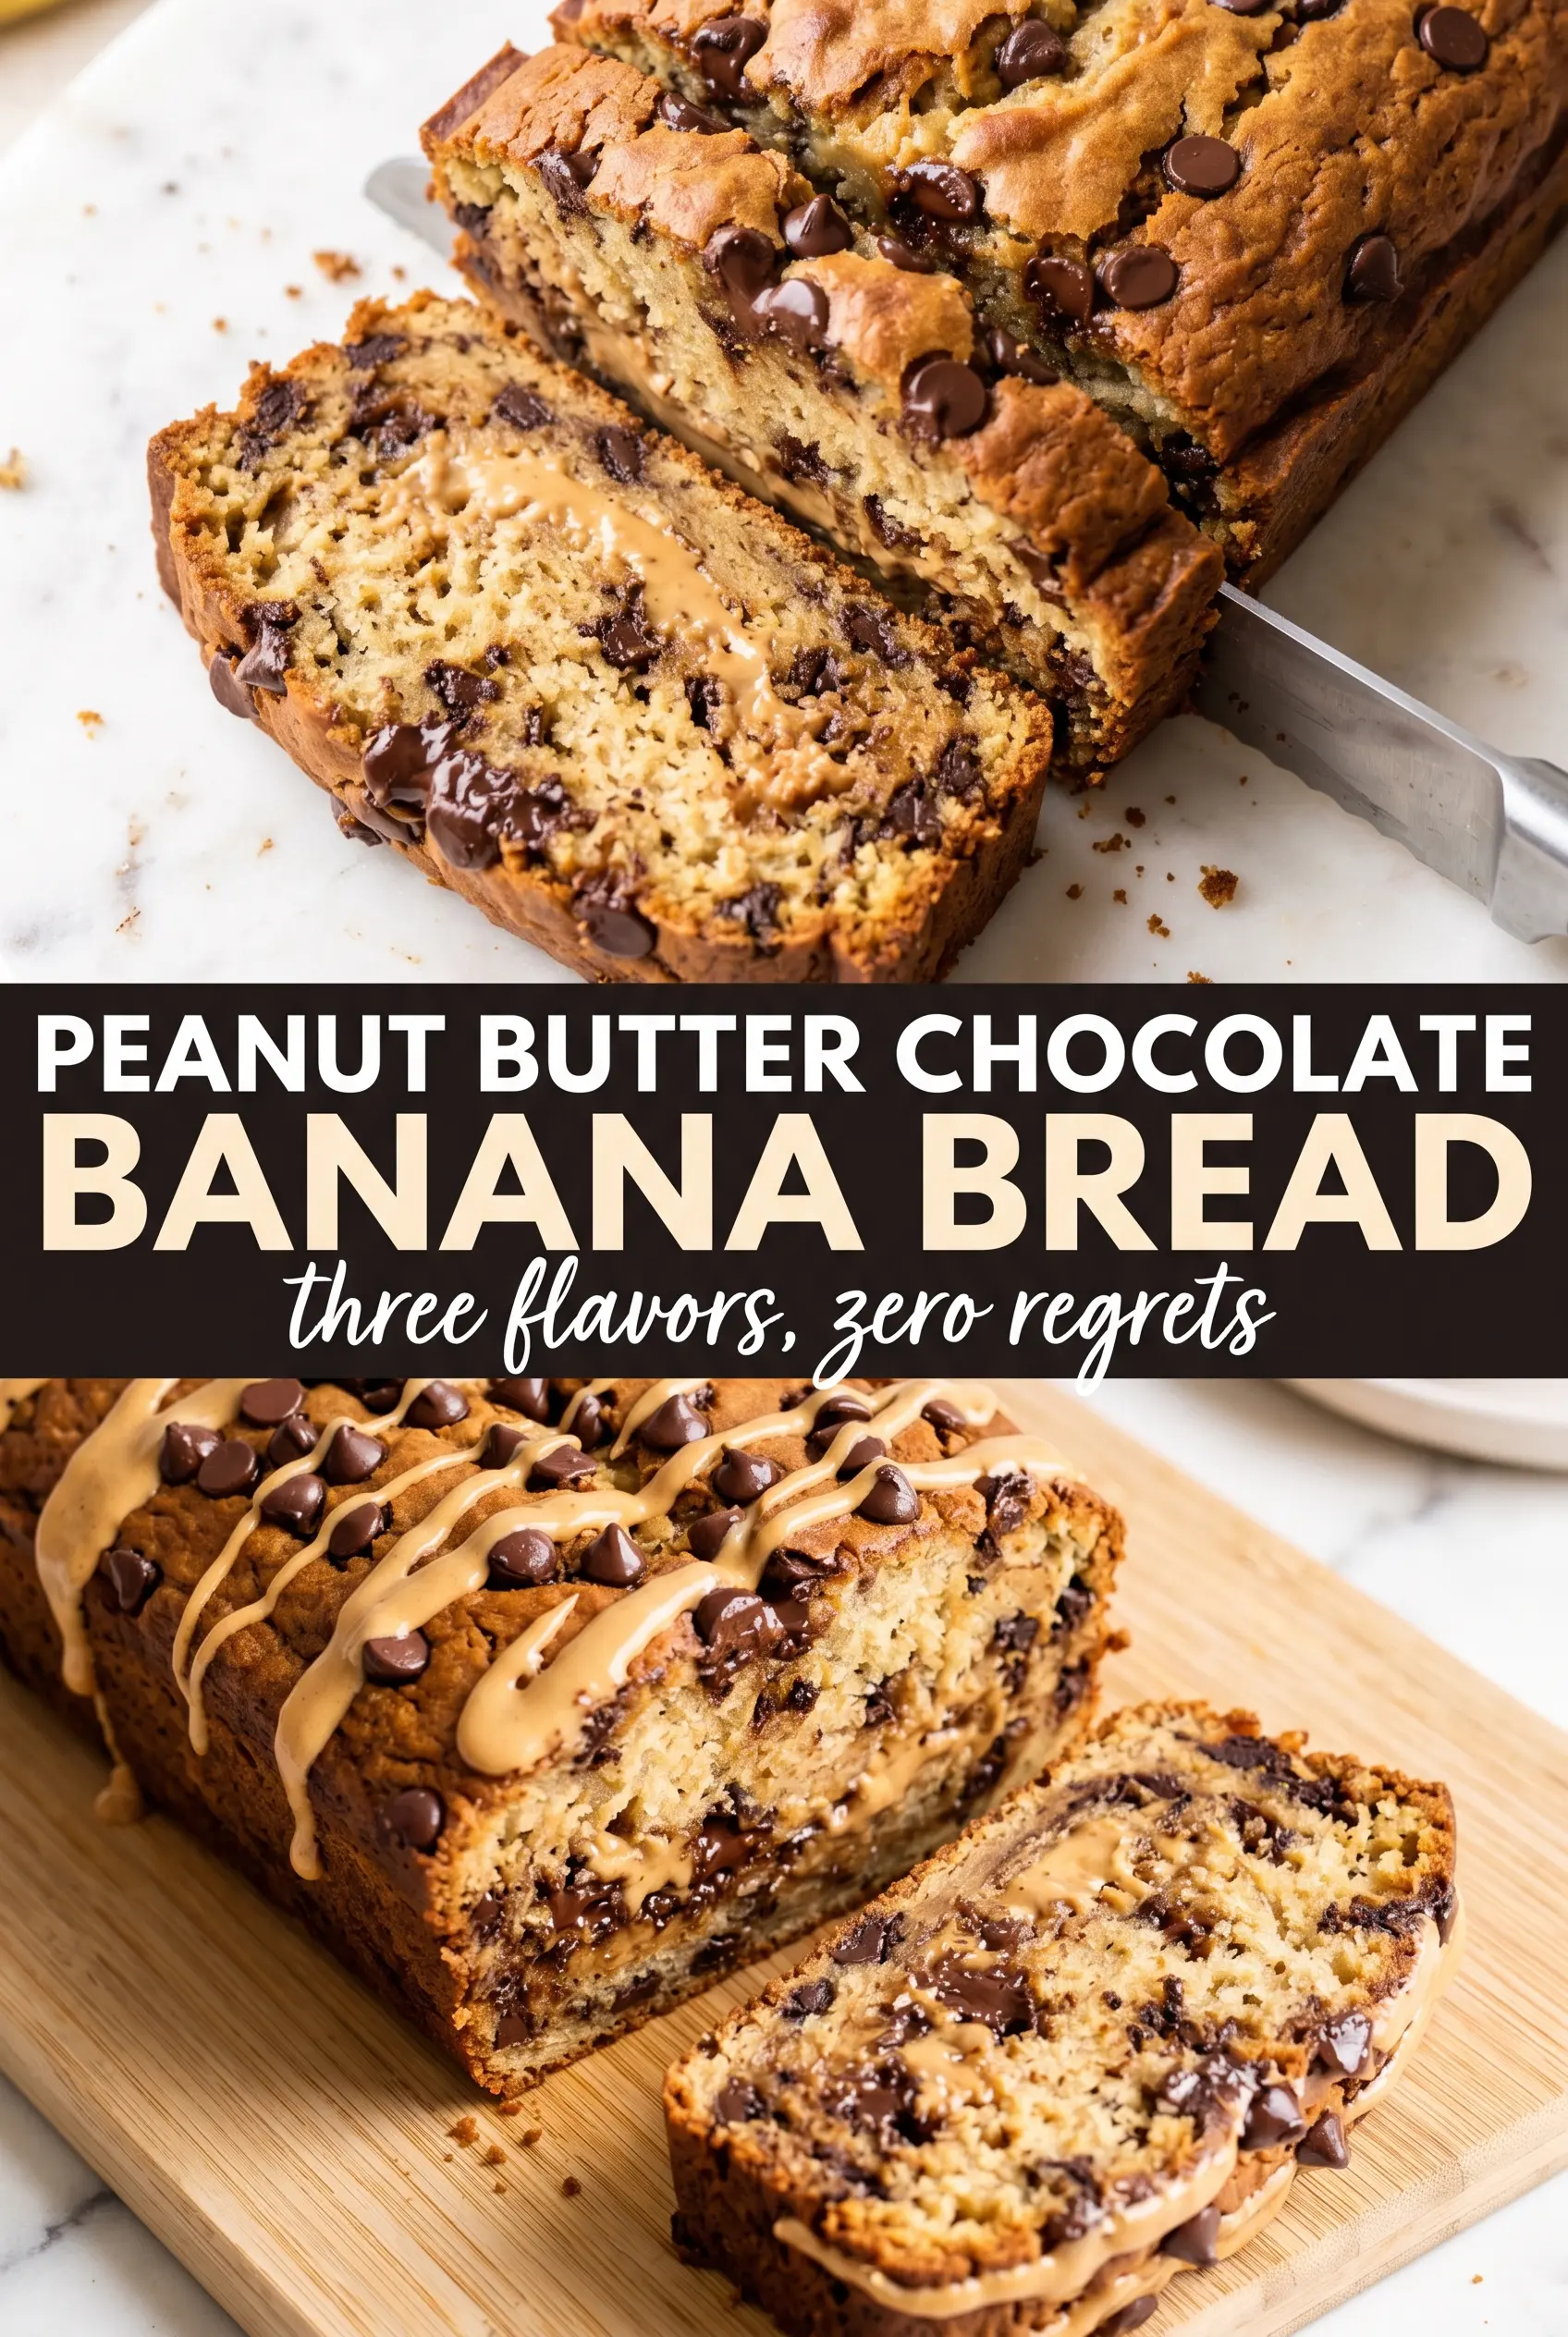
The loaf stayed incredibly moist for days, and the peanut butter swirl on top baked into these little caramelized pockets that made each slice taste like a peanut butter cup and banana bread together.
Like this peanut butter chocolate chip banana bread? Save it to Pinterest for the days when your bananas are spotted, your sweet tooth is loud, and you want a loaf with a glossy peanut butter swirl.
The Part That Keeps This Loaf Soft Instead of Heavy
The biggest risk with peanut butter banana bread is ending up with a loaf that tastes good but eats like a brick. Peanut butter brings flavor, but it also adds density, so the rest of the batter has to stay light enough to lift it. That’s why the bananas, melted butter, and eggs matter together here: the bananas bring moisture, the butter keeps the crumb tender, and the eggs give the loaf enough structure to rise without turning dry.
Mixing is the other place people run into trouble. Once the flour goes in, stop as soon as the dry streaks disappear. Overmixing develops the gluten in the flour and gives you a tight, tough slice instead of a soft, bakery-style crumb. The chocolate chips should be folded in at the very end so they stay scattered through the batter instead of sinking to the bottom.
What Each Ingredient Is Actually Doing in This Loaf
- Ripe bananas — These do more than sweeten the loaf. Very ripe bananas bring moisture, aroma, and that soft banana bread texture you can’t fake with extract. If your bananas still have a lot of yellow on them, the flavor will be flatter and the loaf won’t be as sweet.
- Creamy peanut butter — Use standard creamy peanut butter for the most predictable texture. Natural peanut butter can work, but it tends to separate and can make the batter less stable unless you stir it very well. For the swirl on top, a spoonable peanut butter is easier to marble.
- Butter — Melted butter gives the crumb a richer flavor than oil and helps the loaf stay tender as it cools. Don’t use browned butter here unless you want a stronger, nuttier note that pulls attention away from the banana and chocolate.
- Dark or semi-sweet chocolate chips — Dark chips keep the loaf from leaning too sweet. Semi-sweet is a little more classic if you want the banana bread to taste more like a bakery loaf and less like dessert. If you chop up a chocolate bar instead, you’ll get some melted streaks and some larger pockets.
- Extra peanut butter for swirling — This is mostly for the top, but it matters. A quick swirl over the batter gives you those caramelized peanut butter ribbons that bake into the crust and make the loaf look finished without any frosting.
How to Build the Swirl and Bake the Center Through
Mixing the Wet Base
Start by whisking the mashed bananas, peanut butter, melted butter, sugar, eggs, and vanilla until the mixture looks smooth and glossy. It should be thick but pourable, with no obvious streaks of egg or clumps of peanut butter. If your peanut butter is stiff, warm it for a few seconds so it blends cleanly; cold peanut butter can leave little lumps that don’t fully disappear.
Adding the Flour Without Toughening the Crumb
Fold in the flour, baking soda, and salt just until the last dry patches disappear. The batter will look a little lumpy, and that’s fine. If you beat it smooth, the loaf will bake up rubbery around the edges and dense in the middle. Stop early, then fold in the chocolate chips with just a few strokes so they stay intact.
Creating the Peanut Butter Top
Scrape the batter into a greased 9×5 loaf pan, then spoon the extra peanut butter across the top in small dollops. Drag a knife through it a few times to create loose swirls, not a fully blended layer. You want visible ribbons, because those are what brown at the surface and give you that glossy, bakery-style finish.
Baking Until the Center Sets
Bake at 350°F for 60 to 70 minutes, but start checking near the 60-minute mark. The top should be deeply golden and the loaf should spring back lightly when touched in the center. A toothpick inserted into the middle should come out with a few moist crumbs, not wet batter. If the top is browning too quickly before the center is done, lay a piece of foil over it for the last 15 minutes.
Cooling for Clean Slices
Let the loaf rest in the pan for 15 minutes before turning it out. If you slice it warm, the crumb can compress and the chocolate will smear instead of staying in distinct pockets. Wait until it’s fully cooled before cutting if you want neat slices and a clean peanut butter swirl on the face of each piece.
How to Adapt This When You Need a Different Finish
Make It Dairy-Free
Swap the butter for melted coconut oil or a neutral plant-based butter. Coconut oil keeps the loaf tender, but it adds a faint coconut note; plant-based butter is the closer match if you want the flavor to stay squarely in banana bread territory.
Make It Gluten-Free
Use a 1:1 gluten-free baking flour that includes xanthan gum. The loaf will be a little more delicate when warm, so give it extra time to cool before slicing. The texture stays pleasantly soft, but it won’t have quite the same spring as the original.
Make It Less Sweet
Reduce the sugar to 1/2 cup and use dark chocolate chips instead of semi-sweet. The loaf will taste more banana-forward and a little more grown-up, with the peanut butter coming through more clearly on the finish.
Turn It Into Muffins
Divide the batter among lined muffin cups and bake at 350°F for about 18 to 22 minutes. Muffins give you more of the chewy edges and less waiting time, though you’ll lose the dramatic peanut butter swirl top that makes the loaf look special.
Storage and Reheating
- Refrigerator: Store tightly wrapped for up to 5 days. The crumb firms up a bit in the fridge, but the flavor deepens.
- Freezer: It freezes well. Wrap individual slices or the whole cooled loaf in plastic wrap and foil, then freeze for up to 3 months.
- Reheating: Warm slices in the microwave for 10 to 15 seconds or toast them lightly. Don’t blast it too long or the chocolate chips can turn greasy and the bread dries out fast.
Answers to the Questions Worth Asking
Peanut Butter Chocolate Chip Banana Bread
Ingredients
Equipment
Method
- Preheat the oven to 350°F and grease a 9x5 loaf pan.
- Set the prepared loaf pan aside while you mix the batter.
- Whisk mashed bananas, peanut butter, melted butter, sugar, eggs, and vanilla together until smooth and combined.
- Fold in all-purpose flour, baking soda, and salt until just combined.
- Fold in chocolate chips, then stop mixing as soon as they’re evenly distributed.
- Pour the batter into the loaf pan and dollop the extra peanut butter across the top.
- Swirl the top with a knife to create ribbon-like peanut butter streaks.
- Bake at 350°F for 60–70 minutes until deeply golden and a toothpick comes out with just a few moist crumbs.
- Cool the loaf in the pan for 15 minutes before turning it out.
- Slice only when fully cooled to keep the swirl and chocolate pockets from smearing.