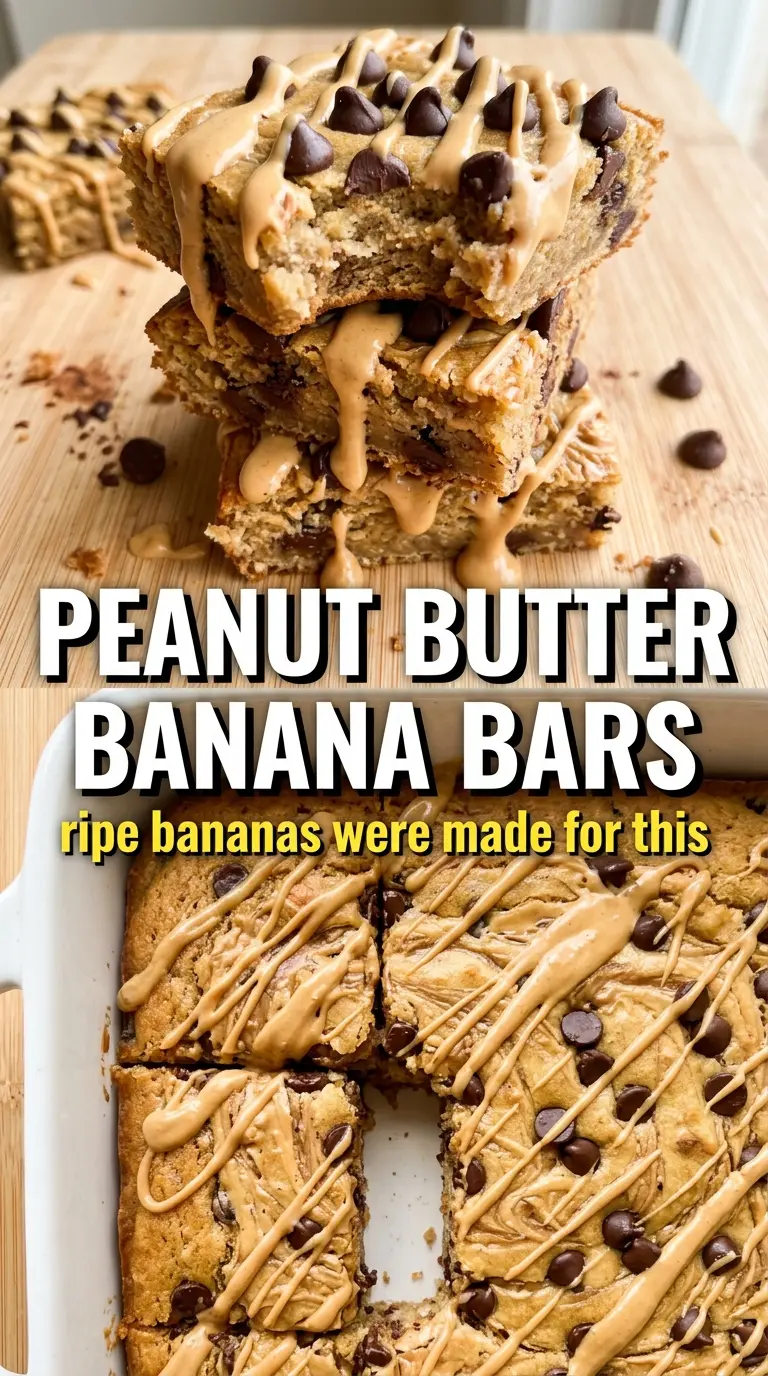
Dense peanut butter banana bars hit that sweet spot between snack cake and dessert bar: soft in the middle, sturdy enough to slice cleanly, and packed with the kind of banana flavor that tastes deeper after baking. The chocolate drizzle on top gives each square a little contrast, but the real win is the fudgy crumb and the peanut butter swirl running through the golden interior.
What makes these bars work is the balance of moisture and structure. Ripe bananas bring sweetness and softness, while oats and a bit of flour keep the bars from collapsing into something gummy. The peanut butter does double duty here, adding richness and helping the bars stay tender without needing a mixer or any complicated creaming step.
Below, I’ve included the little details that matter most: how ripe the bananas should be, when to stop mixing, and how to know the center is baked just enough to stay fudgy instead of wet. I’ve also added a few easy swaps in case you want to make them gluten-free, dairy-free, or a little more dessert-like.
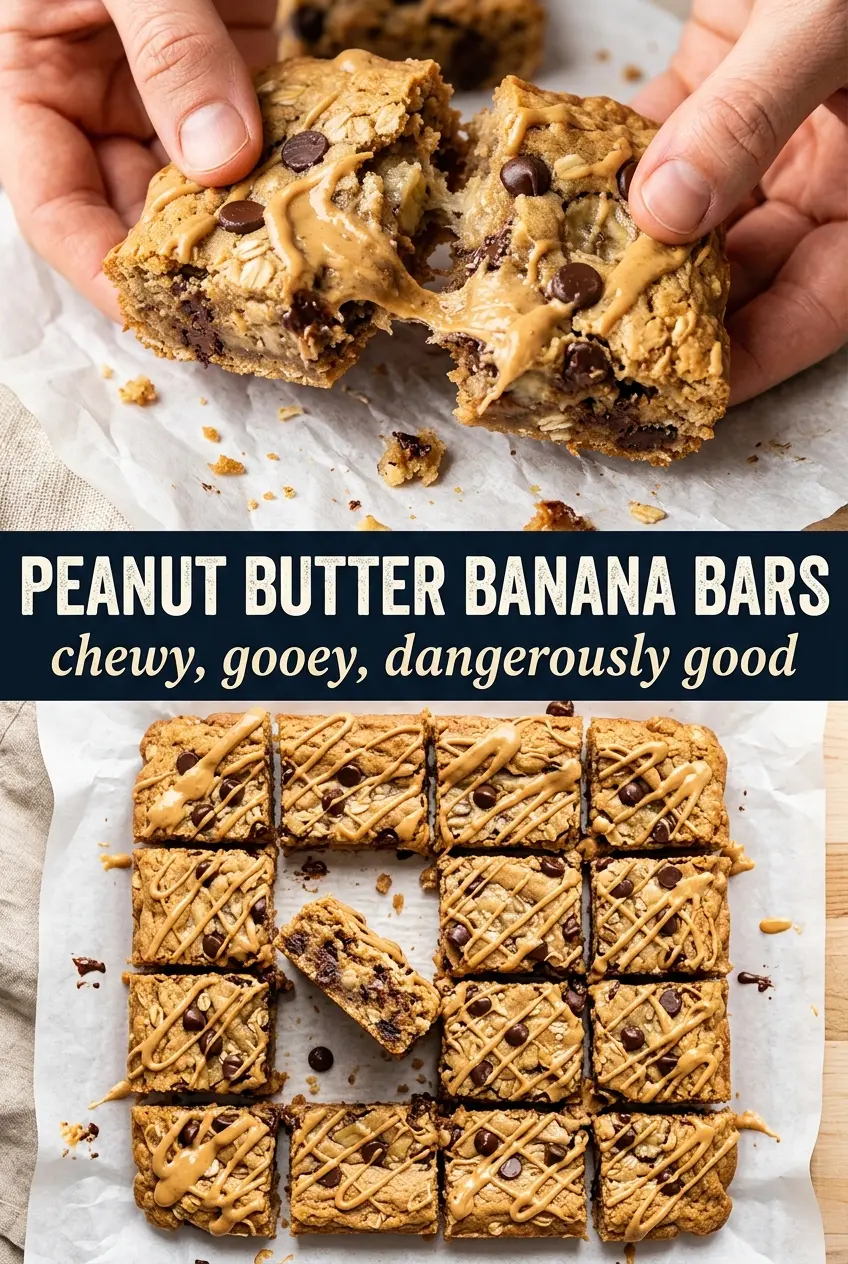
The bars came out fudgy instead of cakey, and the peanut butter drizzle set up just enough that they sliced beautifully the next day. My kids kept grabbing them straight from the pan.
Save these peanut butter banana bars for when you want a fudgy pan dessert with a glossy chocolate finish and no mixer to wash.
The Part That Keeps These Bars Fudgy, Not Dry
The biggest mistake with banana bars is baking them like cake. Once the center is set and a toothpick comes out with a few moist crumbs, they’re done. If you wait for a perfectly clean toothpick, the bars will keep baking as they cool and you’ll lose that dense, soft texture that makes them worth making.
The other thing that matters is how the bananas are handled. Mash them until smooth so they blend into the batter instead of leaving pockets of wet fruit, and stop mixing as soon as the flour disappears. Overmixing wakes up the flour and oats too much, which can make the bars tight instead of tender.
- Ripe bananas — The browner the peel, the better the flavor here. You want bananas that are soft and sweet, not just yellow.
- Creamy peanut butter — Regular creamy peanut butter gives the most even texture. Natural peanut butter works, but stir it very well first so the oil is fully incorporated.
- Rolled oats — These add chew and keep the bars from turning into a plain quick bread. Quick oats can work in a pinch, but the texture will be softer and a little less defined.
- Chocolate chips — Fold them in at the end so they stay scattered through the bars instead of melting away into the batter.
What Each Ingredient Is Doing in the Pan
- Honey or maple syrup — Either one works. Honey gives a rounder sweetness and a slightly stickier bar; maple syrup makes the banana taste a little brighter. Use whichever you already have.
- Eggs — These give the bars enough structure to slice cleanly. There isn’t a great substitute if you want the same set, but a flax egg can work if you’re willing to accept a softer, more delicate bar.
- All-purpose flour — This firms up the edges and keeps the bars from becoming too loose. For gluten-free bars, a 1:1 gluten-free flour blend is the easiest swap; don’t replace it with only oats or the bars can turn heavy and wet.
- Baking powder and cinnamon — Baking powder gives a little lift without making the bars cakey, and cinnamon pulls the banana and peanut butter together without taking over.
- Peanut butter drizzle — Warmed peanut butter makes the top look finished and adds a salty-sweet finish. Chocolate drizzle works too, but peanut butter keeps the flavor more tied to the bars themselves.
How to Mix, Bake, and Stop at the Right Moment
Make the banana base smooth first
Mash the bananas until there aren’t any large chunks left, then whisk in the peanut butter, honey or maple syrup, eggs, and vanilla until the mixture looks uniform and glossy. If the peanut butter is cold and stiff, warm it for a few seconds so it blends without clumps. This base should look thick but pourable, not dry or separated.
Fold in the dry ingredients gently
Add the oats, flour, baking powder, cinnamon, and salt, then stir only until the flour disappears. A few streaks at the bottom are better than overworking the batter. If you keep stirring after it’s combined, the bars can bake up dense in the wrong way, with a tougher crumb instead of a fudgy one.
Watch the bake, not the clock alone
Spread the batter evenly in the pan and smooth the top so it bakes at the same rate across the surface. Pull the bars when the edges look set and the center still gives a little when you tap the pan. A toothpick should come out with moist crumbs, not wet batter; if it comes out bone dry, the bars are already edging into dry territory.
Cool completely before slicing
Let the bars cool in the pan before you lift them out. They firm up as they cool, and cutting too early will make the middle smear instead of slice. If you’re adding melted peanut butter or chocolate on top, wait until the bars are fully cool so the drizzle sits on the surface instead of sinking in.
How to Adjust These Bars Without Losing the Good Texture
Make them gluten-free
Use a 1:1 gluten-free flour blend in place of the all-purpose flour. Keep the oats certified gluten-free if that matters for your kitchen. The texture stays close to the original, though the bars may be a touch more delicate when warm.
Make them dairy-free
This recipe is already naturally dairy-free if you use dairy-free chocolate chips. The peanut butter drizzle stays rich without any butter or cream, so you don’t need to change the method at all.
Make them more dessert-like
Use the chocolate drizzle and a generous handful of chocolate chips for a richer finish. You can also swap maple syrup for honey if you want a slightly deeper sweetness that pairs well with chocolate.
Use almond butter instead of peanut butter
Almond butter works if peanut butter isn’t an option, but the flavor will be milder and a little less salty. The bars will still set well, though the peanut-butter-forward taste disappears and the chocolate drizzle becomes a bigger part of the final flavor.
Storage and Reheating
- Refrigerator: Store in an airtight container for up to 5 days. The bars get a little firmer in the fridge, which is nice if you want clean slices.
- Freezer: These freeze well. Wrap individual bars tightly and freeze for up to 2 months, then thaw at room temperature.
- Reheating: If you want a softer, just-baked texture, warm a bar in the microwave for 10 to 15 seconds. Don’t overheat it or the chocolate chips will turn greasy and the bar can dry out fast.
Answers to the Questions Worth Asking
Peanut Butter Banana Bars
Ingredients
Equipment
Method
- Preheat the oven to 350°F and line an 8x8 or 9x13 baking pan with parchment paper, leaving overhang for easy lifting.
- Mash the ripe bananas completely smooth, then whisk in the creamy peanut butter, honey (or maple syrup), eggs, and vanilla extract until fully combined and glossy.
- Stir in the rolled oats, all-purpose flour, baking powder, cinnamon, and salt until just combined, scraping the sides to keep the batter even.
- Fold in the chocolate chips gently so they stay suspended for visible swirls.
- Spread the batter evenly into the prepared pan and smooth the top so it bakes flat.
- Bake for 22–25 minutes at 350°F, until the edges are set and a toothpick inserted in the center comes out with just a few moist crumbs (not wet batter).
- Cool completely in the pan to set the fudgy interior before slicing.
- Drizzle with melted peanut butter or chocolate, slice into bars, and serve once drizzled for a glossy finish.