Patriotic Pretzel Bites hit that sweet-salty lane that disappears faster than anything else on a party table. The white chocolate sets into a clean, snappy shell over the pretzels, and the red and blue drizzle gives each piece that bright, festive look without making the snack fussy or complicated.
What makes these work is the balance: enough melted coating to cling to the pretzel without burying the crunch, and enough time for the candy melts to set before you try to move them. White chocolate wafers are the easiest way to get a smooth finish, but the real trick is keeping the melts warm and fluid long enough to drizzle without seizing. A little patience at the end keeps the stripes crisp instead of muddy.
Below, I’ve included the small details that matter most, like how to keep the chocolate smooth, how to drizzle without overdoing it, and what to change if you want these to fit a different party color scheme.
The white chocolate set up smooth and the red and blue drizzle stayed bright instead of bleeding together. I brought these to our block party and the tray was empty before the burgers were even done.
Love the sweet-salty crunch and patriotic drizzle on these pretzel bites? Save this red, white, and blue party snack for your next July celebration.
Why the Chocolate Needs to Stay Thin and Smooth
The biggest mistake with pretzel bark bites is piling on too much coating. When the white chocolate layer gets thick, it hides the saltiness of the pretzel and turns each bite from crisp and snappy into something waxy and heavy. A thin coating keeps the texture clean and gives the candy drizzle a surface to cling to instead of sliding off.
Melting wafers are the easiest route here because they stay fluid without needing extra butter or oil. If you use chopped chocolate instead, it can work, but it often needs a little more attention and may not set as neatly. The goal is a coating that flows off the spoon in a ribbon, not a lump.
What Each Color Is Actually Doing Here
- Mini pretzel squares or rounds — Squares give you more flat surface for the chocolate, while rounds give a slightly more classic pretzel-bite look. Either one works, but smaller pieces keep the sweet coating in balance with the salt.
- White chocolate melting wafers — This is the base layer that makes the bites feel finished and bakery-clean. Wafers melt smoothly and set firmly; if you swap in white chocolate chips, expect a thicker melt and a little more risk of graininess.
- Red and blue candy melts — These give you the bright, high-contrast stripes without thinning out the white chocolate underneath. Candy melts are more predictable than dyed chocolate because they’re made to melt and re-set cleanly.
- Star sprinkles — Add them while the top is still wet. Once the chocolate starts setting, the sprinkles sit on the surface instead of locking in, and they can fall off when the bites are moved.
- Parchment paper — This matters more than people think. It keeps the bottoms clean and lets the set bites release without a fight; wax paper is less reliable if the room is warm.
The 30 Minutes That Make the Bites Set Cleanly
Building the Pretzel Base
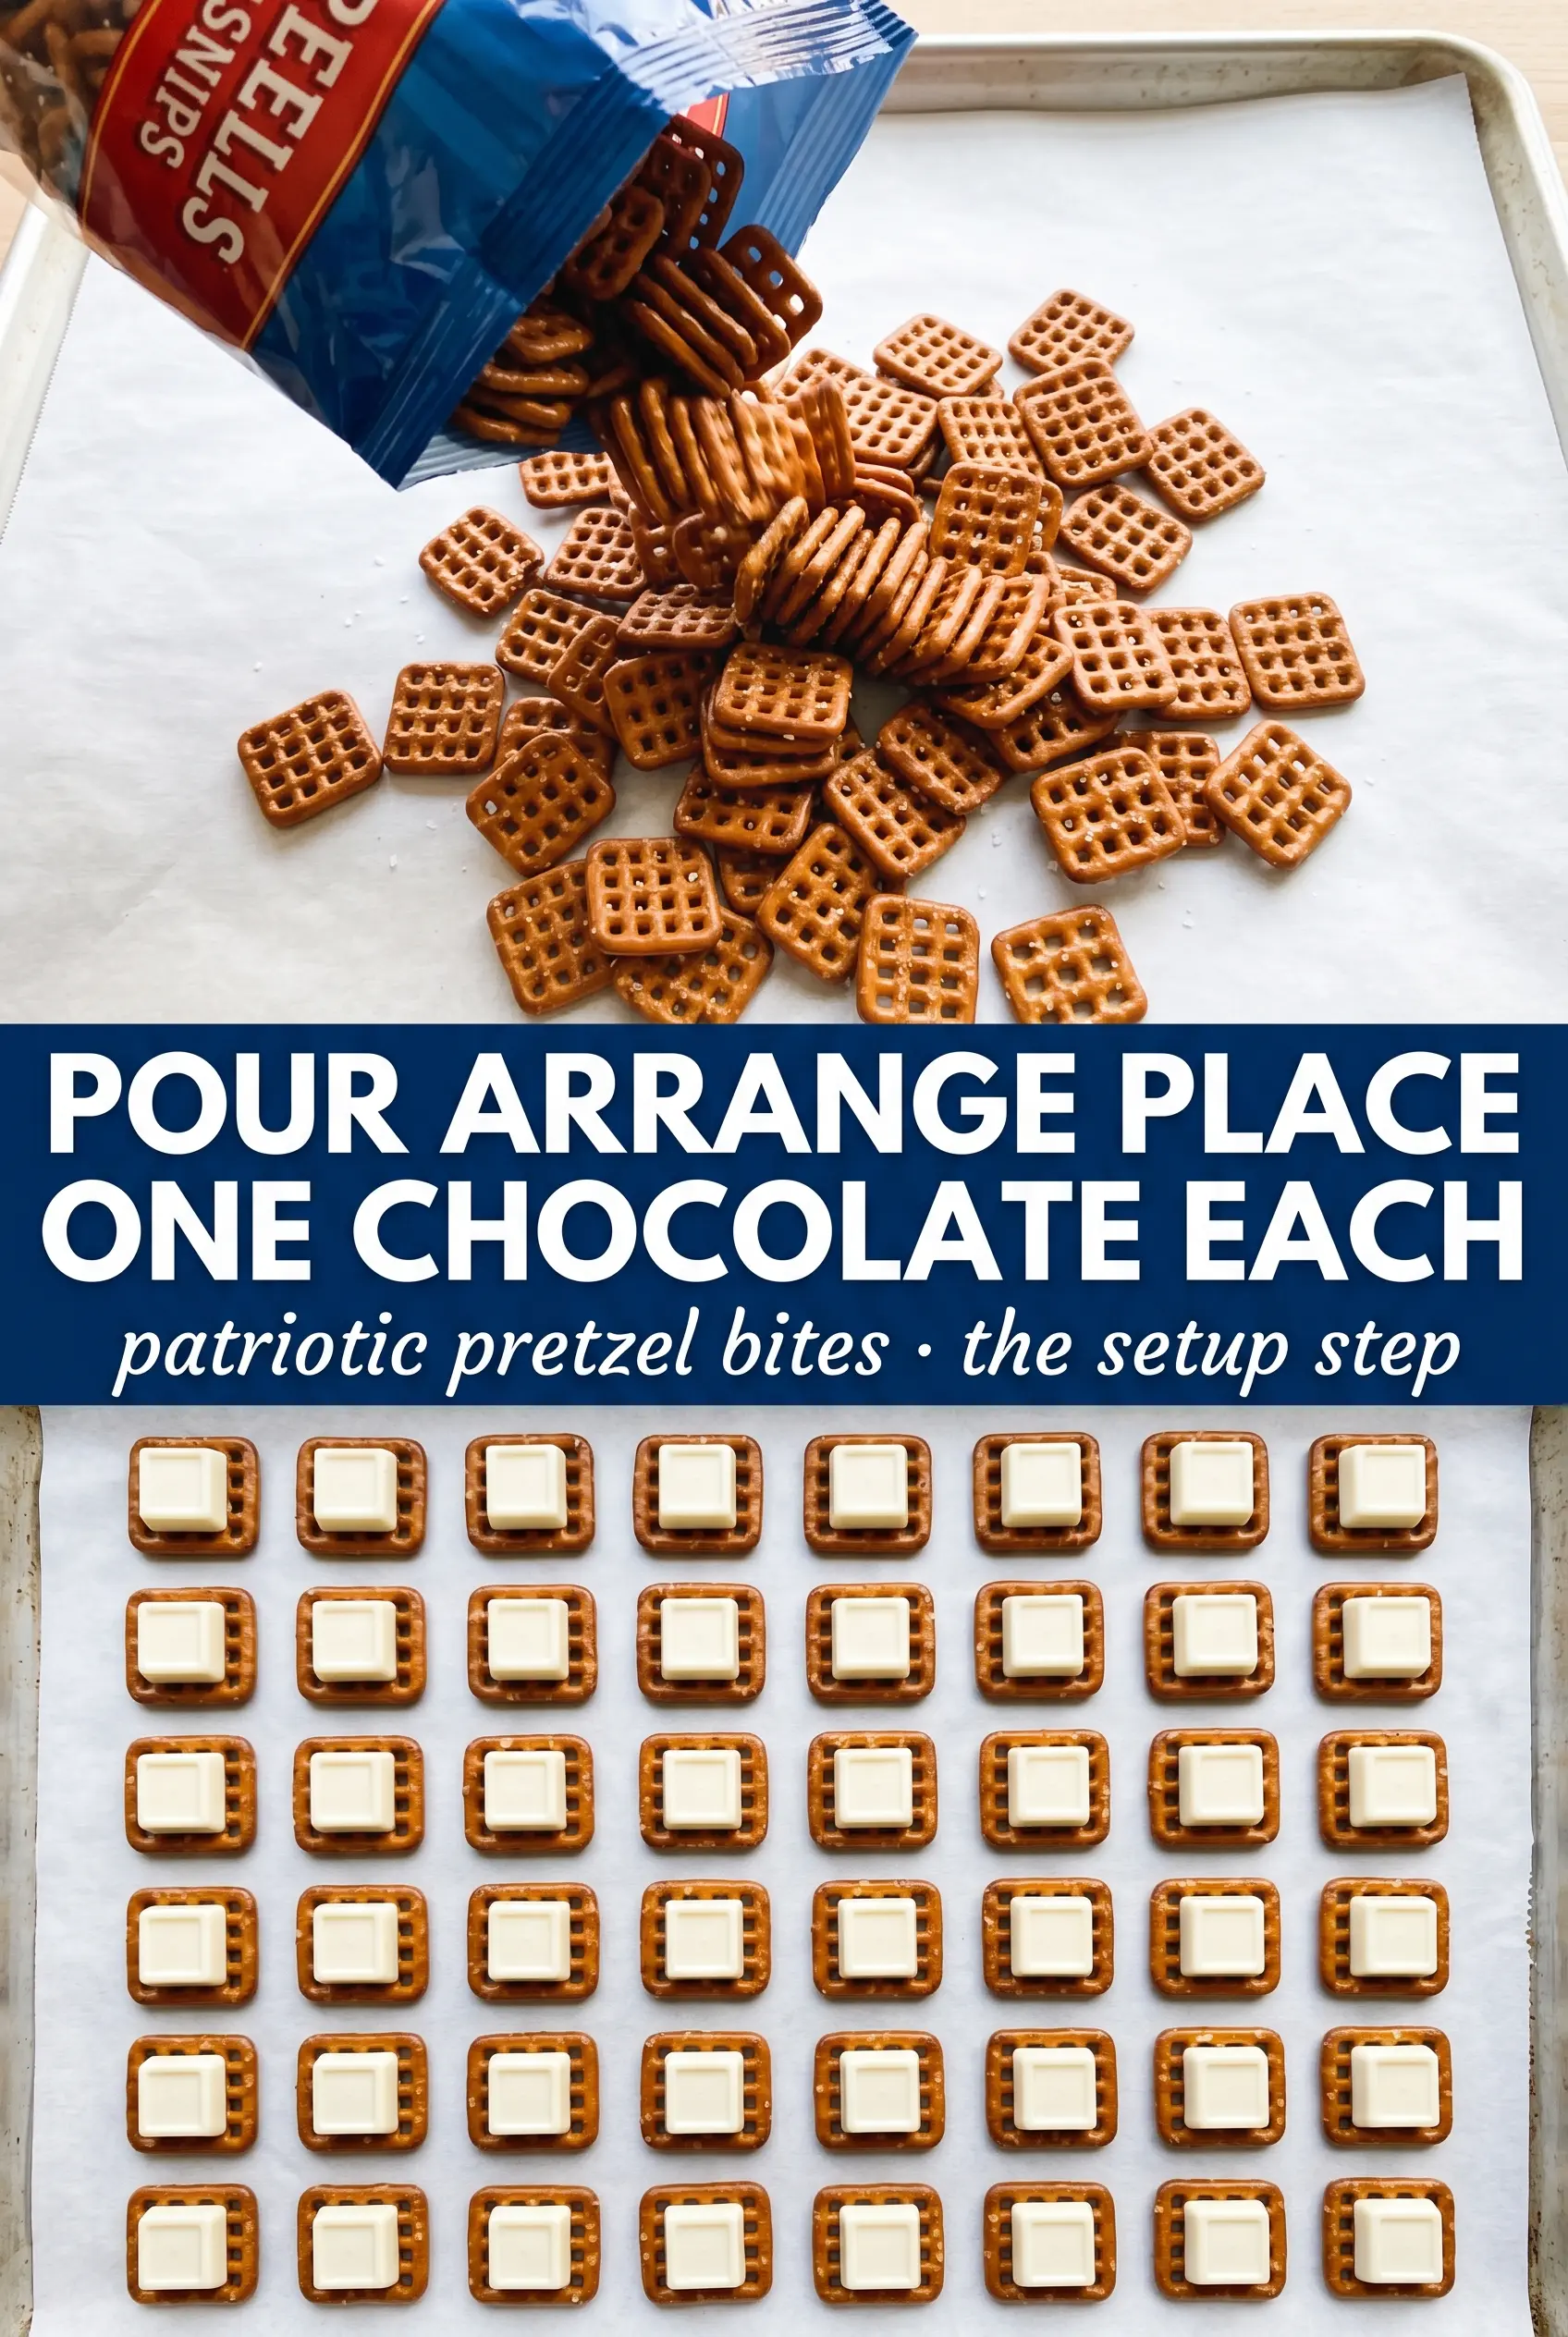
Line the tray with parchment and spread the pretzels in a single layer with a little space around each one. If they’re crowded together, the drizzle becomes a mess and the pieces fuse as the coating spreads. Start with a dry, flat surface so the chocolate has somewhere stable to land.
Melting the White Chocolate
Heat the wafers in short bursts and stir every time, even if they still look half-solid. White chocolate scorches fast, and once it goes grainy there’s no fixing the texture. Stop heating when a few small pieces remain and stir until the residual heat finishes the job.
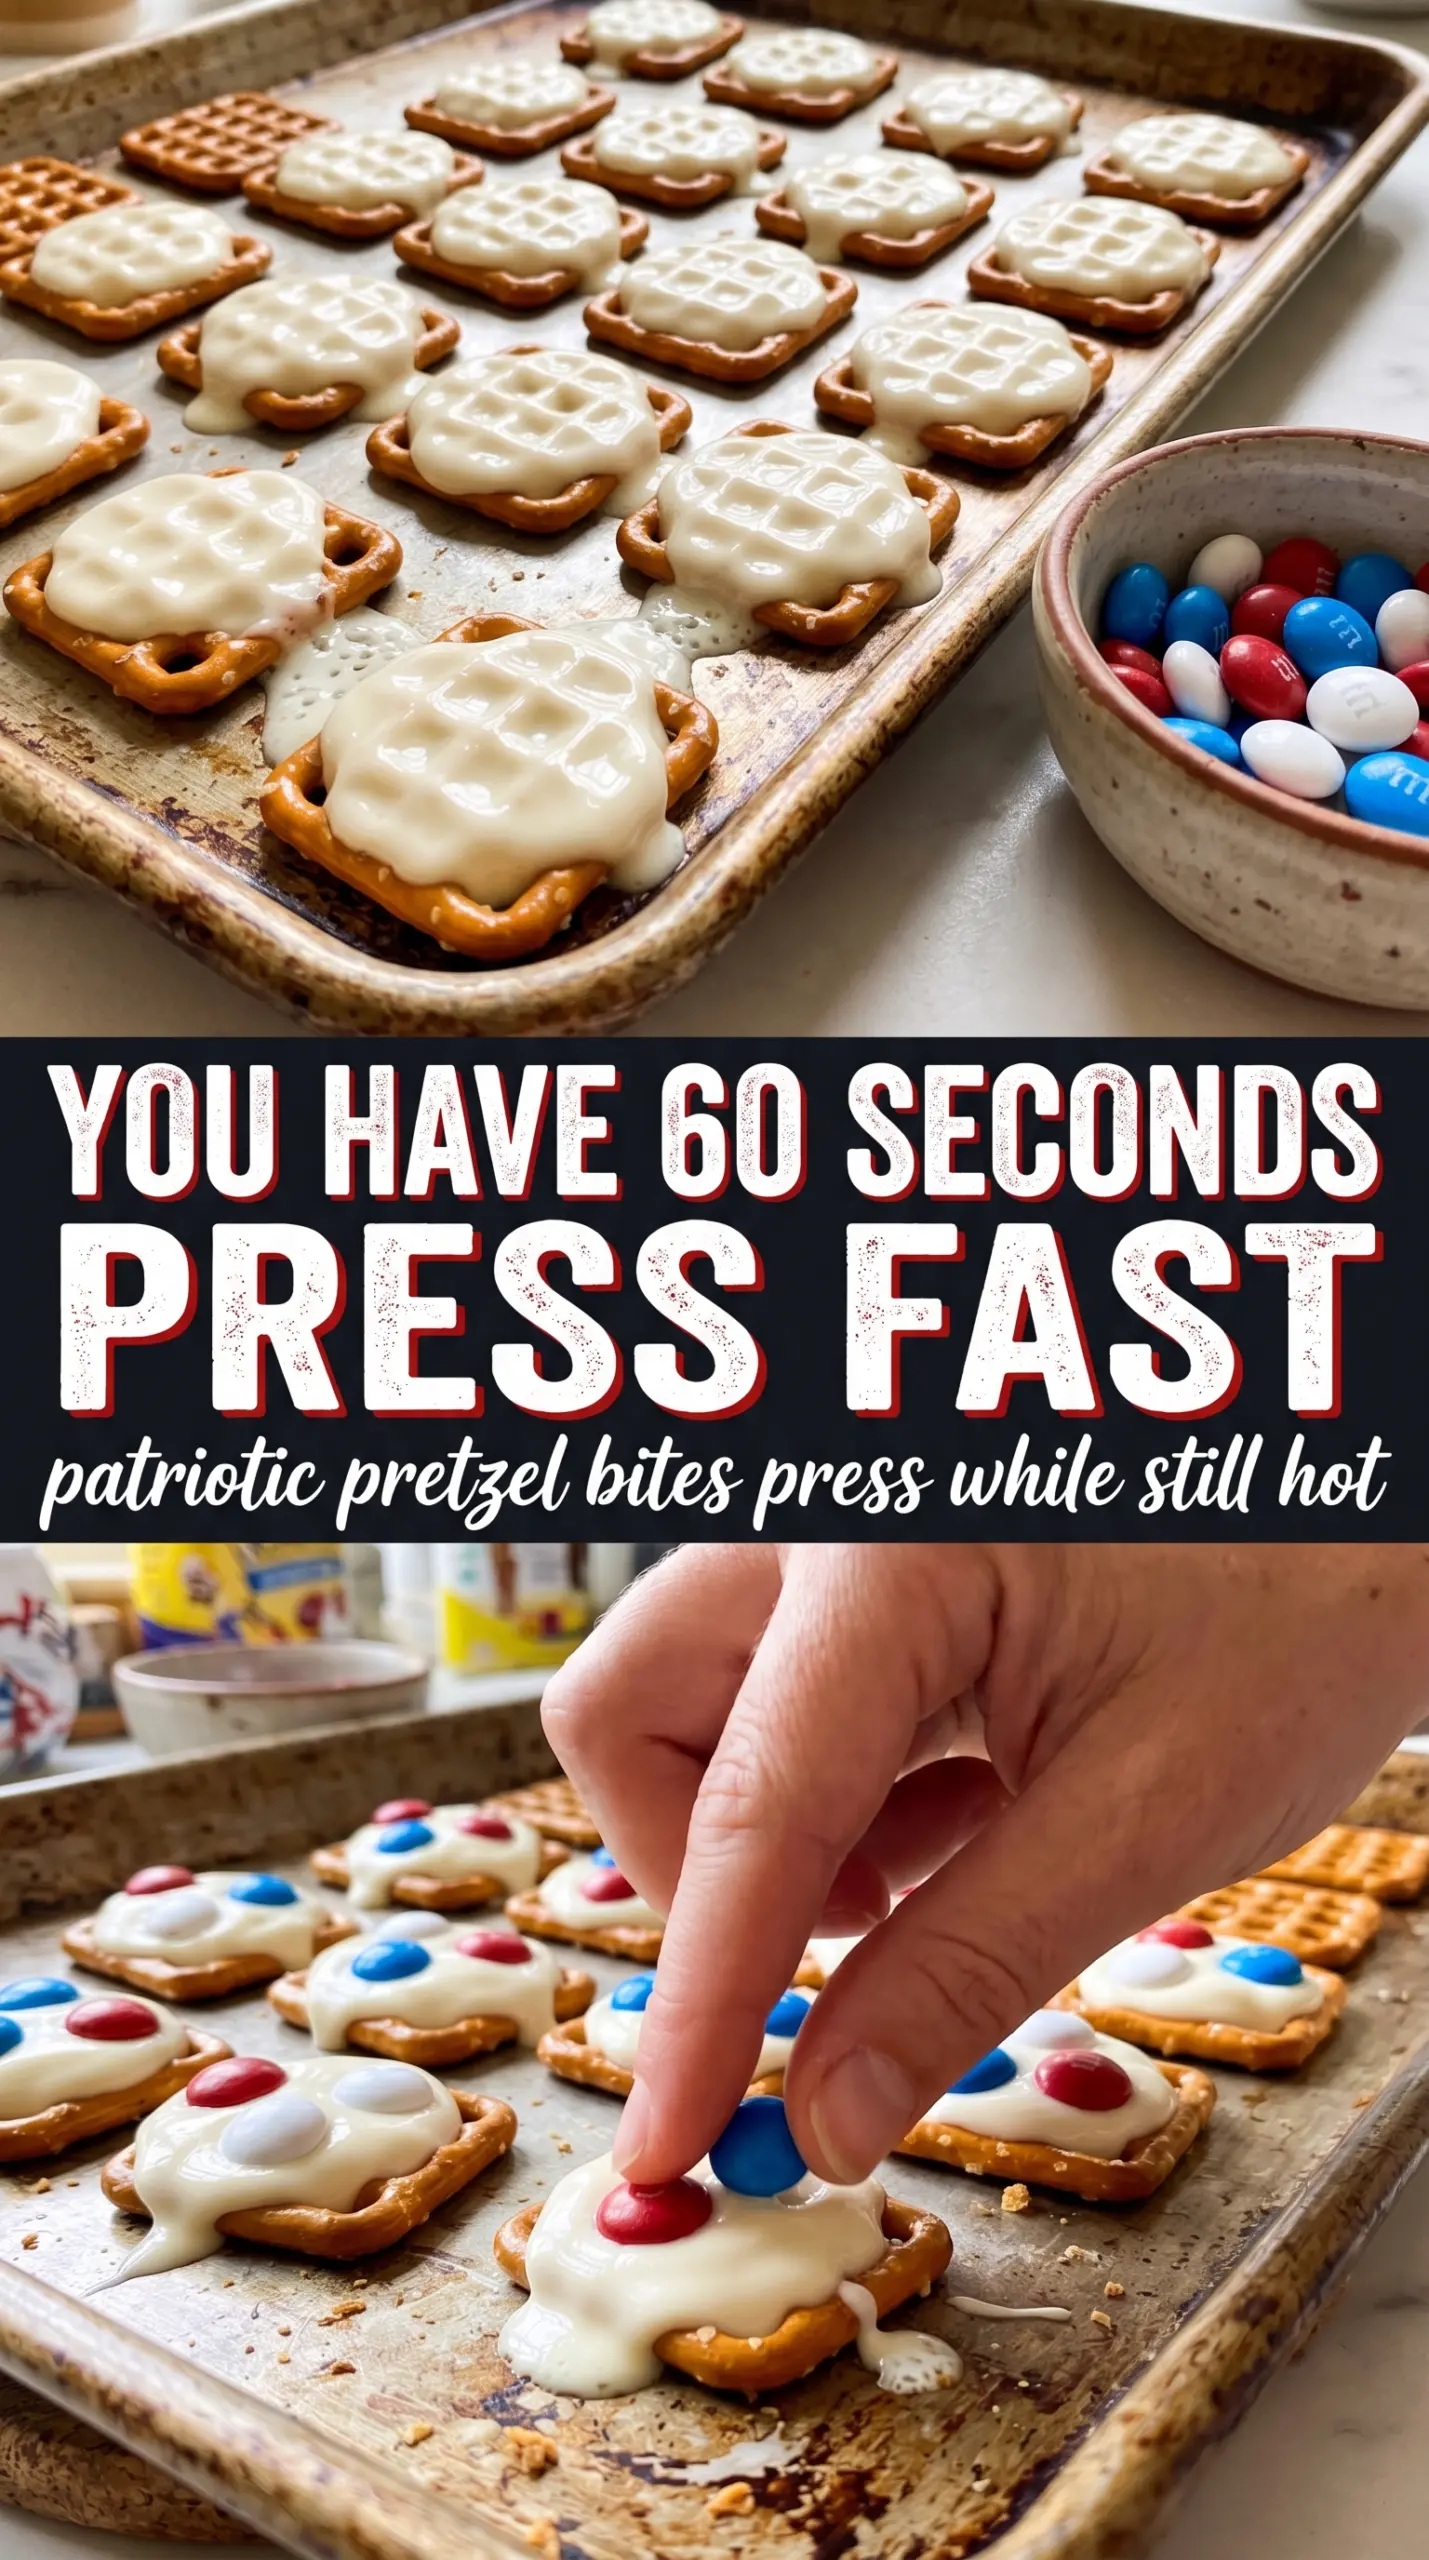
Coating and Decorating
Spoon or drizzle the white chocolate over each pretzel, then move quickly to the red and blue melts. If the base starts to set before you add the colored drizzle, the stripes won’t sit on top neatly. Finish with the star sprinkles while everything is glossy and wet, because once the surface dulls, they won’t stick as well.
Letting Them Set
Leave the tray at room temperature for the cleanest finish, or use the fridge if you need them sooner. The refrigerator speeds things up, but too long in there can cause condensation when they come back to room temperature. Once the tops are firm and the bottoms release easily, they’re ready to serve or stack.
How to Adapt These Without Losing the Crunch
Make Them Dairy-Free
Use dairy-free white chocolate-style melting wafers and dairy-free candy melts if you can find them. The texture stays close to the original, though the finish can be a little less creamy and a little more candy-like.
Swap the Colors for Another Party
Keep the pretzels and white chocolate exactly the same, then change the drizzle colors to match a birthday, baby shower, or school event. The base stays neutral, so the new colors still pop without needing any recipe changes.
Use Mini Pretzel Twists Instead
Twists give you a more rustic look and a little more crunch in each bite. They’re less uniform than squares, so the coating looks a bit more handmade, which works fine if you’re not after the neatest finish.
Storage and Reheating
- Refrigerator: Store in an airtight container for up to 1 week. The pretzels stay crisp, though the chocolate can pick up a little condensation if the container is opened and closed a lot.
- Freezer: These freeze well for up to 2 months if layered with parchment in a sealed container. Thaw them in the fridge or at room temperature while still covered so moisture doesn’t dull the drizzle.
- Reheating: No reheating needed. If the coating softens in a warm room, move the bites to the fridge for 5 to 10 minutes instead of trying to warm them again, which can melt the drizzle and ruin the finish.
Answers to the Questions Worth Asking
Patriotic Pretzel Bites
Ingredients
Equipment
Method
- Line a large baking sheet with parchment paper and spread the mini pretzel squares in a single layer with space between them so they don’t stick together.
- Melt the white chocolate melting wafers in the microwave in 30-second intervals, stirring between each, until completely smooth and glossy.
- Spoon or drizzle the melted white chocolate over each pretzel to cover the top while leaving the edges slightly visible.
- Melt the red candy melts in the microwave in 30-second intervals, stirring between each, until completely smooth.
- Melt the blue candy melts in the microwave in 30-second intervals, stirring between each, until completely smooth.
- Drizzle the red and blue melts over the white chocolate-coated pretzels using a spoon or piping bag, then keep going until each bite has contrasting stripes.
- Immediately scatter the red, white, and blue star sprinkles over each piece while the chocolate is still wet so the stars adhere.
- Let the pretzel bites sit at room temperature for 30 minutes until fully set, then break apart for serving.
- If you need them faster, refrigerate for 10 minutes to set, then break apart and serve once the chocolate is firm.