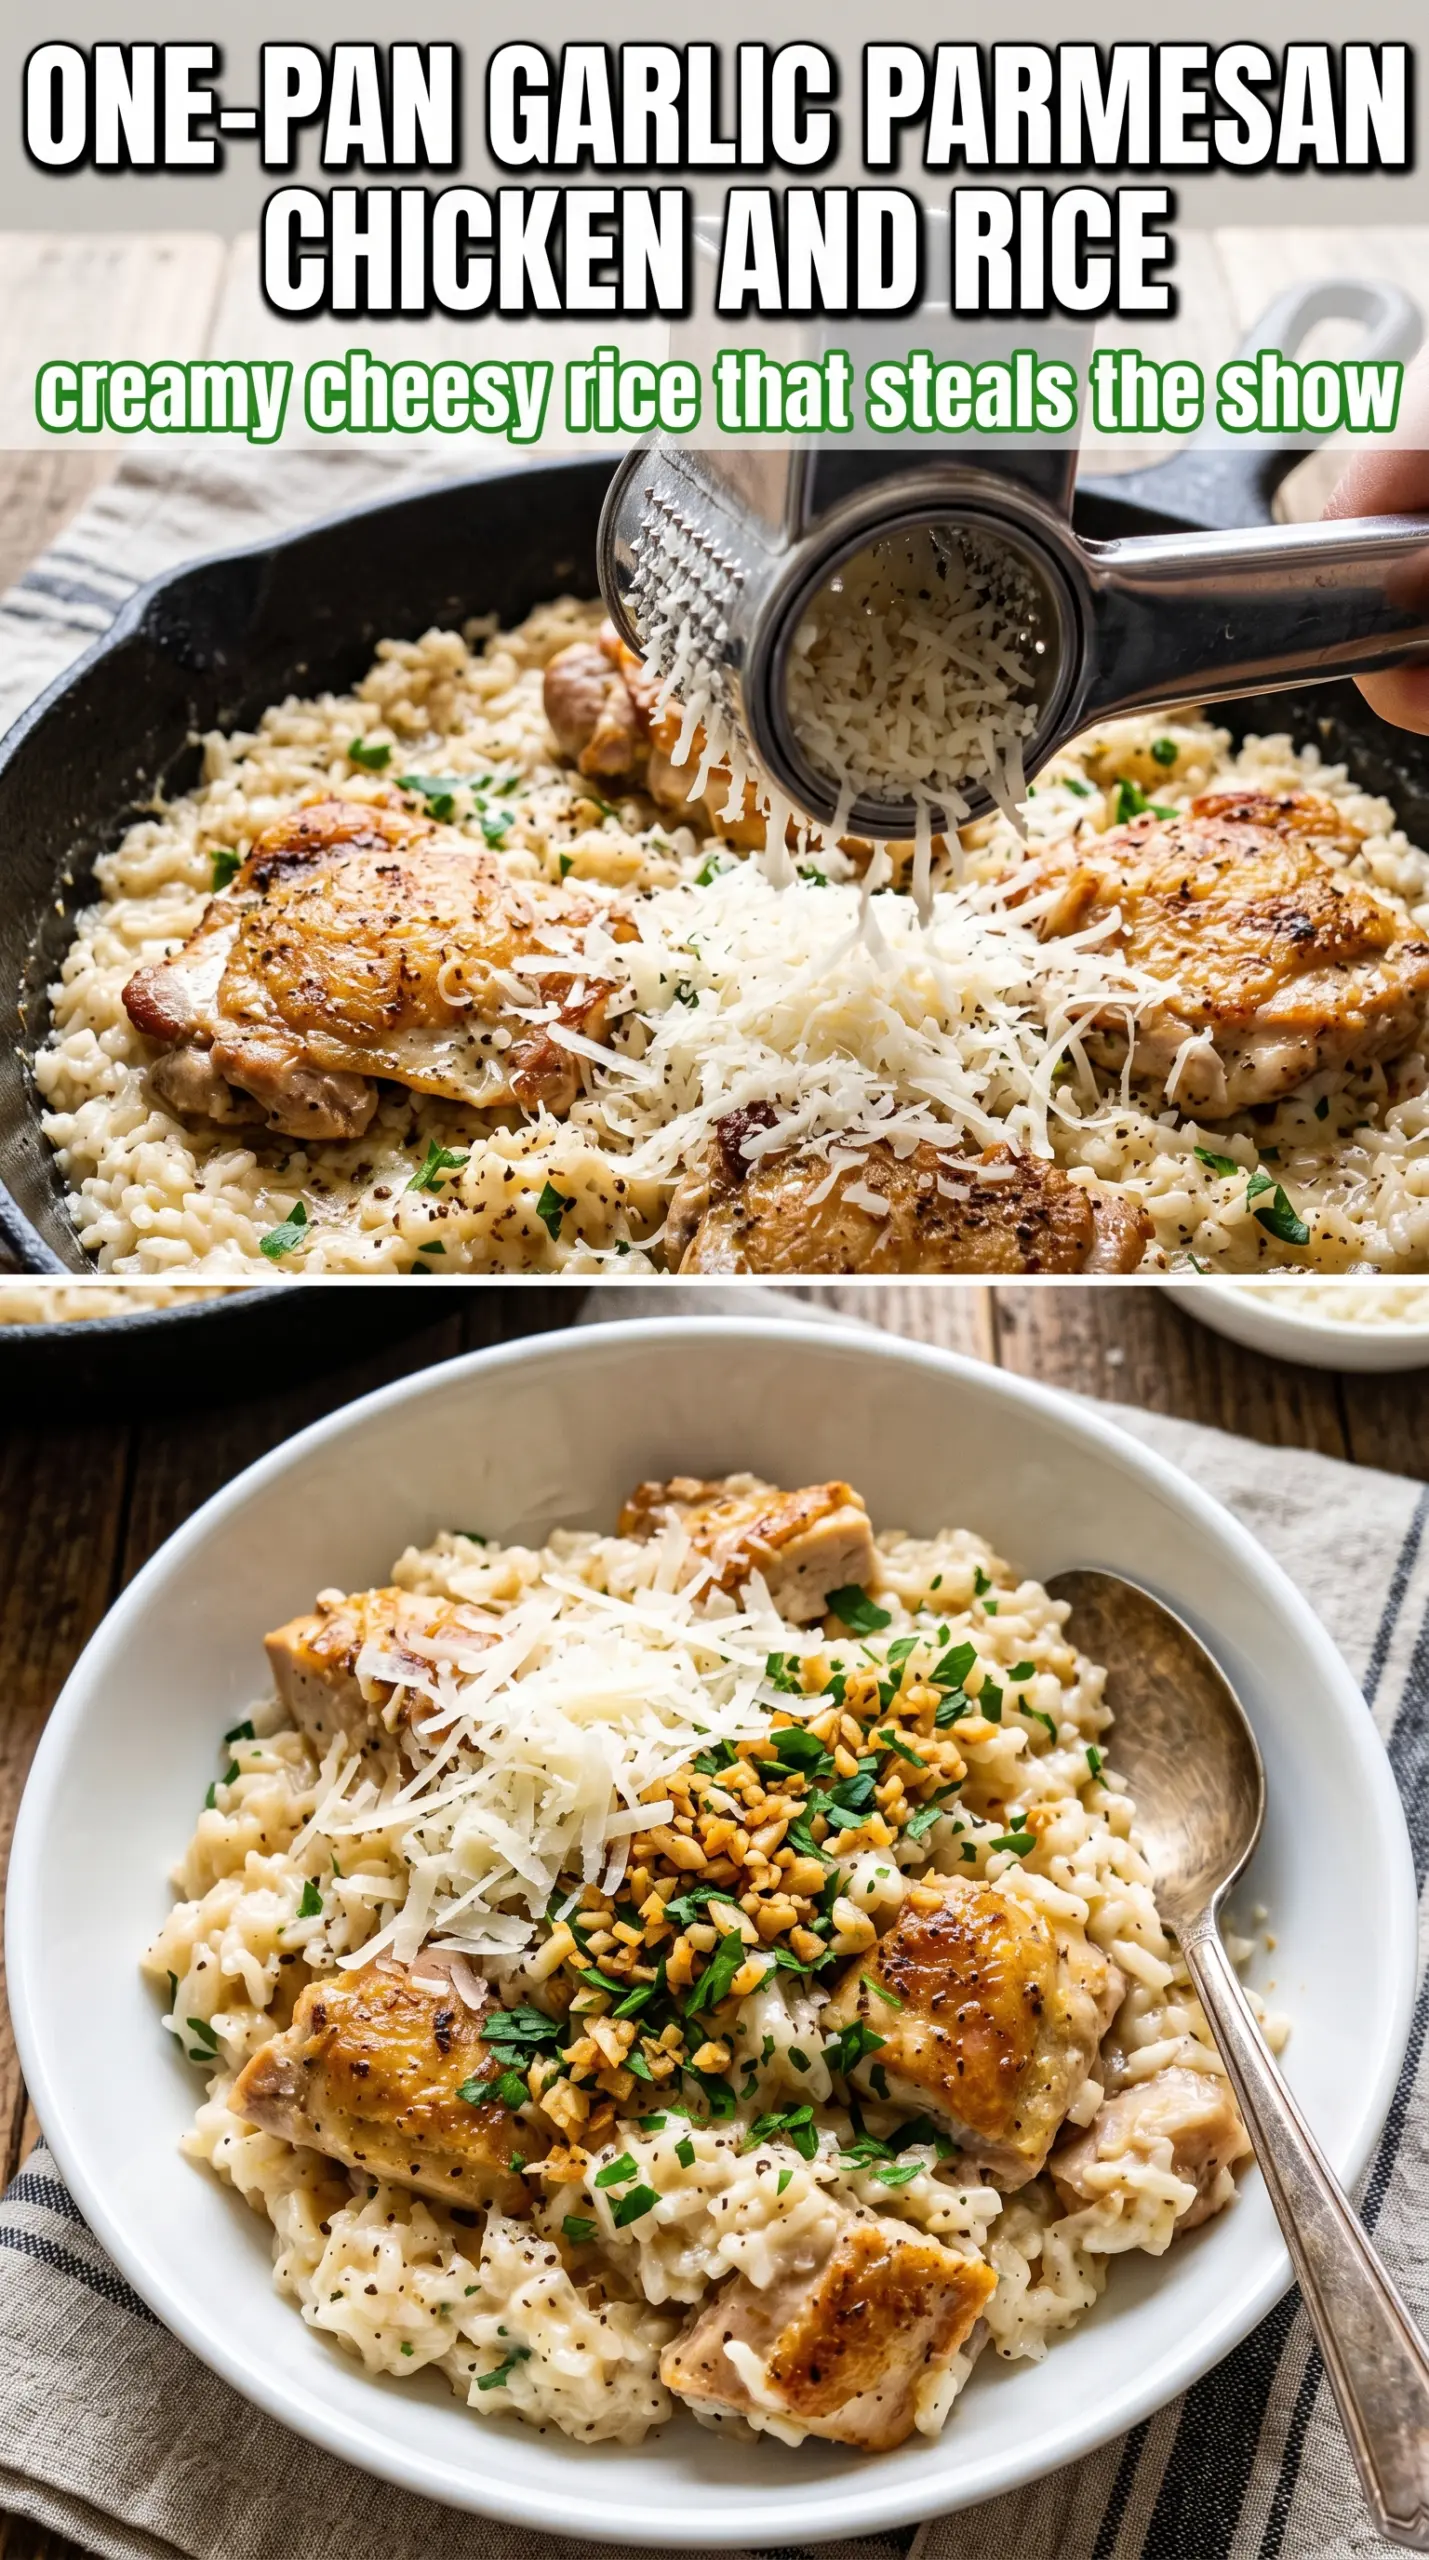
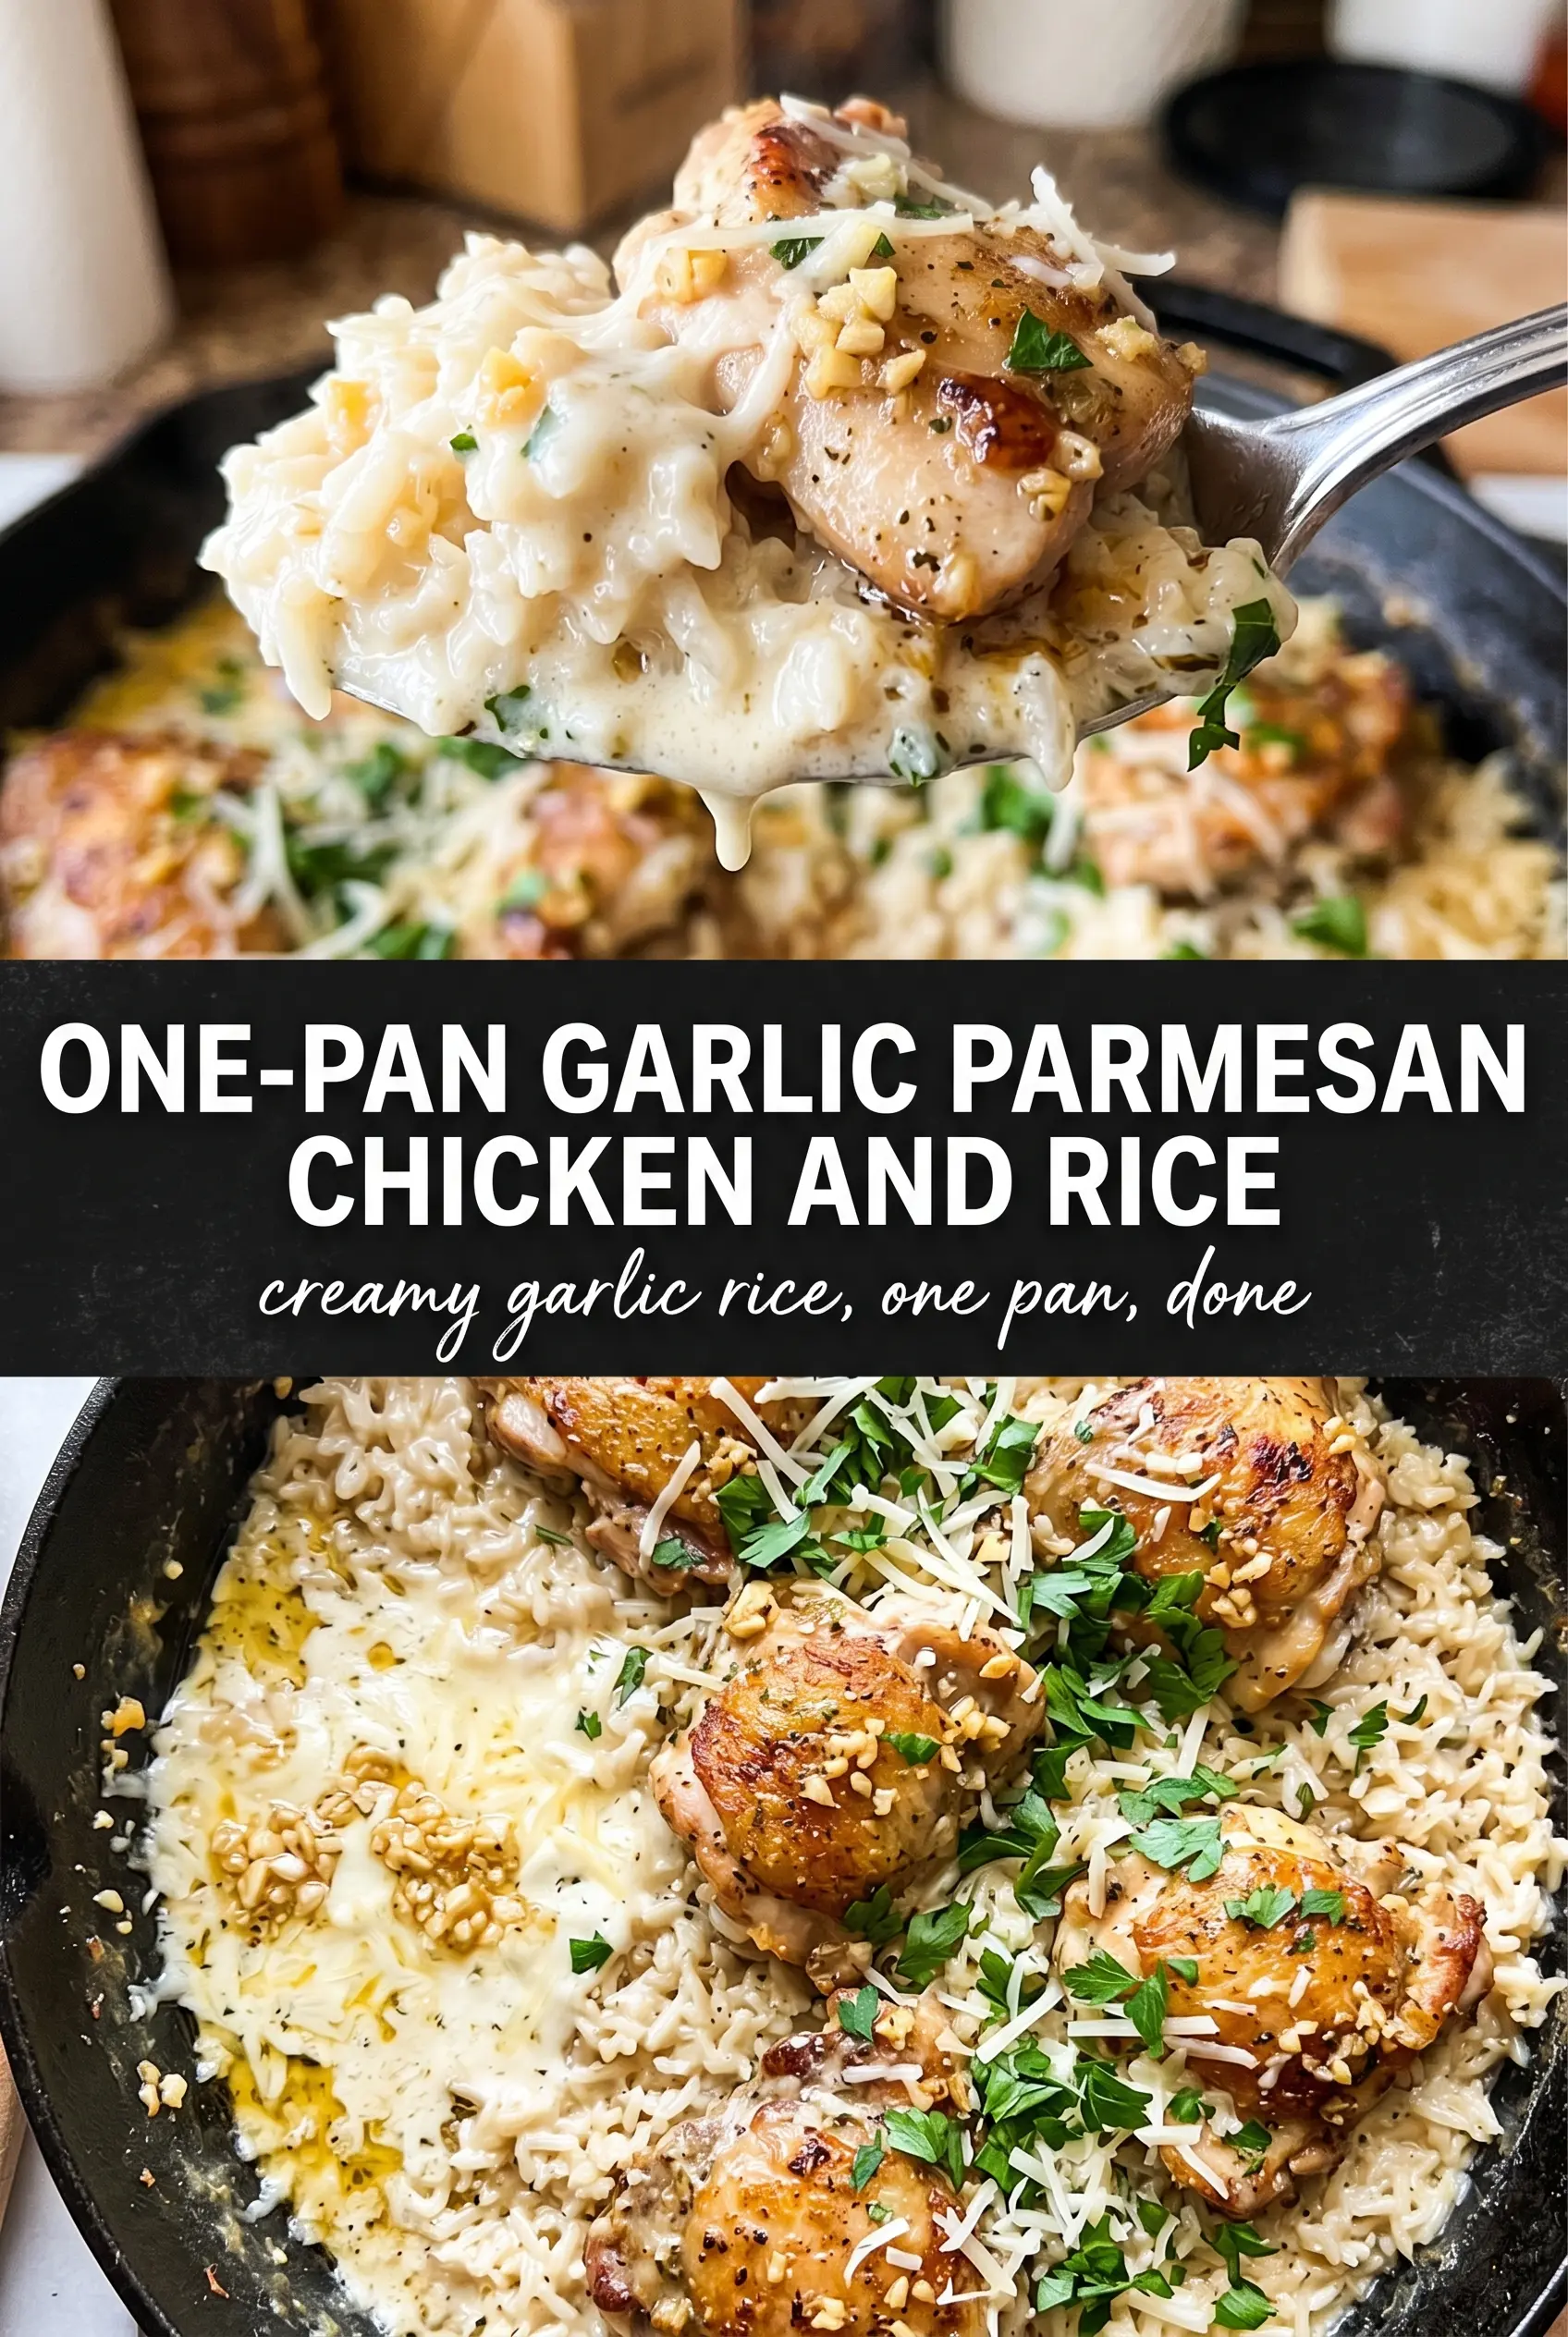
Golden chicken thighs over creamy Parmesan rice hit that sweet spot between comforting and practical. The skin stays crisp because it’s seared first and baked uncovered, while the rice underneath soaks up every bit of chicken drippings, garlic, and broth. You end up with one pan that eats like a full dinner instead of a side dish with something parked on top.
The part that makes this version work is the order. Browning the chicken first builds flavor in the pan, and toasting the rice for a couple of minutes keeps the grains from turning mushy once the broth goes in. Parmesan goes into the liquid early enough to melt into the rice, but not so much that it clumps or sinks into a heavy layer at the bottom.
Below, I’ll walk through the small details that matter most: how to keep the chicken skin crisp, how to tell when the rice is tender without overcooking it, and a few smart swaps if you need to work with what’s in the kitchen.
The rice came out creamy without turning sticky, and the chicken skin stayed crisp even after baking. I loved how the garlic and Parmesan settled into the whole pan instead of just sitting on top.
Save this one-pan garlic Parmesan chicken and rice for a night when you want crisp chicken and creamy rice from a single skillet.
The Reason the Chicken Stays Crisp Instead of Going Soggy
The biggest mistake in chicken and rice bakes is putting raw chicken straight onto wet rice and hoping it all finishes at the same pace. The skin never gets a chance to dry out, so it softens while the rice steams underneath. Searing the thighs skin-side down first solves that problem before the oven ever comes into play.
Another thing that matters here is leaving the dish uncovered during baking. Covered pans trap steam, and steam is the enemy of crackling chicken skin. The rice still cooks because it has enough broth to absorb, but the top stays exposed long enough for the skin to brown deeply and keep some texture.
- Chicken thighs — Bone-in, skin-on thighs stay juicy through the full bake and give you the best drippings for the rice. Breasts work in a pinch, but they cook faster and dry out more easily, so you’d need to shorten the oven time and check them early.
- Long-grain white rice — This is the right rice for a fluffy, separate-grain finish. Short-grain rice turns softer and stickier, and brown rice needs a different liquid ratio and longer cook time.
- Parmesan — Grated Parmesan melts into the broth and seasons the rice from the inside out. Use the real stuff if you can; pre-shredded cheese often has anti-caking agents that can make the rice a little grainy.
- Chicken broth — This carries the savory base of the dish, and a good broth makes a bigger difference than people think. If you only have low-sodium broth, keep the seasoning on the chicken a little bolder so the rice doesn’t taste flat.
What Each Ingredient Is Actually Doing in This Chicken and Rice Casserole
- Chicken (the protein center) — Cut into even pieces so everything cooks at the same rate. Thighs are more forgiving than breasts, but both work.
- Rice (the starch and texture) — Uncooked rice absorbs the liquid as the casserole bakes, so the rice cooks through at the same time as the chicken. Choose a type that won’t turn mushy.
- Broth or stock (the cooking liquid) — This seasons the rice and chicken together. Use the right amount or the rice turns mushy or crunchy. Follow package directions for rice-to-liquid ratio.
- Vegetables (the nutrition and texture) — Cut small so they cook evenly. Softer vegetables like zucchini can go in later if you want more crunch.
- Butter or oil (the richness) — Fat keeps everything from tasting dry and helps flavors develop. Don’t skip it or the finished dish will taste flat.
- Garlic and onion (the aromatic base) — These sweeten and soften as they cook, adding depth that makes the whole dish taste richer and more complete.
- Cream or cheese (optional decadence) — A splash of cream or a handful of cheese finishes the casserole without making it heavy if you balance with acid.
- Proper baking time and covered pan (the technique that matters) — Covered baking keeps everything moist while the rice absorbs liquid. Uncover at the end if you want the top to brown.
Building the Pan So the Rice Cooks Cleanly Under the Chicken
Searing the Thighs First
Heat the oil until it shimmers, then lay the chicken in skin-side down and leave it alone for a full 6 to 7 minutes. You want deep golden skin, not pale spots that never really cooked. If the chicken sticks when you try to lift it, give it another minute; properly browned skin releases more easily.
Cooking the Aromatics and Toasting the Rice
Use the same skillet and cook the onion until it softens and turns translucent, then stir in the garlic just long enough for it to smell fragrant. Add the rice and stir it around for 2 minutes so the outer grains pick up a little color and stop tasting raw. If the garlic starts to brown, the pan is too hot and the next step will taste bitter.
Finishing in the Oven
Once the broth and Parmesan go in, bring everything to a simmer before the chicken returns to the pan. Nestle the thighs skin-side up so they sit on top of the rice instead of sinking into it, then bake uncovered until the rice is tender and the chicken is cooked through. If the rice still has a hard center after the liquid is mostly gone, add a small splash of broth and give it 5 more minutes.
Small Swaps That Still Keep the Dish Balanced
Make It Dairy-Free
Skip the Parmesan and finish the rice with a little extra salt plus 2 to 3 tablespoons of olive oil for richness. You lose the nutty cheese flavor, but the dish still lands as a savory garlic chicken and rice dinner instead of tasting like something is missing.
Use Boneless Chicken Thighs
Boneless thighs work well if you want faster cooking, but they won’t give you the same crispy top or the same richness in the pan. Sear them for less time, then check for doneness earlier in the oven so they stay tender.
Swap in Brown Rice
Brown rice needs more liquid and a longer bake, so this isn’t a straight substitute. If you use it, expect to add broth and extend the oven time until the grains are fully tender, which means the chicken skin may soften a little by the end.
Storage and Reheating
- Refrigerator: Store leftovers in an airtight container for up to 4 days. The rice firms up as it chills, but it stays flavorful.
- Freezer: It freezes well for up to 2 months, though the chicken skin won’t stay crisp. Freeze in portions and thaw in the fridge overnight before reheating.
- Reheating: Reheat covered in a 325°F oven with a splash of broth until hot, then uncover for the last few minutes. The extra moisture helps the rice loosen again without drying out the chicken.
Questions I Get Asked About This Recipe
One-Pan Garlic Parmesan Chicken and Rice
Ingredients
Equipment
Method
- Preheat the oven to 400°F and set a large oven-safe skillet on the stove. Season the chicken thighs with salt, pepper, garlic powder, Italian seasoning, and smoked paprika to taste.
- Heat the olive oil in the skillet over medium-high heat and sear the chicken skin-side down for 6-7 minutes until golden and the skin looks crackling. Remove the chicken from the skillet to a plate.
- In the same skillet, cook the diced onion for 3 minutes until softened. Stir in the minced garlic and cook for 1 minute until fragrant.
- Add the uncooked long-grain white rice and toast for 2 minutes, stirring until coated and slightly fragrant.
- Pour in the chicken broth and stir in the grated Parmesan and dried Italian seasoning. Bring the mixture to a simmer.
- Nestle the chicken thighs skin-side up into the rice and sprinkle with extra Parmesan. Make sure the rice is evenly distributed around the chicken.
- Transfer to the oven and bake uncovered for 30-35 minutes, until the rice is cooked through and the chicken skin is golden. Keep it uncovered so the top stays crisp.
- Garnish with fresh parsley and serve straight from the pan. Let it rest for 5 minutes if you want the rice to firm up slightly before serving.