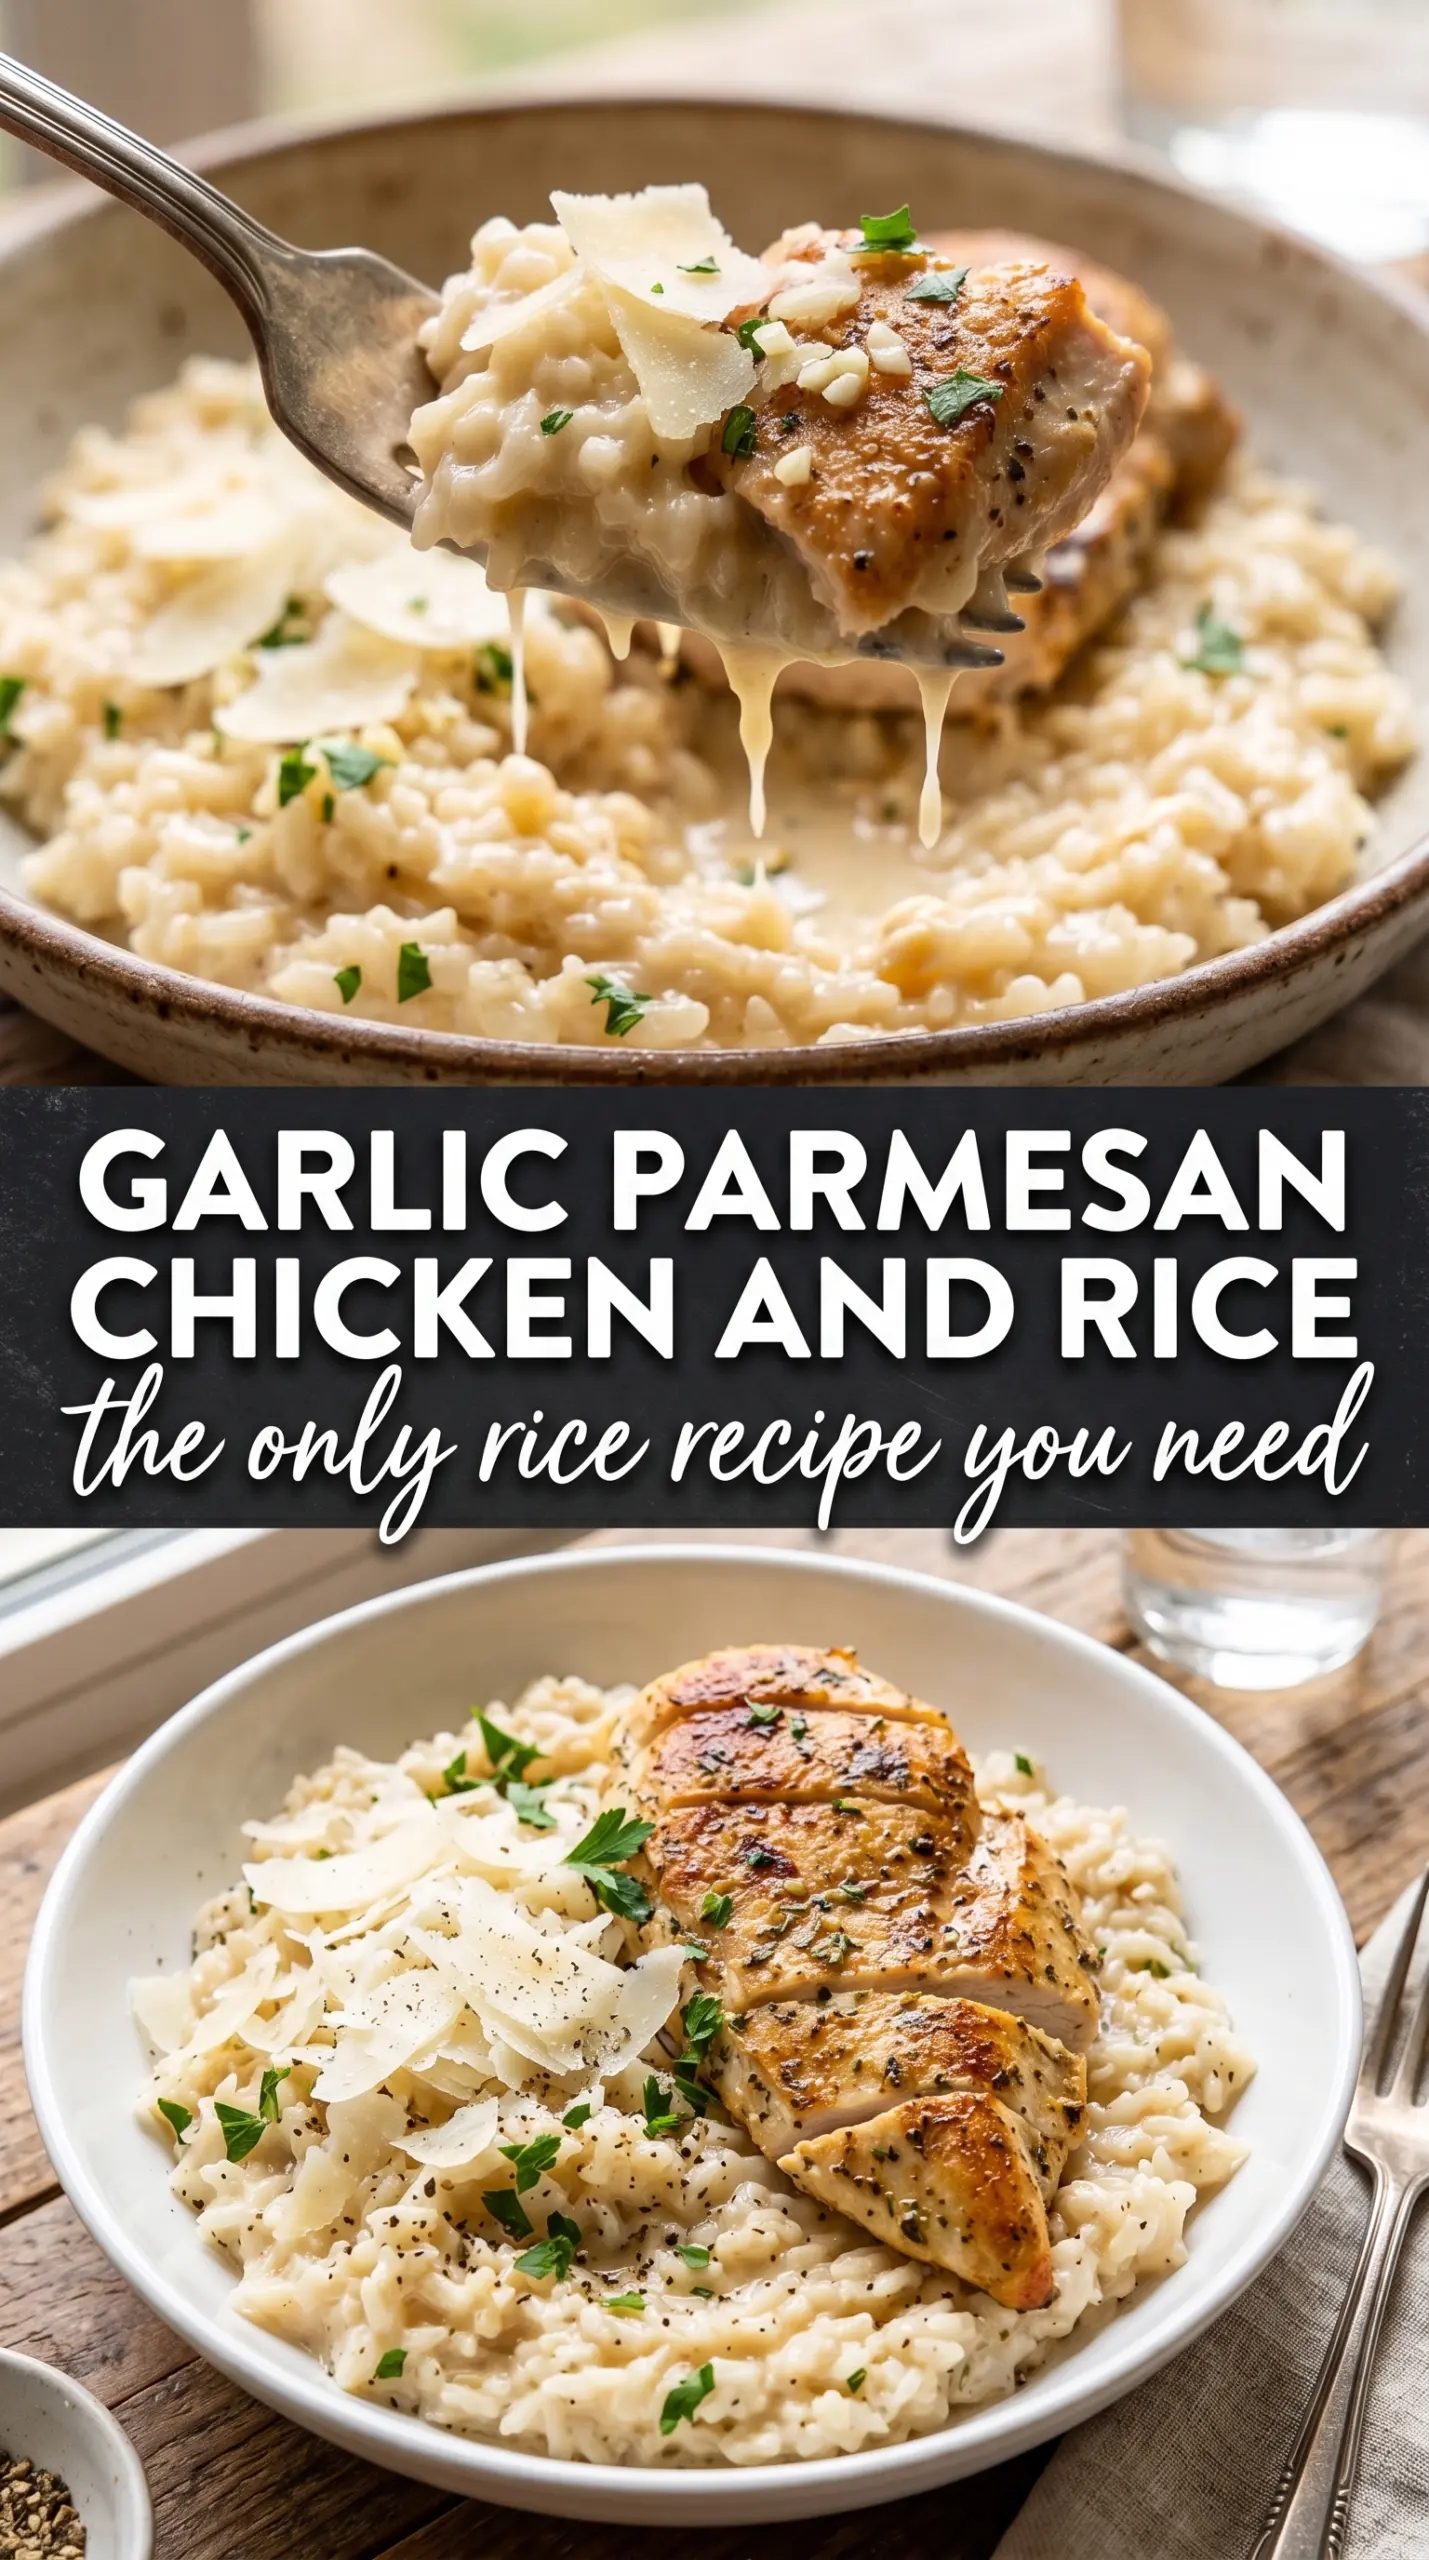
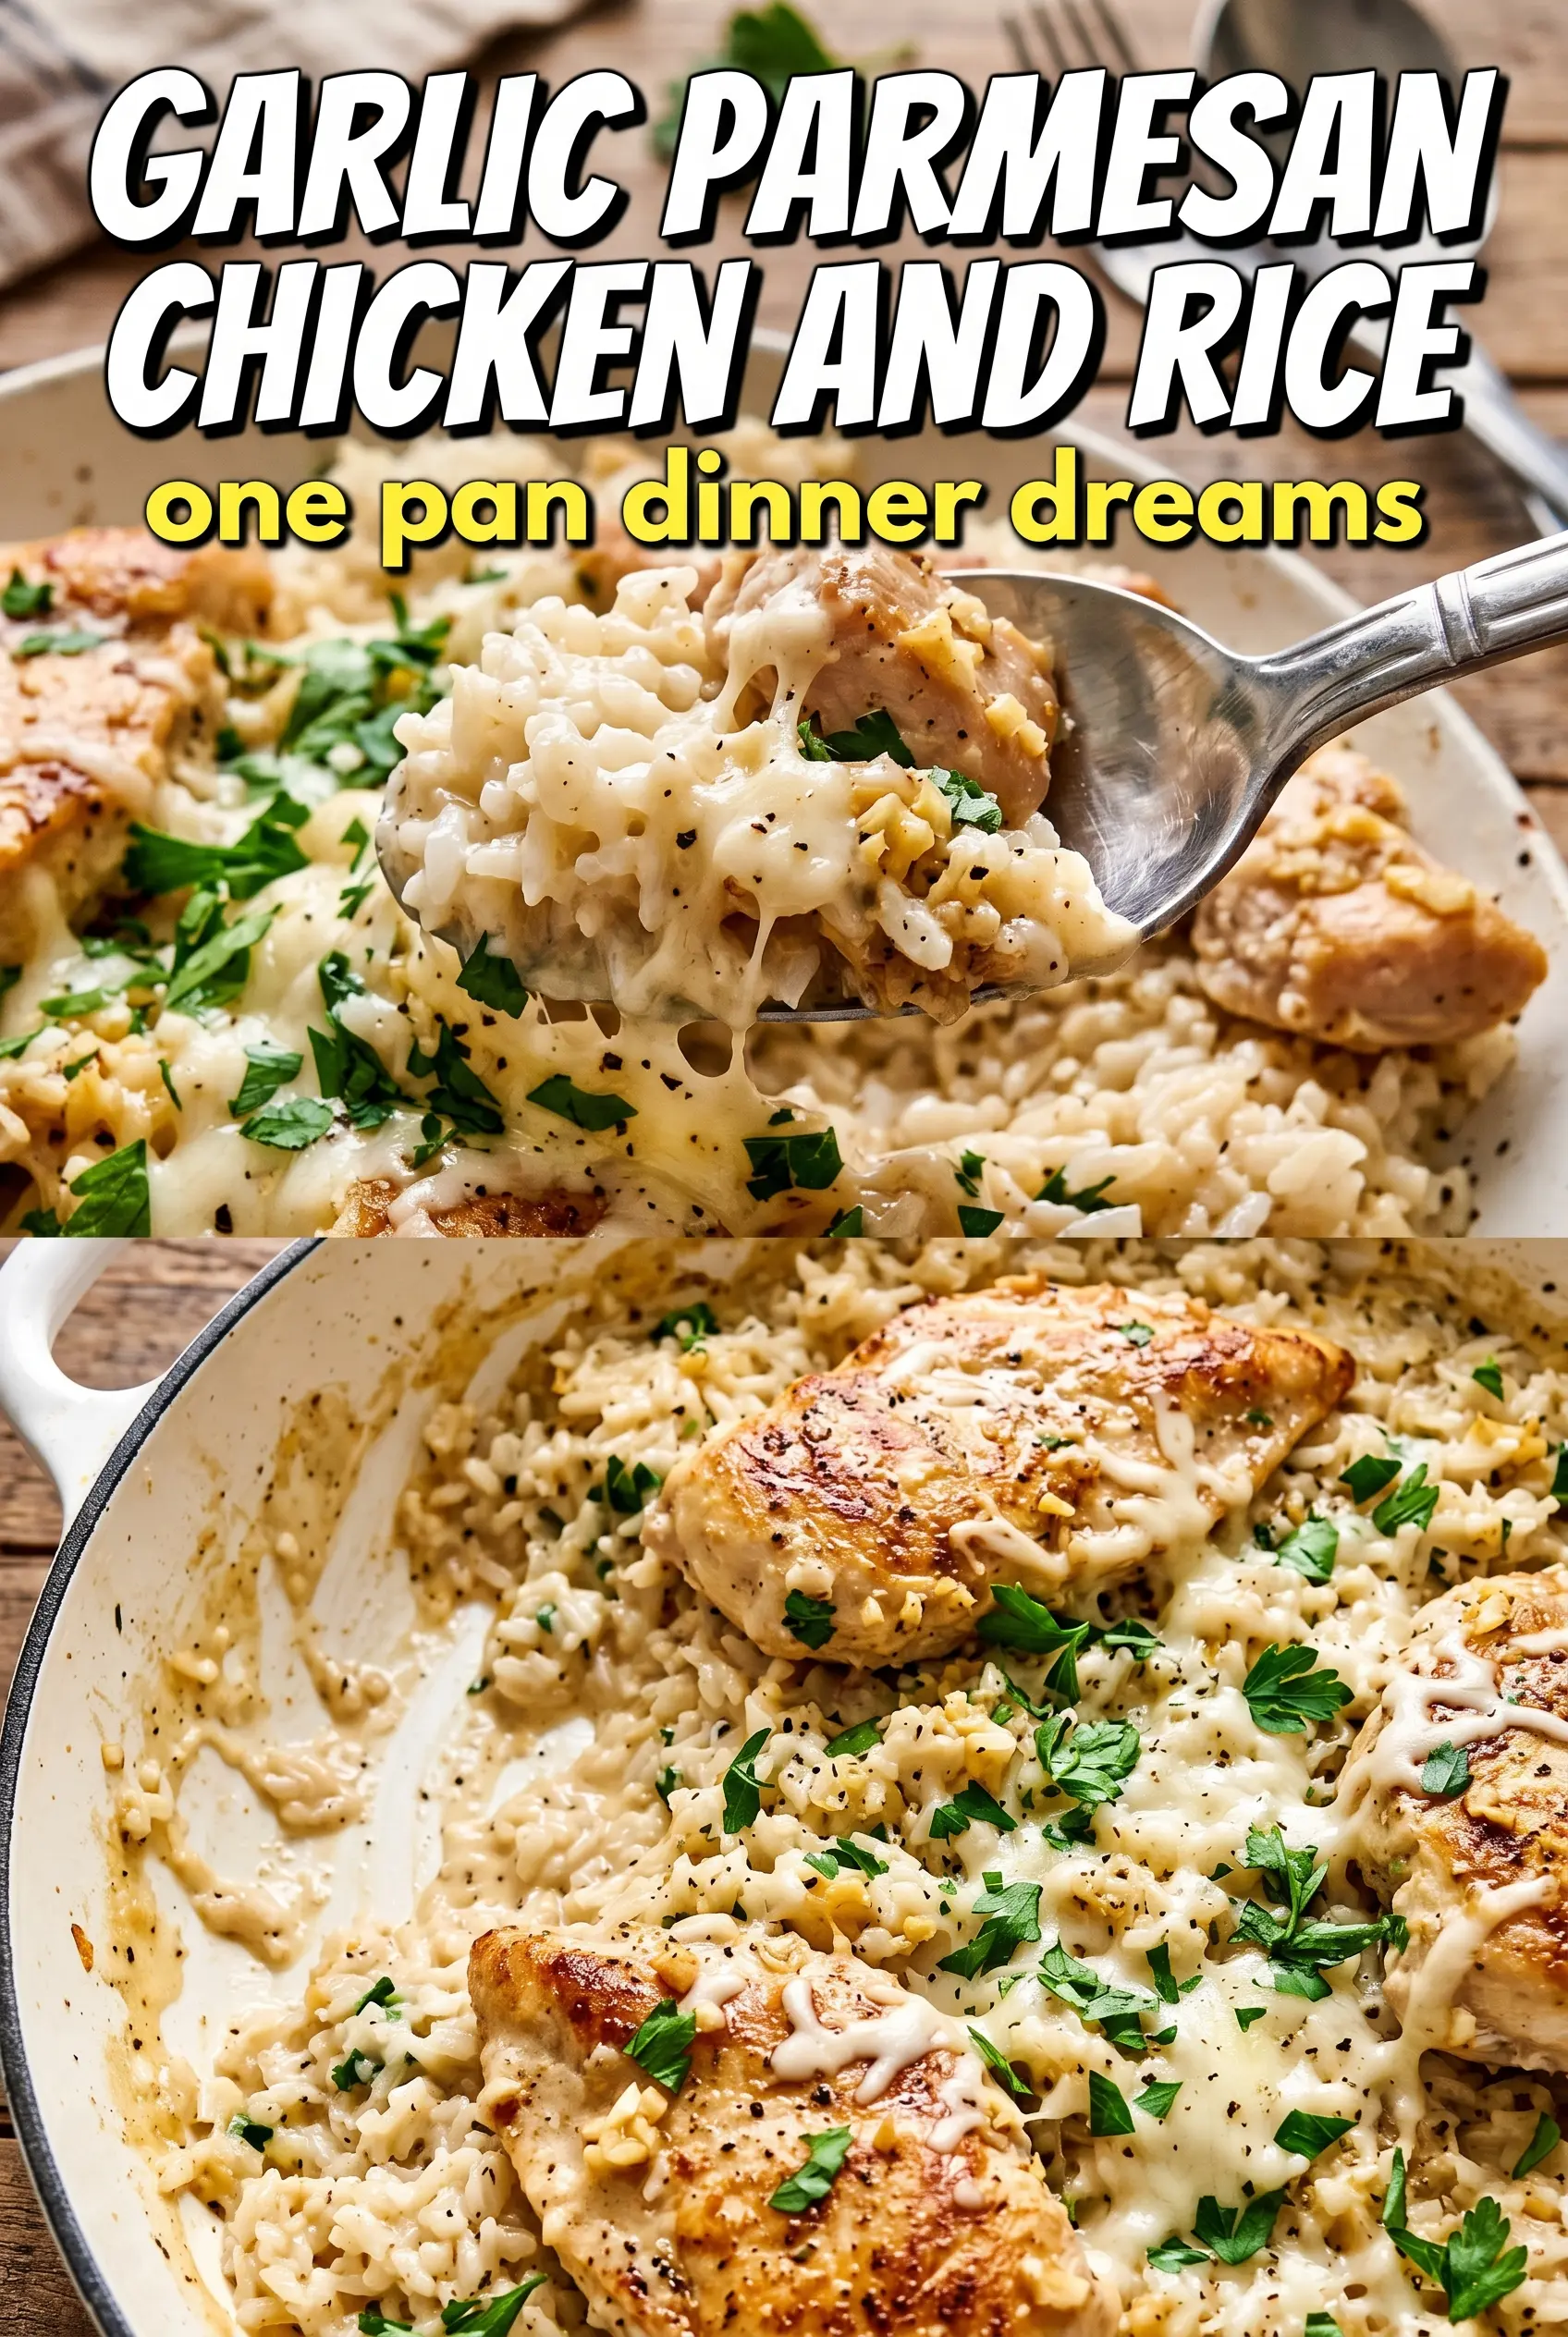
Crispy-skinned chicken thighs sitting over fluffy, garlic-scented Parmesan rice is the kind of one-pan dinner that earns a permanent place in the rotation. The chicken stays juicy because it starts with a hard sear, and the rice picks up every bit of flavor from the skillet before it goes into the oven. What you end up with is a pan that looks like you worked a lot harder than you did.
The trick is treating the rice like part of the main event, not an afterthought. Toasting it in the onion and garlic mixture gives the grains a better structure so they stay separate instead of turning mushy, and stirring the Parmesan into the broth helps build a light, savory sauce right under the chicken. The skin stays above the liquid the whole time, which is how it gets bronzed instead of soggy.
Below, I’ve included the small details that matter most: how to keep the rice from sticking, what to do if your chicken thighs are larger than average, and the best way to handle leftovers so the rice doesn’t dry out.
The rice came out fluffy and seasoned all the way through, and the chicken skin stayed crisp even after baking. I was worried the Parmesan would clump, but it melted right into the broth and made the whole pan taste rich without being heavy.
Love the golden chicken and Parmesan rice? Save this one-pan garlic Parmesan chicken and rice for a no-fuss dinner with crisp skin and creamy grains.
The Skin Stays Crisp Because the Rice Never Covers It
The biggest mistake with chicken and rice bakes is crowding the chicken down into the liquid. That steams the skin and leaves you with soft, pale chicken instead of the crackly top you want. Here, the thighs are seared first and then nestled into the rice with the skin-side up, so the oven heat can finish the skin while the broth works below.
The other thing that matters is the rice-to-liquid balance. Long-grain white rice gives you separate grains that can absorb broth without collapsing, but it needs to be toasted briefly before the liquid goes in. That quick toast helps keep the texture light and keeps the bottom of the pan from turning gluey.
- Chicken thighs — Bone-in, skin-on thighs give you the best flavor and the most forgiving texture. Boneless thighs work in a pinch, but you’ll lose some of the rich pan drippings and the skin-on finish that makes this dish stand out.
- Long-grain white rice — This is the right rice for a one-pan bake because it stays fluffy and distinct. Short-grain rice turns too soft here, and brown rice needs a different liquid ratio and a much longer bake.
- Parmesan — Grated Parmesan melts into the broth and seasons the whole pan. Use the real stuff if you can, and grate it yourself for the smoothest melt; the pre-shredded kind can be a little grainy and won’t disappear as cleanly into the rice.
- Chicken broth — Broth does more than add salt. It gives the rice depth that water can’t match, and it helps carry the garlic and Parmesan through every bite.
What Each Ingredient Is Actually Doing in This Recipe
- Primary ingredient (the star) — Quality matters most. Choose the best you can find.
- Cooking medium (oil, butter, or broth) — This carries flavors and prevents dryness.
- Seasonings (salt, pepper, spices, herbs) — Layer flavors so nothing overpowers. Build depth gradually.
- Aromatics (garlic, onion, herbs) — Cook with fat to bloom flavors. Become the foundation.
- Supporting ingredients — Complement the main ingredient without overpowering it.
- Sauce or liquid (if applicable) — Brings flavors together. Balance richness with acid.
- Acid (lemon, vinegar, wine, or other) — Brightens and prevents flat-tasting results.
- Final finish (garnish, glaze, or sauce) — Prevents one-dimensional taste and adds visual appeal.
Building the Pan So the Rice Cooks Under the Chicken, Not Around It
Getting the Chicken Skin Browned First
Season the thighs generously before they hit the hot oil. You want the skin-side down in a skillet that already feels hot when you hold your hand over it, because a lukewarm pan will make the skin stick and give you a dull, gray surface. Let it cook without moving it for the full 6 to 7 minutes until the skin turns deeply golden and releases on its own. If it’s tearing when you try to lift it, give it another minute.
Softening the Onion and Toasting the Rice
After the chicken comes out, the onion goes into the same skillet so it can pick up the browned bits left behind. Cook it just until it turns translucent and loses its raw edge, then stir in the garlic briefly so it smells fragrant but never browned. Add the rice and stir until the grains look glossy; that coating is what keeps the bake from turning heavy. If the rice sticks hard in this stage, the heat is too high.
Bringing the Broth and Parmesan Together
Pour in the broth and stir well, scraping the bottom of the pan as you go. The Parmesan should melt into the liquid, not sit in one clump, so keep the simmer gentle and give it a minute to dissolve before the chicken goes back in. If the mixture looks too thick before it goes into the oven, it should still be loose enough to move when you tilt the pan. That’s what allows the rice to finish evenly.
Baking Until the Rice Is Tender and the Skin Is Bronzed
Set the chicken thighs skin-side up on top of the rice and leave them uncovered in the oven. The exposed skin is what turns crisp, while the rice underneath absorbs the broth and steams itself into tenderness. Pull the pan when the rice is tender and the chicken is cooked through at the bone; if the rice still feels firm in the center, add a splash of hot broth and give it a few more minutes rather than letting it dry out.
How to Adapt This When You Need a Different Shortcut
Use chicken breasts for a leaner version
Boneless chicken breasts work, but they need less time in the oven and can dry out if you bake them exactly the same way as thighs. Sear them lightly, then check early and pull them once the center reaches temperature. The rice will still taste great, but you’ll lose some of the richness that comes from the thighs and their rendered fat.
Make it gluten-free without changing the method
This recipe is naturally gluten-free as written as long as your broth is certified gluten-free. Nothing about the technique needs to change, which is one of the reasons it works so well for mixed tables and weeknight cooking.
Swap in boneless thighs when time matters
Boneless thighs cook a little faster and are easier to eat, especially if you’re serving kids. They won’t give you the same dramatic crisp skin, so keep the rice flavorful and let a little extra Parmesan brown on top to make up for the missing crunch.
Add vegetables without flooding the pan
Stir in a handful of baby spinach at the very end or add finely chopped mushrooms with the onion. Anything watery, like zucchini, will release too much moisture and throw off the rice, so keep the add-ins dry or pre-cooked.
Storage and Reheating
- Refrigerator: Store leftovers in an airtight container for up to 4 days. The rice will firm up as it sits, but it stays flavorful.
- Freezer: This freezes well, though the rice softens a bit after thawing. Cool completely, portion into freezer-safe containers, and freeze for up to 2 months.
- Reheating: Reheat covered in a 325°F oven with a splash of broth or water until hot through. The common mistake is blasting it uncovered in the microwave, which dries out the chicken and makes the rice hard at the edges.
Questions I Get Asked About This Recipe
One-Pan Garlic Parmesan Chicken and Rice
Ingredients
Equipment
Method
- Preheat oven to 400°F and set a large oven-safe skillet on the stove. Season chicken thighs with salt, pepper, garlic powder, Italian seasoning, and smoked paprika to taste.
- Heat olive oil in the skillet over medium-high heat and sear chicken skin-side down for 6-7 minutes until golden. Keep the skin down so it browns well, then remove the chicken to a plate.
- In the same skillet, cook the diced onion for 3 minutes until softened. Add the minced garlic and cook for 1 minute, stirring so it doesn’t brown.
- Add the uncooked long-grain white rice and toast for 2 minutes. Stir to coat the grains in the garlic-onion oil.
- Pour in chicken broth and stir in Parmesan and dried Italian seasoning, then bring to a simmer. Look for steady bubbling around the edges of the skillet.
- Nestle chicken thighs skin-side up into the rice and sprinkle with extra Parmesan. Make sure the chicken sits above the rice surface so the skin can crisp.
- Bake uncovered for 30-35 minutes at 400°F until the rice is cooked and the chicken skin is golden. The cheese at the edges should look browned and the chicken skin should appear crackling.
- Garnish with fresh parsley and serve. Spoon the creamy Parmesan rice into bowls with chicken thighs on top.