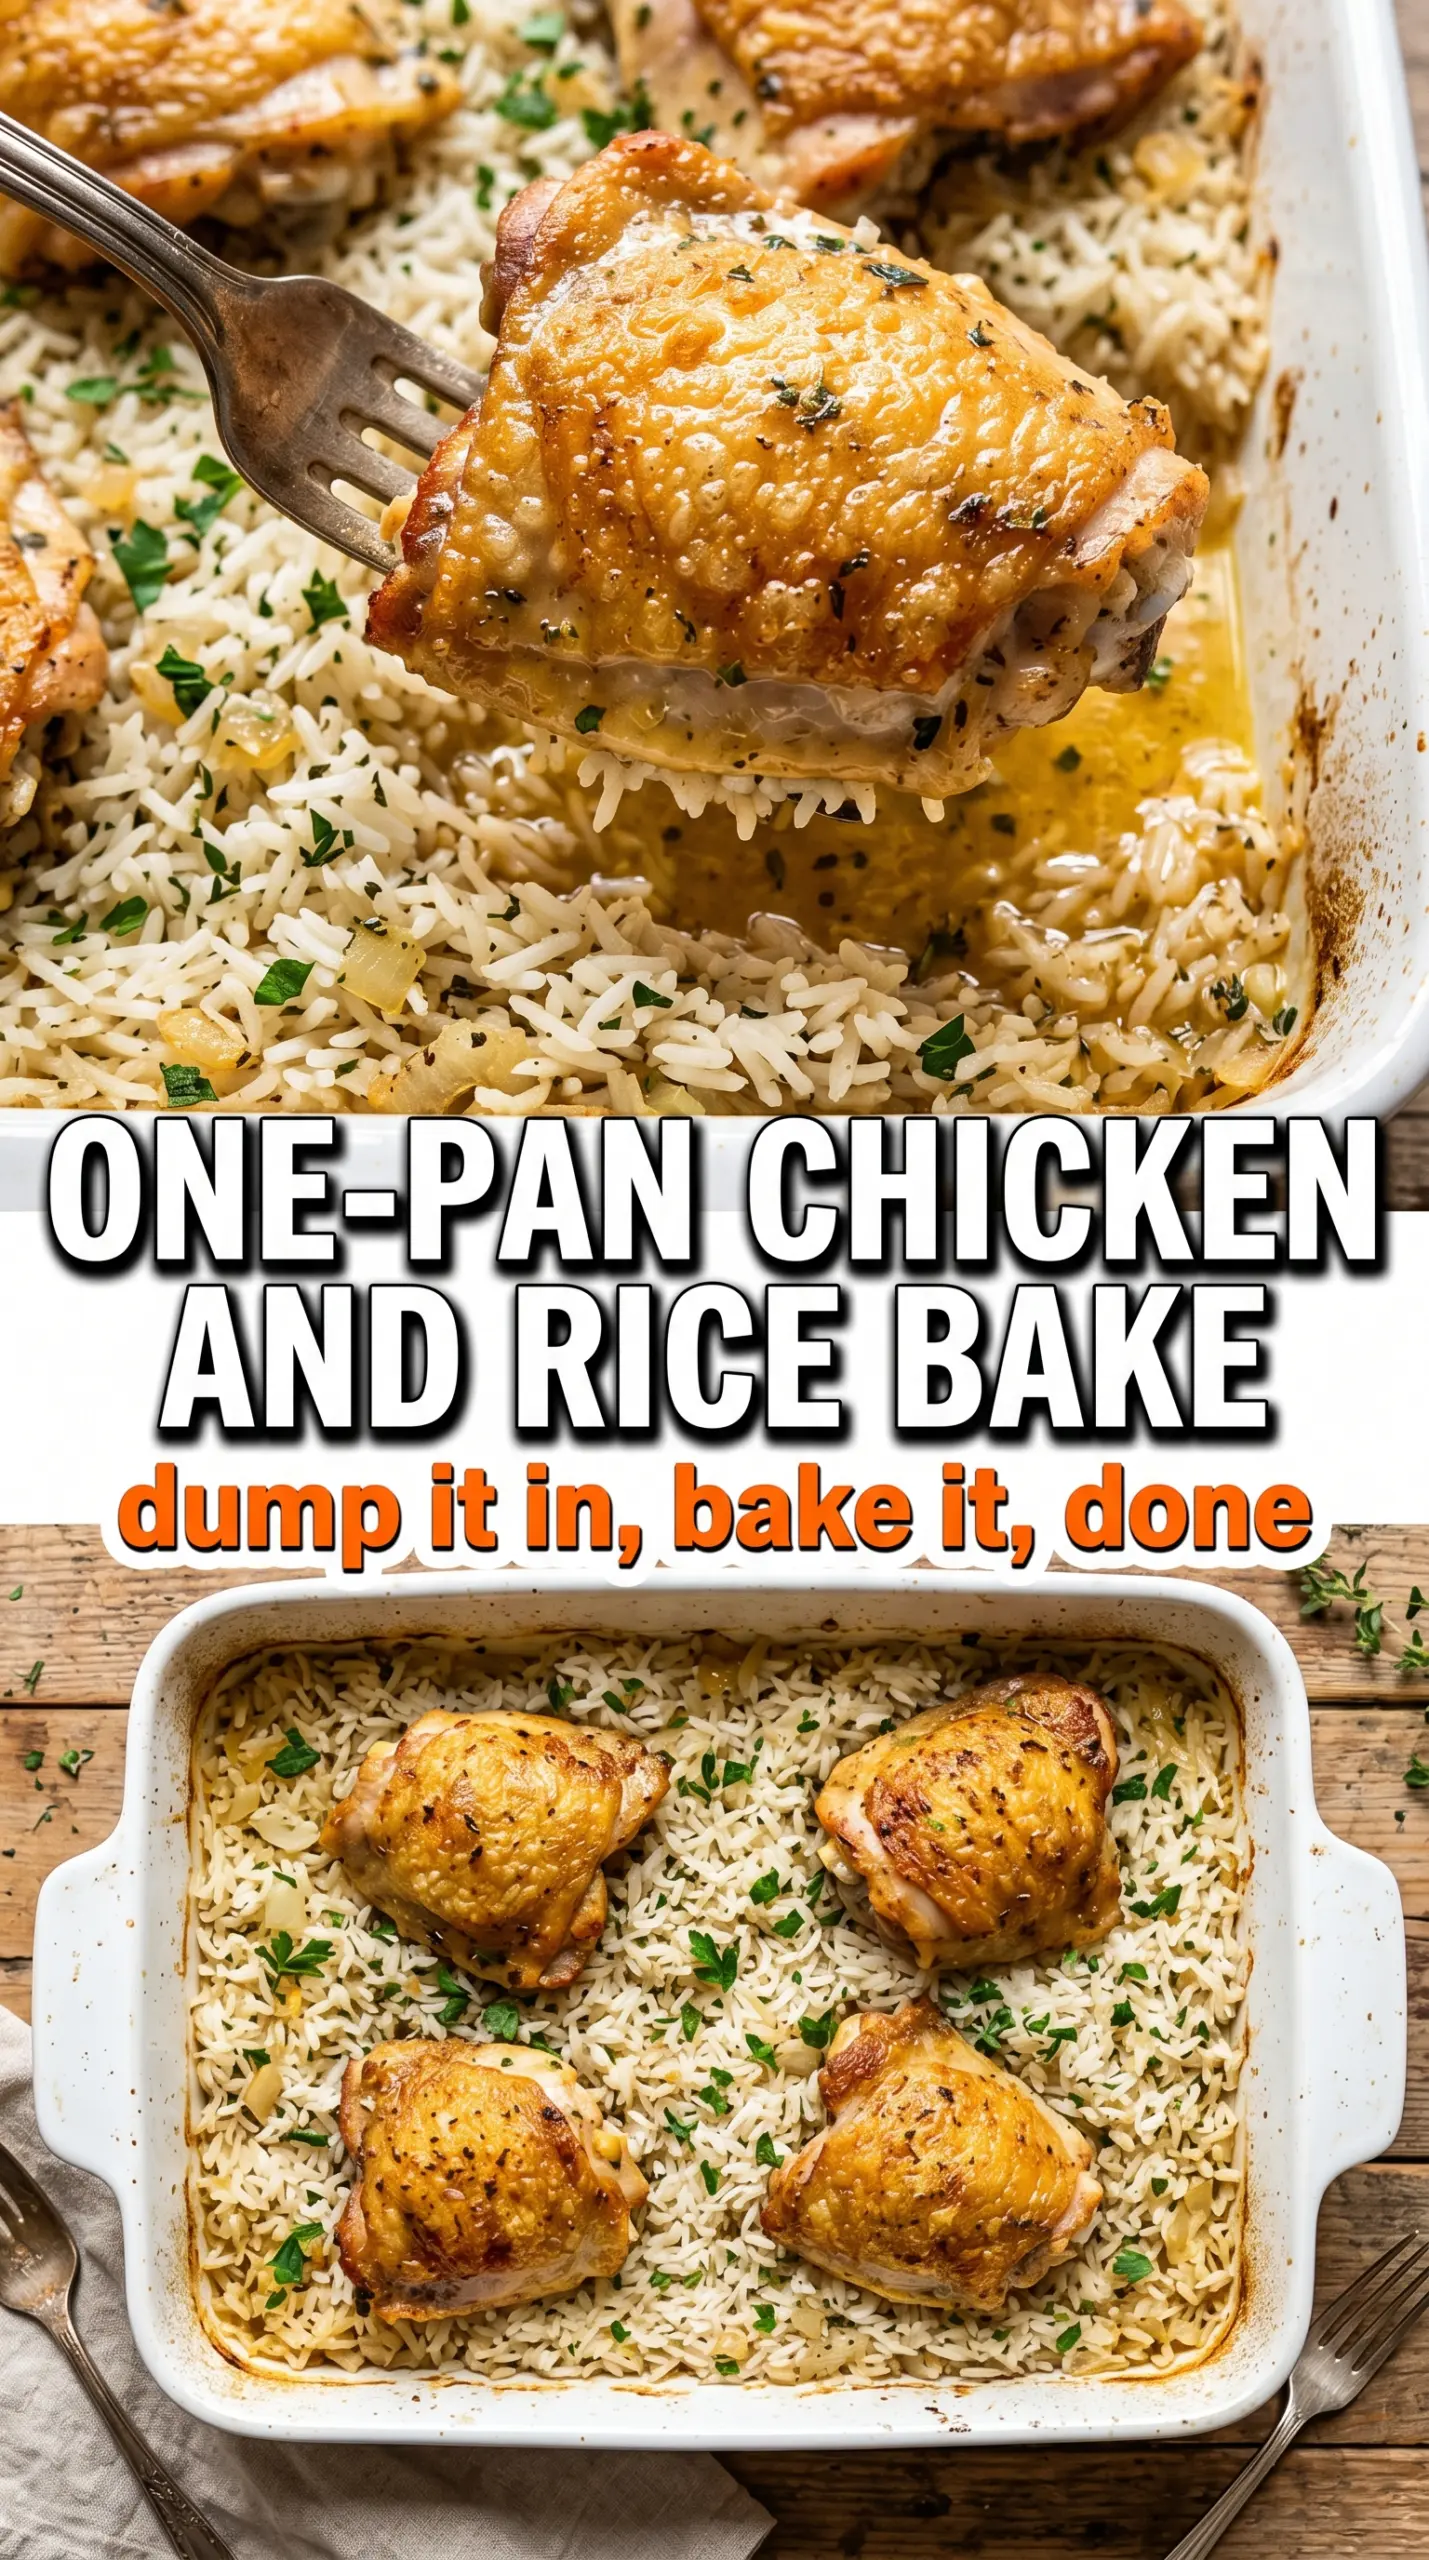
Golden-skinned chicken thighs tucked into a pan of herb-scented rice make the kind of dinner that disappears fast and doesn’t leave much behind except a few crisp edges on the baking dish. The chicken stays juicy because it bakes right on top of the rice, and the rice turns out more flavorful than stovetop versions since it soaks up every bit of seasoned broth and chicken drippings as it cooks.
What makes this work is the balance of covered and uncovered baking. The foil traps steam long enough for the rice to finish evenly, then the last stretch without foil lets the chicken skin dry out and crisp up instead of going soft. Bone-in, skin-on thighs matter here too; they give you better flavor, more forgiving timing, and enough fat to keep the rice from tasting flat.
Below, I’ve included the small details that keep the rice from turning mushy and the chicken skin from steaming. If you’ve ever had a chicken-and-rice bake come out bland or uneven, the fix is mostly in the layering and the bake time.
The rice came out fluffy, not gummy, and the chicken skin actually stayed crisp after the last 15 minutes uncovered. My husband went back for seconds and asked if I could make it again next week.
Save this one-pan chicken and rice bake for the nights when you want crispy skin, fluffy rice, and one dish to clean up.
The Trick to Keeping the Rice Fluffy Under the Chicken
The biggest mistake with baked chicken and rice is treating the rice like a side dish that can be forgiven if it cooks a little unevenly. It can’t. The rice needs the right liquid ratio, a tight cover, and enough space in the pan to steam instead of pack down into a dense layer. If the dish is too shallow or the foil isn’t sealed well, the top dries out before the grains underneath finish.
Bone-in thighs solve a lot of problems because they drip fat and flavor into the rice as they cook. The skin also shields the meat from drying out during the first part of the bake. The last uncovered stretch is what gives you that bronzed skin; if you skip it, the chicken will be cooked but the top will taste soft and a little flat.
- Long-grain white rice — This is the right rice for a fluffy result. Short-grain rice turns sticky here, and brown rice needs a different liquid amount and a much longer bake.
- Chicken broth — Broth gives the rice its backbone. Water will work in a pinch, but the dish will taste thinner, so use low-sodium broth if you want better control over the salt.
- Bone-in, skin-on thighs — These stay juicy through the full bake and flavor the rice as they cook. Boneless thighs cook faster and can dry out before the rice is done.
- Onion and garlic — They soften right in the rice and keep the whole pan from tasting one-note. Dice the onion small so it cooks through in the same time as the grains.
What Each Ingredient Is Actually Doing in This Chicken and Rice Casserole
- Chicken (the protein center) — Cut into even pieces so everything cooks at the same rate. Thighs are more forgiving than breasts, but both work.
- Rice (the starch and texture) — Uncooked rice absorbs the liquid as the casserole bakes, so the rice cooks through at the same time as the chicken. Choose a type that won’t turn mushy.
- Broth or stock (the cooking liquid) — This seasons the rice and chicken together. Use the right amount or the rice turns mushy or crunchy. Follow package directions for rice-to-liquid ratio.
- Vegetables (the nutrition and texture) — Cut small so they cook evenly. Softer vegetables like zucchini can go in later if you want more crunch.
- Butter or oil (the richness) — Fat keeps everything from tasting dry and helps flavors develop. Don’t skip it or the finished dish will taste flat.
- Garlic and onion (the aromatic base) — These sweeten and soften as they cook, adding depth that makes the whole dish taste richer and more complete.
- Cream or cheese (optional decadence) — A splash of cream or a handful of cheese finishes the casserole without making it heavy if you balance with acid.
- Proper baking time and covered pan (the technique that matters) — Covered baking keeps everything moist while the rice absorbs liquid. Uncover at the end if you want the top to brown.
Building the Pan So Everything Cooks at the Same Pace
Mix the Rice Base First
Stir the uncooked rice, broth, onion, garlic, thyme, Italian seasoning, and salt directly in the baking dish until the grains look evenly distributed. This is the moment that decides whether the rice cooks in one even layer or ends up with dry patches. Use a 9×13 dish so the rice isn’t piled too thick; if the layer is too deep, the center stays soggy while the edges get ahead.
Season the Chicken Like It Has a Job
Season the thighs generously on both sides with salt, pepper, garlic powder, paprika, and Italian seasoning. The skin needs enough seasoning to taste good on its own, because once it crisps, that top layer becomes the first bite people take. Pat the chicken dry before seasoning if it looks damp; wet skin steams instead of browning.
Cover, Bake, and Then Let the Top Come Forward
Set the chicken skin-side up on top of the rice mixture and drizzle with olive oil. Cover the dish tightly with foil and bake until the rice has absorbed most of the liquid, then remove the foil for the final stretch so the skin can brown and the surface can dry. If you pull it too early, the rice underneath the chicken can still be hard in spots, so look for tender grains and bubbling liquid before you uncover it.
Finish with Resting Time and Parsley
Let the pan sit for a few minutes before serving so the rice settles and the juices stop moving around. Scatter parsley over the top right before it goes to the table; the fresh herb cuts through the richness and keeps the whole dish from feeling heavy. Serve straight from the baking dish while the skin is still crisp.
What to Change When You Want a Different Kind of Dinner
Swap in chicken breasts, but watch the timing
You can use bone-in chicken breasts, but they need the same setup and a little more attention at the end because the meat is leaner. Start checking for doneness a few minutes early, and don’t leave them uncovered longer than needed or the meat will dry out before the rice is ready.
Make it dairy-free without changing anything
This recipe is already dairy-free as written, which is part of why it’s such an easy weeknight bake. Just check your broth label if you’re sensitive to additives, since some packaged broths use butter flavor or dairy-based seasoning blends.
Use brown rice only if you adjust the bake
Brown rice needs more liquid and a longer covered bake, so the timing in this recipe won’t carry over unchanged. If you want to use it, expect a denser texture and plan on adding more broth and extra oven time so the grains soften fully before the chicken overcooks.
Add vegetables without throwing off the pan
Small diced carrots, peas, or chopped bell pepper can go into the rice base, but keep the pieces small so they cook through at the same rate as the grains. Big vegetable chunks release too much extra moisture and can make the rice taste soft instead of fluffy.
Storage and Reheating
- Refrigerator: Store leftovers in an airtight container for up to 4 days. The rice firms up a little as it chills, but it softens again when reheated.
- Freezer: This freezes well in individual portions for up to 2 months. Let it cool completely first, and freeze the chicken and rice together so the rice doesn’t dry out.
- Reheating: Reheat covered in the oven at 325°F with a splash of broth or water, or warm smaller portions in the microwave with the lid slightly cracked. The common mistake is blasting it uncovered, which dries out the chicken and turns the rice hard around the edges.
Answers to the Questions Worth Asking

One-Pan Chicken and Rice Bake
Ingredients
Equipment
Method
- Preheat the oven to 375°F.
- Mix the long-grain white rice, chicken broth, diced onion, minced garlic, dried thyme, dried Italian seasoning, and salt in a 9x13 baking dish and stir to combine.
- Season the bone-in skin-on chicken thighs generously on all sides with pepper, garlic powder, paprika, and Italian seasoning.
- Nestle the chicken skin-side up on top of the rice mixture, then drizzle with the olive oil.
- Cover tightly with foil and bake for 40 minutes until the rice is mostly tender and the liquid is bubbling around the edges.
- Remove the foil and bake for 15 minutes more, until the chicken skin is golden and the rice has absorbed all liquid.
- Garnish with fresh parsley and serve directly from the baking dish.