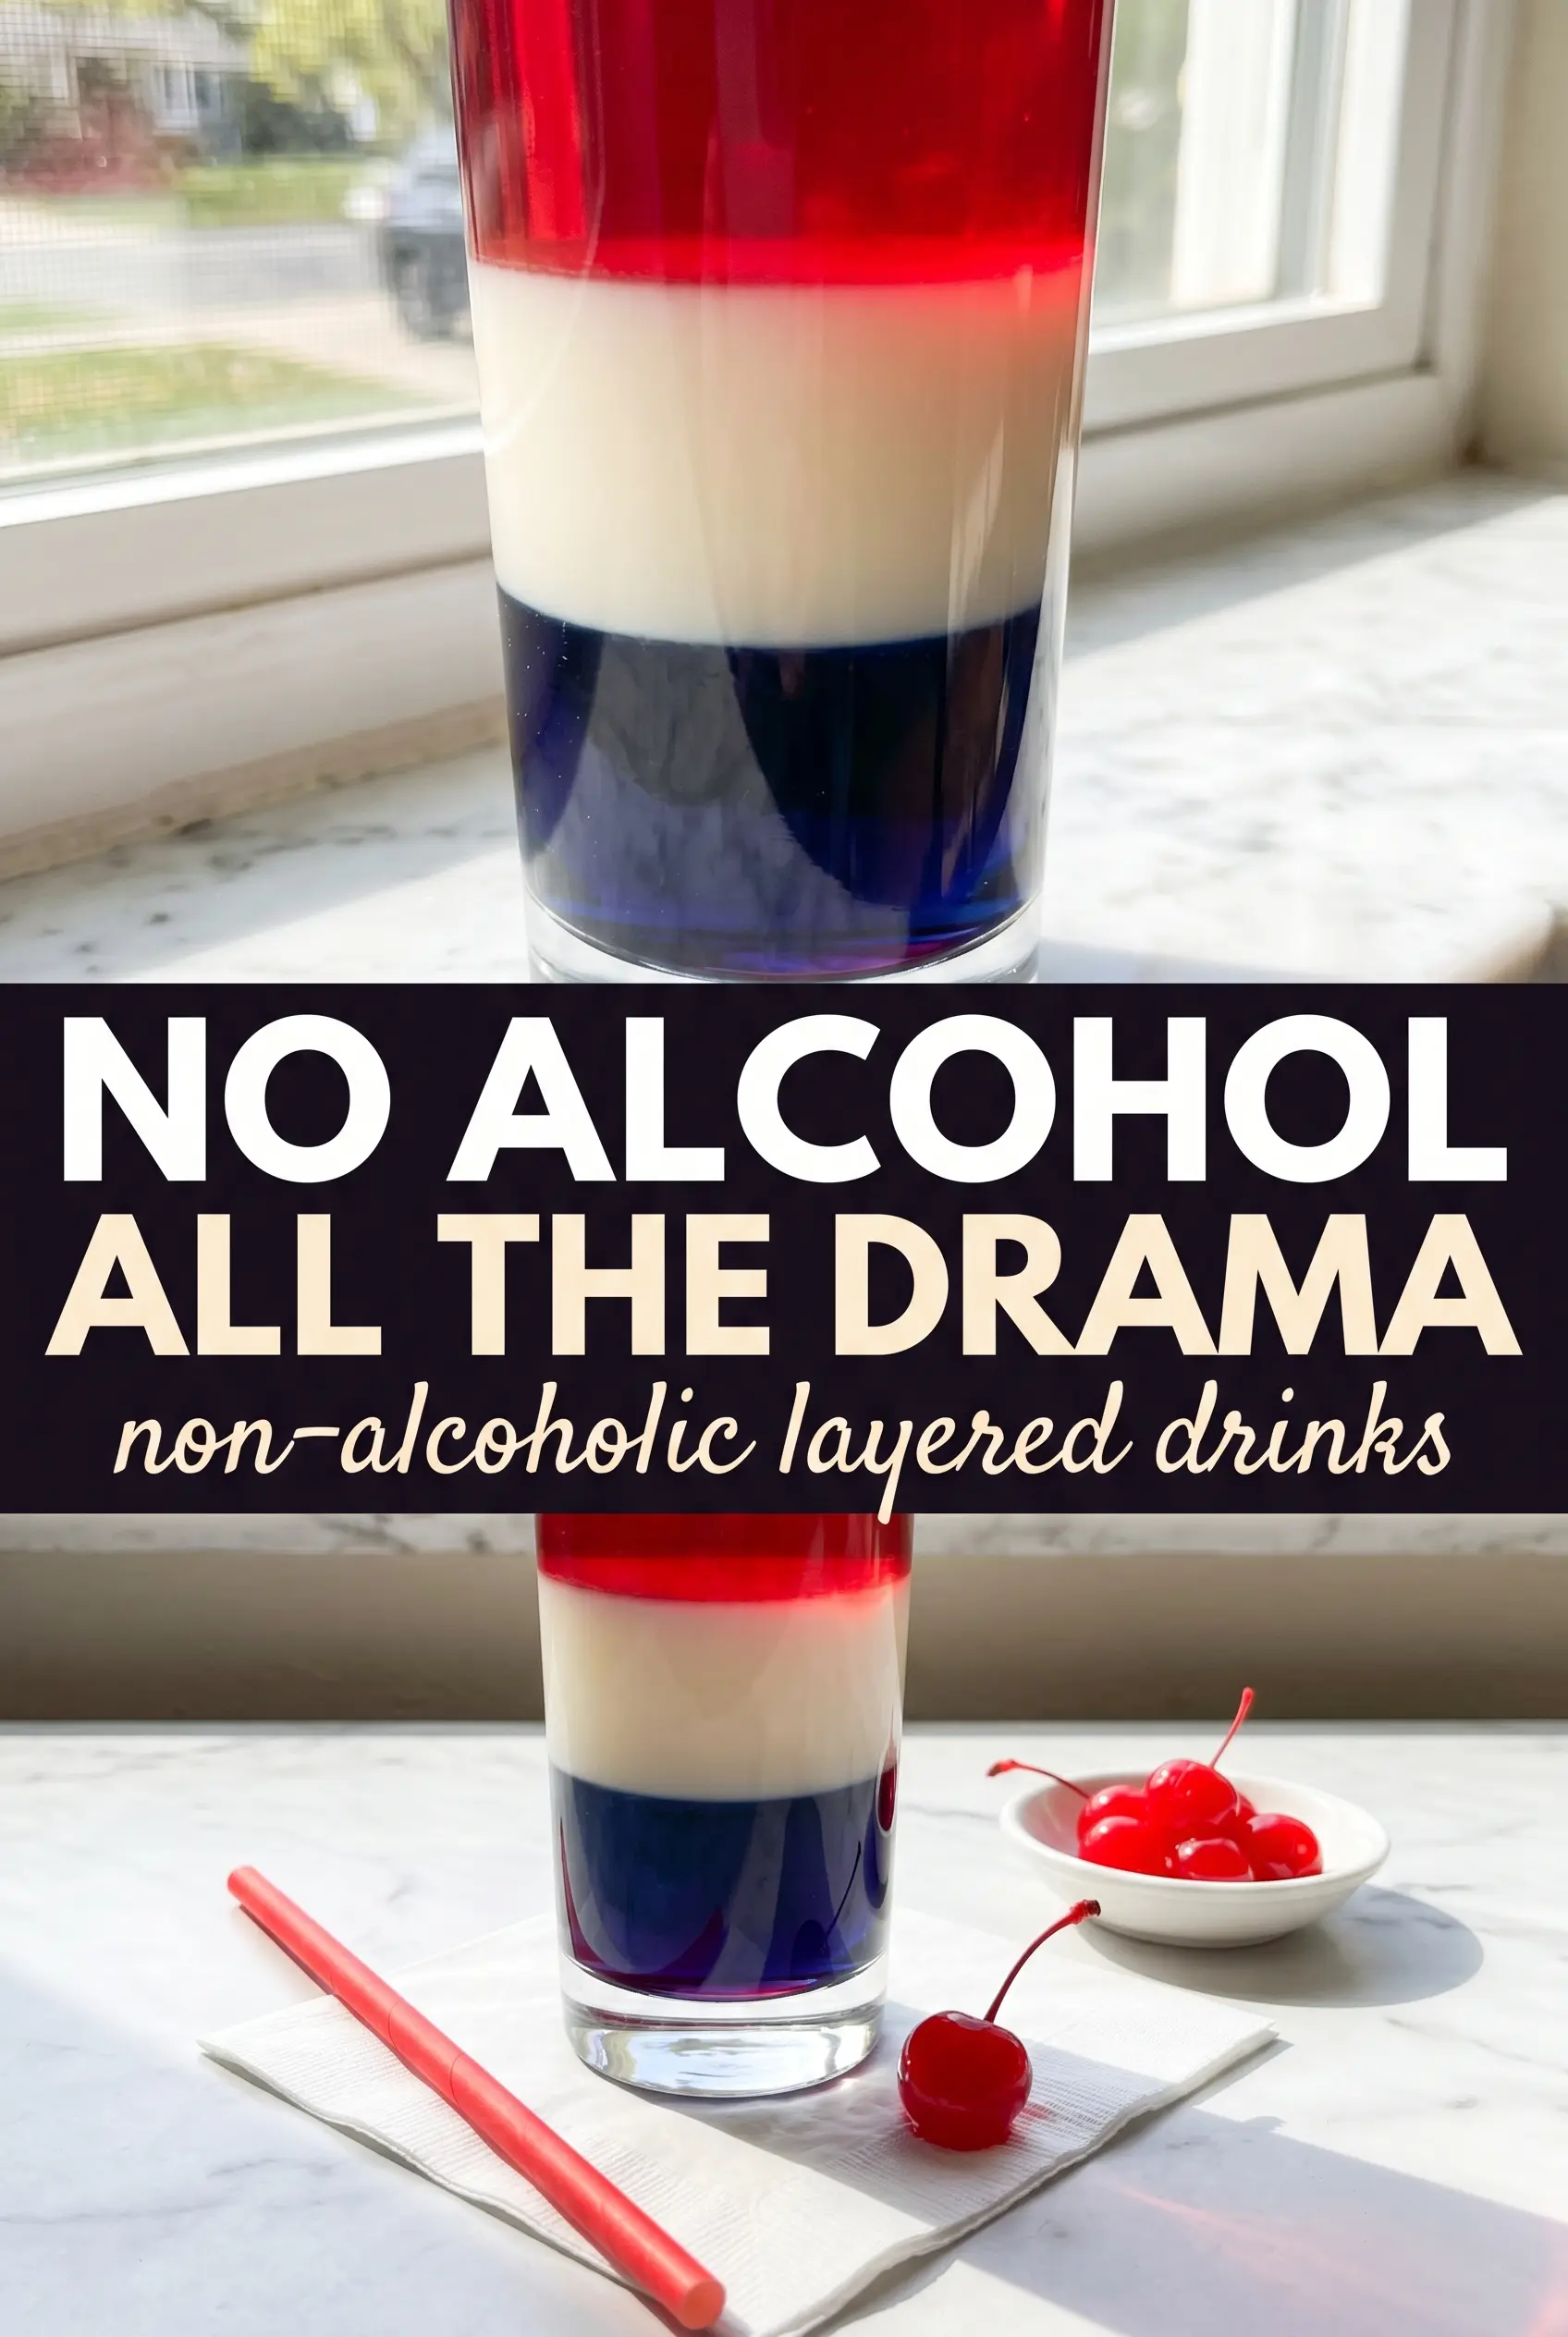
Three-layer mocktails get their charm from the moment you pour them: the deep red base, the sunny middle, and that bright blue top holding its line until the glass hits the table. When the layers stay distinct, the drink looks festive without needing any complicated syrups, fancy tools, or bar tricks. It’s the kind of glass that makes people pause before they sip.
The whole thing works because each liquid has a different density, and the ice helps slow the pour enough to keep the colors from blending. Grenadine goes in first because it’s the heaviest. Then the lemonade and blue raspberry drink are added slowly over a spoon so they settle on top instead of crashing through the layer below. Cold ingredients matter here too; warm liquid blends faster and ruins the clean stripes.
Below, you’ll find the exact pouring order that keeps the colors sharp, plus a few smart swaps if you want to change the flavor while keeping the layered look.
The layers stayed separate until the last sip, and using the back of a spoon made the middle and top pour in cleanly. My kids thought it looked like something from a party cafe.
These colorful layered mocktails stay crisp and separate when you pour slowly over ice and use a spoon for the lemonade and blue raspberry layers.
The Secret to Keeping the Colors Separate in a Layered Mocktail
The biggest mistake with layered drinks is pouring too fast. If the liquid hits the ice hard, it punches straight through the layer below and the whole glass turns muddy. The fix is simple: use a tall glass, pack in enough ice to slow the pour, and add each layer in a thin stream. That’s what gives you those clean, postcard-bright bands instead of a swirl.
Grenadine belongs on the bottom because it’s denser than the other ingredients. The middle and top layers need to be poured gently over the back of a spoon so they spread out instead of sinking. Chilled ingredients help too, since warm liquids mix more aggressively. If the layers start bleeding, the drink is still fine to taste, but the visual effect is gone.
- Grenadine syrup — This is what creates the ruby-red base and gives the drink its strongest color. There’s no true substitute if you want the same dense, jewel-toned look, since thinner red syrups tend to mix faster.
- Lemonade — The tart middle layer brightens the whole glass and helps separate the red from the blue. Use it well chilled so it doesn’t start blending the layers the moment it hits the ice.
- Blue raspberry sports drink or blue raspberry lemonade — This top layer brings the dramatic color contrast. A sports drink pours a little thinner and is easier to layer cleanly, while blue raspberry lemonade gives a sweeter finish.
- Ice cubes — Ice is not just for chill here; it slows the pour and helps each liquid settle where it should. Fill the glass almost to the top so the layers have less room to crash together.
- Maraschino cherries and striped straws — These are garnish, but they matter for the final look. The cherry adds a bright finish, and the straw keeps the drink playful without disturbing the layers until someone stirs on purpose.
What Each Ingredient Is Actually Doing in This Recipe

- Primary ingredient (the star) — Quality matters most. Choose the best you can find.
- Cooking medium (oil, butter, or broth) — This carries flavors and prevents dryness.
- Seasonings (salt, pepper, spices, herbs) — Layer flavors so nothing overpowers. Build depth gradually.
- Aromatics (garlic, onion, herbs) — Cook with fat to bloom flavors. Become the foundation.
- Supporting ingredients — Complement the main ingredient without overpowering it.
- Sauce or liquid (if applicable) — Brings flavors together. Balance richness with acid.
- Acid (lemon, vinegar, wine, or other) — Brightens and prevents flat-tasting results.
- Final finish (garnish, glaze, or sauce) — Prevents one-dimensional taste and adds visual appeal.
Pouring the Layers Without Muddying the Glass
Start With a Cold, Full Glass
Fill a tall clear glass with ice almost to the top. The ice does more than chill the drink; it creates a barrier that slows each pour and helps the liquids settle in distinct bands. If the glass is only half full, the drink will blend more easily because there’s too much open space for the liquid to fall. Use a clear glass here, since the whole point is watching the colors stack.
Build the Bottom Layer First
Pour the grenadine slowly over the ice so it sinks to the bottom on its own. Don’t rush this part; a fast pour can splash the syrup up the sides and stain the middle layer before you even start. You should see a solid red base forming at the bottom of the glass. If it looks streaky, pause for a few seconds and let it settle before adding anything else.
Float the Middle and Top Layers
Hold a spoon just above the ice and pour the lemonade over the back of the spoon in a thin stream. Repeat the same move with the blue raspberry drink for the top layer. The spoon spreads the liquid out gently so it rides on top of the layer below instead of drilling through it. Serve the drink right away and don’t stir it, or the clean lines will disappear fast.
Three Smart Ways to Change the Flavor Without Losing the Look
Make it Fully Caffeine-Free and Kid-Friendly
This recipe is already alcohol-free, but you can keep it especially kid-friendly by choosing a caffeine-free blue raspberry drink. That keeps the bright top layer without introducing an energy drink-style finish, and the color stays just as bold.
Use Limeade for a Sharper Middle Layer
Swap the lemonade for chilled limeade if you want a brighter, tangier center band. The layering still works, but the drink will taste more tart and less soft, which gives the whole glass a sharper finish.
Turn It Into a Gluten-Free Party Pitcher
The ingredients here are naturally gluten-free, which makes this easy for a mixed crowd. If you want to scale it up, build each drink in individual glasses instead of one pitcher, since layered drinks don’t stay separate in a shared container for long.
Make the Layers Pop for a Party Table
For a stronger visual contrast, use extra-clarity ice and a narrower glass. A slimmer glass shows the layers more dramatically, while a wide tumbler makes the colors spread out and blur faster.
Storage and Serving Notes
- Refrigerator: The mixed components can be chilled separately for up to 24 hours, but the assembled drink should be served immediately or the layers will blend.
- Freezer: This drink doesn’t freeze well once assembled. Freeze the ingredients only if you’re making flavored ice cubes, then build the drink fresh.
- Serving: Assemble in the glass right before serving and keep the spoon handy for pouring. The biggest mistake is letting the drink sit even a few minutes too long before garnishing and serving.