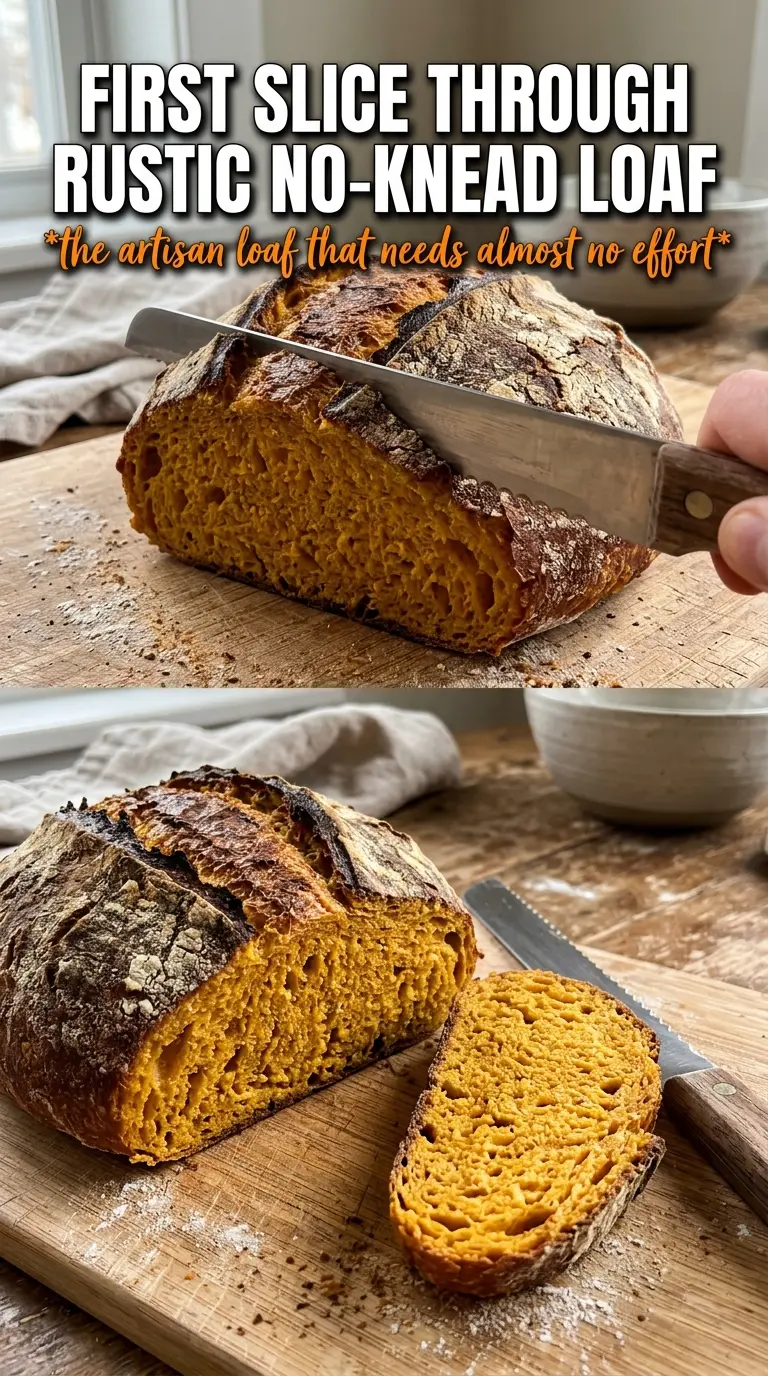
Crackled on the outside and softly tender inside, no-knead pumpkin bread gives you that rustic artisan loaf feeling without any kneading at all. The long overnight rest does the work for you, building structure and flavor while the pumpkin keeps the crumb warm-toned and moist. When it comes out of the Dutch oven, the crust is deep golden and crisp enough to shatter a little under the knife, which is exactly what you want from this style of bread.
The trick here is restraint. A small amount of instant yeast is enough because the dough has all night to develop, and the pumpkin puree adds body without turning the loaf dense. Bread flour matters too; it gives the dough enough strength to hold that open crumb after the long rise. The dough will look shaggy and loose at first, and that’s fine. Resist the urge to add too much flour, because a wetter dough is what gives you that airy interior.
Below, I’m walking through the part that matters most: how to handle the sticky dough, how to get the Dutch oven hot enough for a strong oven spring, and how to know when the loaf is baked through before the crust gets too dark.
The crust came out crackly and the crumb was light instead of gummy. I was surprised how much flavor the overnight rise brought out, and the maple note made it perfect with butter.
Save this no-knead pumpkin bread for the mornings when you want a crackly crust, a tender crumb, and that warm pumpkin spice aroma without kneading.
The Overnight Rest Is Doing the Heavy Lifting
The mistake most people make with no-knead bread is rushing the rise or adding too much flour when the dough looks sticky. That wet, loose texture is what lets the dough ferment properly and develop those big, irregular holes in the crumb. Pumpkin adds moisture, so this dough will feel softer than a plain white loaf. That’s the point.
Give it the full 12 to 18 hours at room temperature. By morning, it should look bubbly and noticeably expanded, not just slightly puffy. If your kitchen runs cold, it may need the full 18 hours; if it’s warm, start checking earlier so it doesn’t overproof and collapse when you shape it.
- A sticky dough is correct here. Extra flour tightens the crumb and makes the loaf heavy.
- Instant yeast works best because it distributes evenly and doesn’t need blooming first.
- Bread flour gives the loaf enough strength to rise tall in the Dutch oven.
- Pumpkin puree adds color and moisture, but it won’t taste sweet on its own, so the maple syrup or honey helps round out the flavor.
What Each Ingredient Is Actually Doing in This Loaf
- Bread flour — This is the backbone of the loaf. All-purpose flour will work in a pinch, but the bread won’t have the same chew or height.
- Instant yeast — A tiny amount is enough for the overnight rise. Don’t swap in active dry yeast without giving it a little extra time, since it dissolves more slowly.
- Pumpkin puree — Use plain pumpkin puree, not pumpkin pie filling. Pie filling has sugar and spices already added, which throws off both the flavor and the dough texture.
- Maple syrup or honey — Either one adds just enough sweetness to soften the earthy pumpkin. Honey gives a rounder flavor; maple leans more autumnal.
- Warm water and warm milk — The liquid should feel pleasantly warm, not hot. Too much heat can slow the yeast or damage it, and cold liquid will drag out the rise.
Getting the Crust and Crumb Right in the Dutch Oven
Mixing the Shaggy Dough
Whisk the dry ingredients first so the yeast and spice are evenly distributed, then stir in the pumpkin mixture until no dry flour remains. The dough should look rough, sticky, and uneven. If you keep stirring until it looks smooth, you’ll overwork it and lose the open texture that makes this bread worth baking.
Letting the Dough Ferment Overnight
Cover the bowl tightly and leave it alone at room temperature. You’re looking for a bubbly surface and a dough that has spread and relaxed, not a stiff ball. If it hasn’t changed much after 12 hours, give it more time before assuming something went wrong. A cool kitchen slows the process a lot.
Shaping Without Deflating Too Much
Turn the dough onto a heavily floured surface and use just enough flour to keep it from sticking. Shape it into a loose ball with quick hands, then let it rest for 15 minutes so it relaxes before baking. Don’t try to knead out every bubble; those pockets are part of the loaf’s character.
Preheating the Pot for Oven Spring
Heat the Dutch oven inside the oven until it’s fully screaming hot. That blast of heat gives the loaf its initial lift and helps set the crust fast. If the pot isn’t hot enough, the bread spreads instead of rising, and the bottom crust won’t get that crisp artisan finish.
Baking Until the Center Is Set
Cover the pot for the first part of the bake so steam stays trapped and the loaf can rise. Once you uncover it, the crust should deepen from golden to a darker amber. The bread is done when it sounds hollow on the bottom and the crust is deeply colored, not pale. If the outside browns too quickly, lower the rack one level for the last few minutes.
Maple Instead of Honey
Use either sweetener, but maple gives the loaf a deeper, more pumpkin-forward flavor while honey makes it a little rounder and softer on the finish. The measurement stays the same, so this is an easy swap with no other changes.
Gluten-Free Version
This loaf depends on bread flour for its structure, so a direct gluten-free swap won’t behave the same way. If you want to try it gluten-free, use a 1:1 gluten-free bread flour blend built for yeast doughs and expect a tighter crumb and less dramatic oven spring.
Dairy-Free Adjustment
Swap the warm milk for warm water or an unsweetened non-dairy milk. Water keeps the loaf clean and simple; oat milk adds a slightly softer crumb and a touch more body.
Storage and Reheating
- Refrigerator: Store sliced or whole for up to 3 days, wrapped well. The crust softens in the fridge.
- Freezer: Yes, this freezes well. Slice first, wrap tightly, and freeze for up to 2 months so you can thaw only what you need.
- Reheating: Toast slices straight from the fridge or warm them in a 325F oven for a few minutes. Don’t microwave the loaf if you want to keep the crust crisp.
Answers to the Questions Worth Asking
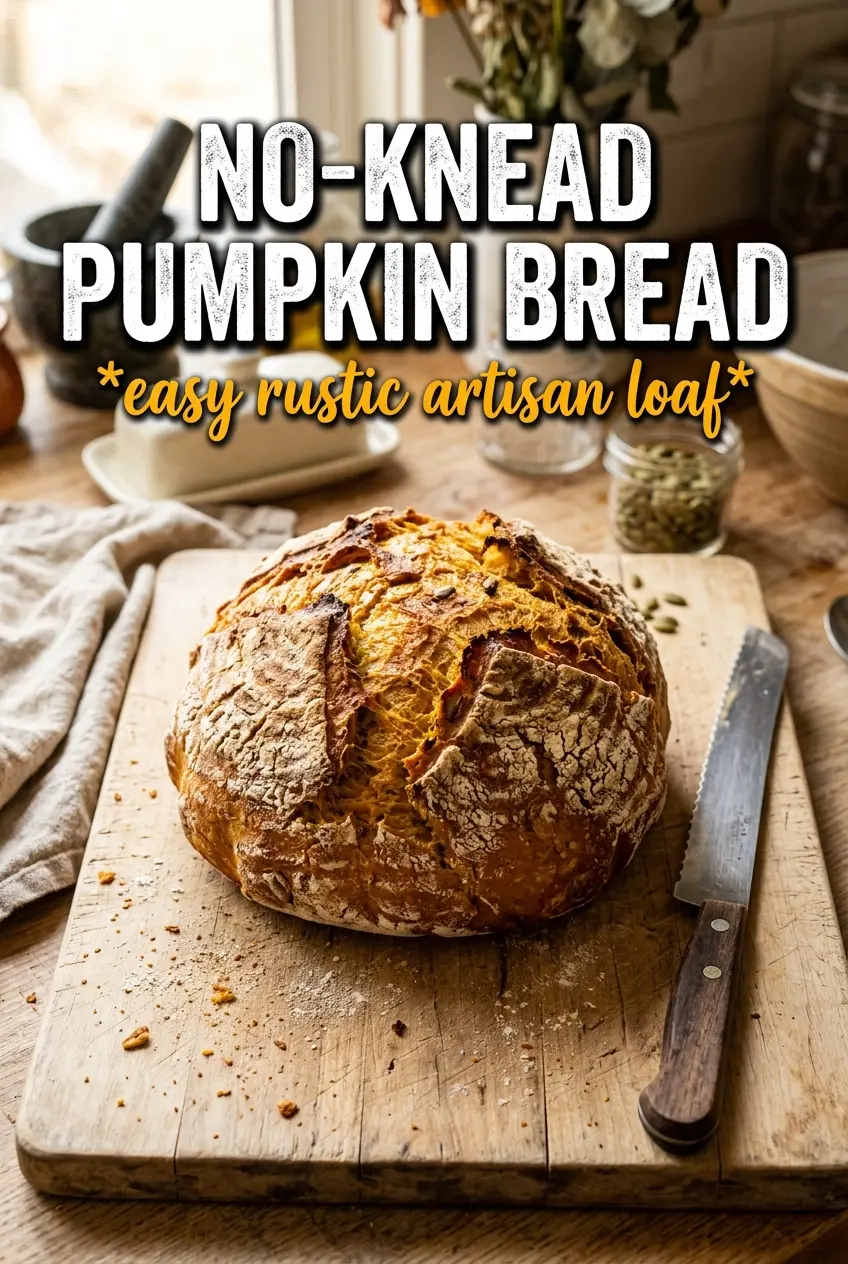
No-Knead Pumpkin Bread
Ingredients
Equipment
Method
- Whisk bread flour, instant yeast, salt, pumpkin pie spice, and cinnamon in a large bowl until evenly combined and no dry streaks remain.
- Whisk pumpkin puree, warm water, warm milk, and maple syrup or honey, then stir into the flour mixture until a shaggy dough forms with no fully smooth texture.
- Cover the bowl with plastic wrap and rest at room temperature for 12–18 hours until the dough is very bubbly across the surface.
- Preheat the oven to 450°F and place a Dutch oven inside to heat for 30 minutes.
- Turn the dough onto a well-floured surface, shape into a ball, then rest for 15 minutes to help it hold its form.
- Carefully lower the dough into the hot Dutch oven, cover, and bake at 450°F for 30 minutes.
- Uncover and continue baking for 12–15 minutes at 450°F until the crust is deeply golden and set.
- Cool on a wire rack for 1 hour before slicing so the crumb finishes setting.