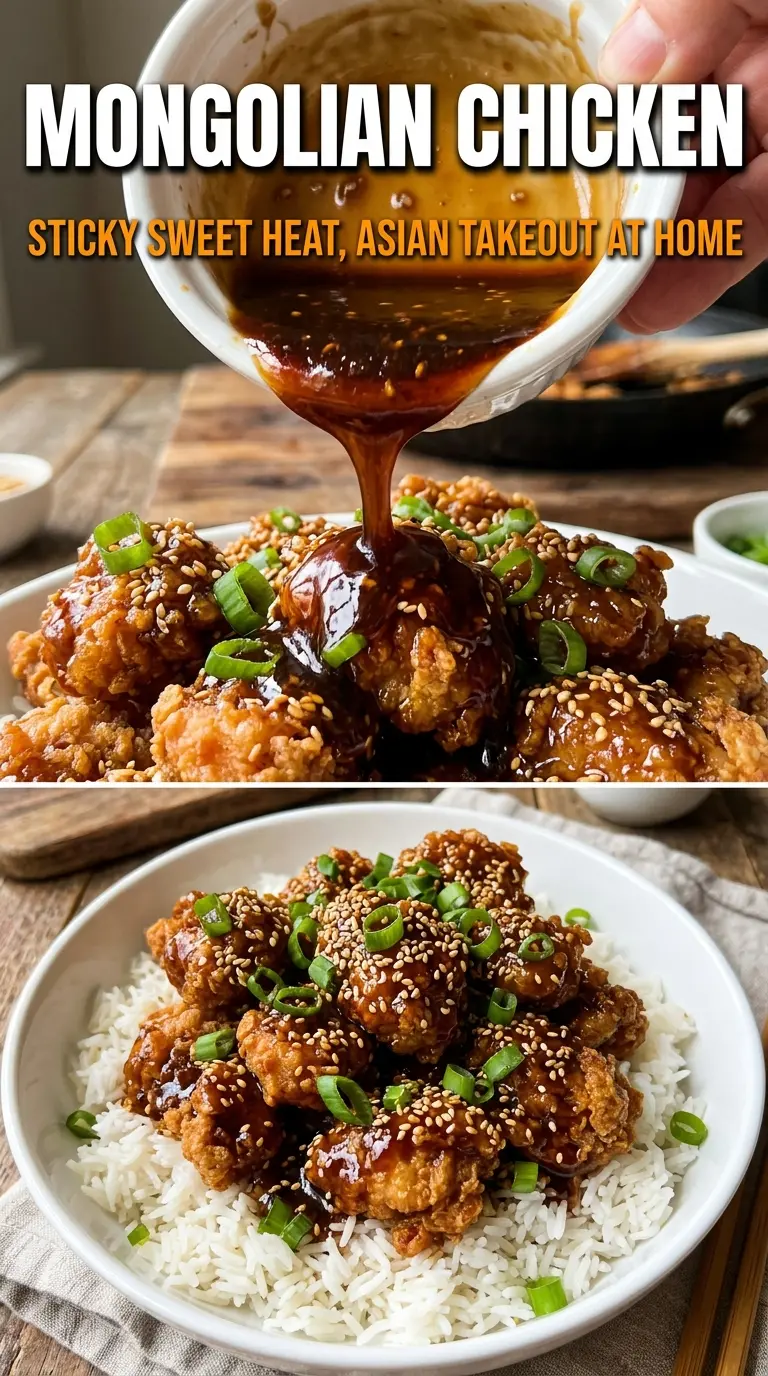
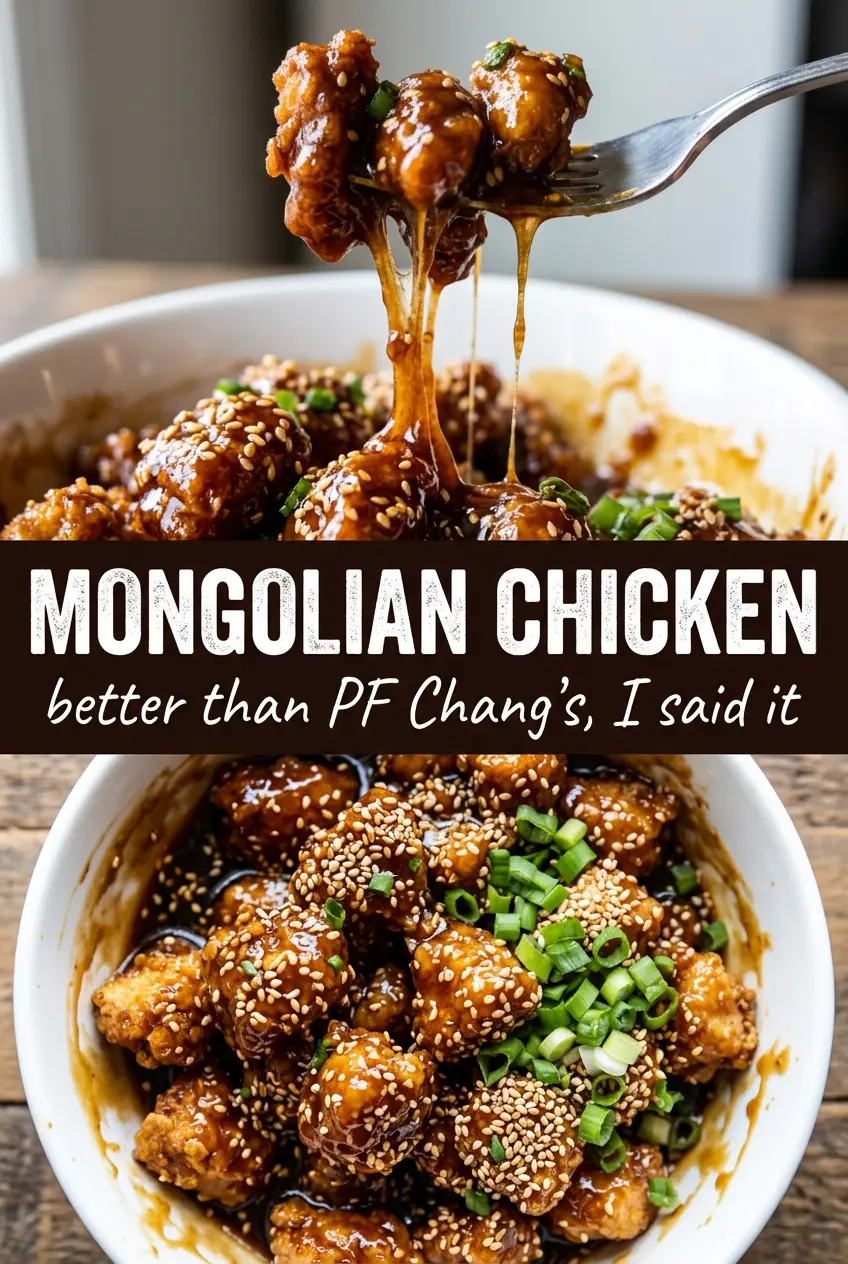
Crispy-edged chicken coated in a sticky soy-ginger glaze is the kind of dinner that disappears fast, especially when the sauce clings to every piece instead of pooling at the bottom of the pan. This Mongolian chicken hits that sweet spot between takeout comfort and weeknight practicality: fast enough for a busy night, but bold enough that it doesn’t taste like a shortcut.
The key is getting the chicken lightly coated in cornstarch before it hits the pan. That thin layer helps it brown fast and gives the sauce something to grab onto later. The sauce itself is built from soy sauce, brown sugar, hoisin, ginger, and garlic, then tightened at the end with a small cornstarch slurry so it turns glossy instead of watery.
Below, I’ll show you how to keep the chicken crisp even after the sauce goes in, plus the small timing detail that keeps the green onions from going limp. There are also a few smart swaps if you need to work with what’s already in your kitchen.
The sauce turned sticky and shiny just like takeout, and the chicken stayed crisp even after tossing it all together. I followed the timing exactly and the green onions still had a little bite, which made the whole dish feel fresh.
Sticky Mongolian chicken with crispy edges and glossy sauce is the kind of takeout-style dinner worth keeping close.
The Trick to Keeping the Chicken Crisp After the Sauce Goes In
The biggest mistake with Mongolian chicken is crowding the pan or rushing the sauce before the chicken has a chance to brown. You want a hard, fast sear. That cornstarch coating isn’t there for breading; it’s there to dry the surface just enough so the chicken gets those crisp, deep-golden edges before the glaze hits.
The other thing that matters is building the sauce in the same pan after the chicken comes out. Those browned bits left behind carry flavor, and the sauce loosens them into something richer than a plain sweet soy glaze. If you add the slurry too early or boil the sauce too hard after it thickens, it can turn pasty instead of glossy.
- Cornstarch — This gives the chicken its light crust and later helps the sauce cling. Flour won’t behave the same way here; it tends to make the coating heavier and less crisp.
- Soy sauce — Use a standard all-purpose soy sauce, not low-sodium unless you’re watching salt closely. The sauce gets reduced, so a thin soy sauce can taste flat.
- Brown sugar — This is what gives the glaze its dark color and sticky finish. Light brown sugar works fine; dark brown sugar pushes the molasses note a little farther.
- Hoisin sauce — This adds depth and that takeout-style savoriness that plain sugar and soy can’t replace. If you don’t have it, a little extra soy plus a touch more brown sugar will work, but the sauce will taste less layered.
- Fresh ginger and garlic — Use fresh here if you can. Their sharpness keeps the sauce from tasting one-note, and they only need a short stir in the hot pan before the liquid goes in.
What Each Ingredient Is Actually Doing in This Chicken Recipe
- Chicken (the foundation) — Quality chicken starts with good sourcing. Even simple seasoning tastes better on good meat.
- Olive oil or butter (the cooking medium) — Fat carries flavors and keeps chicken from drying. It’s also what makes food taste delicious.
- Salt and pepper (proper seasoning) — Season generously; underseasoned chicken tastes bland. Apply inside and outside so the seasoning penetrates.
- Garlic and onion (the aromatic base) — These add depth and complexity. They sweeten slightly when cooked, becoming mellow and round.
- Acid (lemon, vinegar, wine, or tomato) — This brightens the dish and prevents it from tasting heavy. It also helps balance rich sauces.
- Fresh herbs or spices (the character) — These define the personality of the dish. Choose ones that complement your other flavors.
- Cream or sauce base (optional richness) — A sauce keeps the chicken moist and flavorful. Make sure it’s balanced with acid and herbs.
- Proper cooking technique (the final step) — Whether baking, pan-searing, or simmering, the right method ensures juicy, tender results without drying out the meat.
Building the Sauce So It Stays Glossy, Not Gummy
Coating the Chicken Evenly
Toss the sliced chicken with cornstarch, salt, and pepper until every piece looks lightly dusted, not packed in paste. The coating should cling in a thin, dry layer; if it looks clumpy, shake off the excess. That thin shell is what browns quickly and keeps the chicken from steaming in the pan.
Getting the Sear Before the Sauce
Heat the oil until it shimmers, then lay the chicken in without moving it right away. If it sticks at first, it usually needs another minute to develop a crust. Turn it only when the edges look golden and the underside releases cleanly; that’s how you get the crisp texture that survives the sauce.
Thickening at the Right Moment
Once the garlic and ginger have cooked for about 30 seconds, pour in the sauce and bring it to a boil. Stir in the slurry only after the sauce is bubbling, then keep it moving until it turns shiny and coats the back of a spoon. If the sauce looks cloudy or clumpy, the heat was too low or the slurry went in all at once. Add it in a steady stream and let the sauce finish thickening for a full minute or two.
Finishing With the Green Onions
Return the chicken to the pan with the green onions and toss just until everything is coated. The onions should soften at the edges while still keeping a little bite. If they cook too long, they go dull and lose that fresh sharpness that cuts through the sweet sauce.
How to Adapt Mongolian Chicken Without Losing the Good Part
Make It Gluten-Free
Swap in a gluten-free soy sauce or tamari and use a gluten-free hoisin if you have it. The sauce still thickens the same way, and the cornstarch coating already works in your favor. You’ll keep the sticky texture and lose none of the shine.
Use Chicken Thighs for a Juicier Finish
Boneless skinless thighs work well if you want richer flavor and more forgiveness in the pan. They take a minute or two longer to cook, but they stay tender even if you’re not watching the clock closely. The sauce clings just as well, though the final dish will feel a little more savory and less lean.
Dial Back the Heat
Leave out the red pepper flakes for a milder version, or cut them in half if you want just a little warmth at the end. The sauce will still taste balanced because the sweet-salty base carries enough weight on its own. If you skip the heat, a small pinch of white pepper can add a gentle background bite without changing the look of the dish.
Storage and Reheating
- Refrigerator: Store leftovers in an airtight container for up to 4 days. The sauce will thicken more in the fridge, and the chicken will soften a bit, but the flavor holds up well.
- Freezer: It freezes better than a lot of stir-fries. Cool it completely, then freeze in portions for up to 2 months; the chicken won’t stay crisp, but the sauce reheats nicely.
- Reheating: Warm it in a skillet over medium-low heat with a splash of water to loosen the sauce. The biggest mistake is blasting it in the microwave until the sauce turns sticky and the chicken dries out.
Questions I Get Asked About This Recipe
Mongolian Chicken
Ingredients
Equipment
Method
- Toss the sliced chicken with cornstarch, salt, and pepper until coated. Make sure every piece is lightly dusted so it crisps in the hot pan.
- Whisk together soy sauce, brown sugar, water, hoisin sauce, sesame oil, and red pepper flakes until the sugar dissolves. The mixture should look like a dark brown, glossy liquid.
- Heat vegetable oil in a large skillet or wok over high heat, then cook the chicken for 3-4 minutes per side until deeply golden and cooked through. Once browned, remove the chicken to a plate.
- Add garlic and fresh ginger to the same pan and stir-fry for 30 seconds. Keep it moving so it becomes fragrant without burning.
- Pour in the sauce and bring it to a boil. Look for bubbling that thickens slightly before adding the slurry.
- Stir in the cornstarch slurry and cook for 1-2 minutes until thickened and glossy. The sauce should coat the back of a spoon.
- Return the chicken and green onions to the pan and toss until everything is glazed. Cook just until the green onions look slightly charred and glossy.
- Serve the Mongolian chicken over steamed rice and top with sesame seeds. Spoon extra dark sticky sauce from the pan over the rice.