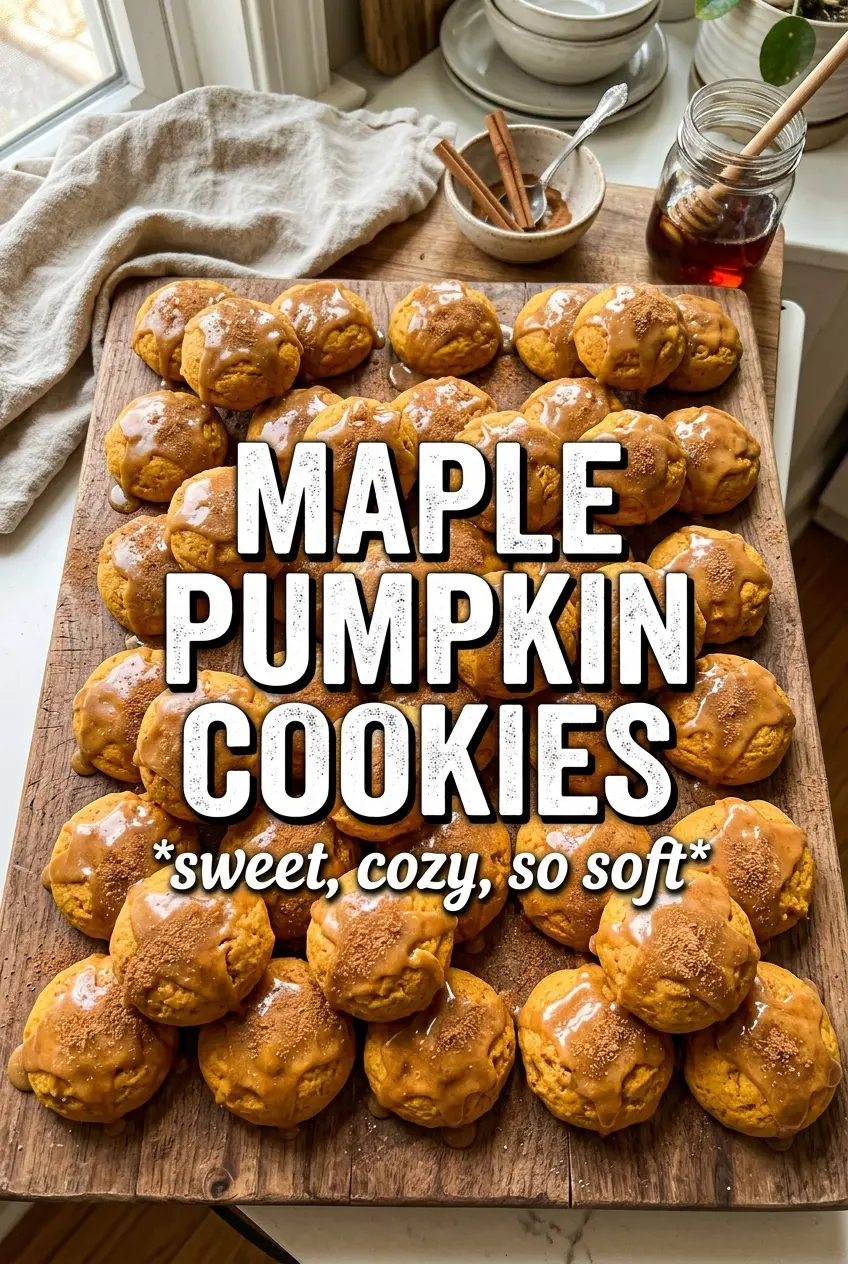
Maple pumpkin cookies bake up soft in the middle with lightly set edges and just enough crinkle on top to catch the maple glaze. The pumpkin stays in the background instead of turning cakey, and that makes all the difference. What you get is a cookie that tastes warm and cozy without losing the chewy, buttery texture that makes people reach for a second one.
The trick is drying the pumpkin before it ever hits the bowl. Pumpkin puree carries a lot of water, and if you skip that step, the dough spreads oddly and bakes up more like a muffin top than a cookie. A full egg yolk adds richness without extra water, and the maple syrup in the dough gives the cookies a deeper flavor than glaze alone ever could.
Below, I walk through the one step that keeps these cookies from going flat, plus the best way to glaze them so the topping stays glossy instead of soaking in.
I blotted the pumpkin like you said and the cookies actually held their shape. The glaze set up nicely too, and the little hit of flaky salt made the maple flavor pop.
Save these maple pumpkin cookies for the day you want soft centers, glossy maple glaze, and a little flaky salt on top.
The Trick That Keeps Maple Pumpkin Cookies Soft Instead of Cakey
Pumpkin cookies usually fail for one of two reasons: too much moisture or too much flour. Pumpkin puree looks harmless in the bowl, but it brings enough water to change the whole texture if you treat it like a dry ingredient. Once the butter and sugar are beaten properly, the dough only needs the flour mixture folded in until it disappears. If you work it hard, the cookies tighten up and lose that soft, tender center.
The other important move is baking just until the edges set. These cookies keep cooking on the sheet after they come out, and that carryover heat is what gives you a clean finish without dry centers. Pull them when the tops still look a little soft in the middle. That slight underbake is what keeps the crumb plush after cooling.
- Blotted pumpkin puree — This matters more than the spice. Drying the puree between paper towels keeps the dough from spreading and prevents a gummy, muffin-like texture.
- Brown sugar — It brings moisture and a deeper caramel note that supports the maple. White sugar would make the cookie lighter but less rich.
- Egg yolk — Use the yolk only. It adds richness and structure without the extra water from a whole egg.
- Maple extract — Pure maple syrup gives flavor, but the extract is what makes the maple taste read clearly after baking.
What Each Ingredient Is Doing in the Dough and the Glaze

- All-purpose flour — This gives the cookies enough structure to hold the glaze without turning dense. If you use a lower-protein flour, the cookies spread more easily.
- Butter — Softened butter traps air when beaten with the sugar, which is what gives the cookies a lighter bite. Cold butter won’t cream properly, and melted butter makes them thin.
- Pure maple syrup — In the dough, it adds flavor and a little chew. In the glaze, it gives that glossy finish that tastes like maple instead of just sweet sugar.
- Pumpkin puree — This is here for flavor and moisture, but only in a controlled amount. Blotting it dry is the difference between a cookie and a soft cake round.
- Maple glaze ingredients — Powdered sugar sets the glaze, maple syrup flavors it, milk loosens it, and cinnamon keeps it from tasting flat. Add the milk slowly so the glaze drizzles instead of running off the cookies.
- Flaky sea salt — Don’t skip this. It cuts through the sweetness and makes the maple flavor stand out instead of blur together.
How to Build the Dough So the Cookies Stay Thick
Cream the Butter and Sugar Until It Looks Fluffy
Beat the softened butter and brown sugar until the mixture turns pale and looks airy around the edges of the bowl. That trapped air helps the cookies rise just enough to stay soft. If the butter is too warm, the mixture will look greasy instead of fluffy, and the cookies will spread faster in the oven.
Fold in the Pumpkin Without Overworking It
Add the maple syrup, blotted pumpkin, egg yolk, vanilla, and maple extract, then mix just until smooth. The dough may look a little loose at this stage, and that’s normal. Once the flour goes in, stop mixing as soon as you no longer see dry streaks, because extra mixing builds toughness and knocks out the air you just worked in.
Bake for Set Edges and Soft Centers
Scoop the dough into even 1 1/2-tablespoon rounds and give them space on the parchment-lined baking sheet. Bake until the edges are set and the centers look puffed but still tender, which usually takes 10 to 12 minutes. If they look fully done in the oven, they’ll be overbaked by the time they cool.
Glaze Only After They Cool
Let the cookies cool completely before you drizzle on the glaze. If they’re warm, the glaze thins out and disappears into the top instead of sitting in those pretty crinkles. A light sprinkle of flaky salt goes on right after the glaze so it sticks before the surface sets.
How to Adapt These Maple Pumpkin Cookies
Dairy-Free Version
Swap the butter for a plant-based stick butter that’s meant for baking. The cookies will still be soft and spread similarly, though the flavor will be a little less rich. Use a dairy-free milk in the glaze and keep the consistency on the thicker side so it still drizzles cleanly.
Gluten-Free Swap
Use a 1:1 gluten-free baking flour with xanthan gum already included. The texture will be a touch more delicate, but the cookies should still hold their shape if you chill the dough for 15 minutes before baking. Without that rest, gluten-free dough can spread more unevenly.
Make Them More Maple-Forward
If you want the maple flavor to stand out more, keep the maple extract and add a little extra to the glaze instead of the dough. That gives a stronger finish without loosening the dough too much. Don’t add more maple syrup to the batter unless you’re ready for a softer, more spread-prone cookie.
Storage and Reheating
- Refrigerator: Store in an airtight container for up to 5 days. The glaze stays best if the cookies are fully cooled before stacking.
- Freezer: These freeze well without the glaze for up to 2 months. Freeze the baked cookies flat, then glaze after thawing for the cleanest finish.
- Reheating: Warm an unglazed cookie for 8 to 10 seconds in the microwave if you want that fresh-baked softness back. Glazed cookies don’t need reheating; just let them come to room temperature so the glaze doesn’t get tacky.