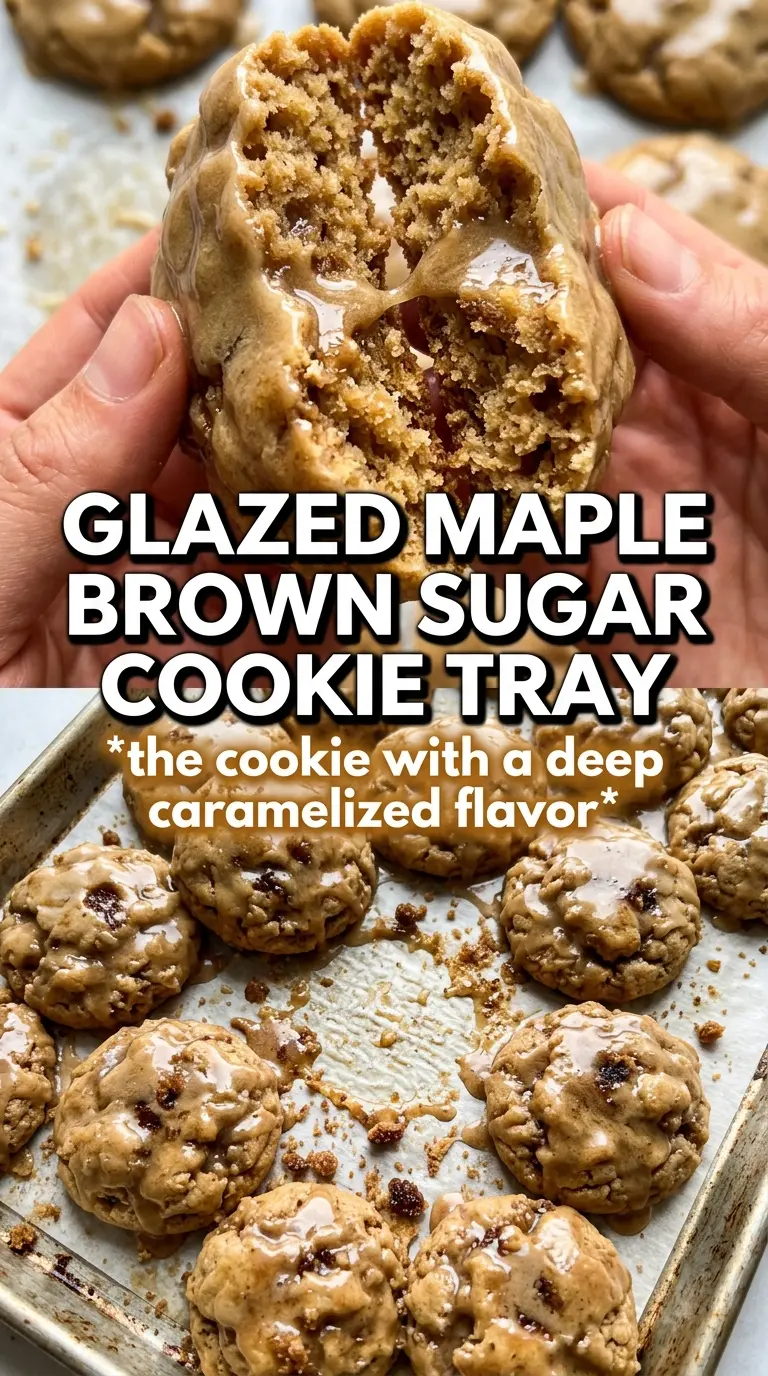
Maple brown sugar cookies bake up soft in the middle with chewy edges, a deep caramel color, and that warm maple finish that makes people reach for a second one before the glaze has even set. The brown sugar keeps them tender, while the maple syrup and maple extract push the flavor past plain sugar-cookie territory into something richer and more distinctive. A little flaky salt on top pulls everything into balance.
The texture here depends on a simple thing: don’t overbake them. These cookies should come out when the edges look set and the centers still look a little underdone, because they finish on the hot pan. Cream of tartar gives the cookies a gentle tang and a softer bite, which works especially well with the brown sugar and maple glaze. The glaze is thin enough to drizzle but thick enough to cling, so you get flavor in every bite instead of a heavy frosting layer.
Below, I’ll walk through the small details that matter most, including how to keep the cookies soft, how to get a stronger maple flavor, and what to do if you want to make them ahead.
The centers stayed soft for days, and the maple glaze set just enough that the cookies stacked without sticking. My husband kept sneaking one every time he walked through the kitchen.
Save these maple brown sugar cookies for the days when you want soft, chewy cookies with a glossy maple drizzle and a salty finish.
The Trick to Keeping These Cookies Soft Instead of Crumbly
Maple cookies can go dry fast if they’re baked like standard sugar cookies. The dough here is built to stay tender because brown sugar brings moisture and the maple syrup adds both flavor and softness, but that only works if you stop baking at the right moment. Pull them when the edges are set and the centers still look puffed and a little pale. They’ll settle as they cool, and that carryover heat is what gives you the soft middle instead of a dry, cakey cookie.
Cream of tartar matters more than it looks on the ingredient list. It gives the cookie a gentle lift and a finer, softer crumb, which keeps the texture from turning heavy under all that brown sugar. If your cookies spread too much, the butter was probably too warm or the dough was underchilled. A short chill helps the cookies hold their shape and keeps the glaze from working against a too-flat cookie.
What Each Ingredient Is Actually Doing in This Dough
- Brown sugar — This is the backbone of the cookie. It brings moisture, a deeper caramel note, and that soft chew you want here. Light brown sugar works fine, but dark brown sugar gives a stronger molasses flavor and a darker cookie.
- Pure maple syrup — Use real maple syrup, not pancake syrup. The real thing adds a cleaner maple taste and enough liquid to round out the dough without making it sticky. It also helps the glaze taste like maple instead of just sweet sugar.
- Maple extract — This is what makes the maple flavor stand up after baking. The syrup brings nuance, but the extract keeps the flavor from disappearing in the oven. If you leave it out, the cookies still work, but the maple note gets much quieter.
- Cream of tartar — This keeps the crumb soft and gives the cookies a gentle lift. You can swap in an equal amount of lemon juice in a pinch, but the texture won’t be quite the same.
- Unsalted butter — Softened butter creams properly with the brown sugar, trapping air for a lighter cookie. If the butter is melted, the cookies will spread fast and bake up greasy instead of soft.
- Powdered sugar glaze — Powdered sugar gives the drizzle its smooth finish. The maple syrup and milk thin it to a spoonable consistency; add the milk slowly so it doesn’t turn runny.
Building the Dough, Baking It Just Long Enough, and Finishing With the Glaze
Cream the butter and brown sugar until the color lightens
Beat the softened butter and packed brown sugar until the mixture looks fluffy and a shade lighter in color. That step adds air and gives the cookies their soft texture, so don’t rush it. If the butter is still cool and stiff, the mixture stays grainy and the cookies bake denser. Once the eggs, maple syrup, vanilla, and maple extract go in, the dough may look slightly curdled before the flour is added. That’s normal.
Fold in the dry ingredients just until the flour disappears
Stir the flour, baking soda, cream of tartar, cinnamon, and salt into the wet mixture until no dry streaks remain. Stop as soon as the dough comes together. Overmixing develops the flour and makes the cookies tougher, which is the opposite of what this dough needs. If the dough feels very sticky, a short chill makes scooping easier and helps the cookies bake up thicker.
Bake for set edges and soft centers
Scoop the dough into 2-tablespoon rounds and leave space between them because these cookies spread a little as they bake. They’re done when the edges are set and lightly golden, but the centers still look soft and slightly underbaked. Pull them from the oven and let them sit on the baking sheet for a few minutes before moving them. If you wait until the centers look fully baked in the oven, they’ll end up dry once they cool.
Drizzle the glaze only after the cookies are cool
Whisk the powdered sugar, maple syrup, and milk until the glaze falls in a thick ribbon from the spoon. If it runs off the cookies immediately, it’s too thin; add a little more powdered sugar. If it’s stiff and won’t drizzle, add milk a teaspoon at a time. Let the cookies cool completely first or the glaze will melt and slide right off instead of setting into that glossy finish.
Three Ways to Adjust These Cookies Without Losing the Maple Character
Gluten-Free Version
Swap the all-purpose flour for a good 1:1 gluten-free baking blend that already includes xanthan gum. The cookies will still be soft, but the texture may be a little more delicate, so let them cool on the pan before moving them. Avoid almond flour alone here; it won’t give you the same shape or chew.
Dairy-Free Swap
Use a plant-based butter that’s meant for baking, not a soft spread from a tub. The glaze can be made with a dairy-free milk and still set nicely. The flavor stays close, but the cookies may spread a little more, so chilling the dough becomes even more useful.
Extra Maple, Less Cinnamon
If you want the maple to lead, reduce the cinnamon to a pinch and add an extra half teaspoon of maple extract. That pushes the cookie toward a cleaner maple-brown-sugar flavor and away from spice-cookie territory. Don’t add more syrup to chase the flavor; too much liquid changes the texture.
Storage and Reheating
- Refrigerator: Store in an airtight container for up to 5 days. The glaze will stay set, though the cookies soften a little more by day two.
- Freezer: Freeze the unglazed cookies for up to 2 months. Thaw at room temperature and glaze after thawing for the best look and texture.
- Reheating: These don’t need reheating, but if you want that fresh-baked feel, warm an unglazed cookie for 5 to 8 seconds in the microwave. Don’t heat glazed cookies for long or the drizzle will melt and disappear.
Answers to the Questions Worth Asking
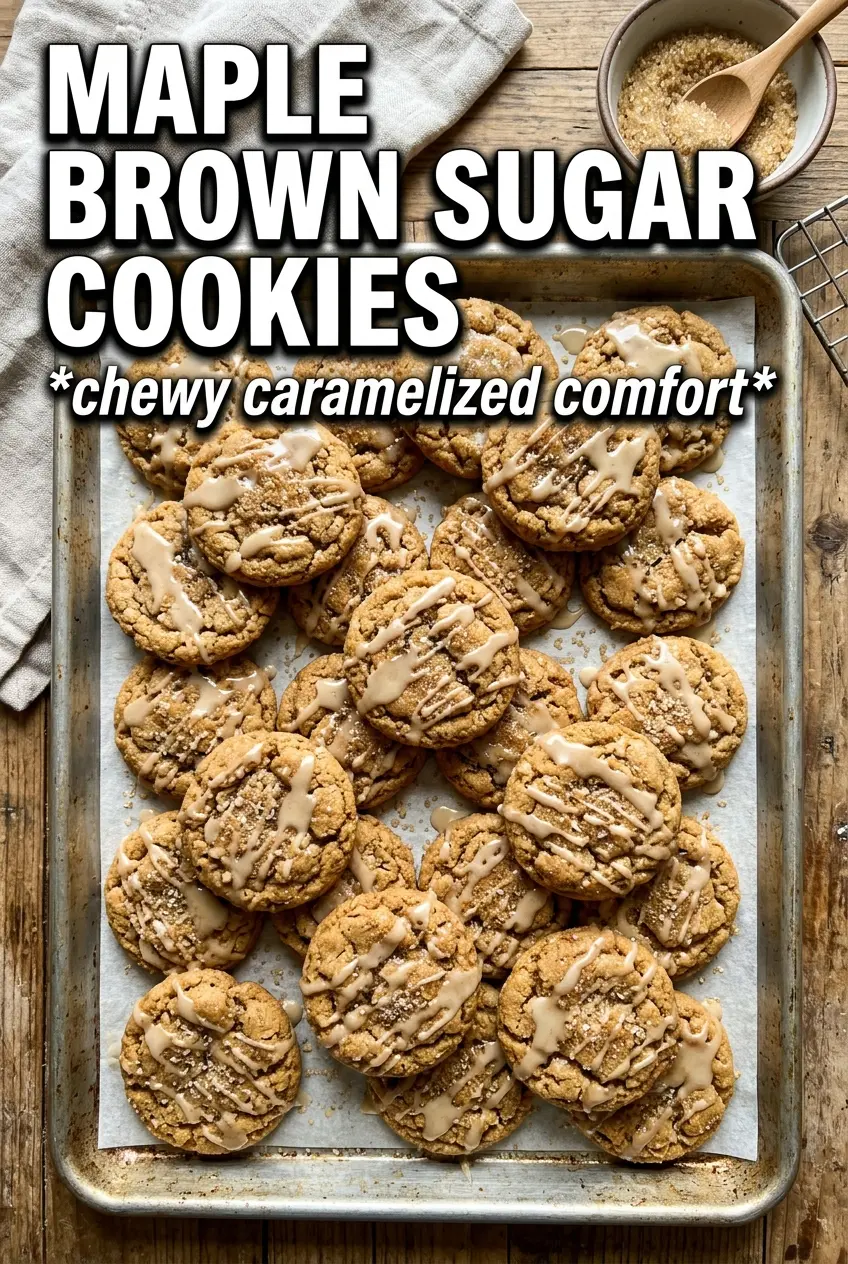
Maple Brown Sugar Cookies
Ingredients
Equipment
Method
- Preheat oven to 375°F and line baking sheets with parchment to prevent sticking and aid even browning.
- Whisk all-purpose flour, baking soda, cream of tartar, cinnamon, and salt in a bowl until evenly combined and uniform in color.
- Beat softened unsalted butter and packed brown sugar until light and fluffy, about 2–3 minutes, to incorporate air for a softer cookie texture.
- Add eggs, pure maple syrup, vanilla extract, and maple extract and beat until smooth and glossy, with no visible streaks.
- Fold the dry flour mixture into the wet ingredients just until no dry pockets remain, leaving the dough cohesive.
- Scoop dough into 2-tablespoon rounds and place on the lined baking sheets, spacing them evenly for spread.
- Bake at 375°F for 10–12 minutes until the edges are set and the centers still look slightly soft.
- Cool cookies completely so the glaze stays thick and drizzles cleanly over the crinkled tops.
- Drizzle maple glaze (powdered sugar mixed with maple syrup and milk) over the cooled cookies, then finish with flaky sea salt for a crisp, salty contrast.