Make ahead cider and sage gravy brings a deep, roasted backbone to the table instead of the flat, one-note gravy that happens when you rush the stock. The apple cider gives it a soft sweetness that rounds out the turkey drippings, while sage and thyme keep it savory and unmistakably holiday-worthy. What you end up with is glossy, rich gravy that tastes like it simmered all afternoon, even though most of the work happens early and can be done days ahead.
The key is browning the turkey and vegetables hard enough to build real color before any liquid goes in. That roasting step is what gives the gravy its depth, and it matters more than any shortcut with extra seasoning later. The flour cooks in butter until it turns golden, which keeps the finished gravy from tasting pasty, and the cider vinegar at the end sharpens everything so the gravy doesn’t land heavy.
Below, I’ve laid out the exact points where this gravy gets its best flavor and the places where people usually rush it. There’s also a storage note for making it ahead, plus a few practical swaps if you only have dried herbs or want to use pan drippings from the roast.
The gravy had that deep roasted flavor I usually only get from pan drippings, and it thickened up perfectly after chilling overnight. I added the turkey drippings when reheating and it tasted like it had been made that day.
Save this make-ahead cider and sage gravy for the meal when you want deep roasted flavor without last-minute pan scrambling.
The Roast That Gives This Gravy Its Backbone
Gravy made from a pale stock always tastes thin, no matter how much butter you whisk in at the end. The real difference here comes from roasting the turkey wings or drumsticks with the onion, carrots, and celery until the edges are dark and sticky. That browning is where the flavor lives, and it gives the finished gravy a savory depth that stock alone can’t fake.
The other thing that keeps this from turning bland is the cider, which adds roundness without making the gravy taste sweet. If your cider is especially sweet, the vinegar at the end pulls it back into balance. Skip the vinegar and the gravy can taste heavy, especially after it chills and the butter firms up.
- Turkey wings or drumsticks — These bring collagen, body, and a roasted meat flavor that plain broth can’t match. If you use turkey necks, the gravy will still work, but it may need a little more simmering to build the same depth.
- Apple cider — Use fresh, unfiltered cider if you can get it. Apple juice works in a pinch, but it tastes flatter and sweeter, so the vinegar becomes even more important at the end.
- Fresh sage and thyme — Fresh herbs give the gravy a cleaner, woodsy finish. Dried herbs work, but use less; they need time to soften in the butter, and they can read dusty if you add too much.
- Butter and flour — This is the roux, and it’s what gives the gravy its body. Cook it until it turns light gold; if it stays pale, the gravy can taste raw and floury.
What Each Ingredient Is Actually Doing in This Recipe

- Primary ingredient (the star) — Quality matters most. Choose the best you can find.
- Cooking medium (oil, butter, or broth) — This carries flavors and prevents dryness.
- Seasonings (salt, pepper, spices, herbs) — Layer flavors so nothing overpowers. Build depth gradually.
- Aromatics (garlic, onion, herbs) — Cook with fat to bloom flavors. Become the foundation.
- Supporting ingredients — Complement the main ingredient without overpowering it.
- Sauce or liquid (if applicable) — Brings flavors together. Balance richness with acid.
- Acid (lemon, vinegar, wine, or other) — Brightens and prevents flat-tasting results.
- Final finish (garnish, glaze, or sauce) — Prevents one-dimensional taste and adds visual appeal.
Building the Flavor Before the Gravy Ever Thickens
Roasting the turkey and vegetables
Toss the turkey, onion, carrots, and celery with the olive oil and spread everything out in a single layer. You want deep browning, not steaming, so use a large roasting pan and give the pieces room. After about 45 minutes at 425F, the turkey should be dark at the edges and the vegetables should have browned corners. If the pan looks dry or scorching, that’s fine; the broth will lift those browned bits into the stock later.
Simmering the stock
Move the roasted ingredients into a pot, add the broth and cider, and let everything simmer for 30 minutes. The liquid should taste concentrated and savory, with a gentle apple note in the background. Don’t boil it hard or the broth can turn cloudy and aggressive instead of rounded. Strain it well and press lightly on the solids for extra flavor, but don’t mash them through the sieve or the stock can turn muddy.
Making the roux and finishing the gravy
Melt the butter, add the sage and thyme, then whisk in the flour and cook until the mixture smells nutty and turns golden. That step takes a few minutes, and it’s worth it because it cooks out the raw flour taste. Add the stock gradually while whisking; if you dump it all in at once, lumps are much more likely. Once it’s smooth, simmer until it coats the back of a spoon, then stir in the vinegar and season at the end so the salt lands after the gravy has reduced.
How to Adapt This Gravy for Different Tables
Use pan drippings for an even deeper finish
If you roast turkey on the same day, whisk in the drippings after reheating the gravy or strain them into the finished pot before serving. That gives you a saltier, meatier gravy, but it also means you may need less added salt at the end.
Make it gluten-free with a cornstarch slurry
Skip the flour roux and thicken the simmered stock with cornstarch mixed into cold water. The texture comes out a little glossier and less velvety than a roux-thickened gravy, but it still sets up nicely and reheats well.
Swap in dried herbs when fresh isn’t around
Use about one-third the amount of dried sage and thyme, and stir them into the butter long enough for them to soften before the flour goes in. Dried herbs taste more concentrated and less bright, so the gravy will lean a little earthier and less fresh.
Dairy-free version with olive oil and stock
Use olive oil instead of butter and cook the flour the same way, or use a dairy-free butter substitute if that’s what you keep on hand. The gravy won’t have quite the same rich finish, but the roasted turkey stock and cider still carry the flavor.
Storage and Reheating
- Refrigerator: Store in an airtight container for up to 3 days. It will thicken as it chills, so don’t worry if it looks a little firm.
- Freezer: It freezes well for up to 2 months. Thaw in the fridge overnight and whisk it well as it reheats, since the texture can look slightly separated before it smooths out.
- Reheating: Warm it over medium-low heat and whisk often. If it gets too thick, loosen it with a splash of broth or water; if you reheat it too fast, the fat can separate and the gravy can turn grainy.
Answers to the Questions Worth Asking
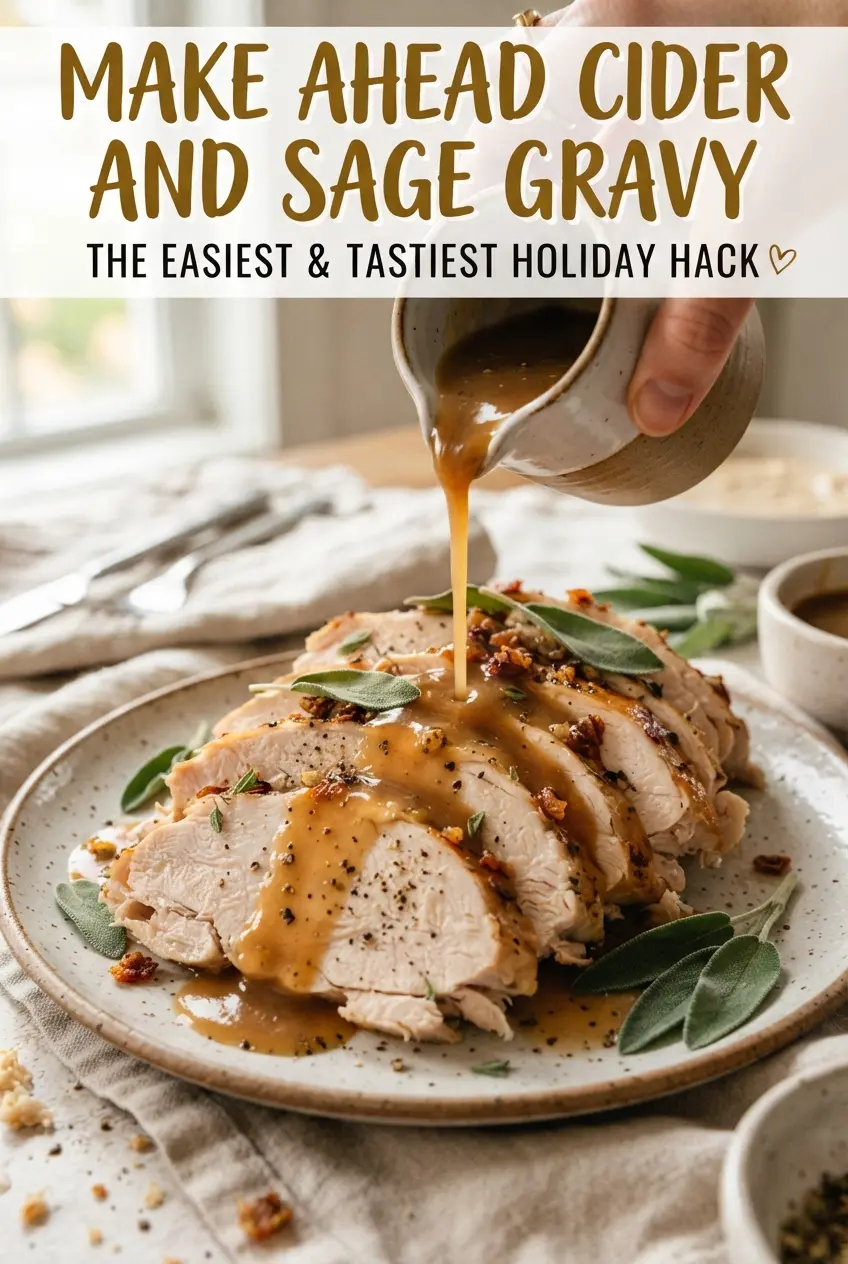
Make Ahead Cider and Sage Gravy
Ingredients
Equipment
Method
- Preheat the oven to 425F. Toss the turkey wings or drumsticks, onion, carrots, and celery with the olive oil on a sheet pan.
- Roast at 425F for 45 minutes until deeply browned. Scrape up any browned bits from the pan as they develop.
- Transfer the roasted turkey, onion, carrots, and celery to a pot. Add the chicken broth and apple cider.
- Simmer for 30 minutes. Strain and keep the stock for the gravy.
- Melt the butter in a saucepan over medium heat. Add the sage and thyme and cook for 1 minute.
- Whisk in the all-purpose flour and cook for 3-4 minutes until golden brown. Keep whisking to prevent scorching.
- Gradually whisk in the stock. Simmer for 8-10 minutes until thick and smooth.
- Stir in the apple cider vinegar. Season with salt and pepper to taste.
- Cool the gravy and refrigerate up to 3 days. Keep it covered while it chills.
- Reheat over medium heat, whisking as it warms. Whisk in pan drippings if you have them.