Thin chicken cutlets with a Romano crust are one of those dinners that disappear fast because they hit every note at once: crisp, salty, tangy, and rich without feeling heavy. The breading turns deeply golden in the pan, and the lemon-caper butter sauce clings to the crust just enough to soften the edges without taking away the crunch.
What makes this version work is the mix of finely grated Pecorino Romano with panko. Romano brings the sharp, salty cheese flavor, while panko keeps the coating from turning dense or greasy. I also like to finish the sauce with cold butter off the heat. That small move gives you a glossy pan sauce instead of a broken one, which matters when the whole dish depends on contrast.
Below, I’ve included the breading details that keep the crust stuck to the chicken, plus a few swaps and storage notes if you want to stretch this into another meal.
The Romano crust stayed crisp even under the sauce, and pounding the cutlets thin meant they cooked through in just a few minutes. That lemon butter finish was exactly what the chicken needed.
Save this Lemon Chicken Romano for the nights when you want a shatter-crisp chicken cutlet with a bright lemon-caper pan sauce.
The Crust Stays Crisp Because the Chicken Stays Thin
The main trap with chicken cutlets like this is moisture. If the chicken is too thick, it steams before the crust has time to set, and the coating slips or softens before it ever gets properly crisp. Halving the breasts into thin cutlets gives you a fast, even cook and a better ratio of crust to meat.
The other detail that matters is how firmly you press the Romano-panko mixture onto the egg-coated chicken. Don’t just dip and drop it into the pan. Pressing the coating on creates a tighter crust that browns evenly and stays put when you turn the cutlets. If your coating looks patchy, the chicken was probably still wet from the flour step or the breading station got clumpy.
Keep the heat at medium-high and don’t crowd the pan. You want enough space around each cutlet so the oil stays hot and the crust fries instead of steams.
What the Romano, Panko, and Lemon Are Each Doing Here
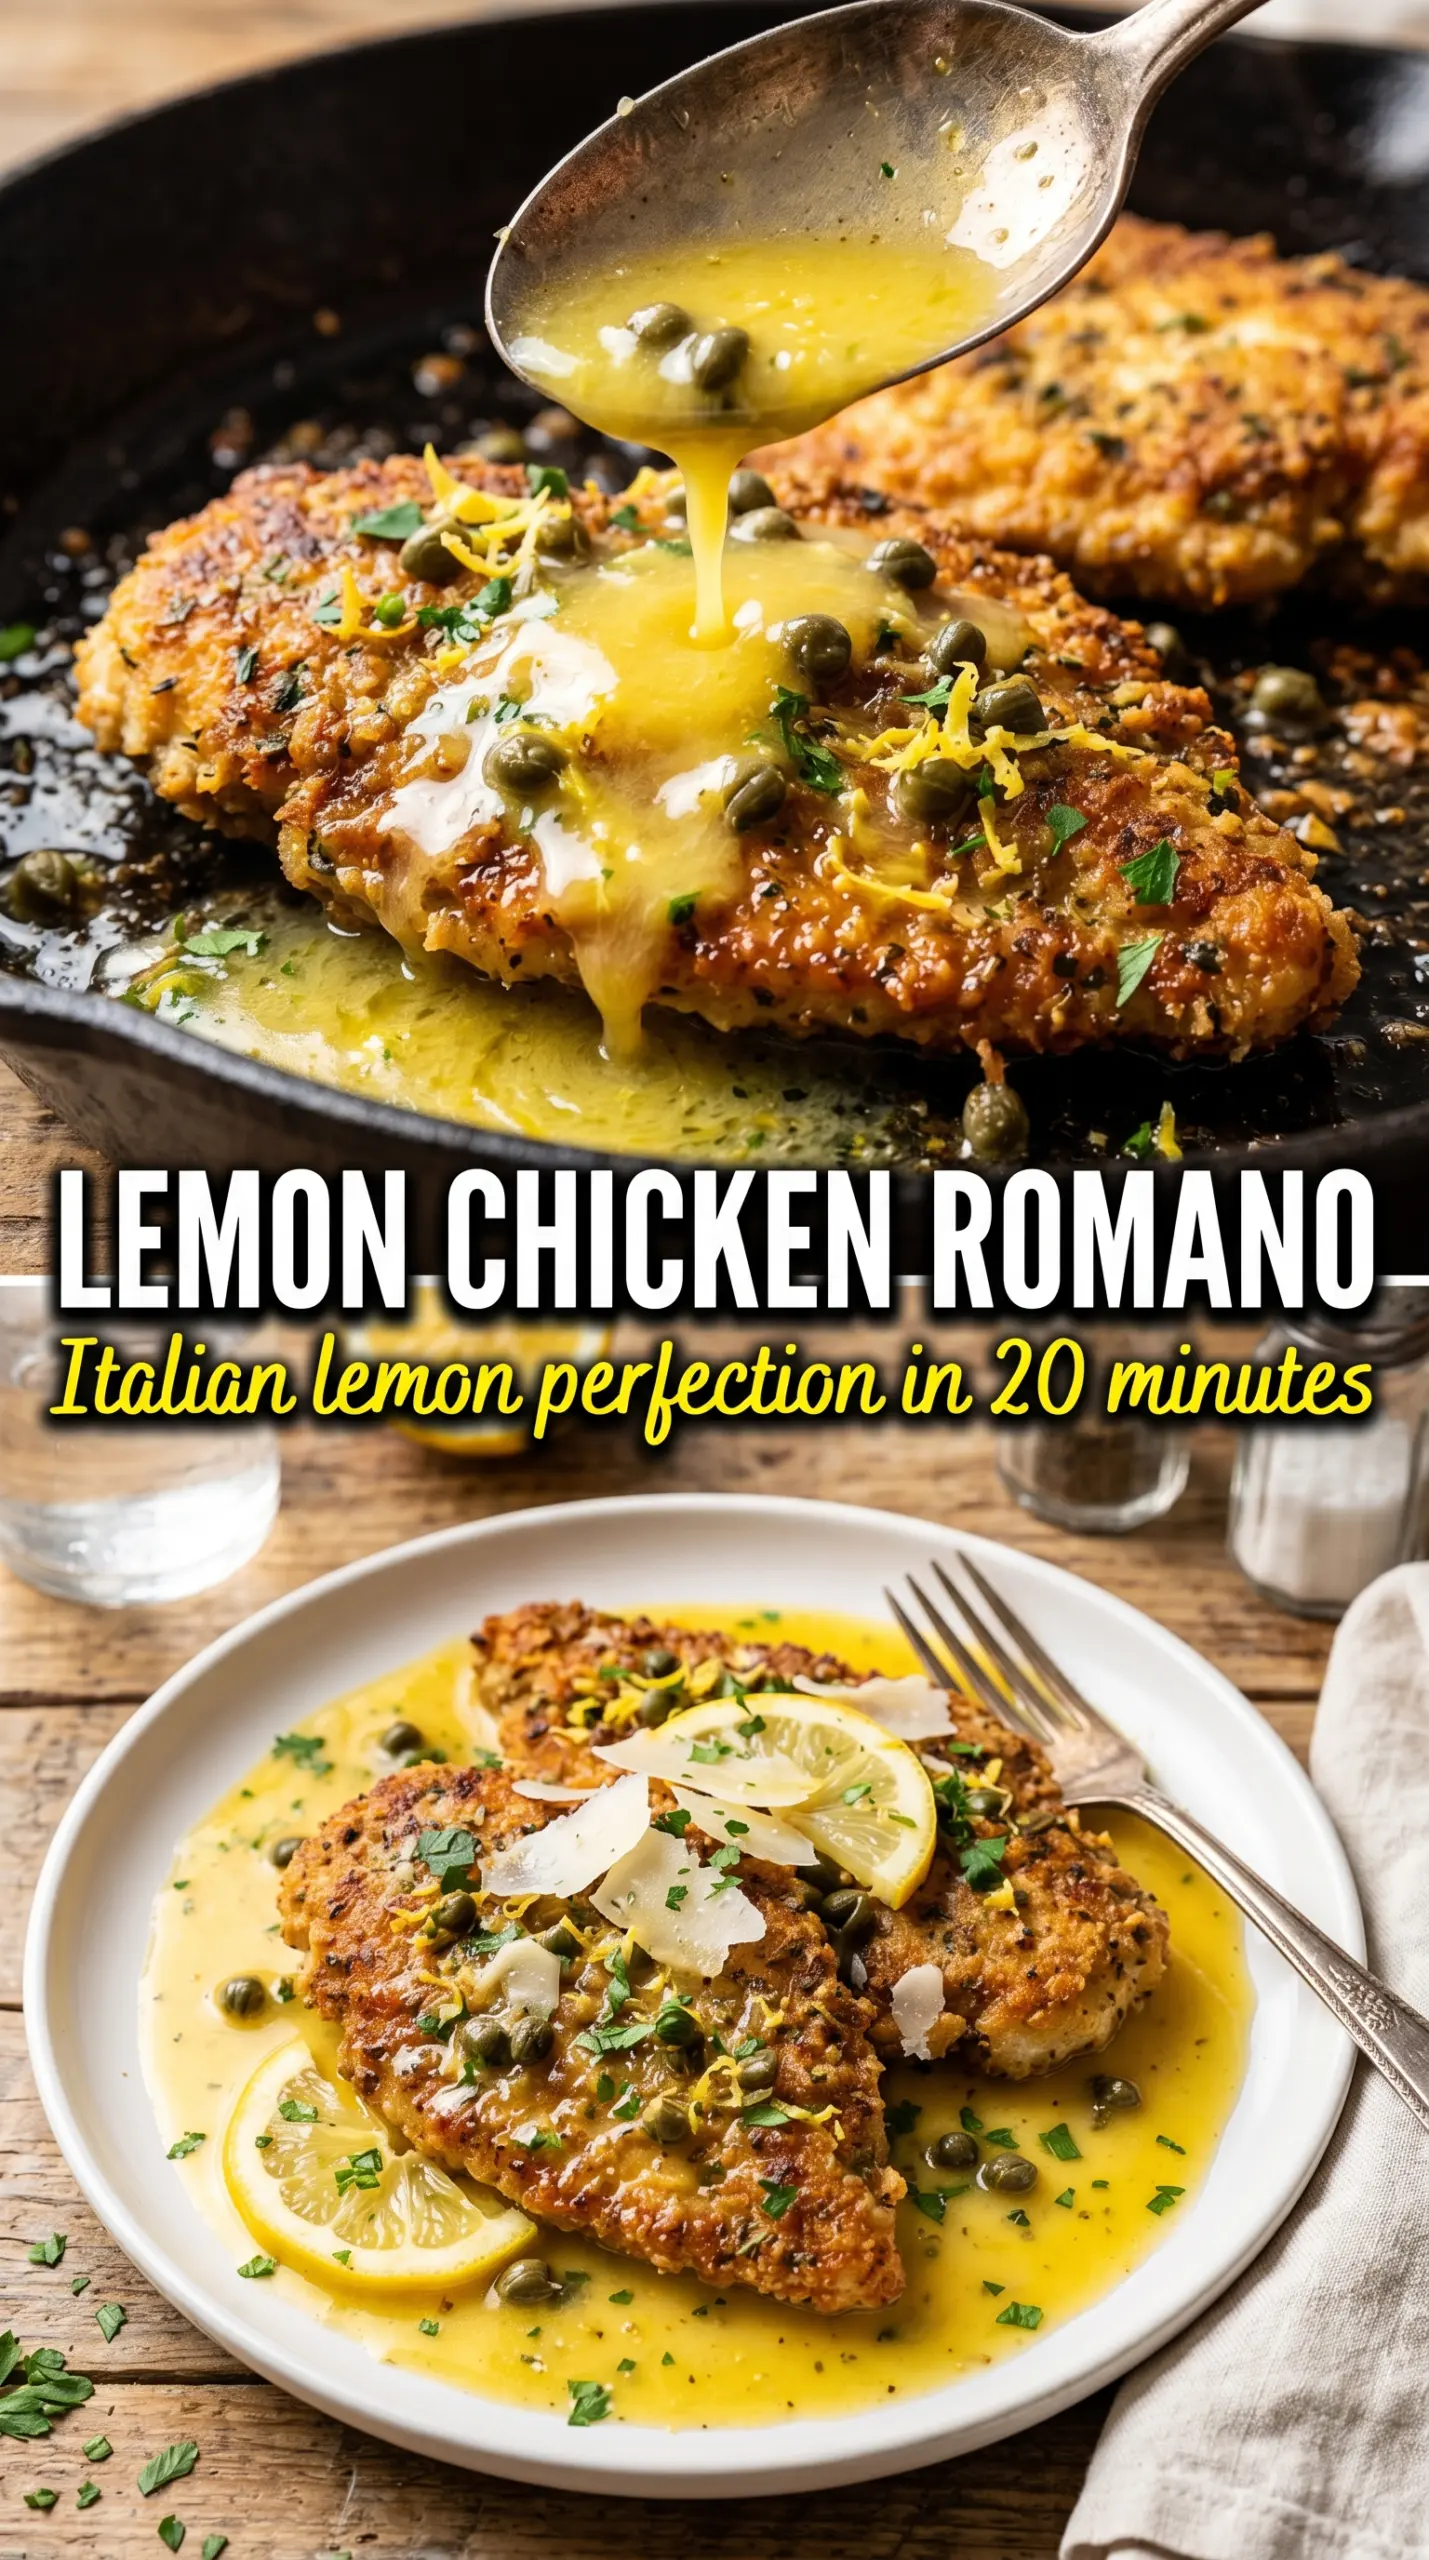
- Pecorino Romano — This is the backbone of the coating. It’s sharp, salty, and dry enough to brown well. A pre-grated supermarket cheese can work in a pinch, but finely grating a block gives you better texture and stronger flavor.
- Panko breadcrumbs — Panko keeps the crust light and crackly. Regular breadcrumbs will work, but the coating will be finer and a little less crisp. If you want the crunchiest result, don’t swap this for plain fine crumbs.
- Dry white wine — This lifts the sauce and helps dissolve the browned bits from the pan. Use something you’d actually drink; a cheap cooking wine makes the sauce taste flat. If you need a substitute, use chicken broth with a small splash of extra lemon juice.
- Capers — They give the sauce briny pops that keep the butter and cheese from tasting heavy. Drain them well so the sauce stays clean and glossy instead of watery.
- Cold butter at the end — This is what makes the sauce silky. Add it off the heat and swirl until it melts. If the pan is too hot, the butter can separate instead of emulsifying.
Getting the Sear Right Before the Sauce Goes In
Building the Breaded Cutlets
Set up the flour, egg, and Romano-panko stations before you touch the chicken again. The cutlets should go from flour to egg to coating in one steady motion. The flour helps the egg cling, and the egg gives the cheese-breadcrumb mix something to grab onto. If the coating feels damp or pasty, shake off more flour before the egg step.
Frying to a Deep Golden Crust
Heat the olive oil and part of the butter until the butter foams and the pan looks lively, then add the cutlets without crowding. You’re looking for a crust that turns golden and audibly crisp in 3 to 4 minutes per side. If the pan runs too cool, the coating absorbs fat and goes greasy; if it’s too hot, the cheese can scorch before the chicken cooks through.
Making the Lemon-Caper Pan Sauce
After the chicken comes out, lower the heat and add the garlic for just 30 seconds. It should smell fragrant, not browned. Pour in the wine and scrape the pan well, then add lemon juice and capers and let it bubble until it reduces slightly. The sauce should taste sharp and bright before the butter goes in; if it tastes flat here, it needs a little more reduction, not more butter.
Finishing Without Breaking the Sauce
Take the pan off the heat before whisking or swirling in the last butter. That’s the difference between a glossy sauce and one that looks oily. Spoon it over the cutlets right away so the crust catches some sauce at the edges while the center stays crisp. Fresh parsley at the end gives the plate a clean finish and keeps the richness in check.
How to Adapt Lemon Chicken Romano for Different Nights
Gluten-Free Cutlets
Swap the all-purpose flour for a gluten-free blend and use gluten-free panko. The crust still gets crisp, but the coating can be a touch more delicate, so press it on firmly and let the cutlets rest for a few minutes before frying.
Dairy-Free Version
Use a dairy-free butter substitute for the pan sauce and replace the Romano with a dairy-free Parmesan-style alternative or seasoned breadcrumbs alone. You’ll lose some of the sharp salty bite that Romano brings, so add a little extra salt and a pinch of garlic powder to the coating.
No Wine, Still a Good Sauce
Replace the wine with low-sodium chicken broth and a teaspoon more lemon juice. The sauce will be a little rounder and less sharp, but the pan still gets deglazed and the capers still do their job.
Storage and Reheating
- Refrigerator: Store the chicken and sauce separately for up to 3 days. The crust will soften a bit, but it still reheats well.
- Freezer: The breaded chicken freezes better before frying. Freeze the uncooked cutlets on a tray, then transfer to a bag. The finished dish can be frozen, but the sauce will separate and the crust won’t stay crisp.
- Reheating: Reheat cutlets in a 375°F oven or air fryer until hot and re-crisped. Warm the sauce gently on the stove and spoon it over just before serving. The mistake to avoid is microwaving everything together, which turns the crust soggy fast.
Answers to the Questions Worth Asking
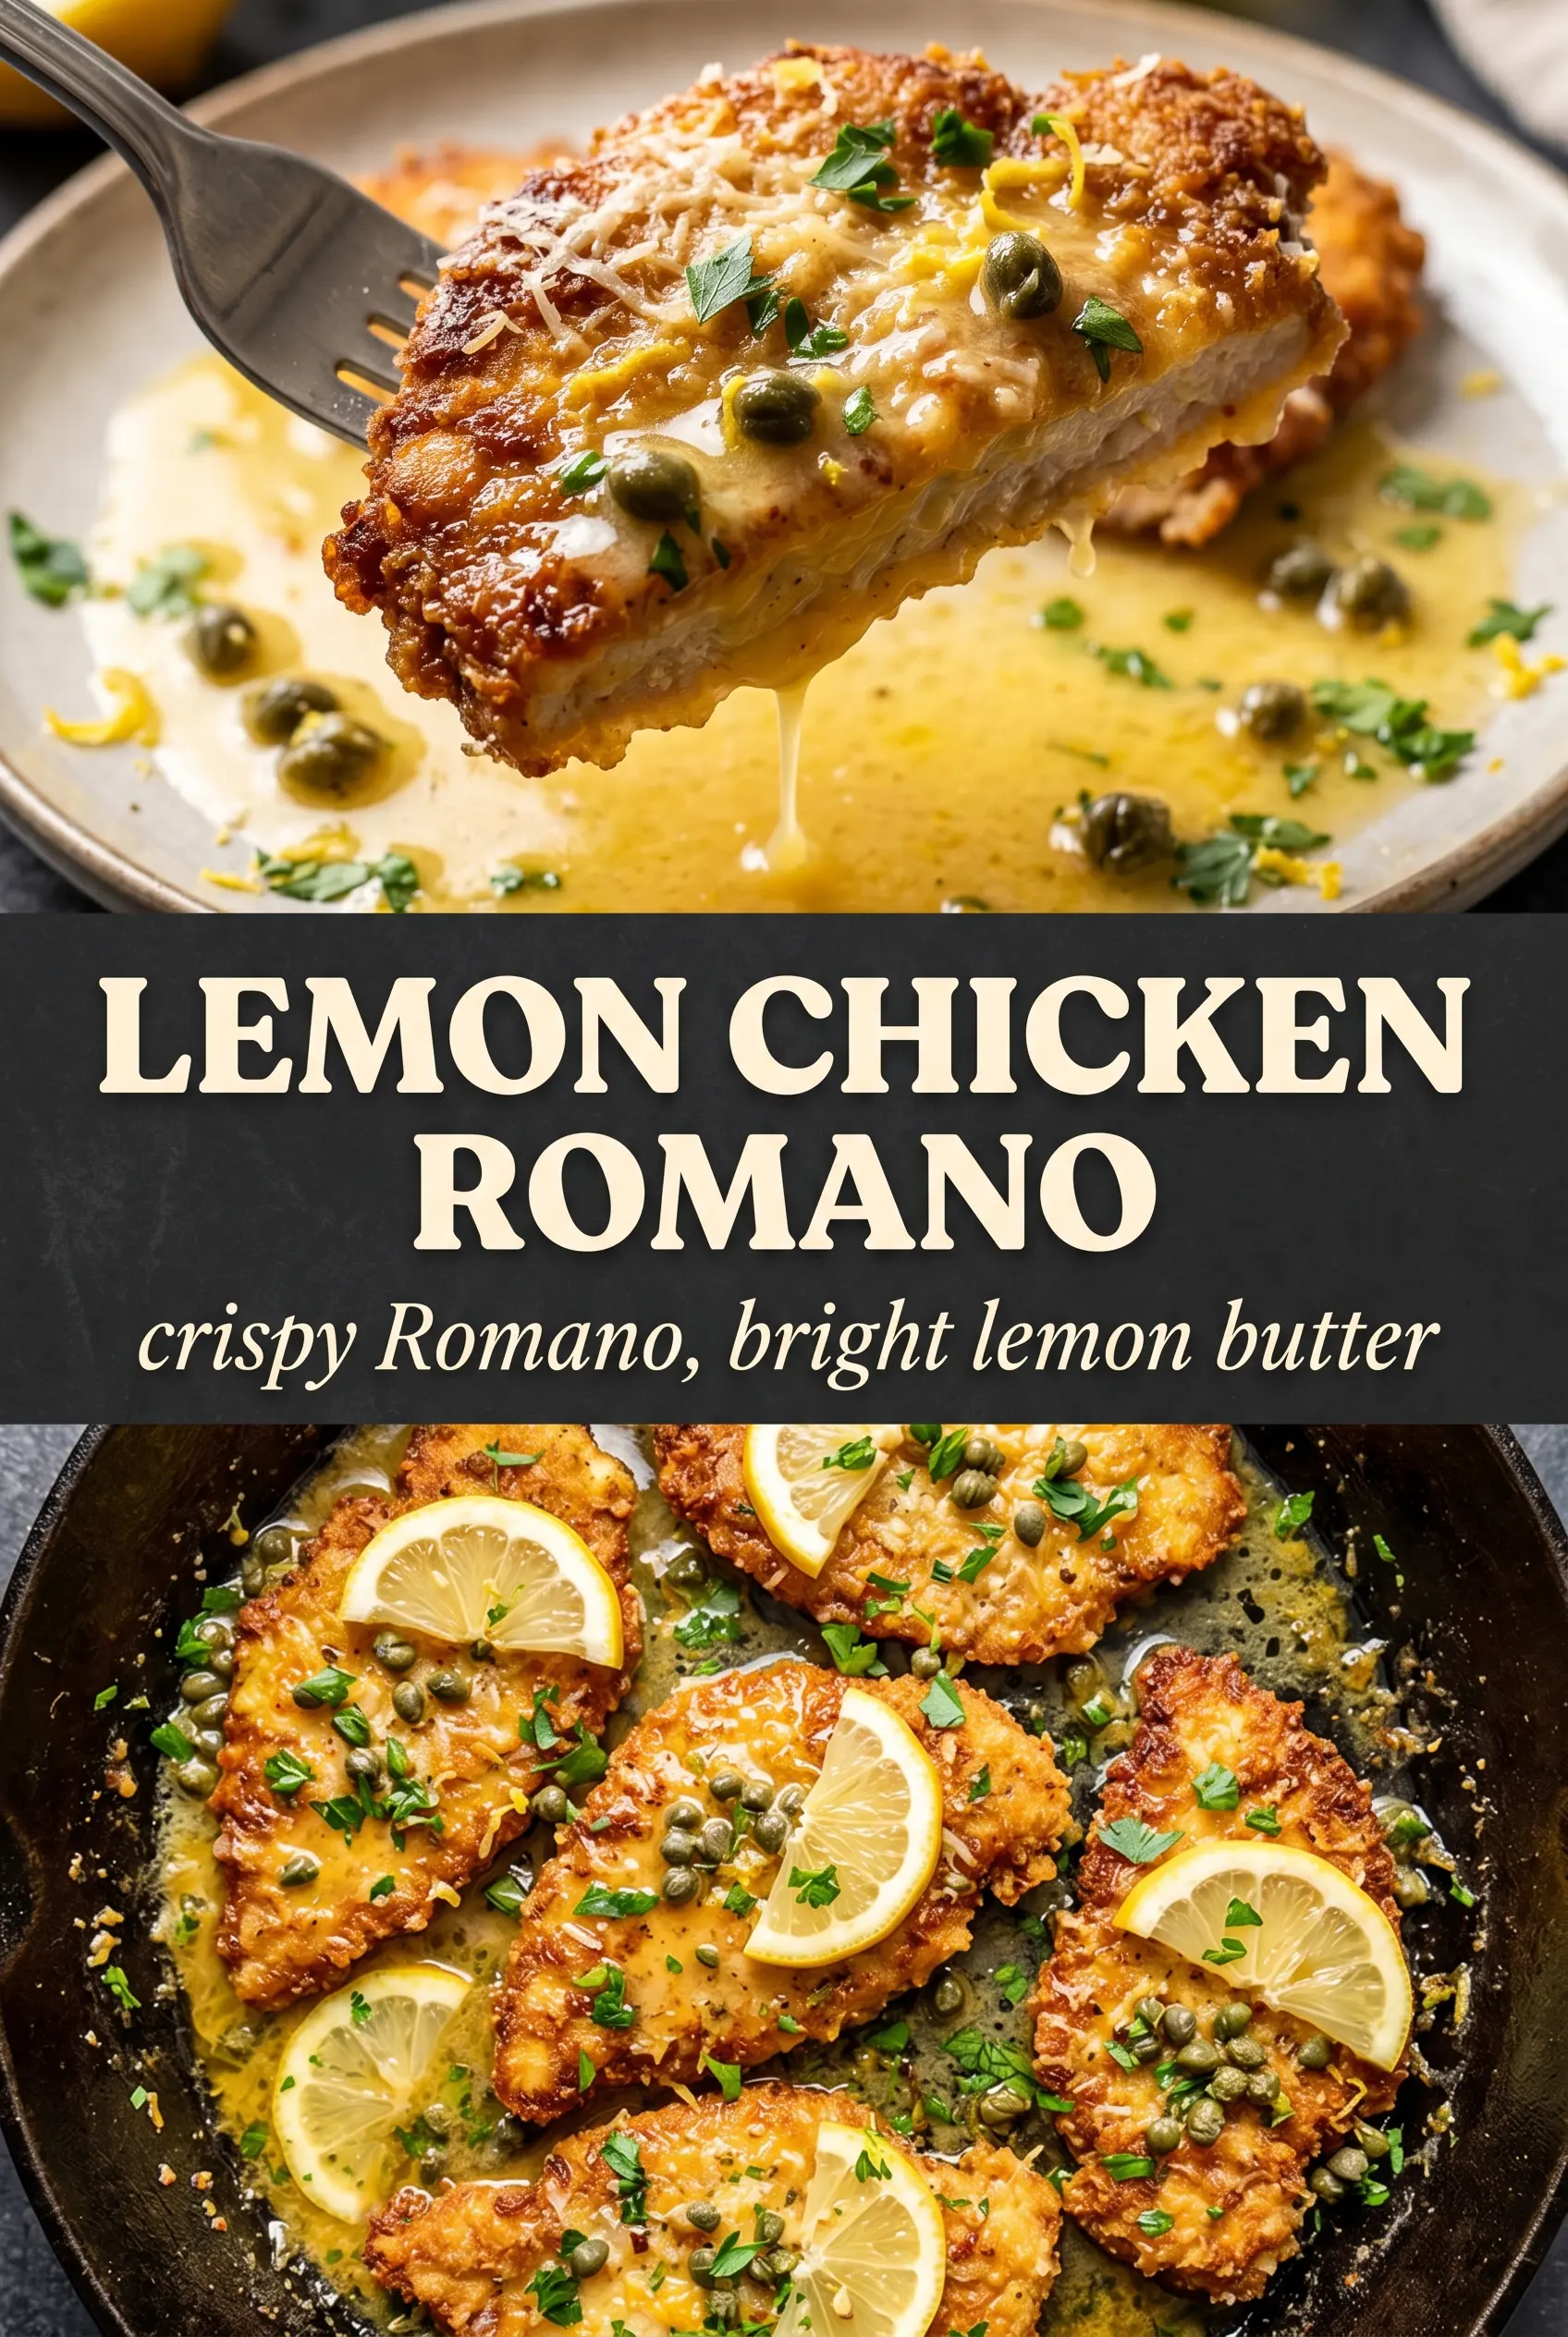
Lemon Chicken Romano
Ingredients
Equipment
Method
- Season the thin chicken cutlets with salt and pepper, then set up a breading station with flour, beaten egg, and a mixture of Pecorino Romano and panko breadcrumbs. Arrange them so each cutlet can be dredged, dipped, and pressed quickly.
- Dredge each cutlet in the flour, dip it in the beaten egg, then press it firmly into the Romano-panko coating. Keep the coating well-packed so it crisps into a deep golden crust.
- Heat olive oil and 2 tablespoons butter in a cast iron skillet over medium-high heat, then pan-fry the cutlets for 3-4 minutes per side until deeply golden. Remove to a plate as soon as the crust looks shatter-crisp.
- In the same skillet, cook the minced garlic for 30 seconds, stirring to avoid browning. Add the dry white wine to deglaze, scraping up the browned bits.
- Add the lemon juice and drained capers, then simmer for 3 minutes to concentrate the flavor. Reduce until the liquid looks slightly thickened and aromatic.
- Turn the heat to low and swirl in the remaining 2 tablespoons cold butter until the sauce looks glossy. If it breaks, keep stirring gently off and on heat until smooth.
- Plate the crispy cutlets and pour the lemon-caper butter sauce over each one. Garnish with fresh parsley so the top stays bright and fragrant.