These red, white, and blue Jell-O shots set up in clean, distinct layers with a glossy finish and just enough bounce to hold their shape when you pick them up. The flavor stays bright and familiar — cherry, creamy vanilla, and berry blue — but the real payoff is the layered look. Each cup comes out with sharp stripes instead of muddy edges, which is what separates a party tray people admire from one that just disappears into the crowd.
The trick is treating each layer like its own small project. The red and blue layers need to cool a bit before they go into the cups, and each one has to be fully set before the next layer goes on. The white layer is the one that can cause trouble if it’s too hot or too thin, because it can melt the red layer underneath or blur the lines between colors.
Below, I’ll walk through the exact timing that keeps the layers clean, the ingredient swap that matters most if you want a stronger or milder shot, and a few ways to make these fit different parties without losing that striped look.
The layers set up perfectly and the white one stayed bright instead of turning pink. I used a spoon to add the blue layer and it stayed neat all the way to the top.
Like these red, white, and blue Jell-O shots? Save them to Pinterest for your next patriotic party or backyard cookout.
The Layer That Ruins These If You Rush It
Most layered Jell-O shots go wrong for one of two reasons: the first layer isn’t fully set, or the next layer goes in while it’s still too hot. Either mistake softens the line between colors and gives you a slushy middle instead of a clean stack. The fix is simple, but it matters: let each layer firm up all the way before adding the next, and cool the mixed gelatin before it touches what’s already in the cups.
The other thing people miss is how much the spoon matters when you add the top layers. Pouring straight down can punch through the layer underneath, especially with the blue one. A spoon held just above the surface slows the flow and helps each color settle in place instead of mixing where it lands.
What Each Layer Is Doing in the Cup
- Cherry or strawberry Jell-O — This gives you the red layer with the strongest color payoff. Cherry usually reads a little brighter and more candy-like, while strawberry leans softer. Either one works, but don’t swap in a lighter-flavored gelatin if you want that patriotic contrast to stay bold.
- Berry blue Jell-O — The blue layer needs the full strength of the standard box, not a diluted mix. Berry blue sets with the best color clarity and gives you that translucent top layer that looks clean in clear cups.
- Unflavored gelatin — This is what gives the white layer structure without making it opaque and heavy. It’s not interchangeable with flavored gelatin here, because the goal is a creamy-looking middle that still sets firmly enough to stack under the blue.
- Sweetened condensed milk — This is the ingredient that turns the white layer from plain gelatin into the creamy stripe that makes the whole tray stand out. Regular milk won’t give you the same body or look, and it thins out the layer too much.
- Vodka — Cold vodka keeps the boozy layers smooth and gives you a cleaner set than room-temperature alcohol. A plain, unflavored vodka works best here because any strong flavor will compete with the Jell-O instead of disappearing into it.
Building the Cups Without Smearing the Colors
Mixing the Red Base
Dissolve the cherry or strawberry Jell-O in boiling water until the granules are completely gone and the liquid looks clear, not grainy. Stir in the cold vodka after that, then let the mixture sit just long enough to lose its steam. If it’s still hot when it goes into the cups, the layer beneath it will soften later and the line won’t stay sharp.
Setting the White Middle
The white layer needs extra attention because it’s the one that can blur everything if it’s handled carelessly. Stir the unflavored gelatin into the boiling water and condensed milk mixture until it disappears completely, then cool it before spooning it over the red layer. Spoon it on gently, because a hard pour can dent the set red base and make the layers look uneven.
Finishing With the Blue Top
Mix the blue layer the same way, then cool it to room temperature before adding it on top of the white. The surface underneath should feel firm when you tap it lightly; if it gives much at all, wait longer. Once the blue layer goes on, move the cups back to the fridge and leave them alone until they’re fully set all the way through.
How to Adjust These for Different Parties
Make Them Stronger or Milder
If you want a stronger shot, reduce the cold water a little in the red and blue layers, but don’t cut so much that the gelatin can’t dissolve properly. For a milder version, replace part of the vodka with cold water. The texture stays the same, but the alcohol bite softens, which makes these easier for a mixed crowd.
Use a Nonalcoholic Version
Swap the vodka with cold water and you’ll still get the same layered look with a firmer set. You lose the boozy finish, but the cups hold together well and still work as a fun gelatin dessert for kids or anyone skipping alcohol.
Make Them Ahead for a Crowd
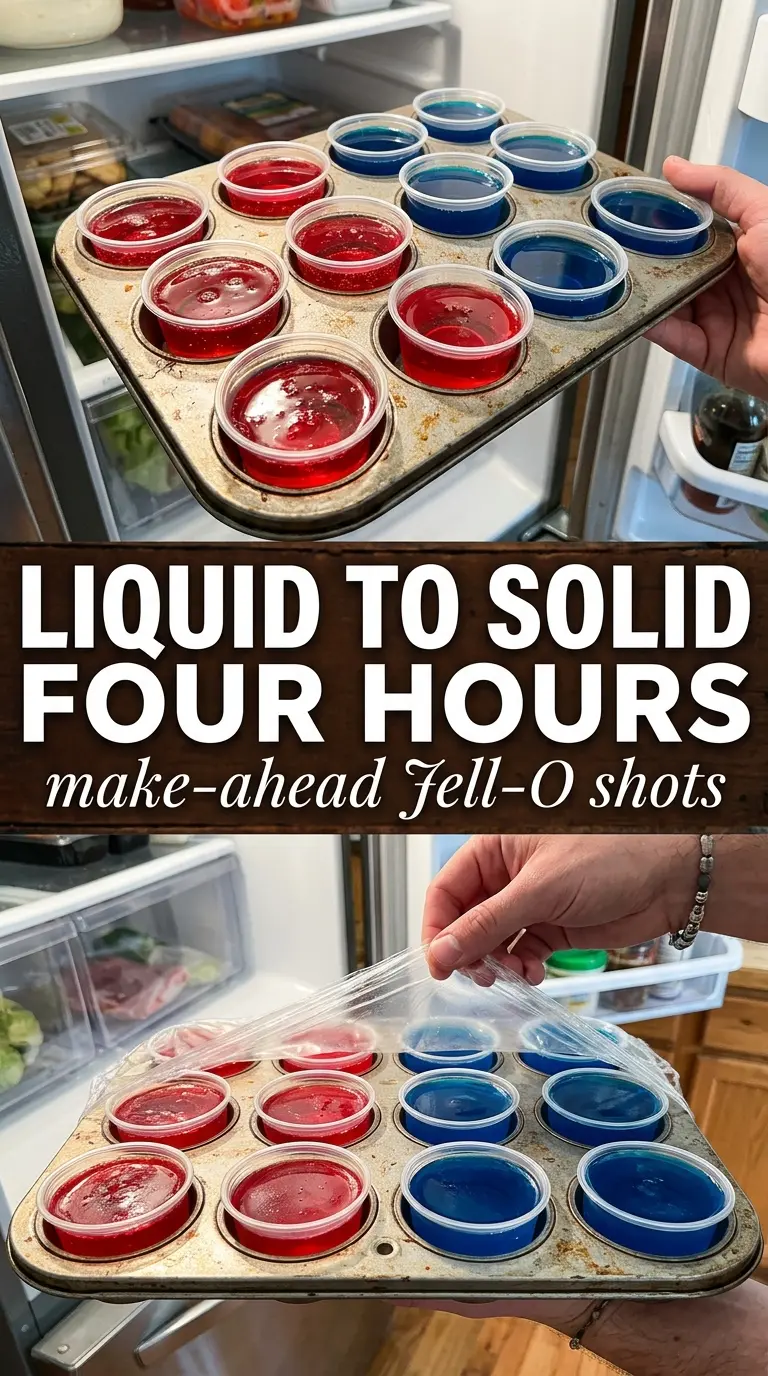
These hold up well when made the day before, which is a relief when you’re juggling a party menu. Keep them covered in the fridge so the tops don’t dry out or pick up fridge smells. If you’re making a large batch, line the cups up on a sheet pan before filling them so they’re easier to move in one trip.
Storage and Reheating
- Refrigerator: Store covered for up to 3 days. After that, the edges can start to weep a little and the layers lose their best look.
- Freezer: Don’t freeze these. The gelatin texture breaks down after thawing and the layers turn watery.
- Reheating: Not applicable. Serve these cold straight from the fridge. If they sit out too long, the layers soften and the cups won’t hold their clean edges.
Answers to the Questions Worth Asking
Jell-O Shots
Ingredients
Method
- Dissolve cherry or strawberry Jell-O in 1 cup boiling water, stirring for 2 minutes until fully dissolved, then mix in 1/2 cup cold vodka and pour into shot cups filling one-third of the way.
- Refrigerate the shot cups for 45 minutes until fully set, so the red layer looks firm and no longer jiggles when gently nudged.
- Combine sweetened condensed milk, 1 cup boiling water, and unflavored gelatin, then stir until dissolved and the mixture is smooth, cooling slightly before adding 1/2 cup cold water.
- Spoon the white layer gently over the set red layer, aiming to cover without disturbing it, then refrigerate for another 45 minutes until fully set.
- Dissolve berry blue Jell-O in 1 cup boiling water, stir for 2 minutes, mix in 1/2 cup cold vodka, cool to room temperature, then gently pour over the white layer.
- Refrigerate for at least 1 hour until fully set, then serve cold with glossy layers that jiggle cleanly in the cups.