Warm apples and pears tucked under a crisp, sandy crumble topping is the kind of pudding that disappears fast once it hits the table. The fruit turns jammy around the edges while the top bakes into deep golden nubs and buttery crumbs, with a little crunch from demerara sugar and ground almonds that keeps every spoonful interesting. It’s the sort of dessert that feels old-fashioned in the best way: simple ingredients, straight comfort, nothing fussy.
What makes this version stand out is the mix of apples and pears. Apples give the filling structure, while pears melt a little faster and turn the base luscious without needing much extra sugar. Pre-cooking the fruit for a few minutes matters too. It starts the softening process and lets the butter, cinnamon, spice, and lemon zest coat every slice before the crumble goes on top, which keeps the filling from tasting flat.
Below, I’ve added the little details that make this crumble bake up properly, plus a few swaps and storage notes for the nights when you want dessert sorted ahead of time.
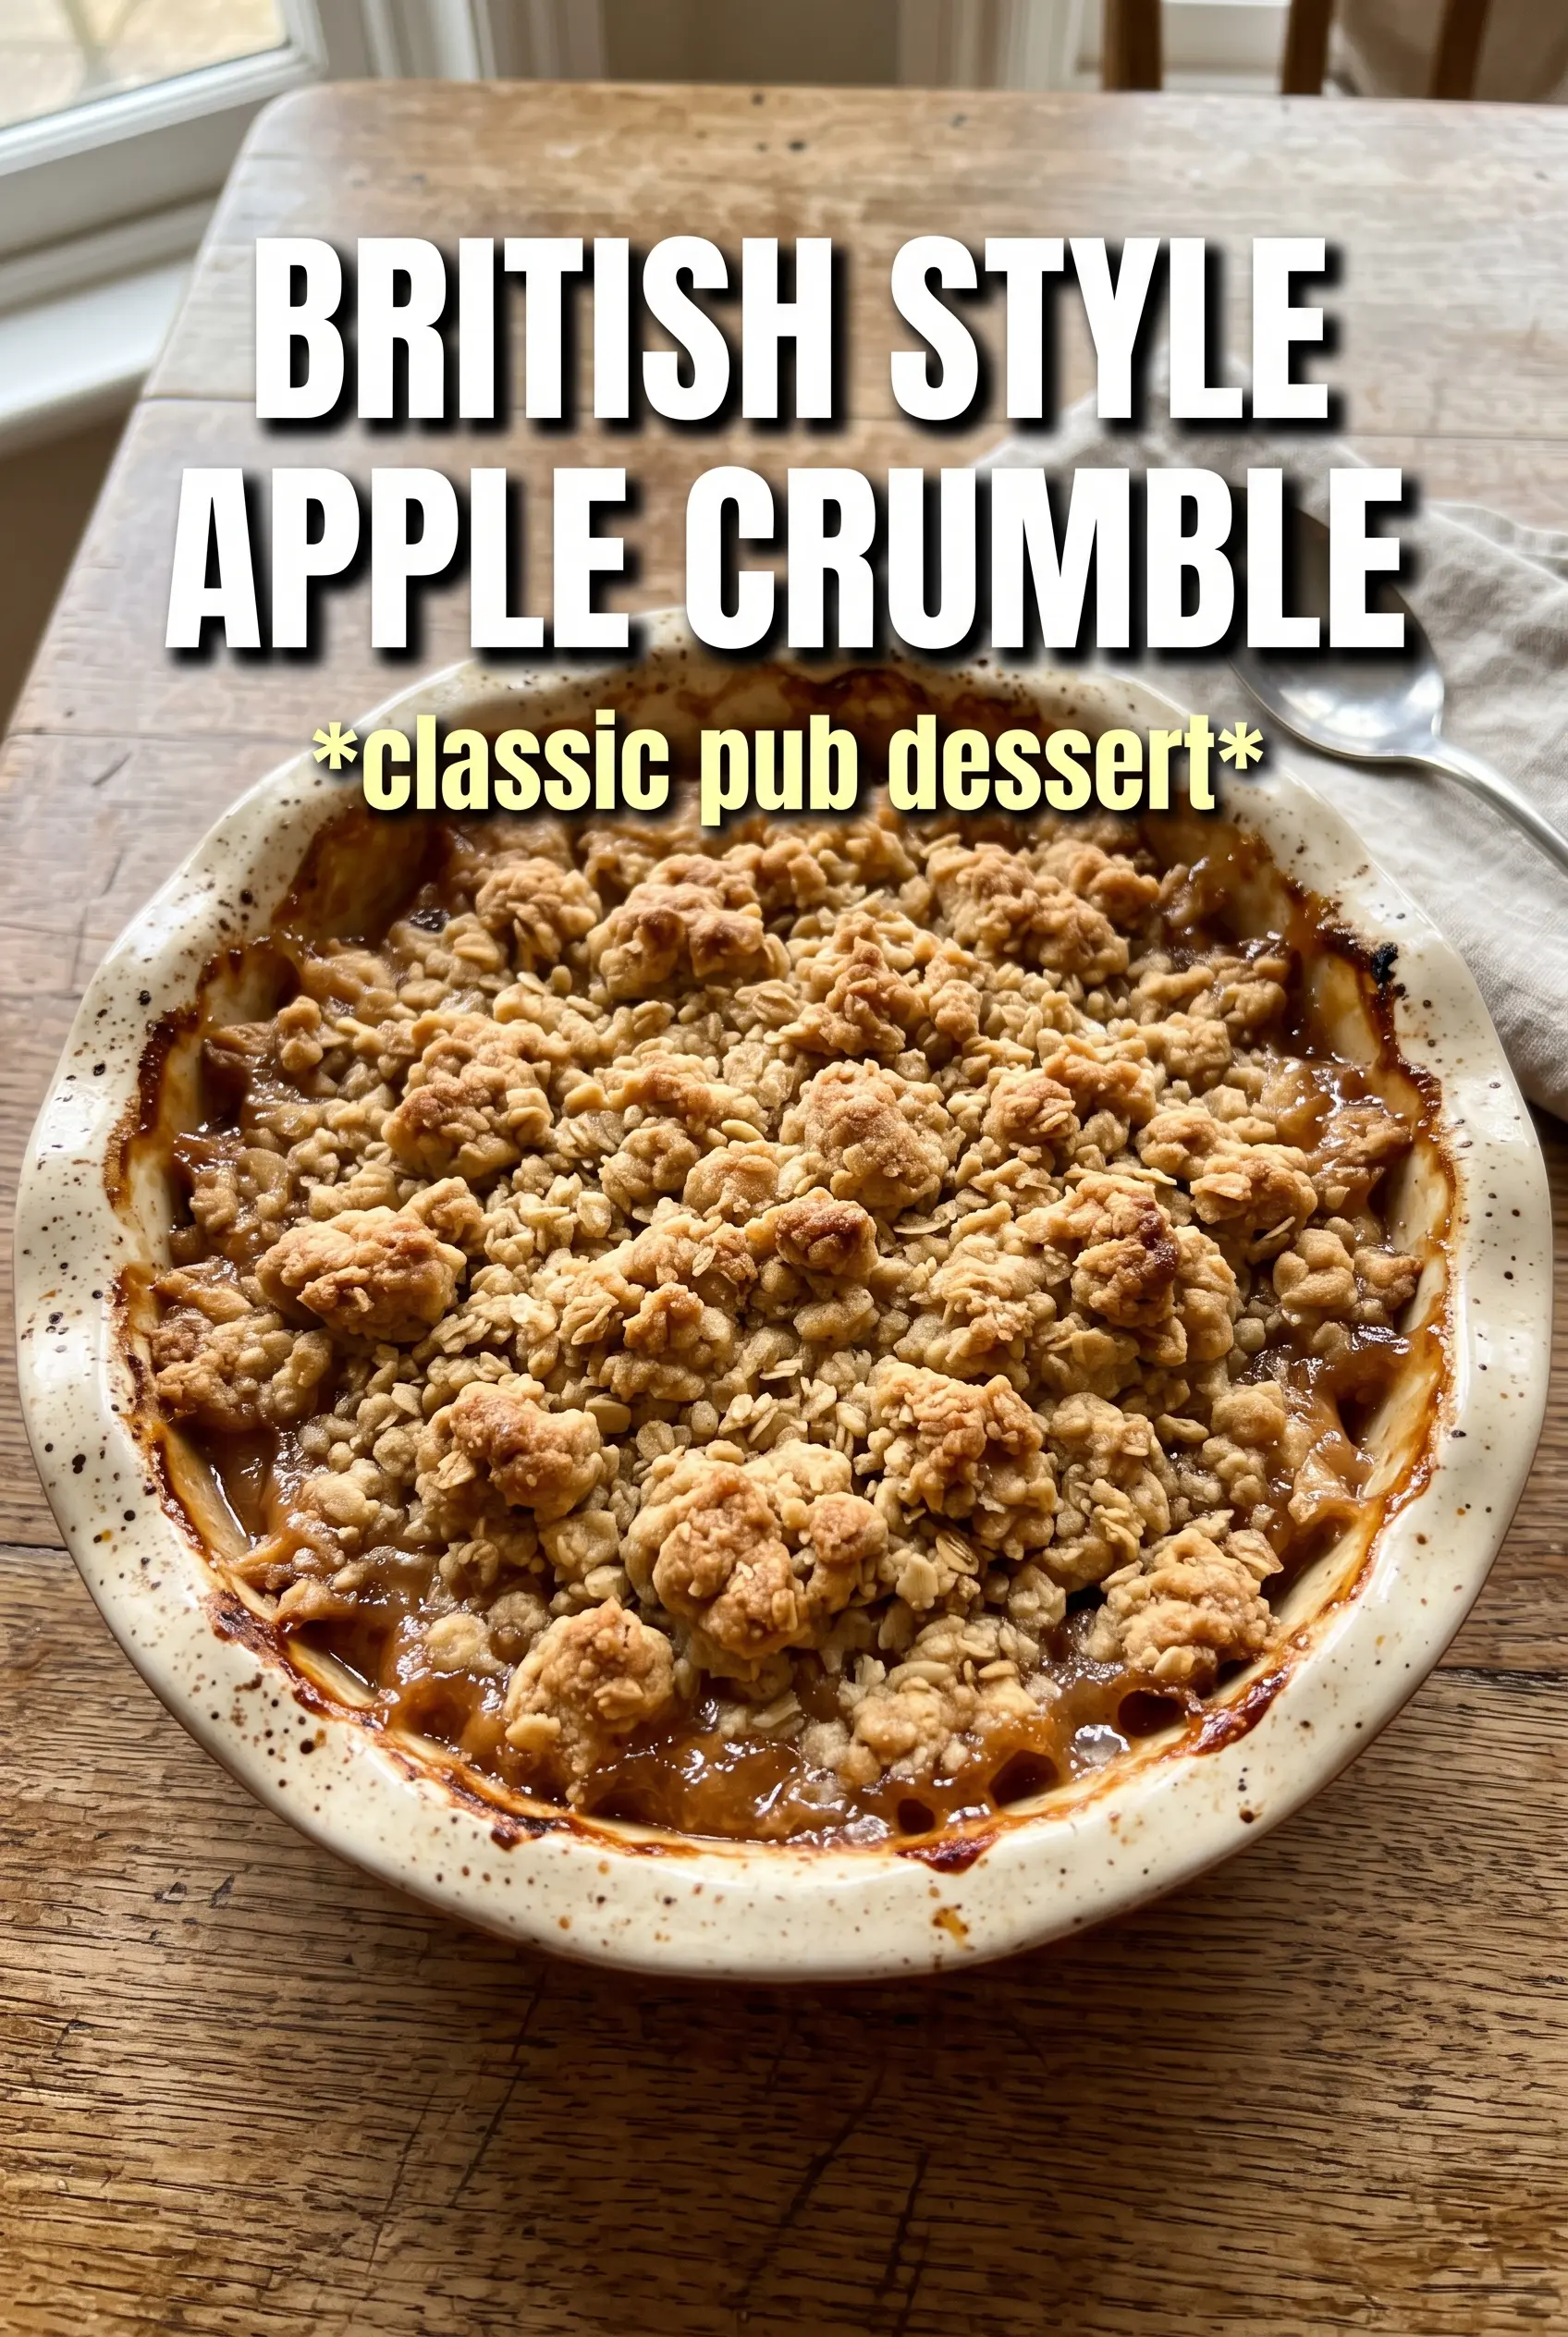
The topping stayed properly crumbly and baked up crunchy instead of doughy, and the apple-pear filling had just enough spice without tasting heavy. I served it with custard and there wasn’t a spoonful left.
Save this apple and pear crumble for the days when you want a crisp, golden topping and a bubbling fruit filling with custard.
The Mistake That Makes Crumble Topping Go Soggy
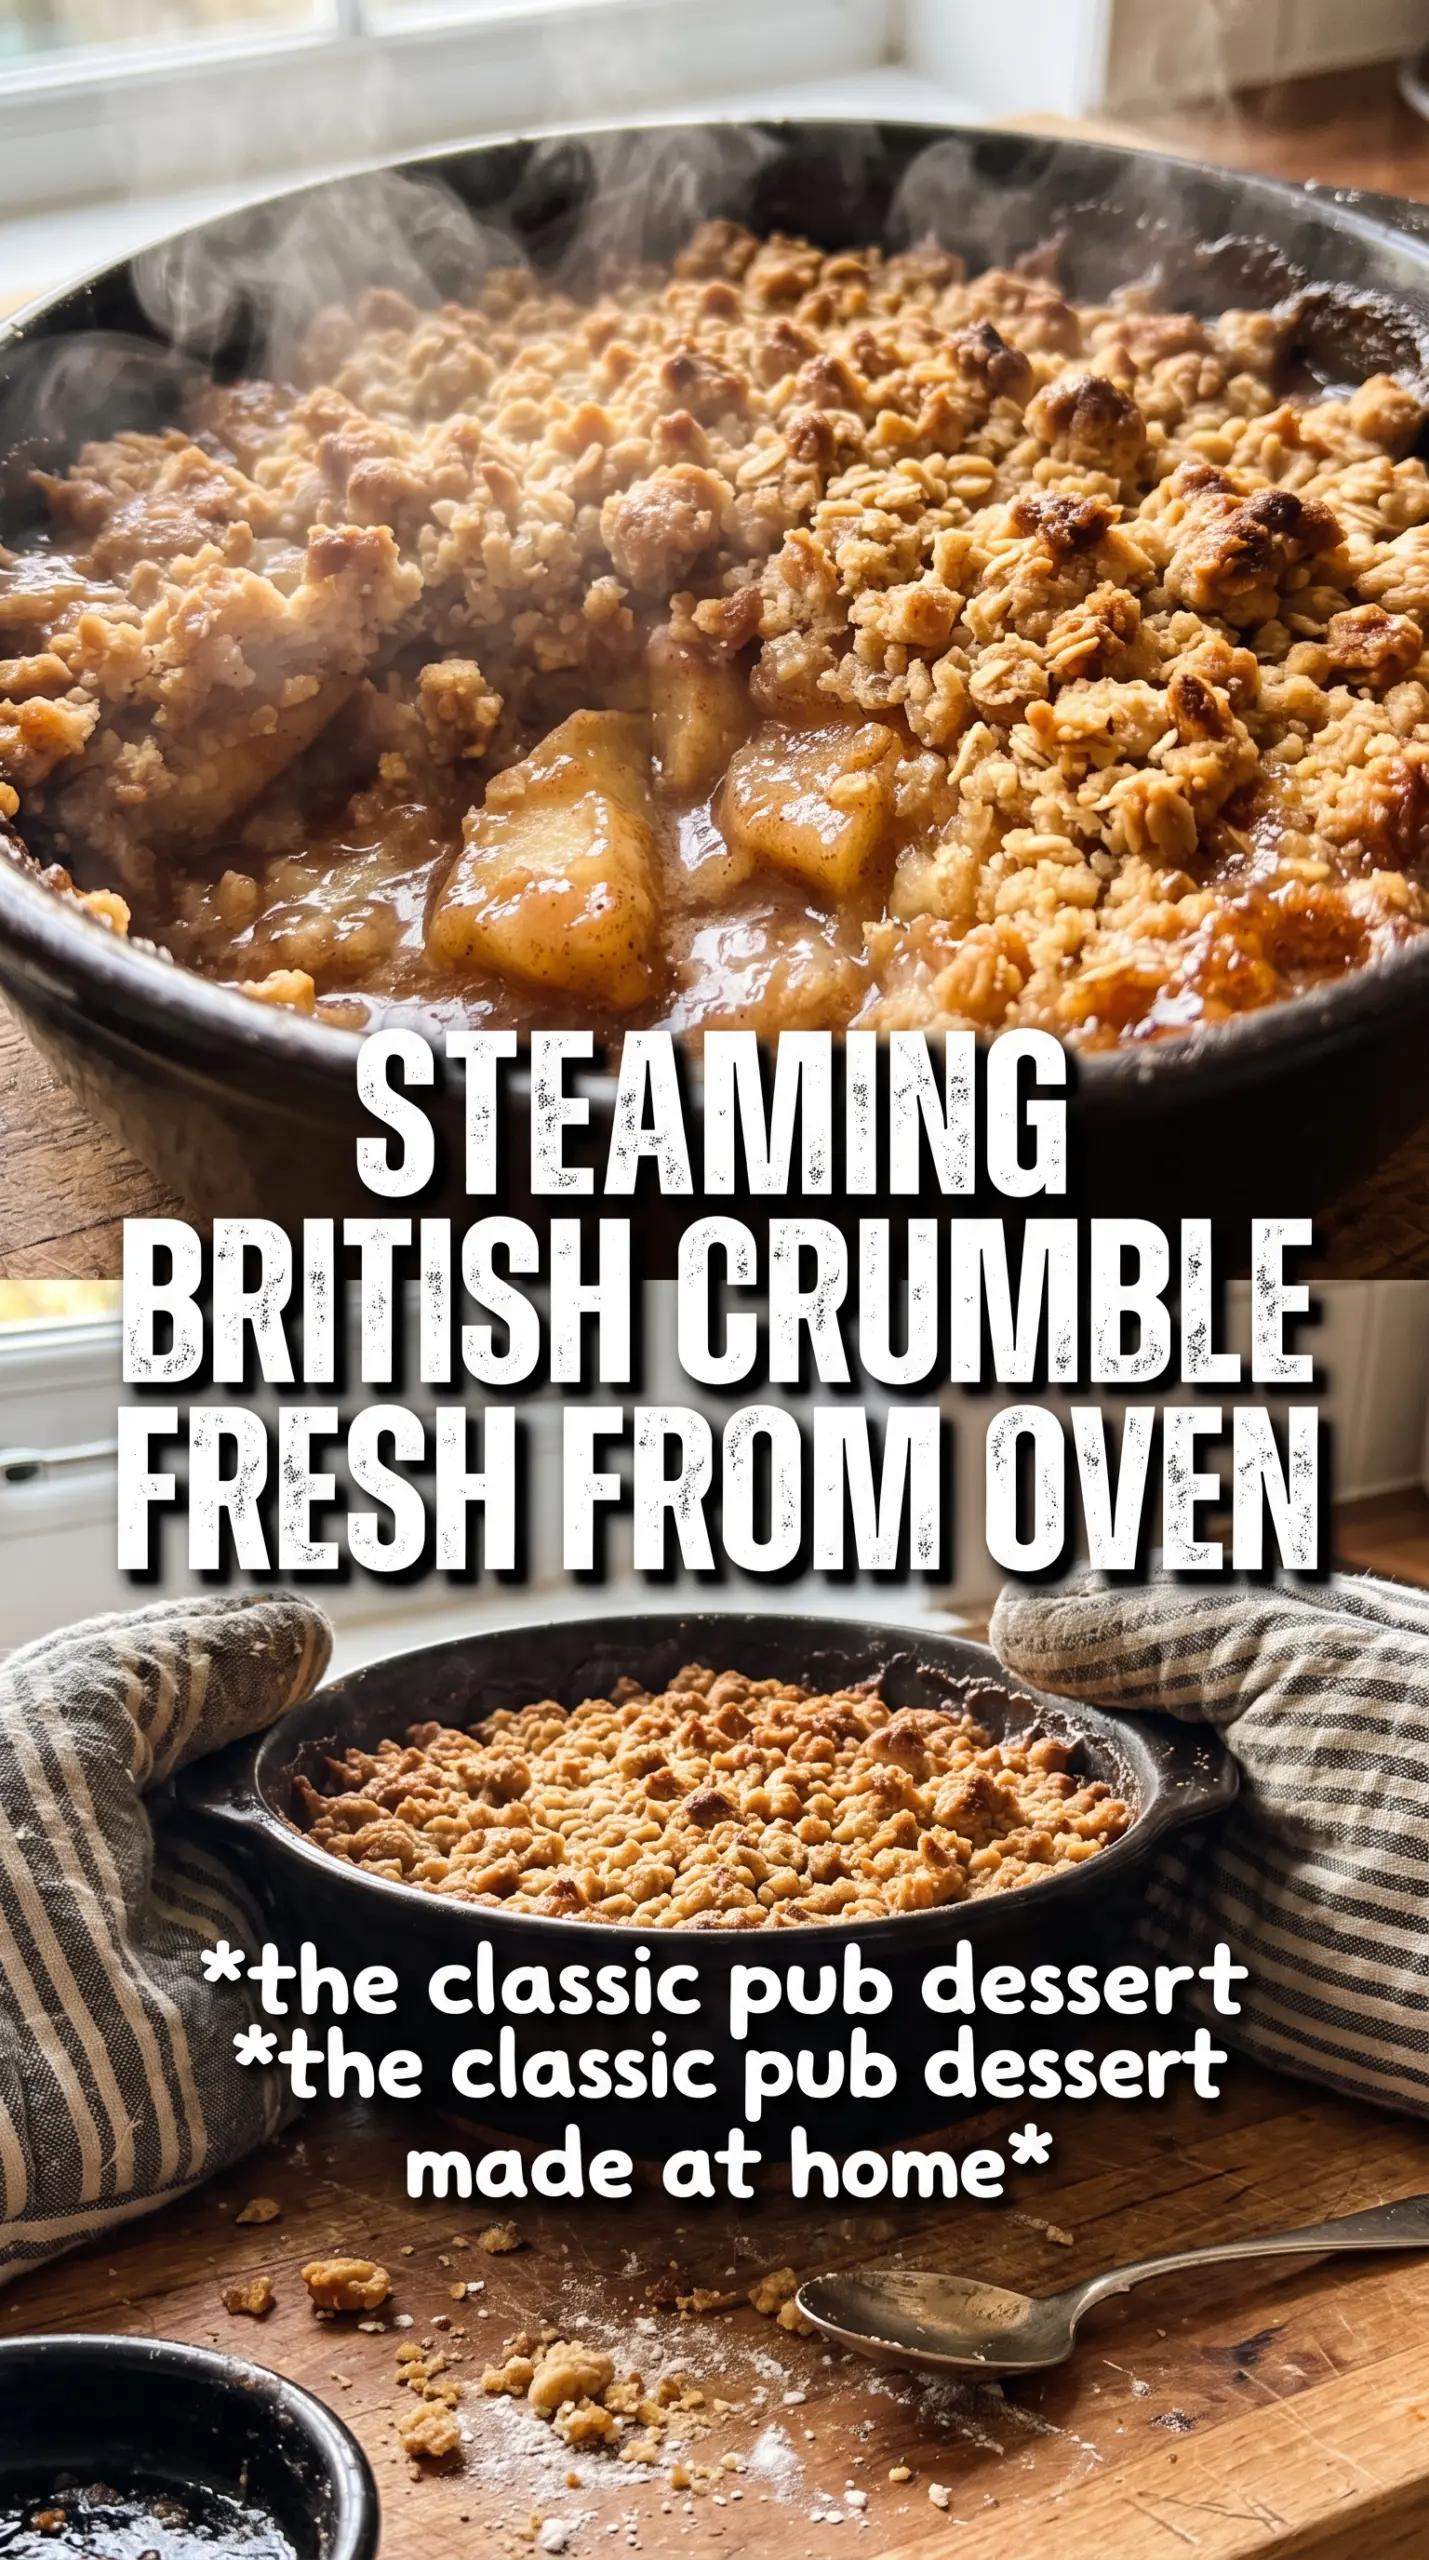
The topping should sit loosely over the fruit, not get pressed into it. If you pack it down, steam gets trapped and the crumbs bake into a dense lid instead of staying sandy and crisp. That loose layer is what gives you those rough, golden ridges that catch heat and brown properly.
The other trap is skipping the quick fruit cook. Raw apples and pears release a lot of liquid in the oven, and if the filling goes in cold, the crumble spends too long waiting for the fruit to soften. A short stovetop start lets the juices begin to thicken before baking, which keeps the base from turning watery.
- Cold butter for the topping — Keep it cold and rub it in quickly with your fingertips. You want pea-sized bits and rough crumbs, not a paste. Those butter pieces melt in the oven and create the crisp, layered texture.
- Ground almonds — These add flavor and a little richness while helping the topping stay short and crumbly. If you skip them, the crumble still works, but it tastes less nutty and a touch more plain.
- Apples and pears together — Apples hold their shape, pears collapse into the sauce a little more, and the combination gives the filling a softer, rounder texture than apples alone.
- Demerara or raw sugar — Use it if you can. The larger crystals give the top a proper crackle and a deeper caramel note that regular white sugar can’t match.
What Each Ingredient Is Actually Doing in This Recipe
- Primary ingredient (the star) — Quality matters most. Choose the best you can find.
- Cooking medium (oil, butter, or broth) — This carries flavors and prevents dryness.
- Seasonings (salt, pepper, spices, herbs) — Layer flavors so nothing overpowers. Build depth gradually.
- Aromatics (garlic, onion, herbs) — Cook with fat to bloom flavors. Become the foundation.
- Supporting ingredients — Complement the main ingredient without overpowering it.
- Sauce or liquid (if applicable) — Brings flavors together. Balance richness with acid.
- Acid (lemon, vinegar, wine, or other) — Brightens and prevents flat-tasting results.
- Final finish (garnish, glaze, or sauce) — Prevents one-dimensional taste and adds visual appeal.
Building the Fruit Base So It Bakes Soft, Not Watery
Softening the Fruit First
Melt the butter in an ovenproof pan, then add the apples, pears, sugar, cinnamon, mixed spice, and lemon zest. Cook just until the fruit starts to soften at the edges and the sugar looks glossy, usually 5 to 7 minutes. You’re not trying to cook it through at this stage; you’re giving it a head start so the final bake finishes evenly. If the fruit seems dry, keep the heat medium and let the butter and sugar turn into a light syrup before moving it to the dish.
Making the Crumble by Hand
Put the flour and cold cubed butter in a bowl and rub them together with your fingertips until the mixture looks like rough breadcrumbs with some bigger clumps. Those uneven bits are what make the top interesting and crisp, so don’t overwork it into a fine powder. Stir in the sugars, ground almonds, and cinnamon briefly. Once the butter starts softening from your hands, stop and move on.
Baking for Color and Bubble
Scatter the crumble over the fruit without packing it down, then bake until the top is golden and the filling is bubbling at the edges, about 35 to 40 minutes. The bubbling matters more than the clock; it tells you the fruit juices have thickened enough. If the top is browning too fast before the filling bubbles, lay a loose piece of foil over it for the last part of the bake.
How to Adapt This Crumble for Different Kitchens and Crowds
Dairy-Free Crumble
Swap the butter for a solid dairy-free baking block, not a soft spread. You’ll still get a crisp top, though the flavor is a little less rich and the crumbs can brown slightly faster, so keep an eye on the last 10 minutes in the oven.
Gluten-Free Version
Use a good 1:1 gluten-free flour blend in place of the plain flour. The topping will be a little more delicate and sandy, which works well here, but don’t skip the almonds because they help hold the crumbs together and add body.
All-Apple Version
If pears aren’t in the house, use 6 apples total. The crumble will be a little firmer and less juicy, so add an extra spoonful of butter to the fruit filling and keep the lemon zest in place to sharpen the flavor.
Storage and Reheating
- Refrigerator: Cover and chill for up to 3 days. The topping softens a little, but the flavor stays good.
- Freezer: Freeze the baked crumble for up to 2 months, well wrapped. Thaw overnight in the fridge before reheating, or freeze the unbaked assembled crumble and bake from chilled, adding a few extra minutes.
- Reheating: Warm in a 180C (350F) oven until the filling is hot and the top crisps back up. The microwave makes the crumble soggy, so use it only if you don’t care about the topping.
Questions I Get Asked About This Recipe
Jamie Oliver Apple Crumble
Ingredients
Equipment
Method
- Preheat the oven to 190C (375F) and set out a baking dish for the crumble. The oven should be fully hot before baking so the topping turns crisp and golden.
- Melt the butter in a large ovenproof pan, then add apples, pears, granulated sugar, ground cinnamon, mixed spice, and lemon zest. Cook for 5-7 minutes until the fruit is slightly softened and glossy.
- Transfer the cooked fruit mixture to the baking dish in an even layer. Spread it out so the edges are ready to bubble during baking.
- Put flour and cold cubed butter into a bowl and rub together with your fingertips until it looks like rough breadcrumbs. Keep the mixture crumbly so the topping stays crisp in the oven.
- Stir in both sugars, ground almonds, and cinnamon, mixing briefly until the crumbs are evenly colored. Pause once the dry ingredients look fully combined.
- Spread the crumble over the fruit without packing it down. Leave it light so it bakes into a sandy, crisp top layer.
- Bake for 35-40 minutes at 190C (375F) until the top is golden and the fruit bubbles at the edges. Look for a crisp, caramelized surface and active bubbling in the corners.
- Let the crumble rest briefly, then serve warm with homemade custard or pouring cream. Spoon the custard over slices so it soaks into the hot fruit and crumb.