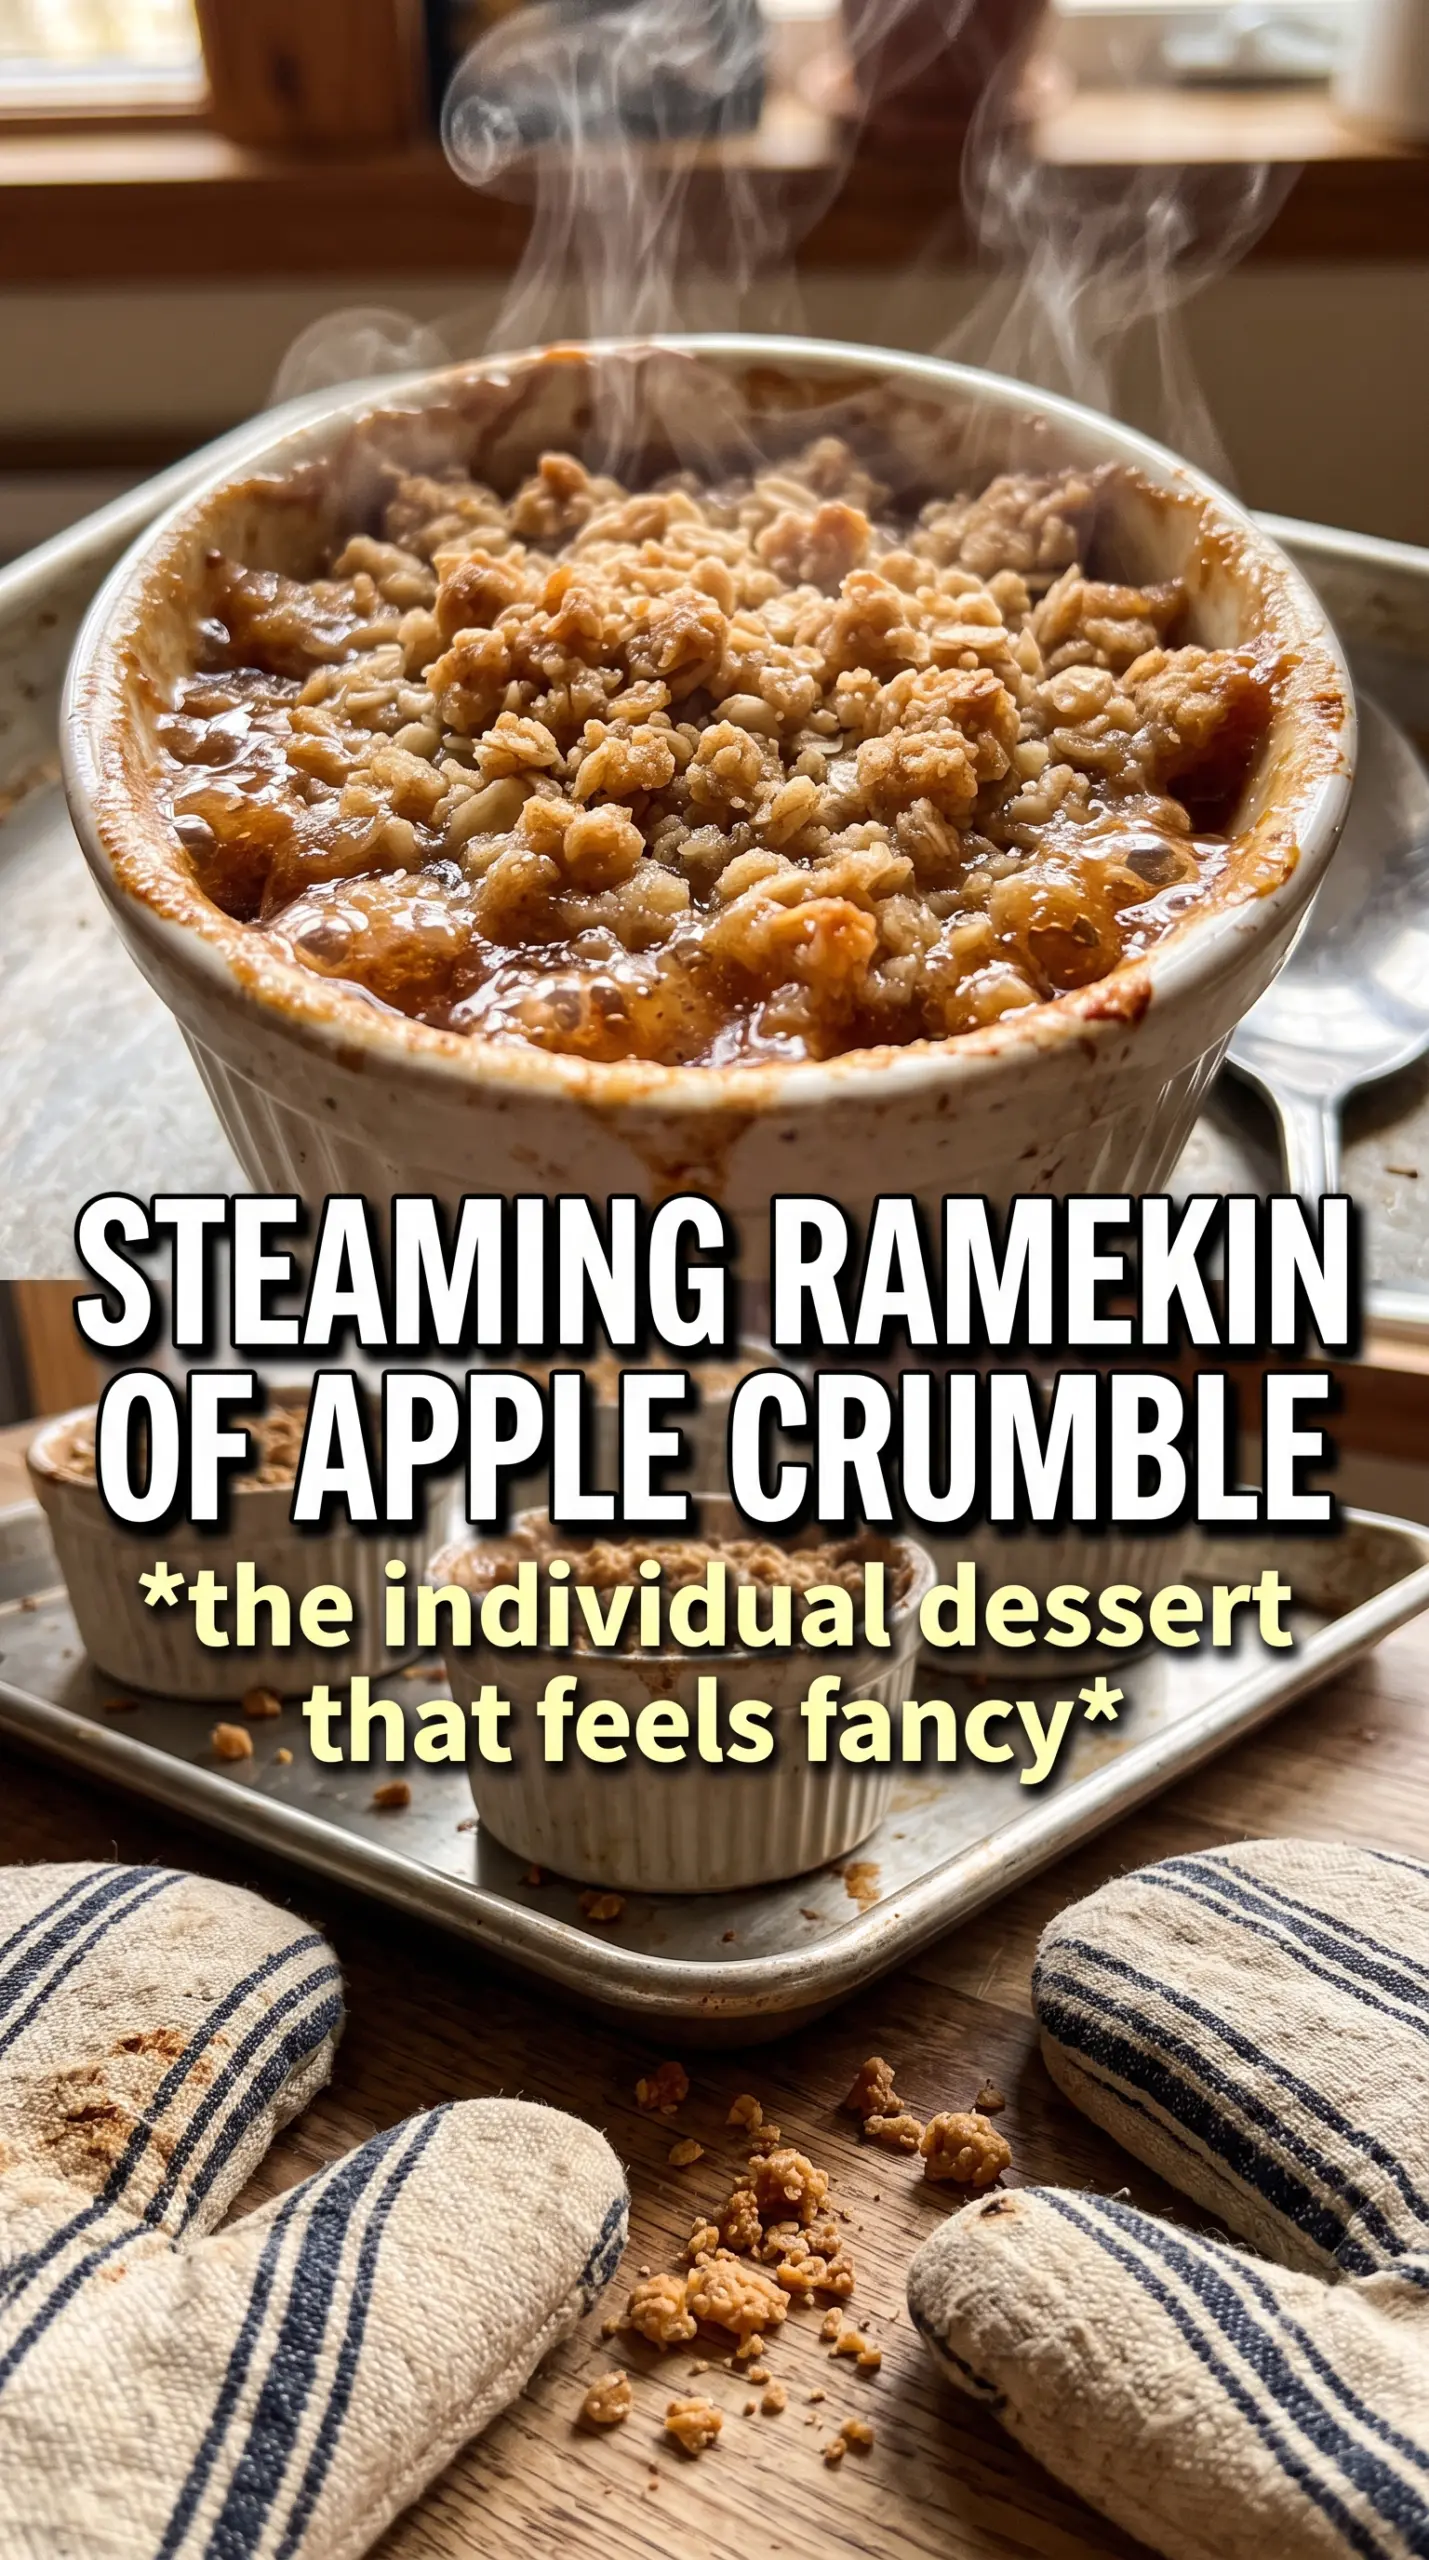
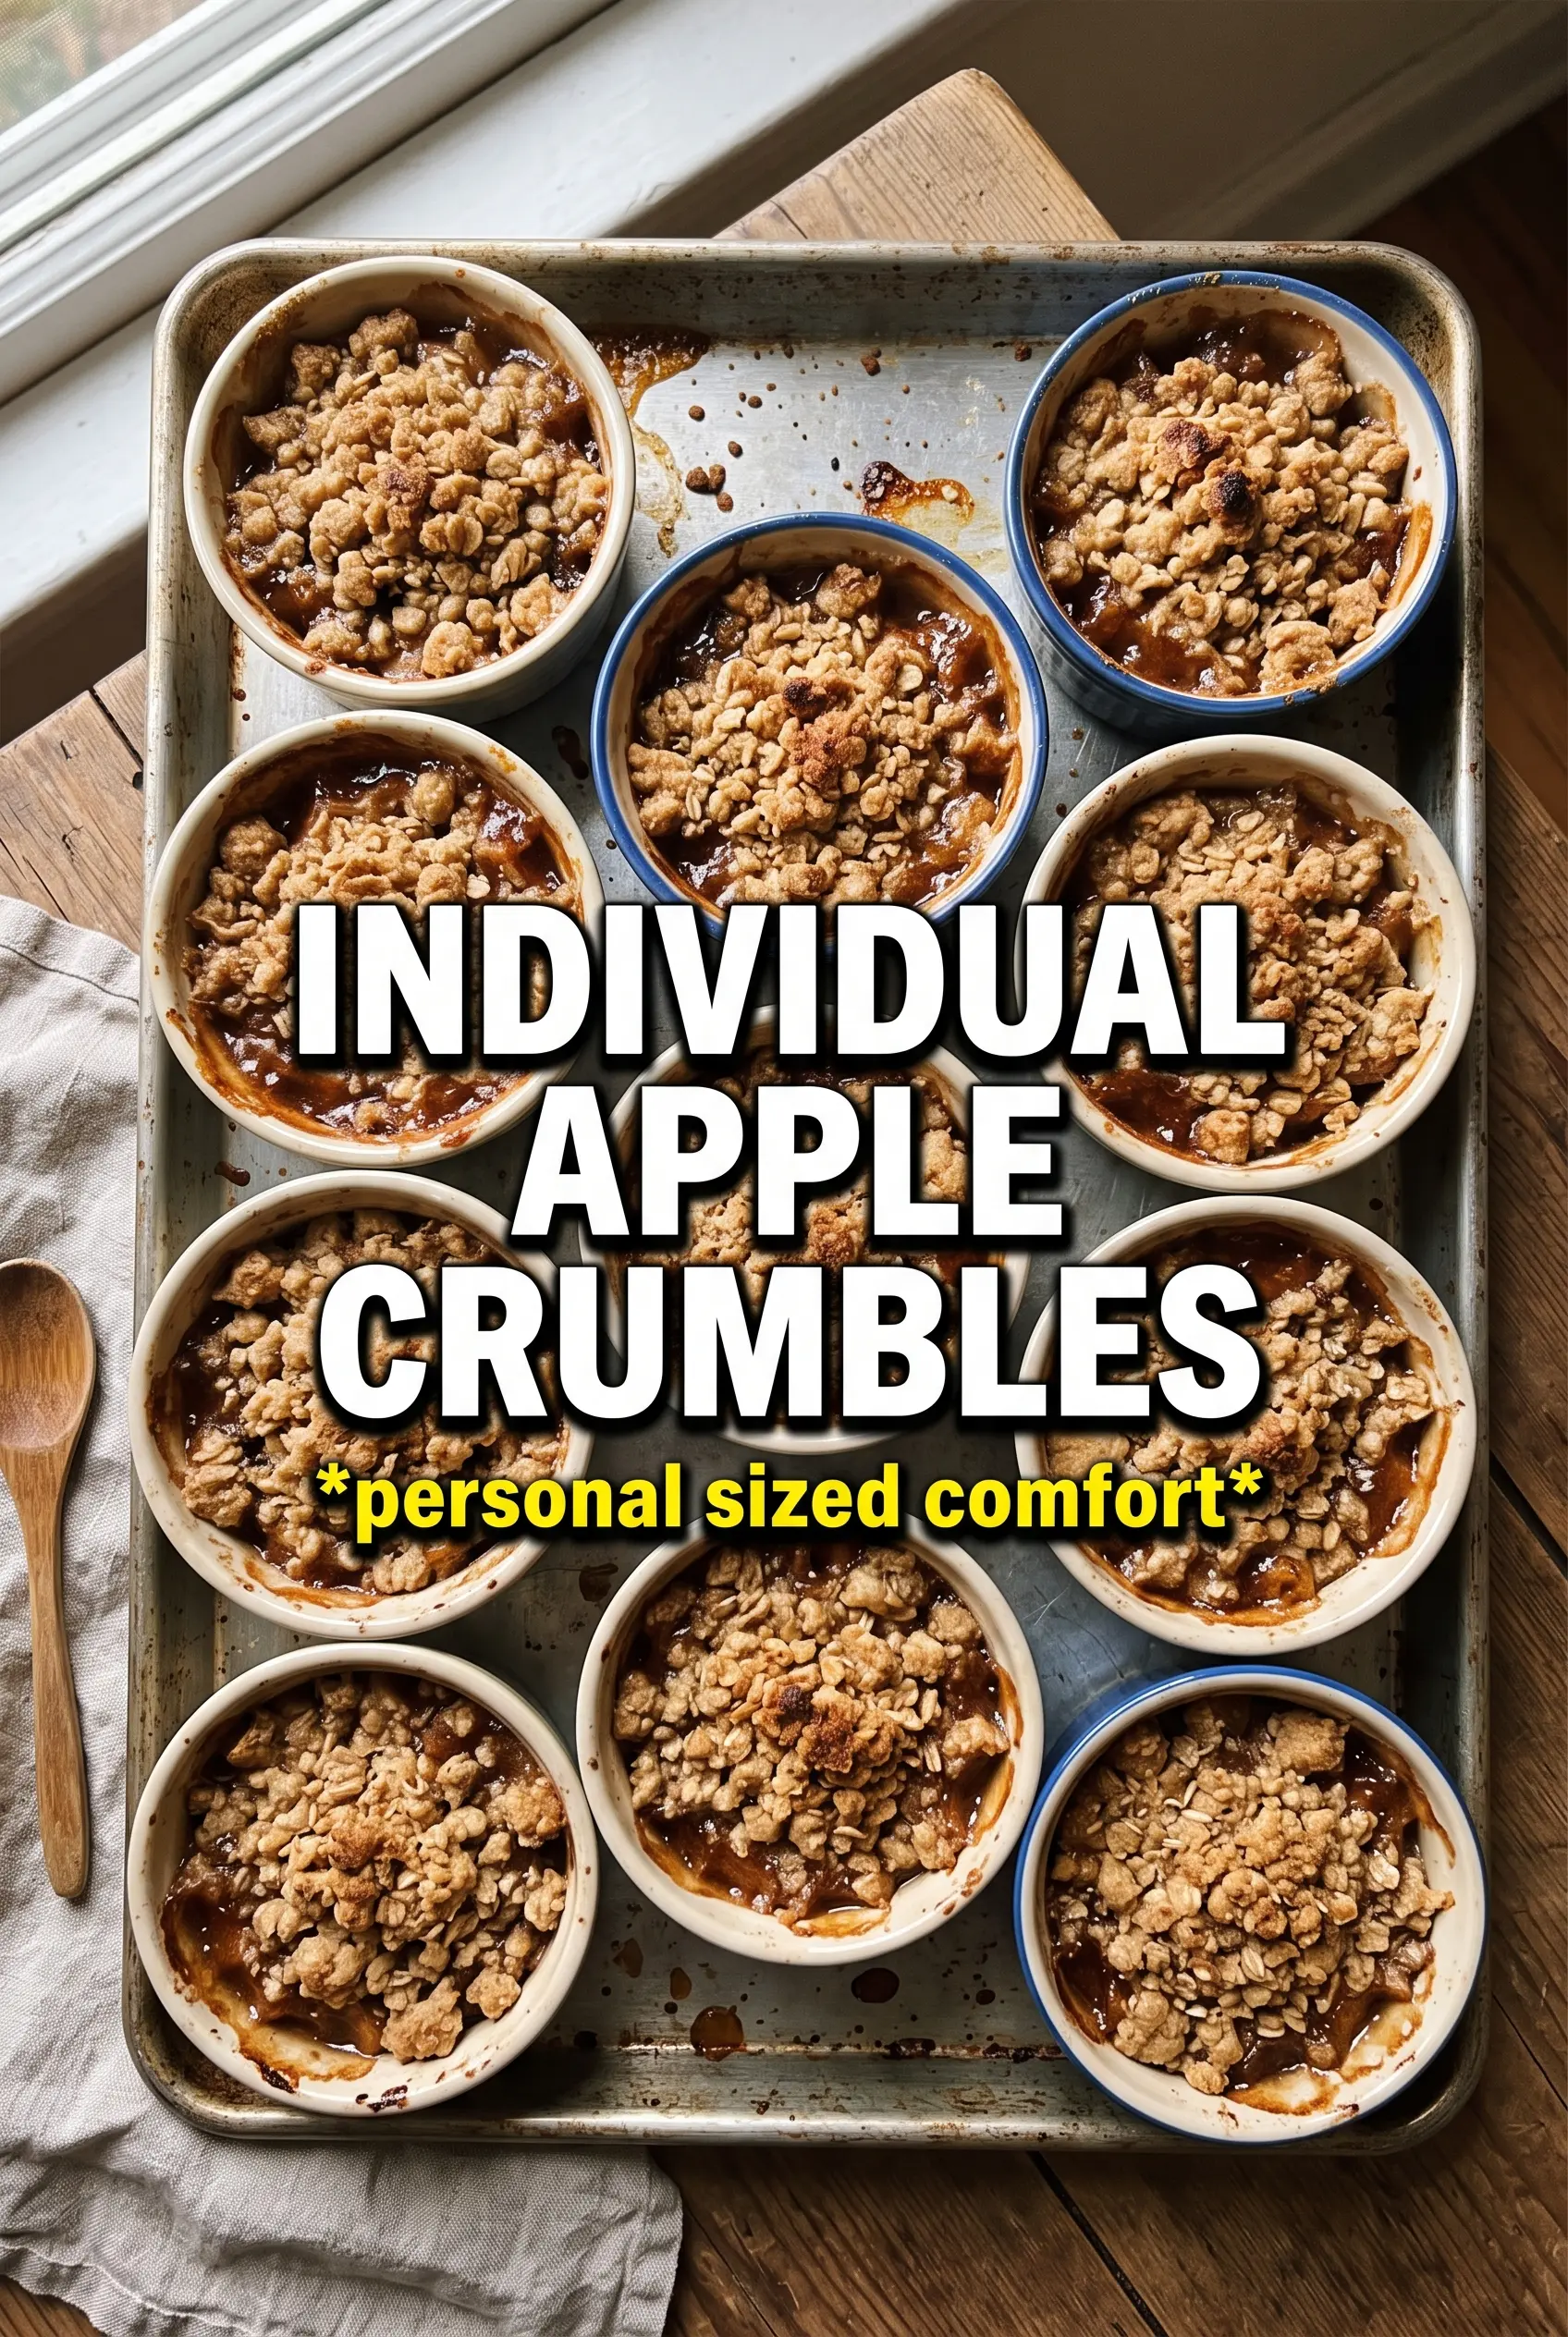
Individual apple crumbles bake up with bubbling cinnamon apples under a thick oat topping that turns deeply golden at the edges. The best part is the contrast: soft, jammy fruit underneath, crisp buttery crumble on top, and just enough structure in each ramekin to hold a scoop of vanilla ice cream without collapsing into a puddle.
What makes this version work is cooking the apple filling before it goes into the oven. That short skillet step starts the thickening process, so the apples release some juice, the cornstarch activates, and the fruit settles into the ramekins with the right texture instead of baking into a watery layer. The crumble also uses cold butter cut into the oats and flour, which gives you those chunky, bakery-style clumps instead of a sandy topping.
Below, I’ve included the small details that matter most, from keeping the topping crisp to choosing the apples that hold their shape best. If you’ve ever had apple crumble come out loose, pale, or soggy around the edges, this method fixes that.
The apple filling thickened up before baking, so the ramekins came out neat instead of soupy. The crumble stayed crisp on top even after we added ice cream.
Save these individual apple crumbles for the nights when you want a warm dessert with crisp oat topping and caramelized apples in every ramekin.
The Shortcut That Keeps the Filling Thick, Not Soupy
The mistake that ruins a lot of apple crumbles is skipping the stovetop step and relying on the oven to do everything. Apples release a lot of juice as they bake, and by the time the topping turns golden, the filling can still be loose and watery. Cooking the apples first lets the cornstarch start working before the fruit goes into the ramekins, which gives you a filling that bubbles up thick instead of leaking around the edges.
This also helps the apples shrink just enough that the topping sits neatly on top instead of sinking into a raw fruit mound. You’re looking for a glossy, lightly thickened filling that coats the back of a spoon, not a full compote. If it looks dry in the skillet, that usually means the heat was too high and the cornstarch set before the apples could release enough moisture.
What Each Ingredient Is Actually Doing in These Ramekins
- Apples — Use a firm baking apple if you can, or mix a tart apple with a sweeter one. You want pieces that hold their shape after the skillet and oven, not apples that melt into applesauce.
- Cornstarch — This is what turns the juices into a glossy filling. Flour won’t thicken as cleanly here, and you’ll often end up with a dull, heavier texture.
- Lemon juice — It keeps the apples from tasting flat and helps balance the sugar. It also brightens the filling after the butter and cinnamon go in.
- Rolled oats — Oats give the topping its craggy texture and nutty chew. Quick oats will work in a pinch, but the topping will be tighter and less crisp.
- Cold butter — Cold cubes are what create those chunky crumble pieces. If the butter softens too much before baking, the topping turns pasty instead of crisp.
Building the Crumble So It Bakes Crisp on Top and Golden at the Edges
Cooking the Apples First
Start the filling in a skillet over medium heat and cook just until the apples begin to soften and the juices thicken. The mixture should look glossy and cling to the fruit, with no raw cornstarch streaks left behind. If you keep cooking until the apples turn mushy, they’ll lose their shape in the oven and the filling will taste overworked. Divide it among the ramekins while it’s still warm so it settles evenly.
Making the Oat Crumble
Mix the dry ingredients first, then cut in the cold butter until you get uneven clumps that hold together when squeezed. Those irregular bits are what bake into a crisp, crunchy topping. If the mixture looks sandy, the butter was too warm or broken up too much; if it looks greasy, pop the bowl in the fridge for a few minutes before topping the fruit. Don’t press the crumble down hard on the apples — loose mounds brown better and stay lighter.
Baking Until the Filling Bubbles
Set the ramekins on a baking sheet so they’re easier to move and less likely to spill in the oven. Bake until the topping is deep golden and the filling is visibly bubbling around the edges, which tells you the cornstarch has fully thickened. If the top browns before the filling bubbles, cover loosely with foil for the last few minutes. That keeps the crumble from burning while the fruit finishes cooking through.
Serving at the Right Moment
Let the ramekins rest briefly so the filling tightens, then serve warm with vanilla ice cream. Straight from the oven, the filling can be a little loose; after a few minutes, it settles into that perfect spoonable texture. The ice cream should melt into the warm edges, not disappear instantly into hot fruit, so don’t let the crumbles sit too long before serving.
How to Adapt These Apple Crumbles Without Losing the Texture
Make It Dairy-Free
Swap the butter in both the filling and topping for a plant-based butter that behaves like real butter when cold. Coconut oil can work for the topping, but it gives a different flavor and can melt faster, so the crumble won’t stay as chunky.
Use Gluten-Free Oats and Flour
Replace the all-purpose flour with a good 1:1 gluten-free baking blend and use certified gluten-free oats. The topping will still crisp up, but it may be a little more delicate, so let it cool for a few minutes before digging in.
Turn It Into One Family-Style Bake
Use a small baking dish instead of ramekins and spread the filling in an even layer before adding the crumble. The bake time may run a few minutes longer, and the center will take longer to bubble, but the result is the same crisp topping with a little less fuss.
Cut the Sugar a Little
You can reduce the sugar in the filling if your apples are naturally sweet, but don’t remove it entirely. Sugar helps the apples release juice and gives the filling that syrupy texture instead of a dry, sharp bite.
Storage and Reheating
- Refrigerator: Store covered for up to 4 days. The topping will soften a bit, but the flavor holds well.
- Freezer: Freeze baked crumbles after cooling completely. Wrap tightly and freeze for up to 2 months, then thaw in the fridge before reheating.
- Reheating: Warm in a 325F oven until heated through and the topping crisps back up. The microwave works for speed, but it softens the crumble fast, so it’s better only if you don’t mind losing the crunch.
Answers to the Questions Worth Asking
Individual Apple Crumbles
Ingredients
Equipment
Method
- Preheat the oven to 375°F and grease 6 ramekins (6–8 oz each). Set the ramekins on a baking sheet for easy transfer later.
- In a skillet over medium heat, cook the diced apples with 1 tbsp butter, granulated sugar, cinnamon, nutmeg, cornstarch, and lemon juice for 5–7 minutes until thickened. Stir frequently so the mixture becomes glossy and clings to the apples.
- Divide the thickened apple filling among the prepared ramekins. Spoon it in evenly so each ramekin is filled with a similar depth.
- Make the oat crumble by combining rolled oats, all-purpose flour, brown sugar, cinnamon, and salt. Cut in the cold cubed butter until chunky clumps form and no dry flour pockets remain.
- Top each ramekin generously with the oat crumble. Press lightly so the clumps hold together, leaving some uneven peaks for crisp edges.
- Bake the ramekins on the baking sheet for 25–30 minutes at 375°F until the topping is golden and the filling bubbles. Watch for bubbling around the edges and a crisp, browned surface.
- Serve warm with vanilla ice cream. Add ice cream right before serving so it melts over the hot crumble.