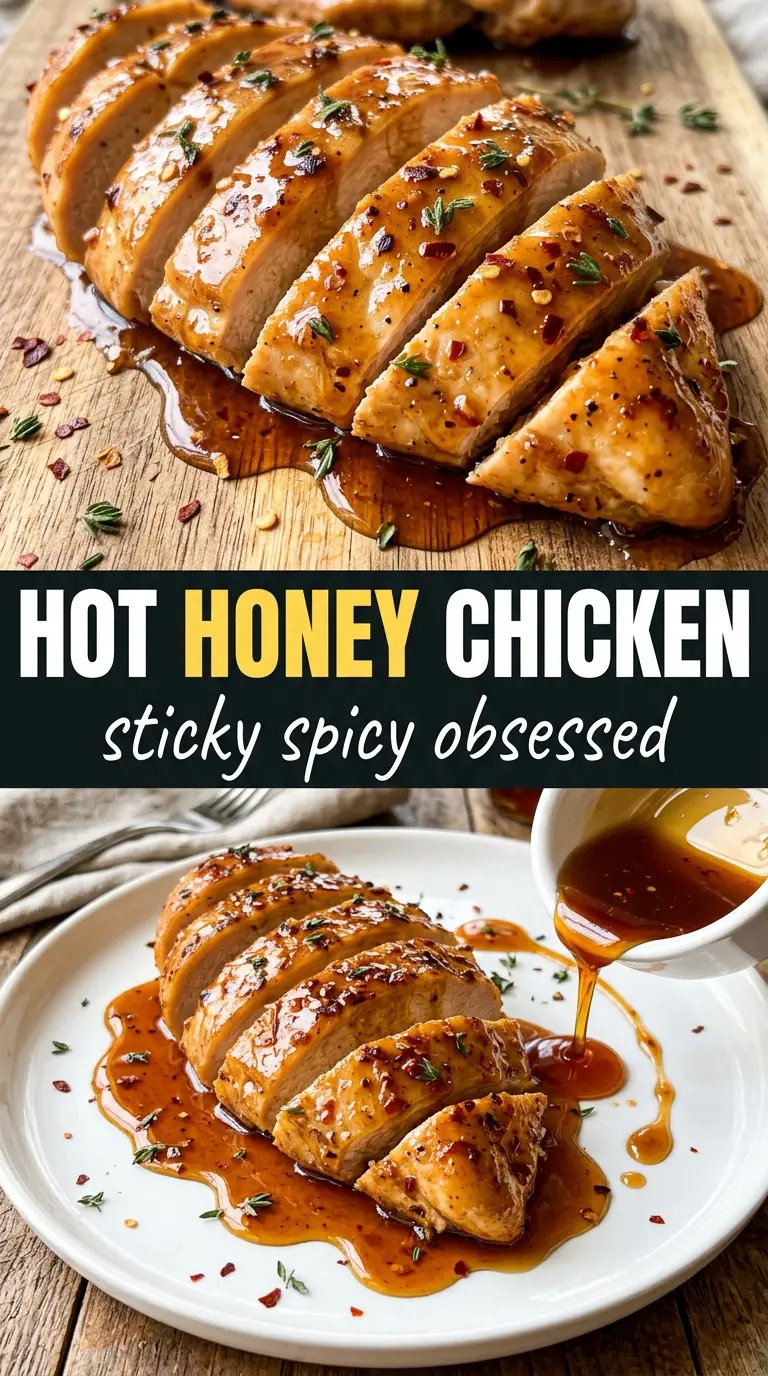
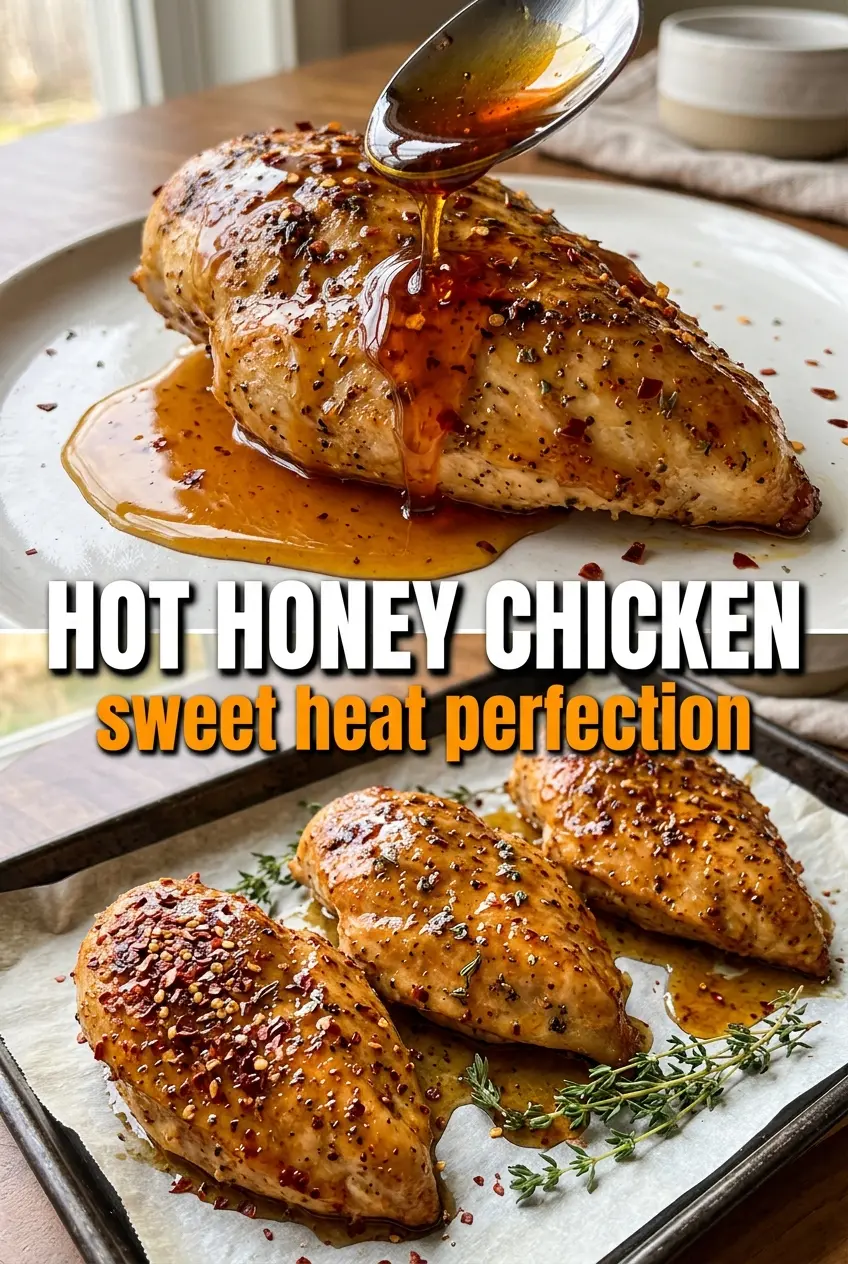
Juicy chicken breasts with a sticky hot honey glaze earn their place in the weeknight rotation because they don’t taste like plain baked chicken. The glaze turns dark amber in the oven, clings to the meat, and leaves little sparkles of red pepper flakes on the surface that tell you exactly what kind of bite you’re in for. You get sweet, heat, and a little tang in every forkful, with just enough caramelization to make the edges taste almost lacquered.
The trick is balancing the glaze so it cooks down instead of burning. Honey needs the vinegar and hot sauce to keep it from turning flat and one-note, and the butter helps the glaze brush on smoothly and brown without seizing. Baking the chicken at a higher temperature also works in your favor here: it firms up the outside fast, so the glaze sets before the breasts dry out.
Below, I’ll walk you through the two parts that matter most: seasoning the chicken well enough that it tastes good under the glaze, and basting at the right moment so you end up with a sticky finish instead of a scorched one. There’s also a note on how to make the glaze spicier or milder without throwing off the texture.
The glaze caramelized into this sticky, shiny coating and the chicken stayed juicy all the way through. I used the extra basting glaze like you suggested and the flavor was spot on.
Save this hot honey baked chicken for the nights when you want sticky caramelized chicken breasts with almost no cleanup.
The Part That Keeps the Glaze Sticky Instead of Burned
Hot honey can go from glossy to bitter fast if you treat it like a barbecue sauce. The sugar in the honey is doing most of the work here, which means it needs enough heat to caramelize but not so much time that it dries out and catches on the pan. That’s why the glaze goes on before baking and again halfway through, not every few minutes. You want a thin, even layer that can bubble and set, not a heavy pool that steams the chicken.
Chicken breasts are the other place people run into trouble. If one side is much thicker than the other, the thin end overcooks before the center is done. Pound the thicker side just enough to even things out, and the whole breast cooks at the same pace, which matters when the glaze is already working hard on the surface.
What Each Ingredient Is Actually Doing in This Chicken
- Chicken breasts — Boneless, skinless breasts keep the recipe fast and let the glaze sit right on the meat. If yours are very large, split them horizontally or pound them slightly so they finish in the same window and don’t dry out at the edges.
- Honey — This is the base of the glaze, and there isn’t a substitute that gives the same shine and cling. If you swap in maple syrup, the flavor gets deeper and less floral, but the glaze won’t caramelize quite the same way.
- Hot sauce and red pepper flakes — The hot sauce adds vinegar and salt, while the flakes give you those visible bursts of heat on the finished chicken. If you want milder heat, cut the flakes in half before you touch the hot sauce, because the sauce also keeps the glaze from tasting too sweet.
- Butter and apple cider vinegar — Butter smooths the glaze so it brushes on evenly, and vinegar keeps the sweetness from flattening out. Skip the vinegar and the glaze tastes heavier; skip the butter and it still works, but it won’t coat as evenly.
- Smoked paprika and garlic powder — These season the chicken itself so every bite tastes finished, not just the glaze on top. Smoked paprika is worth keeping if you have it because it adds a little depth that plain paprika won’t give you.
Getting the Chicken Breast to Cook Through Without Drying Out
Seasoning the Meat First
Season both sides of the chicken before any glaze goes on. That dry seasoning is what gives the meat its own flavor under the sweet coating, and it keeps the whole dish from tasting one-dimensional. If the breasts are very thick, press the thicker ends lightly so they’re closer in size to the thinner ends. Uneven thickness is the fastest way to end up with dry edges and a still-pale center.
Whisking the Glaze Until It Looks Smooth
Stir the honey, hot sauce, butter, vinegar, red pepper flakes, and garlic powder until the mixture looks glossy and cohesive. If the butter is still streaky, keep whisking a few more seconds so it won’t leave greasy patches on the chicken. The glaze should pour easily but still cling to a spoon. If it seems too thick, warm it gently for a few seconds before brushing it on.
Baking and Basting at the Halfway Mark
Place the chicken in the hot oven and leave it alone until the halfway point, then brush on the reserved glaze. That first stretch in the oven helps the top set, and the second layer builds the sticky finish without washing off the seasoning underneath. Pull the chicken when the thickest part reaches 165°F. If you keep baking until the glaze looks darker than you want, the chicken will be overdone by the time the surface looks perfect.
Resting Before the Final Drizzle
Let the chicken sit for five minutes before you cut it. That short rest keeps the juices in the meat instead of running out onto the plate, which matters a lot with lean breasts. Finish with flaky salt and thyme after resting so the garnish stays bright and the salt lands on the glaze instead of dissolving into it.
How to Make This Hot Honey Chicken Fit Different Nights
Make it dairy-free
Swap the butter for olive oil or a dairy-free butter alternative. You’ll lose a little of the glaze’s rounded finish, but the chicken will still brown well and the honey will still cling nicely.
Turn the heat down for kids or sensitive palates
Cut the hot sauce to 1 tablespoon and reduce the red pepper flakes to a pinch. You’ll keep the sweet-tangy glaze and the caramelized finish, just with a gentler burn.
Use chicken thighs instead
Boneless skinless thighs work well and stay extra juicy, but they usually need a few more minutes in the oven. The glaze gets even richer against dark meat, though the final texture will be less lean and a little more forgiving.
Storage and Reheating
- Refrigerator: Store leftovers in an airtight container for up to 3 days. The glaze will thicken as it chills, and the surface won’t stay as glossy.
- Freezer: It freezes well for up to 2 months, though the glaze is a little less shiny after thawing. Wrap the chicken tightly and freeze with a bit of extra sauce if you can.
- Reheating: Reheat covered in a 300°F oven until warmed through, or use short bursts in the microwave with a spoonful of water or extra glaze nearby. High heat will dry out the chicken and make the honey coating taste scorched before the center is hot.
Questions I Get Asked About This Recipe
Hot Honey Baked Chicken Breasts
Ingredients
Equipment
Method
- Preheat the oven to 425°F and lightly oil a baking dish or cast iron skillet.
- Arrange the chicken breasts in the prepared dish so they bake in a single layer.
- Season the chicken breasts on both sides with salt, pepper, garlic powder, and smoked paprika.
- Whisk together honey, hot sauce, melted butter, apple cider vinegar, red pepper flakes, and garlic powder until smooth.
- Place the chicken in the prepared dish and brush generously with the hot honey glaze; reserve some for basting.
- Bake at 425°F for 10 minutes, then baste once with the reserved glaze (aim for a glossy, even coating).
- Bake at 425°F for 10–12 minutes more, until the internal temperature reaches 165°F and the glaze is caramelized to a dark amber, sticky finish.
- Rest the chicken for 5 minutes so the juices settle and the glaze clings.
- Finish with flaky sea salt, fresh thyme, and an extra drizzle of hot honey before serving.