Caramelized honey garlic chicken earns its place in the weeknight rotation because the sauce turns glossy and sticky without needing a long simmer. The chicken sears first, so you get browned edges and a pan full of fond, then the glaze picks up all that flavor and clings in a lacquered layer instead of sliding right off the meat.
The trick is keeping the sauce balanced and moving it through the pan at the right moment. Honey brings the shine, soy sauce adds salt and depth, and a small cornstarch slurry gives the glaze that clingy finish that coats every bite. Garlic goes in briefly with the butter so it softens and perfumes the sauce without turning bitter.
Below, I’ll show you the part that matters most: how to get the sauce thick enough to coat the chicken without making it gummy, plus a few smart swaps if you want to change the cut of chicken or make it gluten-free.
The glaze thickened up exactly like you described and stayed on the chicken instead of pooling watery in the pan. I served it over rice and my husband kept going back for the sticky bits left behind.
Save this sticky honey garlic chicken for the night you want a glossy pan sauce that clings to every bite.
The Part That Keeps the Glaze Glossy Instead of Grainy
The sauce only stays smooth if the heat stays controlled once the honey goes in. Honey can take on a sticky, almost burnt edge fast, and soy sauce reduces quickly, so the goal is a gentle simmer that thickens the glaze without hardening it into candy. The cornstarch slurry finishes the job, but it needs a minute or two to activate; if you rush it, the sauce looks loose in the pan and then tightens unevenly on the chicken.
Another common mistake is adding the chicken back before the glaze has had a chance to thicken on its own. Let it bubble until it coats a spoon in a thin, shiny layer first. Then return the chicken, turn it through the sauce, and keep it in the pan just long enough to lacquer the outside.
What the Honey, Soy, and Butter Each Bring to the Pan
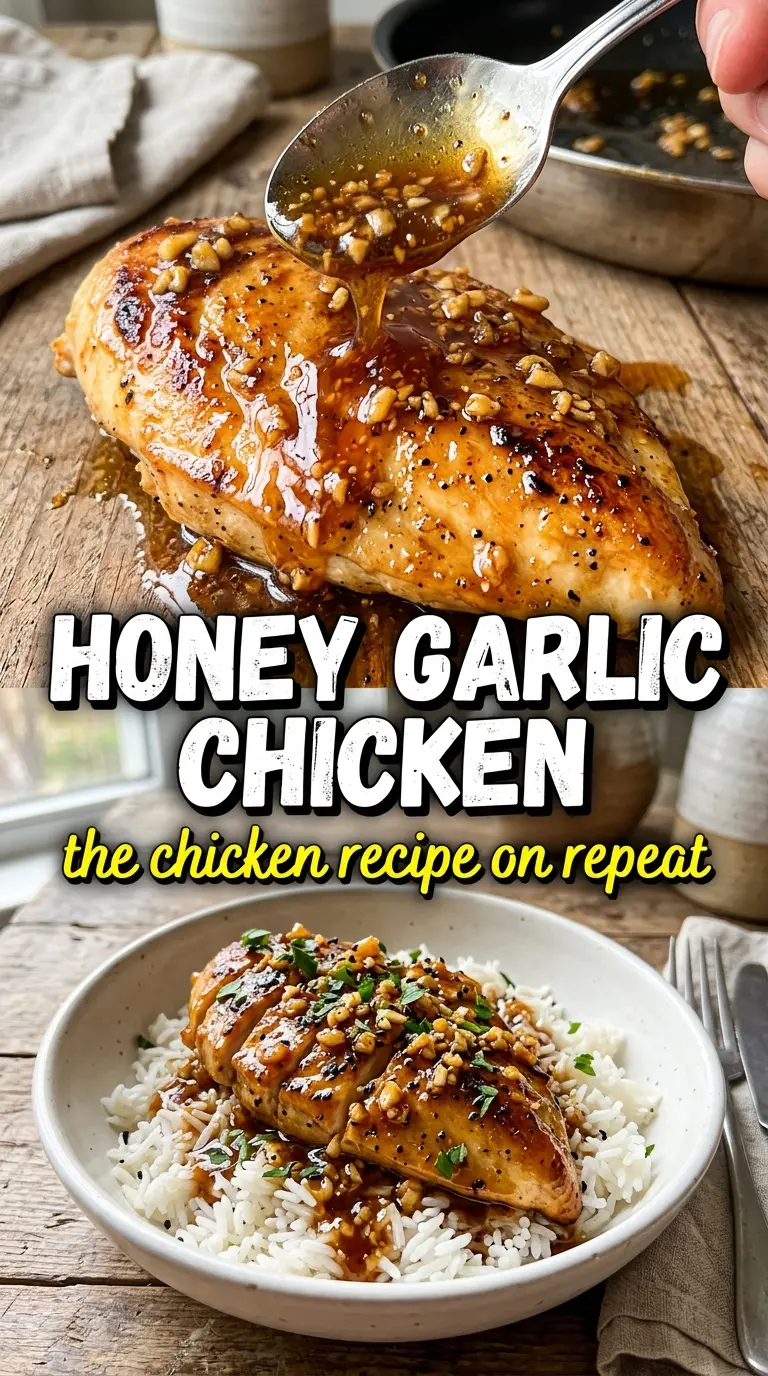
- Chicken breasts — Boneless, skinless breasts cook fast and give you a clean surface for the glaze to cling to. If yours are thick, pound them to an even thickness so the centers finish at the same time the edges turn golden.
- Honey — This is what gives the sauce its shine and sticky finish. There isn’t a true substitute for its texture, though maple syrup will work in a pinch and gives a darker, less floral sauce.
- Soy sauce — It balances the sweetness and deepens the color. Use regular soy sauce for the best flavor; low-sodium works too if you want more control over the salt.
- Butter — It softens the garlic and rounds out the sauce. A plant-based butter works if you need a dairy-free version, though the glaze will taste a little leaner.
- Cornstarch slurry — This is what turns the sauce from thin and shiny into spoon-coating and sticky. Stir it in once the sauce is bubbling, not before, or it can go lumpy and never fully smooth out.
- Rice vinegar — A small splash keeps the sauce from tasting flat. If you don’t have it, apple cider vinegar works, but use a light hand because it brings a sharper edge.
Getting the Sear Before the Glaze Goes In
Season and Heat the Pan
Pat the chicken dry, then season it generously with salt, pepper, and garlic powder. A dry surface is what gives you a real sear instead of pale, steamed chicken. Heat the olive oil over medium-high until it shimmers, then lay the chicken in without crowding the skillet so the pan keeps its heat.
Build the Browning First
Let the chicken cook undisturbed for 5 to 6 minutes per side, depending on thickness. If it sticks when you try to turn it, it needs another minute; a good crust releases on its own. Pull it once the internal temperature reaches 165°F and set it aside while you build the sauce, because overcooked chicken breast turns dry fast once it goes back into the pan.
Turn the Fond Into Sauce
Add the butter and garlic to the same skillet and cook just until fragrant, about a minute. You want the garlic softened, not browned. Stir in the honey, soy sauce, and rice vinegar, scraping up the browned bits on the bottom of the pan; that fond is what makes the sauce taste cooked instead of just mixed.
Thicken and Coat
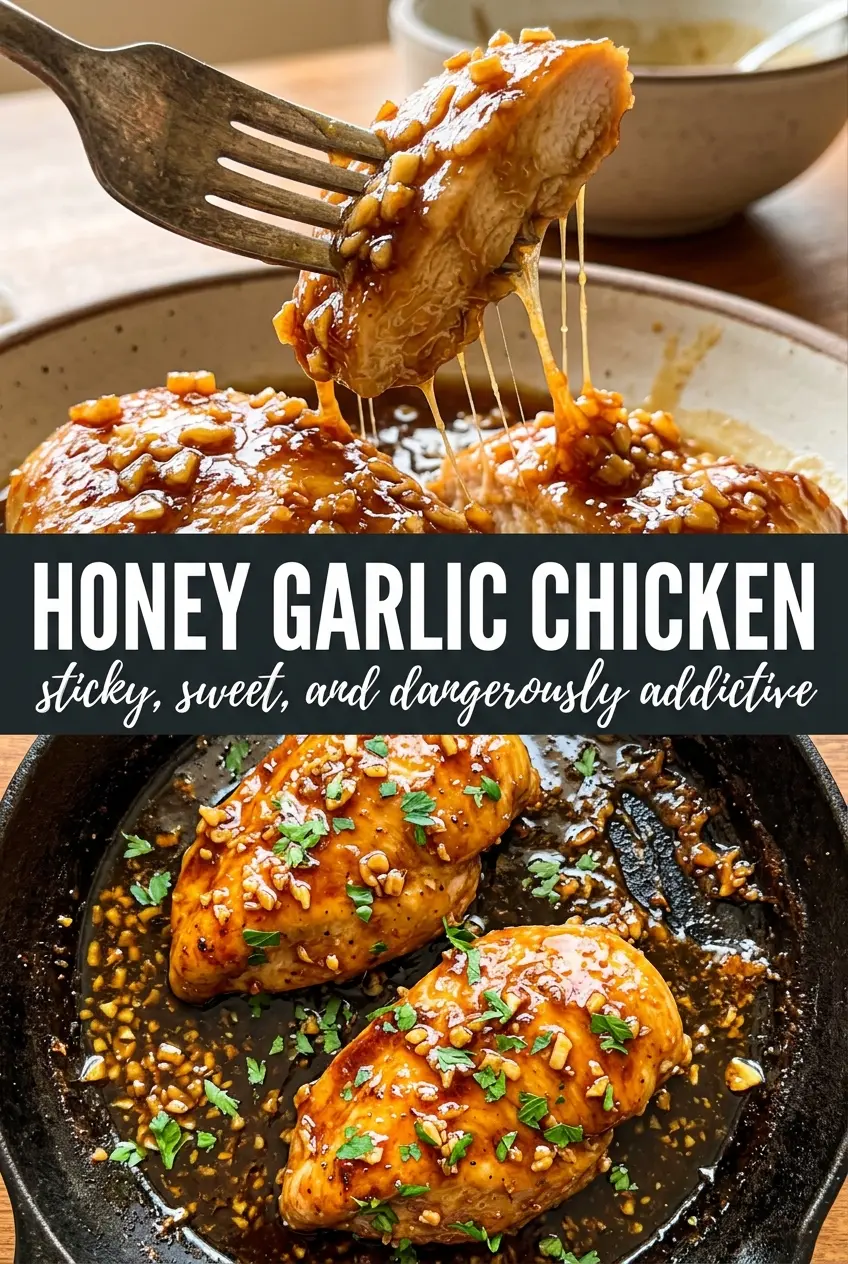
Stir in the cornstarch slurry and let the sauce simmer for 2 to 3 minutes until it turns glossy and thick enough to coat the back of a spoon. If it gets too thick, splash in a teaspoon or two of water to loosen it. Return the chicken to the pan, turn it through the glaze, and let it bubble for another minute or two until every side looks lacquered and sticky.
How to Adapt This for Different Kitchens and Different Diets
Use chicken thighs instead of breasts
Boneless thighs stay juicier and are more forgiving if you go a minute over. They take a little longer to cook than breasts, but the extra fat gives the glaze a richer finish and helps the sauce cling even better.
Make it gluten-free
Swap the soy sauce for tamari or a certified gluten-free soy sauce. The flavor stays balanced and savory, and the texture of the glaze doesn’t change.
Make it dairy-free
Use a dairy-free butter or swap in a neutral oil for the butter in the sauce. You’ll lose a little roundness, but the honey, garlic, and soy still carry the dish cleanly.
Stretch it with vegetables
Add broccoli florets, snap peas, or green beans after the sauce thickens and toss them in just long enough to glaze. They’ll pick up the same sticky coating and turn the skillet into a fuller dinner without changing the core method.
Storage and Reheating
- Refrigerator: Store leftovers in an airtight container for up to 4 days. The sauce will thicken as it chills.
- Freezer: It freezes well for up to 2 months, though the glaze may lose a little shine after thawing. Freeze in portions with some sauce so the chicken doesn’t dry out.
- Reheating: Warm gently in a skillet over low heat with a splash of water to loosen the sauce. High heat can make the honey catch on the pan before the chicken is hot through.
Questions I Get Asked About This Recipe
Honey Garlic Chicken
Ingredients
Equipment
Method
- Season boneless skinless chicken breasts with salt, pepper, and garlic powder to taste. Heat olive oil in a large skillet over medium-high heat and sear the chicken for 5-6 minutes per side until golden and the internal temperature reaches 165°F; remove to a plate.
- In the same pan, cook garlic in butter over medium heat for 1 minute until fragrant. Stir in honey, soy sauce, and rice vinegar.
- Stir in the cornstarch slurry and simmer for 2-3 minutes until the sauce thickens into a sticky glaze with a glossy sheen.
- Return the chicken to the pan and turn to coat in the honey garlic glaze; cook for 1-2 more minutes until the glaze clings and looks blistered and amber.
- Garnish with sesame seeds and sliced green onions, then serve immediately over steamed rice.