Sticky, glossy honey garlic chicken earns its place in the weeknight rotation fast. The chicken turns golden in the pan, then gets lacquered in a sauce that clings instead of running off, with just enough savory depth to keep the honey from tasting flat. What lands on the plate is tender chicken under a burnished glaze, with little pockets of caramelized garlic in every bite.
The trick here is building the sauce in the same skillet after the chicken sears. Those browned bits left behind do half the work for you, and the sauce tightens up cleanly when the cornstarch slurry goes in near the end instead of at the beginning. That gives you a sticky glaze instead of a thin, muddy sauce. Keeping the heat moderate matters too, because honey can go from amber to scorched in a hurry.
Below, I’m walking through the few details that make this one come out glossy instead of grainy, plus the swaps that still hold up if you need to change the protein or make it gluten-free.
The glaze thickened exactly when you said it would, and the chicken stayed juicy instead of drying out while the sauce finished. I served it over rice and every bit of the sauce got scraped from the pan.
Like this sticky honey garlic chicken? Save it to Pinterest for a fast skillet dinner with that glossy amber glaze.
The Secret to a Sticky Glaze Instead of a Thin Sauce
Honey garlic chicken goes wrong when the sauce is treated like a simple simmer sauce. Honey needs structure. Without enough reduction and a little starch, it stays loose and slides off the chicken instead of coating it. The pan is doing double duty here: it seasons the sauce with the browned chicken bits, and it gives the glaze a chance to thicken right at the point where it turns glossy and clingy.
The biggest mistake is adding the honey mixture too early and then blasting it with heat. That can burn the sugars before the chicken finishes or leave the garlic bitter. The better move is to sear the chicken first, pull it out, then build the sauce in the same pan and return the chicken only at the end. That keeps the glaze clean, amber, and balanced.
What Each Ingredient Is Actually Doing in This Dish
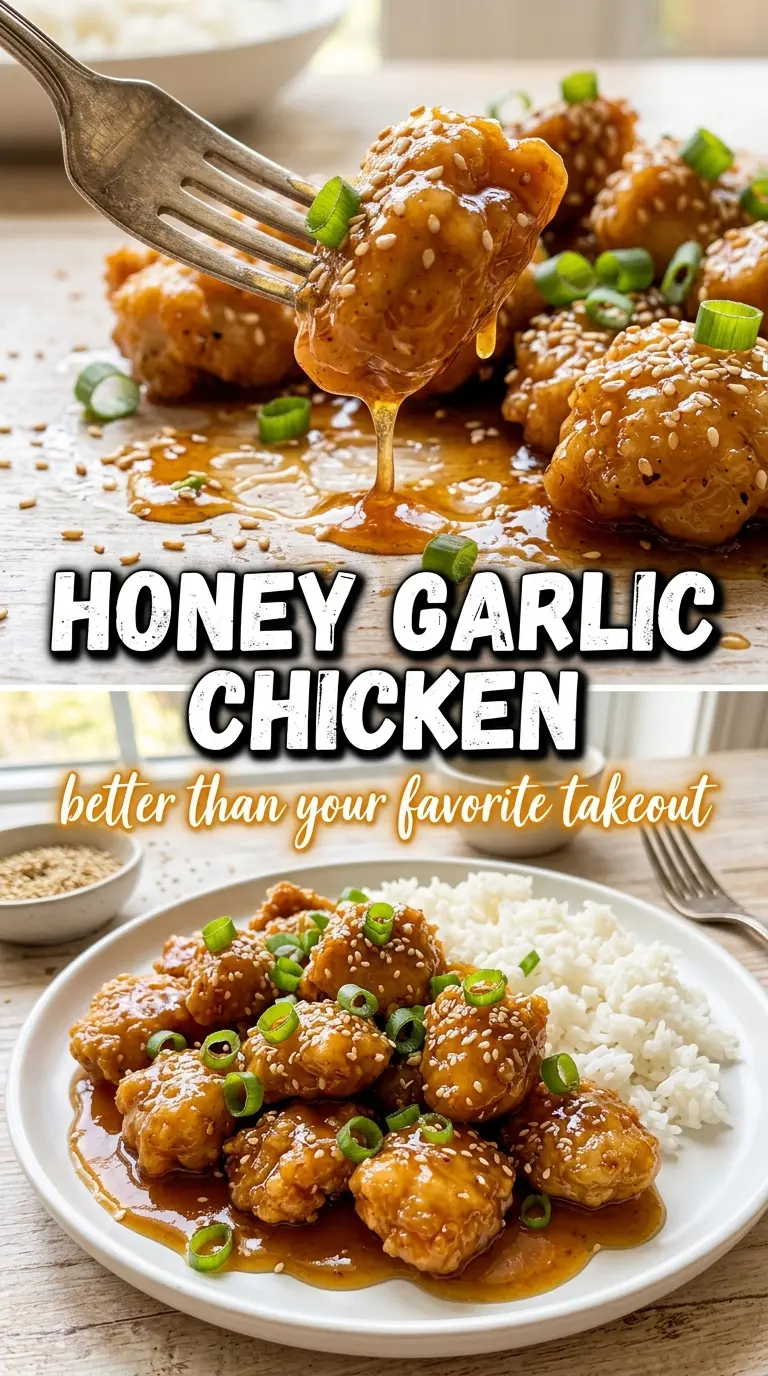
- Chicken breasts — Boneless, skinless breasts sear quickly and give you a wide surface for the glaze to cling to. If yours are thick on one end and thin on the other, pound them to an even thickness so they cook at the same rate. That’s the difference between juicy chicken and dry edges.
- Honey — This is the backbone of the glaze, not just the sweetener. It gives the sauce its sticky finish and that deep amber shine. If you swap in plain sugar, you lose the body and the sauce won’t coat the chicken the same way.
- Soy sauce — This pulls the honey back from cloying and gives the glaze its savory edge. Regular soy sauce works fine here; low-sodium is helpful if you want more control over the salt level. Tamari is the cleanest gluten-free swap.
- Butter — Butter softens the sharpness of the garlic and rounds out the glaze. It also helps the sauce look glossy. If you use all oil instead, the sauce still works, but it won’t taste as lush.
- Rice vinegar — The small amount of acid keeps the sauce from tasting sticky-sweet. If you don’t have it, apple cider vinegar is the best substitute, but use a little less because it’s sharper.
- Cornstarch slurry — This is what turns the sauce from thin to clingy in the last few minutes. Mix it with cold water first so it disperses cleanly; if you dump cornstarch straight into the pan, you’ll get little chalky lumps.
Getting the Chicken Sear and Sauce Finish in the Right Order
Searing the Chicken First
Season the chicken well before it hits the pan. A hot skillet with the olive oil already shimmering gives you the first bit of color fast, which is what you want before the sugars from the glaze come into play. Let each side cook until deep golden, and don’t keep moving the chicken around or it’ll steam instead of brown. If the chicken is still pale after a few minutes, the pan isn’t hot enough.
Building the Garlic Honey Base
Once the chicken comes out, the pan should still have a thin layer of browned fond stuck to the bottom. Add the butter and garlic and cook just until fragrant, about a minute, because garlic turns harsh fast once it starts to color. Then stir in the honey, soy sauce, and vinegar. The sauce will look thin at first, but that’s normal; it tightens as it simmers.
Thickening to a True Glaze
Whisk in the cornstarch slurry and keep the sauce at a steady simmer for a couple of minutes. You’re looking for a sheen and a texture that coats the spoon, not a paste. If it turns lumpy, the heat was too high or the slurry wasn’t mixed well enough before it went in. Pull the pan back to low, whisk hard, and it usually smooths out.
Coating the Chicken at the End
Return the chicken to the pan and turn it through the glaze until every surface is lacquered. Let it cook just long enough to finish at 165°F, then get it off the heat. If you leave it simmering too long, the sauce can tighten too far and the chicken can dry out. Finish with sesame seeds and green onions while the glaze is still tacky so they stick.
Three Ways to Adapt Honey Garlic Chicken Without Losing the Glaze
Use chicken thighs for a juicier finish
Boneless skinless thighs stay more forgiving if you tend to overcook chicken breasts. They take a few minutes longer and release a little more fat, which gives the glaze a deeper savory edge. The tradeoff is a richer, less lean final dish, but the sticky sauce works beautifully with them.
Make it gluten-free with tamari
Swap the soy sauce for tamari in a 1:1 amount. You’ll keep the same salty, savory backbone without the gluten, and the glaze still thickens the same way. Just check that your cornstarch is labeled gluten-free if cross-contact matters to you.
Turn it into a spicier skillet dinner
Stir in a pinch of red pepper flakes with the garlic or finish with a little chili crisp. The heat cuts the sweetness and gives the glaze more edge, especially if you’re serving it over plain rice. Keep the amount modest so the honey still reads as honey garlic, not hot sauce.
Storage and Reheating
- Refrigerator: Store leftovers in an airtight container for up to 4 days. The sauce will thicken as it chills, which is normal.
- Freezer: This freezes well for about 2 months, though the glaze softens a bit after thawing. Freeze the chicken and sauce together, then thaw in the refrigerator overnight.
- Reheating: Rewarm gently in a skillet over low heat with a splash of water to loosen the sauce. Microwaving over high heat can make the chicken rubbery and can push the glaze from sticky to seized.
Answers to the Questions Worth Asking
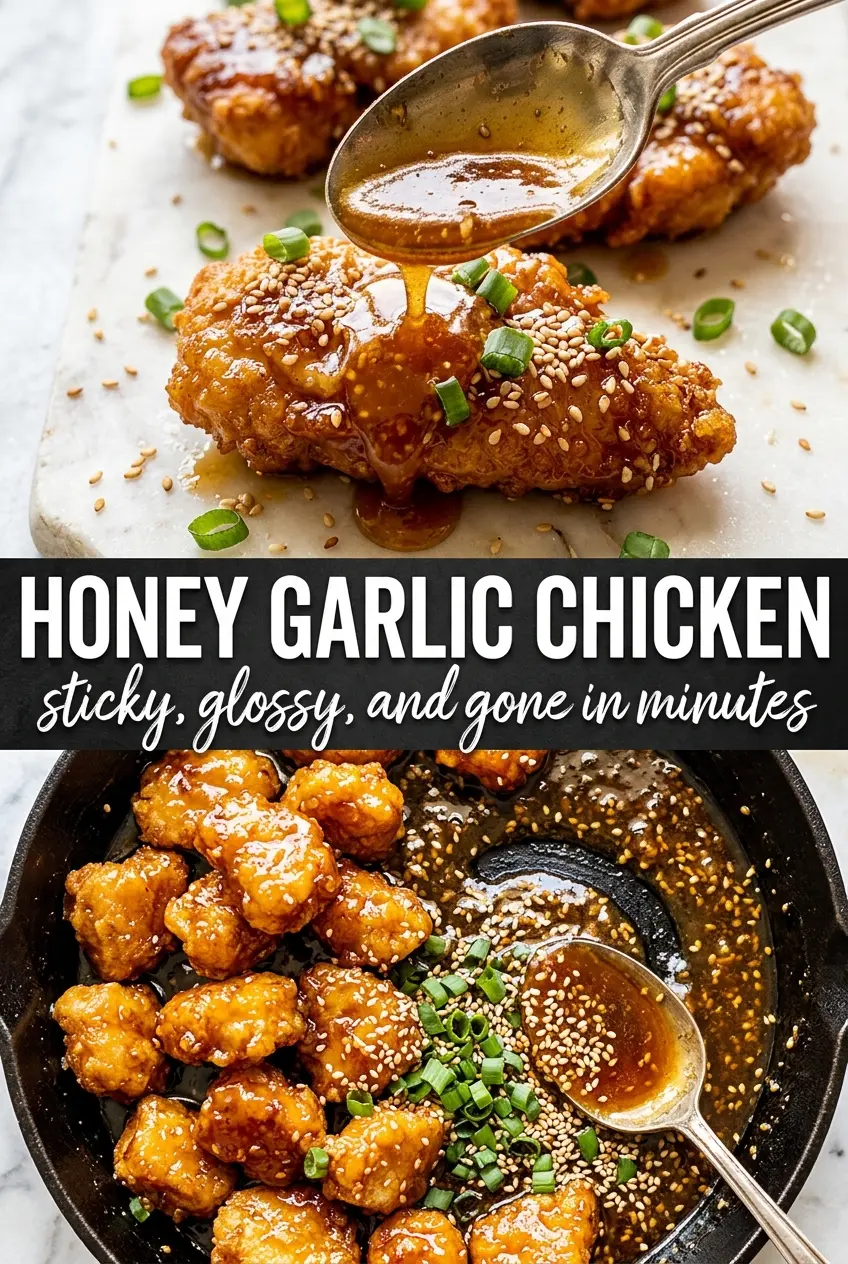
Honey Garlic Chicken
Ingredients
Equipment
Method
- Season the chicken breasts with salt, pepper, and garlic powder to taste, then heat the olive oil in a large skillet over medium-high heat. Sear until golden, 5-6 minutes per side, until the internal temperature reaches 165°F, then remove the chicken.
- In the same pan, melt the butter and cook the minced garlic for 1 minute until fragrant and lightly golden. Add honey, soy sauce, and rice vinegar and stir to combine, scraping up the browned bits.
- Stir in the cornstarch slurry and simmer for 2-3 minutes until the sauce turns into a thick, sticky glaze with glossy bubbles.
- Return the chicken to the pan and turn to coat in the honey garlic glaze. Cook for 1-2 more minutes until the glaze blisters and the chicken looks lacquered and deeply amber.
- Turn off the heat and garnish with sesame seeds and sliced green onions. Let the sauce settle in the pan for a moment, then serve the chicken over steamed rice.