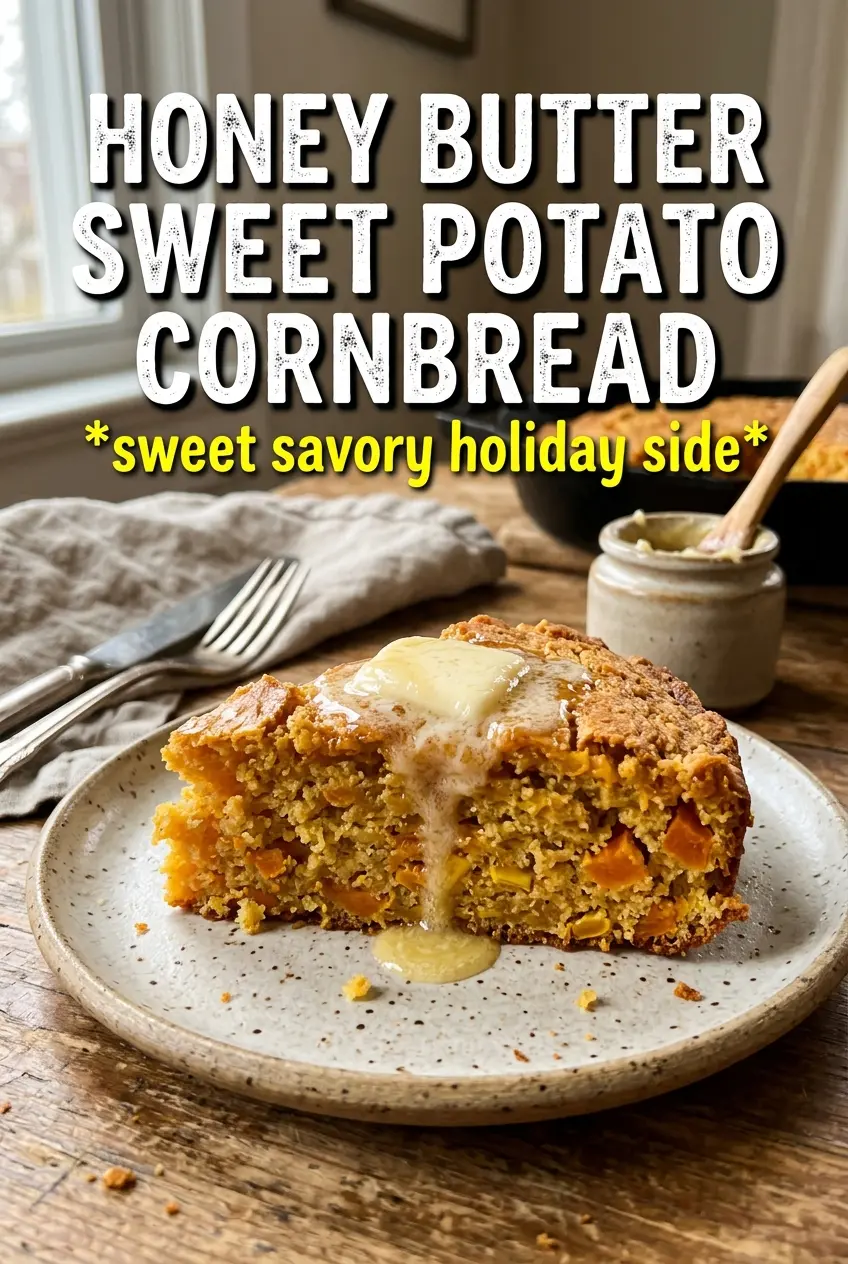
Honey butter sweet potato cornbread bakes up with crisp, caramelized edges, a tender orange crumb, and just enough sweetness to earn a place next to chili, greens, or a roast chicken. The sweet potato keeps it soft without making it heavy, and the honey butter brushed over the top while it’s still warm gives every square a glossy finish that melts into the crust.
What makes this version work is balance. The cornmeal brings grit and structure, while the sweet potato puree and milk keep the crumb moist and plush. I’ve found that a little cinnamon rounds out the sweetness without pushing the cornbread into dessert territory, and folding the batter just until combined keeps it from turning tight or cakey. A cast iron skillet gives you the best edge, but an 8-inch square pan still does the job well.
Below, I’ve included the small details that matter most: how to keep the batter tender, why the honey butter goes on warm, and a few easy swaps if you need to work with what you’ve got on hand.
The honey butter soaked into the top just enough and the center stayed moist without being gummy. I baked it in cast iron and the edges came out beautifully crisp.
Pin this honey butter sweet potato cornbread for the nights when you want a tender, skillet-baked side with crisp edges and a warm honey finish.
The Difference Between Tender Cornbread and a Dry, Crumbly Pan
The biggest risk with sweet potato cornbread is overmixing a batter that already has a lot going on. Once the dry ingredients hit the wet, the flour starts developing structure fast, and that’s where a lot of cornbreads turn dense or tough. Fold until the streaks disappear and stop there.
Sweet potato puree does more than add color. It brings moisture, a little natural sweetness, and a softer crumb that lets the cornmeal stay tender instead of sandy. The batter should look thick but spoonable. If it seems runny, the puree may have been too loose from the start.
- Sweet potato puree — Roasted sweet potato gives the best flavor and the thickest puree. Canned puree works if it’s plain sweet potato, not pie filling. If it looks watery, drain it in a fine mesh strainer for a few minutes before measuring.
- Cornmeal — Yellow cornmeal gives the classic flavor and golden color. Medium grind works best here because it keeps the cornbread from feeling pasty.
- Honey — Honey softens the sweetness and carries the warm flavor through the whole loaf. Maple syrup will work in a pinch, but the finish will taste a little less floral and a little more woodsy.
What Each Ingredient Is Doing in the Pan
- All-purpose flour — This balances the grainy texture of the cornmeal and helps the cornbread rise evenly. I wouldn’t swap in all whole wheat here unless you want a much heavier result.
- Baking powder — This gives the lift. If yours is old, the cornbread will bake up flat no matter how carefully you mix it, so check the date if the batter seems sluggish.
- Butter and milk — Melted butter keeps the crumb rich, and whole milk adds enough fat to keep the texture soft. Lower-fat milk will work, but the finished cornbread won’t taste as lush.
- Vanilla and cinnamon — These don’t make the bread taste like dessert. They round out the sweet potato and honey so the flavor feels warm and balanced instead of one-note.
Getting the Batter Into the Pan Without Losing the Texture
Mix the dry ingredients first
Whisk the cornmeal, flour, sugar, baking powder, cinnamon, and salt together until everything looks evenly distributed. That keeps the baking powder from clumping in one bite and the cinnamon from streaking through the batter. If you skip this step, you can get uneven rise and pockets of sweetness.
Build the wet mixture until it looks smooth
Whisk the sweet potato puree, eggs, milk, melted butter, honey, and vanilla until the mixture looks silky and the sweet potato is fully broken down. This matters because little lumps of puree can leave dense spots in the crumb. Use melted butter that’s warm, not hot, or it can start to cook the eggs on contact.
Fold, don’t beat
Pour the wet mixture into the dry ingredients and fold just until the last dry streak disappears. The batter should still look a little rough. If you keep stirring to chase absolute smoothness, the cornbread will bake up tighter and less tender.
Bake until the center sets
Scrape the batter into a buttered 8-inch square pan or cast iron skillet and bake at 400°F until the top is golden and a toothpick comes out clean from the center, about 25 to 30 minutes. The edges should pull slightly from the pan and feel firm to the touch. If the top browns too fast before the middle is done, loosely cover it with foil for the last few minutes.
Brush on the honey butter while it’s warm
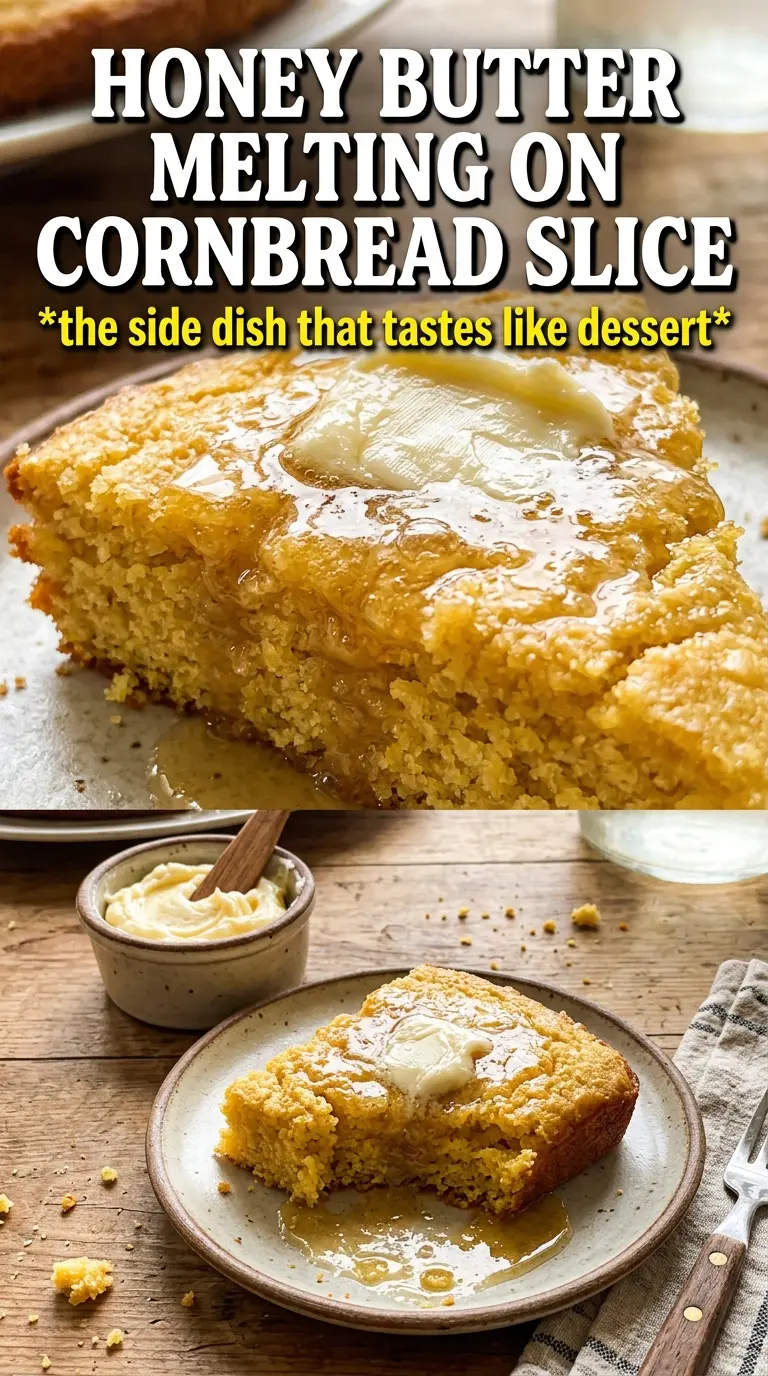
Whip the softened butter, honey, and a pinch of cinnamon together until smooth, then brush it over the cornbread as soon as it comes out of the oven. Warm cornbread absorbs the topping better, so the honey butter melts into the crust instead of sitting on top in a greasy layer. That’s what gives the finished bread that glossy, bakery-style finish.
How to Adapt This Sweet Cornbread When You Need to
Dairy-Free Version
Use a neutral dairy-free butter and an unsweetened milk alternative like oat or almond milk. The crumb will stay tender, though it may taste a little lighter and less rich than the original.
Gluten-Free Swap
Replace the all-purpose flour with a 1:1 gluten-free baking blend that includes xanthan gum. The texture will still be soft, but it may be a touch more delicate when sliced warm.
Less Sweet, More Savory
Cut the sugar down to 2 tablespoons and leave the honey butter on the side instead of brushing it over the top. You’ll get a cornbread that leans more toward a dinner-side classic and less toward a sweet quick bread.
Storage and Reheating
- Refrigerator: Store covered for up to 4 days. The crumb stays moist, but the edges soften a little after day one.
- Freezer: Freeze slices wrapped tightly for up to 2 months. Thaw at room temperature before reheating so the center doesn’t dry out.
- Reheating: Warm slices in a 300°F oven for 8 to 10 minutes or in a skillet over low heat. Microwaving works in a pinch, but it softens the crust and can make the crumb feel gummy if you overdo it.