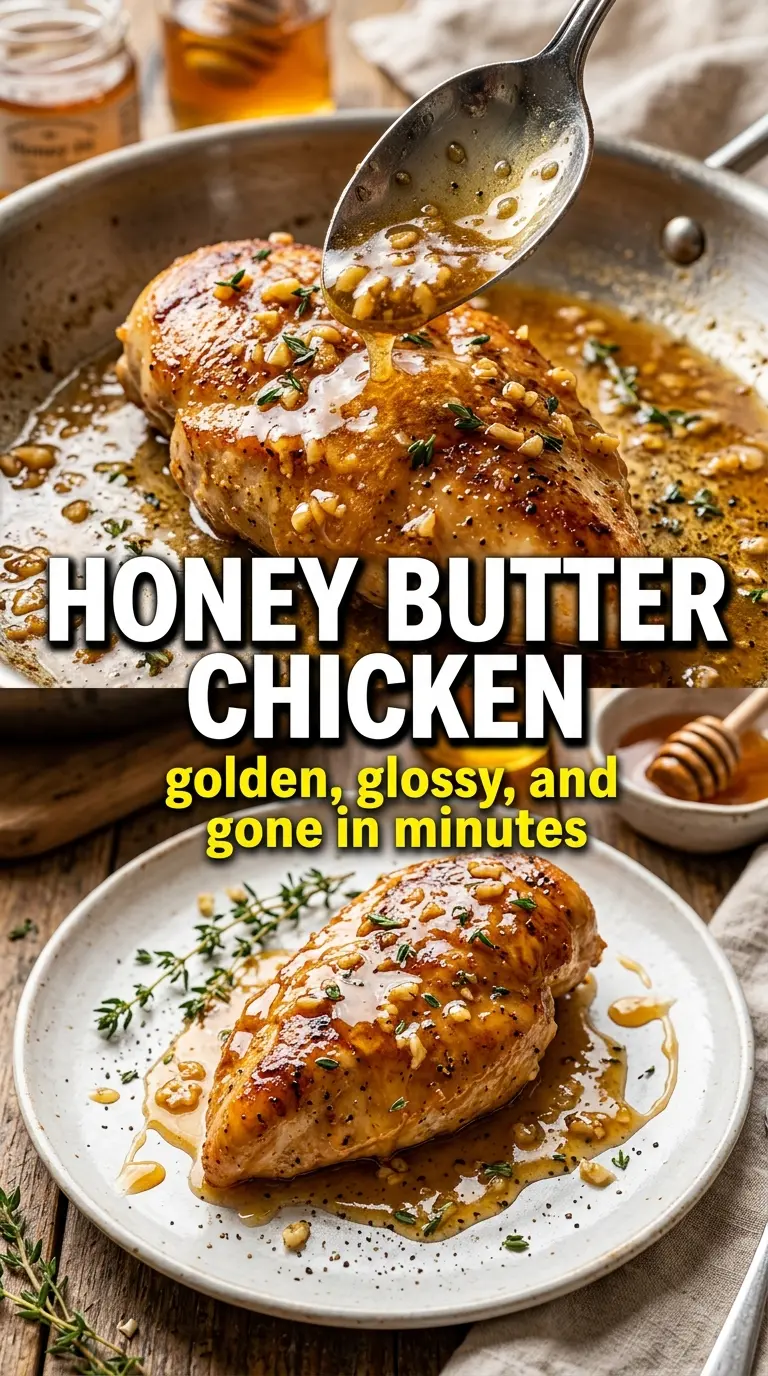
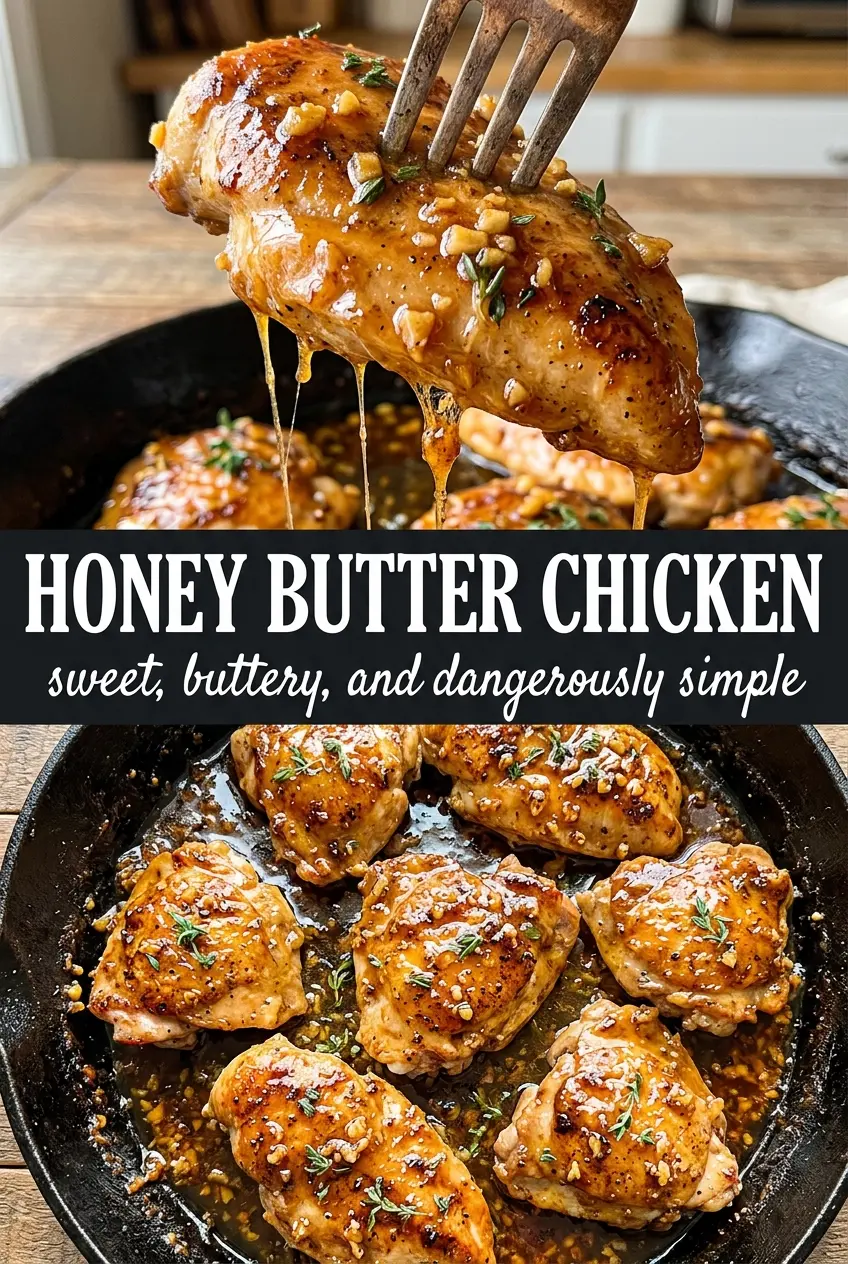
Honey butter chicken lands on the plate with a glossy, amber sauce that clings to every bite of the seared chicken instead of pooling sadly at the bottom of the skillet. The flavor walks that line between sweet and savory in a way that keeps you going back for one more forkful, and the edges of the chicken pick up just enough caramelization to make the whole dish taste richer than the ingredient list suggests.
What makes this version work is the order of operations. The chicken gets a proper sear first, which builds the browned bits that give the sauce depth, then the butter, garlic, honey, soy sauce, and vinegar come together in the same pan so nothing gets lost. The vinegar matters here more than people expect; it keeps the sauce from tasting flat and helps the honey read as glossy instead of candy-sweet.
Below, I’ll walk through the small details that keep the sauce smooth and the chicken juicy, plus a few smart swaps if you need to work around what’s in your kitchen.
The sauce thickened into that perfect sticky glaze, and the chicken stayed juicy instead of drying out. I served it with rice and my husband asked if I could put it on the menu again next week.
Save this honey butter chicken for the nights when you want a glossy skillet dinner that tastes like more effort than it takes.
The Difference Between a Glossy Glaze and a Burnt Mess
The sauce in this dish moves fast once the honey goes in. That’s the part people underestimate. Honey needs a controlled simmer, not a hard boil, or it can go from glossy to sticky and scorched before the chicken has time to coat. Keeping the heat at medium after the butter melts gives the garlic time to soften and the sauce time to emulsify instead of separating.
The other thing that matters is the sear on the chicken. If the pan is crowded or the heat is too low, the chicken will steam and the sauce won’t have much depth to lean on. You want a browned surface with enough fond on the pan to flavor the glaze, because that’s what keeps the final dish tasting savory instead of one-note sweet.
- Chicken breasts — Pound them to an even thickness if one side is much thicker than the other. That keeps the cook time consistent and prevents a dry outer layer before the center is done.
- Honey — Use the real thing here. Honey gives the sauce its body and shine; corn syrup or maple syrup won’t cook down with the same sticky finish.
- Apple cider vinegar — This is the balancing ingredient. White vinegar works in a pinch, but cider vinegar brings a rounder tang that keeps the sauce from tasting heavy.
- Soy sauce — A small amount deepens the color and adds salt without making the glaze taste like teriyaki. Low-sodium soy sauce is fine if that’s what you keep on hand.
What Each Ingredient Is Actually Doing in This Chicken Recipe
- Chicken (the foundation) — Quality chicken starts with good sourcing. Even simple seasoning tastes better on good meat.
- Olive oil or butter (the cooking medium) — Fat carries flavors and keeps chicken from drying. It’s also what makes food taste delicious.
- Salt and pepper (proper seasoning) — Season generously; underseasoned chicken tastes bland. Apply inside and outside so the seasoning penetrates.
- Garlic and onion (the aromatic base) — These add depth and complexity. They sweeten slightly when cooked, becoming mellow and round.
- Acid (lemon, vinegar, wine, or tomato) — This brightens the dish and prevents it from tasting heavy. It also helps balance rich sauces.
- Fresh herbs or spices (the character) — These define the personality of the dish. Choose ones that complement your other flavors.
- Cream or sauce base (optional richness) — A sauce keeps the chicken moist and flavorful. Make sure it’s balanced with acid and herbs.
- Proper cooking technique (the final step) — Whether baking, pan-searing, or simmering, the right method ensures juicy, tender results without drying out the meat.
Building the Glaze in the Same Pan
Getting the Sear First
Heat the olive oil until it shimmers, then lay the seasoned chicken in the pan and leave it alone long enough to brown. If you move it too soon, you lose that crust and the chicken sticks anyway. After 5 to 6 minutes per side, the surface should be deeply golden and the center should hit 165°F. Pull it out before starting the sauce so it doesn’t overcook while the glaze comes together.
Softening the Garlic Without Burning It
Once the chicken is out, add the butter and let it melt before the garlic goes in. Garlic only needs about a minute; once it starts smelling sweet and fragrant, it’s ready. If the garlic browns hard, it turns bitter and the sauce carries that bitterness all the way through. Keep the heat at medium and stir constantly.
Turning Butter and Honey Into Sauce
Stir in the honey, soy sauce, and apple cider vinegar and bring the mixture to a gentle simmer. You’re looking for small bubbles around the edges and a sauce that looks unified, not oily. Return the chicken to the pan and spoon the sauce over the top for 2 to 3 minutes until the glaze tightens and coats the meat. If the sauce looks thin at first, give it another minute; it thickens as it reduces and clings better once it cools slightly on the plate.
How to Adapt Honey Butter Chicken Without Losing the Point
Make It Dairy-Free
Swap the butter for a good dairy-free butter-style substitute that melts smoothly. Coconut oil can work, but it changes the flavor and the sauce won’t taste as classic; the best dairy-free versions are the ones that still emulsify with the honey and soy sauce.
Use Chicken Thighs Instead
Boneless skinless thighs stay juicier and forgive a little extra time in the pan. They may need a few more minutes to brown, but the sauce works the same way and the result is a richer, more forgiving skillet dinner.
Make It Gluten-Free
Use tamari instead of soy sauce. It gives you the same savory depth without the gluten, and the sauce still reduces and glazes exactly the same way.
Turn Up the Heat
Add a pinch of red pepper flakes or a little cayenne with the honey mixture if you want contrast against the sweetness. The heat should stay in the background; if it starts to compete with the sauce, you’ve gone too far.
Storage and Reheating
- Refrigerator: Store leftovers in an airtight container for up to 4 days. The glaze will thicken as it chills, which is normal.
- Freezer: It freezes well for up to 2 months, though the sauce may lose a little shine after thawing. Freeze the chicken with the sauce in a sealed container and thaw overnight in the fridge.
- Reheating: Warm it gently in a skillet over low heat with a splash of water to loosen the sauce. High heat can make the honey glaze seize or scorch before the chicken is hot through.
Answers to the Questions Worth Asking
Honey Butter Chicken
Ingredients
Equipment
Method
- Season the chicken breasts with salt, pepper, garlic powder, and smoked paprika. Heat olive oil in a large skillet over medium-high heat and sear until golden, 5-6 minutes per side, until the internal temperature reaches 165°F; remove the chicken to a plate.
- Melt the butter in the same pan over medium heat. Add the minced garlic and cook for 1 minute, stirring until fragrant and lightly golden.
- Stir in the honey, soy sauce, and apple cider vinegar. Bring to a simmer and let it bubble for 30-60 seconds until glossy.
- Return the chicken to the pan and cook for 2-3 minutes, turning and basting as the sauce caramelizes. Keep cooking until the honey butter sauce coats the chicken and looks amber and thick.
- Plate the chicken and drizzle with any remaining sauce. Finish with fresh thyme leaves and flaky sea salt.