Honey butter chicken hits that sweet spot between weeknight easy and skillet-worthy enough to feel special. The chicken turns deeply golden in the pan, then gets glossed in a sauce that clings instead of pooling underneath. What you end up with is tender chicken, buttery edges, and a sticky amber glaze that tastes richer than the short ingredient list suggests.
The trick is building the sauce in the same skillet after the chicken sears. Those browned bits left behind give the honey and butter somewhere to land, and the splash of apple cider vinegar keeps the glaze from reading flat or candy-sweet. A little soy sauce adds depth and helps the sauce look darker and taste more rounded without making it taste like stir-fry.
Below, I’ll show you how to keep the sauce glossy instead of greasy, when to baste for the best coating, and the small finishing step that makes the whole pan taste finished.
The sauce turned glossy in the skillet and coated the chicken instead of running off the plate. I loved how the vinegar kept the honey from getting too sweet, and the garlic stayed mellow instead of burning.
Pin this honey butter chicken for a glossy skillet dinner with caramelized chicken and a buttery sweet-savory sauce.
The Reason the Glaze Stays Sticky Instead of Turning Thin
Honey butter sauces can go wrong fast because honey wants to thicken, butter wants to stay loose, and chicken releases juices right when everything should be tightening up. This version avoids that mess by building the glaze after the chicken has already browned and come off the heat. The pan is hot enough to pull flavor from the fond, but not so hot that the honey scorches before it has a chance to coat.
The other key is acid. A tablespoon of apple cider vinegar keeps the sauce lively and stops it from tasting one-note sweet. Soy sauce does a second job here: it deepens the color and gives the glaze some backbone, which matters when you’re serving it over plain rice or mashed potatoes.
What Each Ingredient Is Actually Doing in the Pan
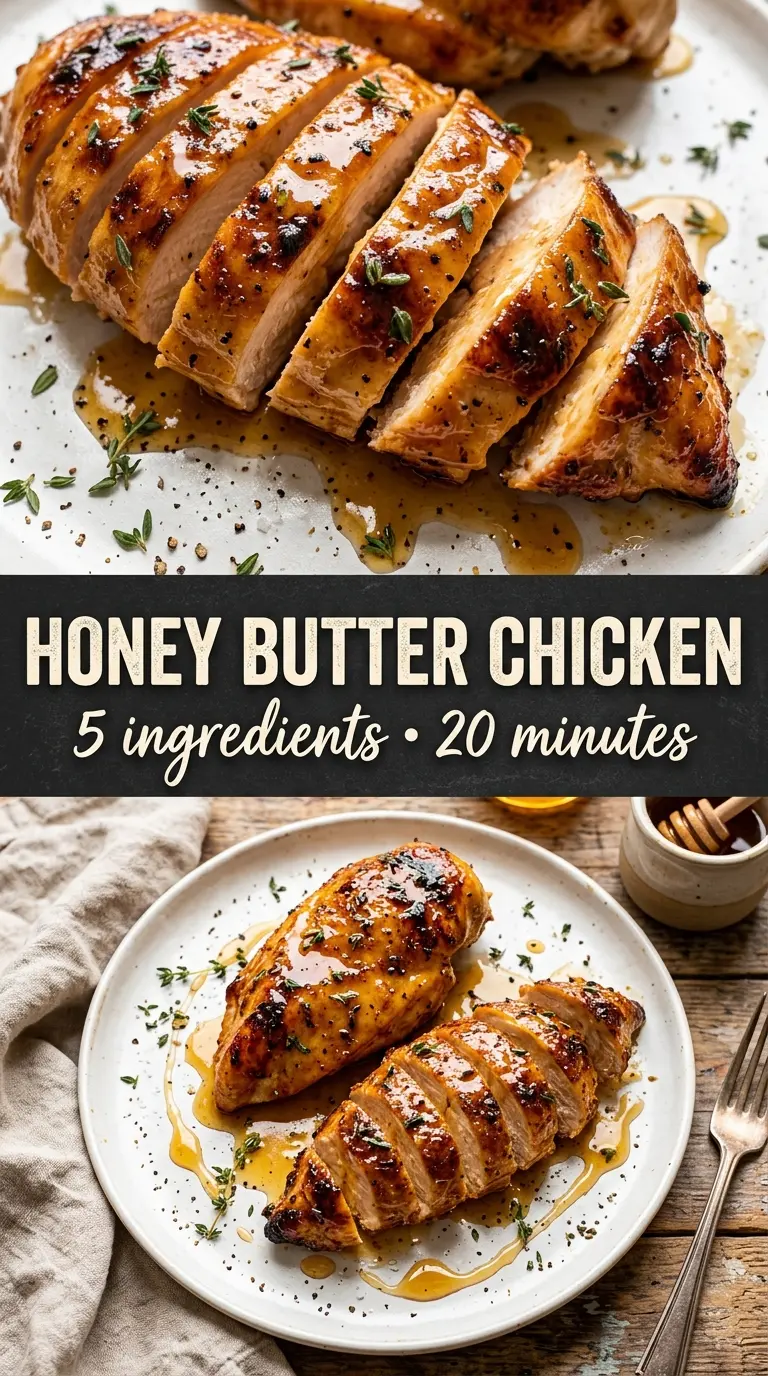
- Chicken breasts — Boneless, skinless breasts give you a fast sear and a clean surface for the glaze to cling to. If your pieces are much thicker than an inch, pound them to an even thickness so the outside doesn’t overcook before the center is done.
- Butter — This is the body of the sauce and the reason it tastes rich instead of just sweet. Use real butter here; margarine won’t give you the same sheen or flavor.
- Honey — Honey is the glaze. It reduces quickly, so don’t walk away once it hits the pan. If your honey is very thick or crystallized, warm it a few seconds so it pours smoothly.
- Soy sauce — This is the ingredient that makes the sauce taste seasoned all the way through. A regular grocery-store soy sauce is fine. Use low-sodium if you’re sensitive to salt, since the sauce will reduce a little as it simmers.
- Apple cider vinegar — The vinegar sharpens the glaze and keeps the finish from feeling heavy. Lemon juice can work in a pinch, but it tastes brighter and less rounded than apple cider vinegar.
- Garlic — Garlic gives the sauce its savory edge, but it burns quickly in butter. Keep it moving and only cook it until fragrant.
Building the Glaze After the Sear
Seasoning the chicken for a deep first layer
Season the chicken generously with salt, pepper, garlic powder, and smoked paprika before it ever hits the pan. That first layer matters because the sauce is sweet and buttery; without seasoning on the chicken itself, the whole dish can taste flat. Pat the chicken dry first so the spices stick and the surface browns instead of steaming.
Searing until the crust releases cleanly
Heat the olive oil over medium-high and lay the chicken in once the oil shimmers. Don’t move it around in the first few minutes; let the surface set so it can develop a golden crust. If the chicken sticks hard, it usually needs another minute. It should release more easily once the browning is there.
Turning the pan drippings into sauce
Take the chicken out once it reaches 165°F, then lower the heat to medium and melt the butter in the same skillet. Add the garlic and cook just until fragrant, about a minute, because garlic turns bitter if it browns in butter. Stir in the honey, soy sauce, and vinegar and let it come to a simmer. You’re looking for a sauce that bubbles lazily and starts to look glossy, not a hard boil.
Coating the chicken without drying it out
Return the chicken to the pan and spoon the sauce over the top for 2 to 3 minutes. This is the point where the glaze thickens and sticks to the chicken instead of sliding off. If the sauce starts to look too thick before the chicken is coated, lower the heat and add a teaspoon of water to loosen it just enough. Finish with fresh thyme and flaky sea salt while the sauce is still warm so they settle into the glaze.
Three Ways to Make This Work for Different Kitchens
Use chicken thighs for a richer result
Boneless skinless thighs stay juicier and handle the sweet glaze well. They usually need a few extra minutes to cook through, but they’re more forgiving if your skillet runs hot. The sauce will taste a little richer because thighs bring more built-in flavor.
Make it gluten-free without losing the gloss
Swap the soy sauce for tamari or coconut aminos. Tamari behaves most like soy sauce and keeps the sauce balanced and savory. Coconut aminos are a little sweeter, so the glaze will lean softer and more delicate.
Cut the sweetness back for a less sticky finish
Use 1/4 cup honey instead of 1/3 cup and keep the vinegar the same. You’ll get a thinner, more savory glaze that still coats the chicken but won’t caramelize as darkly. This is the version I’d serve over buttered noodles or rice, where you want the sauce to travel a little farther.
Make the sauce dairy-free
Use a plant-based butter that melts cleanly and has a neutral flavor. The sauce won’t taste quite as rich, but the honey, garlic, and vinegar still build a good glossy coating. Keep the heat moderate, since some dairy-free butters separate faster than regular butter.
Storage and Reheating
- Refrigerator: Store in an airtight container for up to 3 days. The sauce will thicken as it chills.
- Freezer: It freezes, but the sauce can separate a little after thawing. Freeze in a shallow container for up to 2 months for the best texture.
- Reheating: Reheat gently in a skillet over low heat with a splash of water to loosen the glaze. High heat will push the honey toward burning and can dry out the chicken.
Answers to the Questions Worth Asking

Honey Butter Chicken
Ingredients
Equipment
Method
- Season the chicken breasts with salt, pepper, garlic powder, and smoked paprika. Heat olive oil in a large skillet over medium-high heat and sear until golden, 5-6 minutes per side, until the internal temperature reaches 165°F; remove and set aside.
- Melt the butter in the same pan over medium heat. Add the minced garlic and cook for 1 minute, stirring until fragrant and lightly golden.
- Stir in the honey, soy sauce, and apple cider vinegar. Bring the mixture to a simmer until it looks glossy and slightly thickened.
- Return the chicken to the pan and cook for 2-3 minutes. Turn and baste frequently until the sauce caramelizes and coats the chicken.
- Plate the chicken and drizzle with any remaining sauce. Finish with fresh thyme leaves and flaky sea salt.