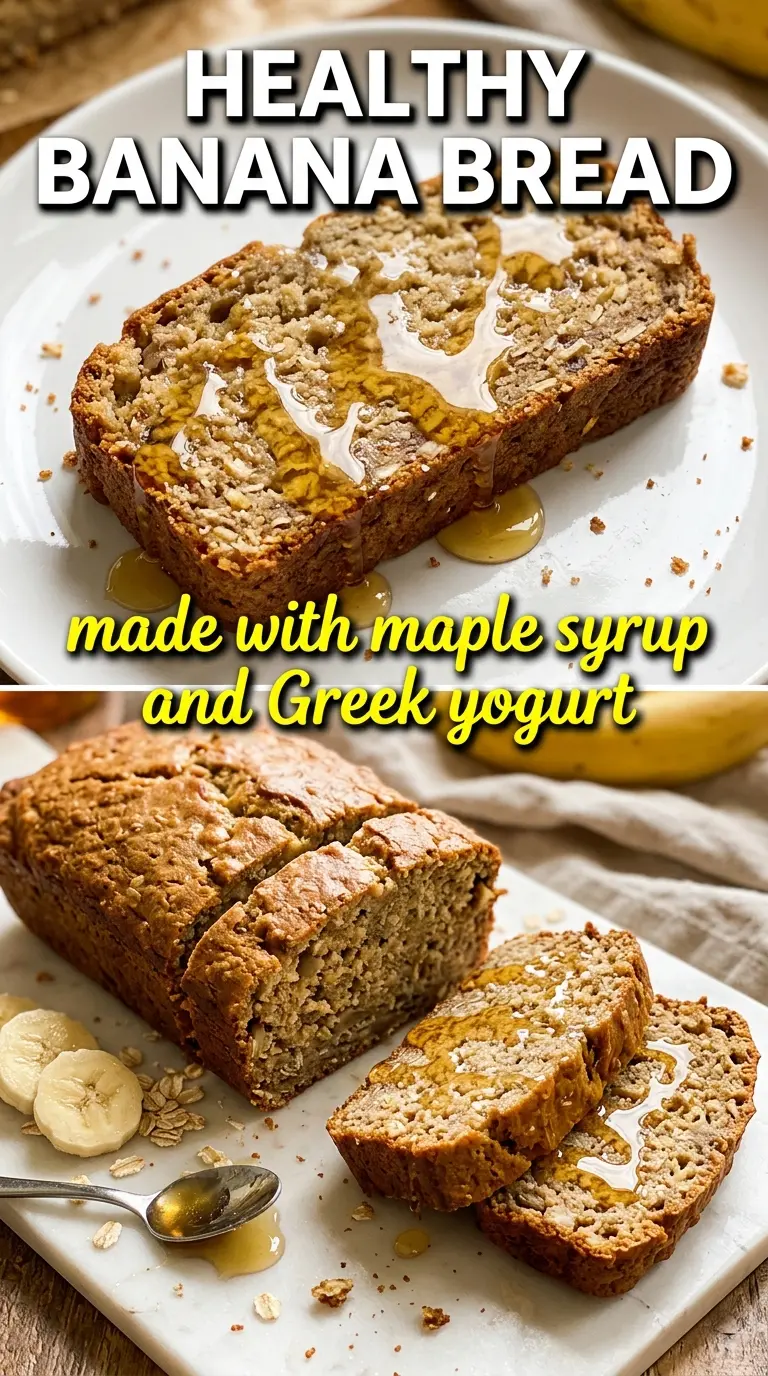
Healthy banana bread lands with a moist, tender crumb and a deep banana flavor that doesn’t need a heavy hand with sugar to taste finished. The top bakes into a golden, gently cracked dome, while the inside stays soft enough for breakfast but sturdy enough to slice cleanly for snacks all week.
Ripe bananas do the sweetness work here, and honey or maple syrup fills in the gaps without making the loaf taste flat. Whole wheat flour adds a little backbone, which is why this bread feels more substantial than a standard banana loaf, but the trick is balancing it with just enough all-purpose flour so the crumb stays soft instead of dense. Olive oil or melted coconut oil keeps the loaf moist even after a day in the fridge.
Below, I’ve included the small details that keep this loaf from turning gummy in the center or dry at the edges, plus the swaps I actually trust when I want to make it a little nuttier, a little lighter, or fully dairy-free.
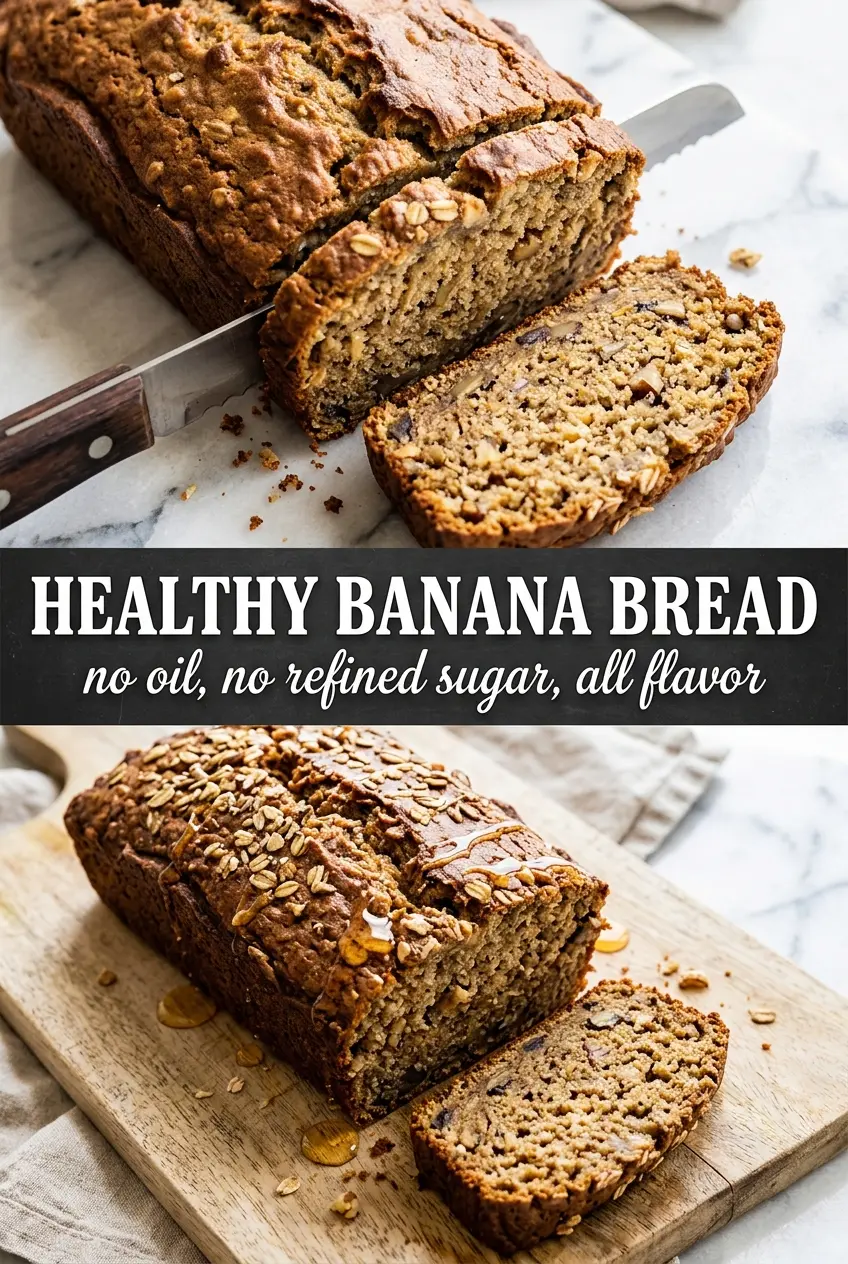
I followed the recipe exactly and the loaf came out with that perfect moist center and a little crackly top. The whole wheat flavor was mild, not heavy, and it sliced cleanly after cooling.
Save this healthy banana bread for the mornings when you want a naturally sweet loaf with a soft crumb and no refined sugar.
The Banana Bread Mistake That Makes the Crumb Heavy
The biggest problem with healthier banana bread is that it turns dense before it turns tender. Whole wheat flour absorbs more liquid than white flour, and if you keep stirring to chase out every lump, the batter gets tight and bakes up gummy. The other trap is underbaking by a few minutes because the top looks done while the center is still catching up.
This version avoids both problems by using plenty of ripe banana for moisture and keeping the mixing gentle once the flour goes in. The batter should look thick and a little rustic, not whipped smooth. That slight looseness is what gives you a loaf that slices neatly after cooling instead of collapsing in the middle.
- Very ripe bananas — You want bananas with plenty of brown spots and soft flesh. They bring sweetness, moisture, and that unmistakable banana flavor without extra sugar.
- Honey or maple syrup — Either one works here, but honey gives a rounder, more floral sweetness and maple makes the loaf taste a little deeper. Don’t swap in a dry sweetener; the liquid helps the crumb stay soft.
- Whole wheat flour — This is what gives the bread its hearty texture and more nourishing feel. Fresh whole wheat flour matters here; stale flour can taste bitter and dull the banana flavor.
- All-purpose flour — The smaller portion of all-purpose flour keeps the loaf from feeling heavy. If you use all whole wheat, the bread will be denser but still good if you don’t overmix.
- Coconut oil or olive oil — Melted oil keeps the bread moist for days. Butter can work, but the loaf won’t stay quite as tender on day two.
What Each Ingredient Is Actually Doing in This Recipe
- Primary ingredient (the star) — Quality matters most. Choose the best you can find.
- Cooking medium (oil, butter, or broth) — This carries flavors and prevents dryness.
- Seasonings (salt, pepper, spices, herbs) — Layer flavors so nothing overpowers. Build depth gradually.
- Aromatics (garlic, onion, herbs) — Cook with fat to bloom flavors. Become the foundation.
- Supporting ingredients — Complement the main ingredient without overpowering it.
- Sauce or liquid (if applicable) — Brings flavors together. Balance richness with acid.
- Acid (lemon, vinegar, wine, or other) — Brightens and prevents flat-tasting results.
- Final finish (garnish, glaze, or sauce) — Prevents one-dimensional taste and adds visual appeal.
Building the Batter So the Loaf Stays Tender
Mashing the Bananas Well
Start with bananas that are soft enough to mash into a mostly smooth base. A few small lumps are fine, but if the bananas are still chunky, they won’t disappear in the oven and you’ll get uneven pockets in the loaf. Once the bananas are mashed, whisk in the oil, honey, eggs, and vanilla until the mixture looks glossy and fully blended.
Folding in the Flour Without Overworking It
Add the dry ingredients and fold just until the flour disappears. A few streaks are better than stirring until perfectly smooth, because overmixing develops the gluten and makes the loaf chewy instead of soft. If you’re using nuts, fold them in at the very end so they stay evenly distributed and don’t get crushed into the batter.
Baking Until the Center Is Set
Pour the batter into a greased 9×5 loaf pan and bake at 350°F until the top is deep golden and a toothpick comes out clean from the center. If the top browns early, lay a loose piece of foil over it for the last 15 minutes so the middle can finish without the crust getting too dark. The loaf needs a full cool-down in the pan; slicing it warm usually makes the texture seem underdone even when the baking is right.
Make It Dairy-Free Without Changing the Texture
This recipe is already dairy-free if you use olive oil or coconut oil, which is part of why it works so well as a healthy loaf. Keep the rest exactly the same and you’ll still get a moist crumb and a soft slice.
Go All Whole Wheat for a Heartier Loaf
You can replace the all-purpose flour with more whole wheat flour, but expect a tighter crumb and a slightly nuttier flavor. The loaf still bakes up well; it just feels more rustic and less cakey.
Swap the Sweetener for Maple Syrup
Maple syrup gives the bread a deeper, almost caramel-like sweetness and pairs nicely with walnuts. Use it one-for-one in place of honey and keep an eye on the edges, since maple can make the loaf brown a touch faster.
Add Nuts for More Crunch
Walnuts bring a soft bitterness that balances the banana, while almonds add a cleaner crunch. Toast them first if you want the flavor to stand out more; un-toasted nuts work fine but stay milder.
Storage and Reheating
- Refrigerator: Store tightly wrapped for up to 5 days. The crumb firms up a little in the fridge, but the flavor stays excellent.
- Freezer: Freezes well for up to 3 months. Wrap slices individually, then stash them in a freezer bag so you can thaw only what you need.
- Reheating: Warm slices in a toaster oven or microwave just until soft. Don’t overheat them, or the bread dries out fast and loses the tender texture that makes it good on day one.
Answers to the Questions Worth Asking
Healthy Banana Bread
Ingredients
Equipment
Method
- Preheat the oven to 350°F and grease a 9x5 loaf pan.
- Whisk oil, honey, eggs, and vanilla into the mashed bananas until smooth and fully combined.
- Fold in whole wheat flour, all-purpose flour, baking soda, baking powder, cinnamon, and salt until just combined—do not overmix.
- Fold in nuts if using.
- Pour batter into the prepared pan and bake for 55–65 minutes until deeply golden and a toothpick comes out clean.
- Cool completely in the pan before slicing, since the texture improves significantly as it cools.