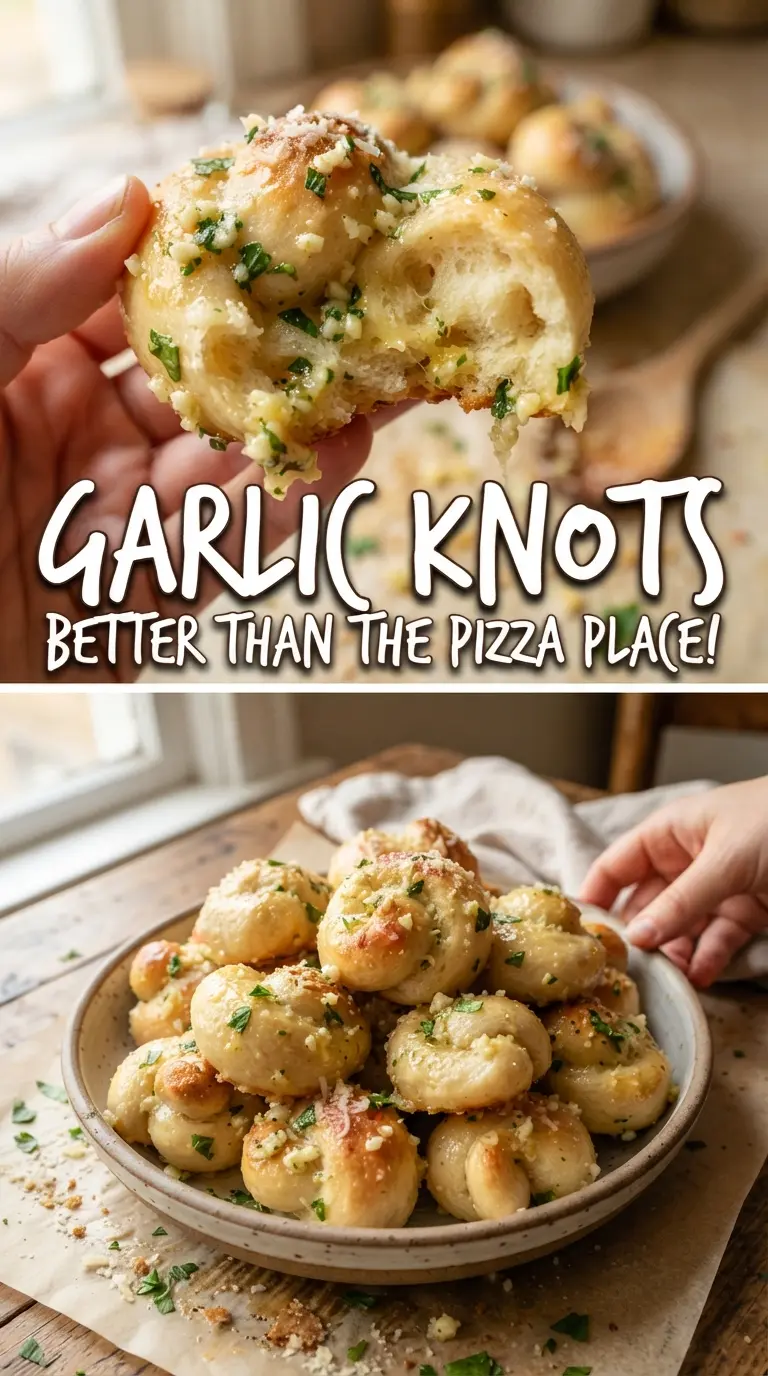
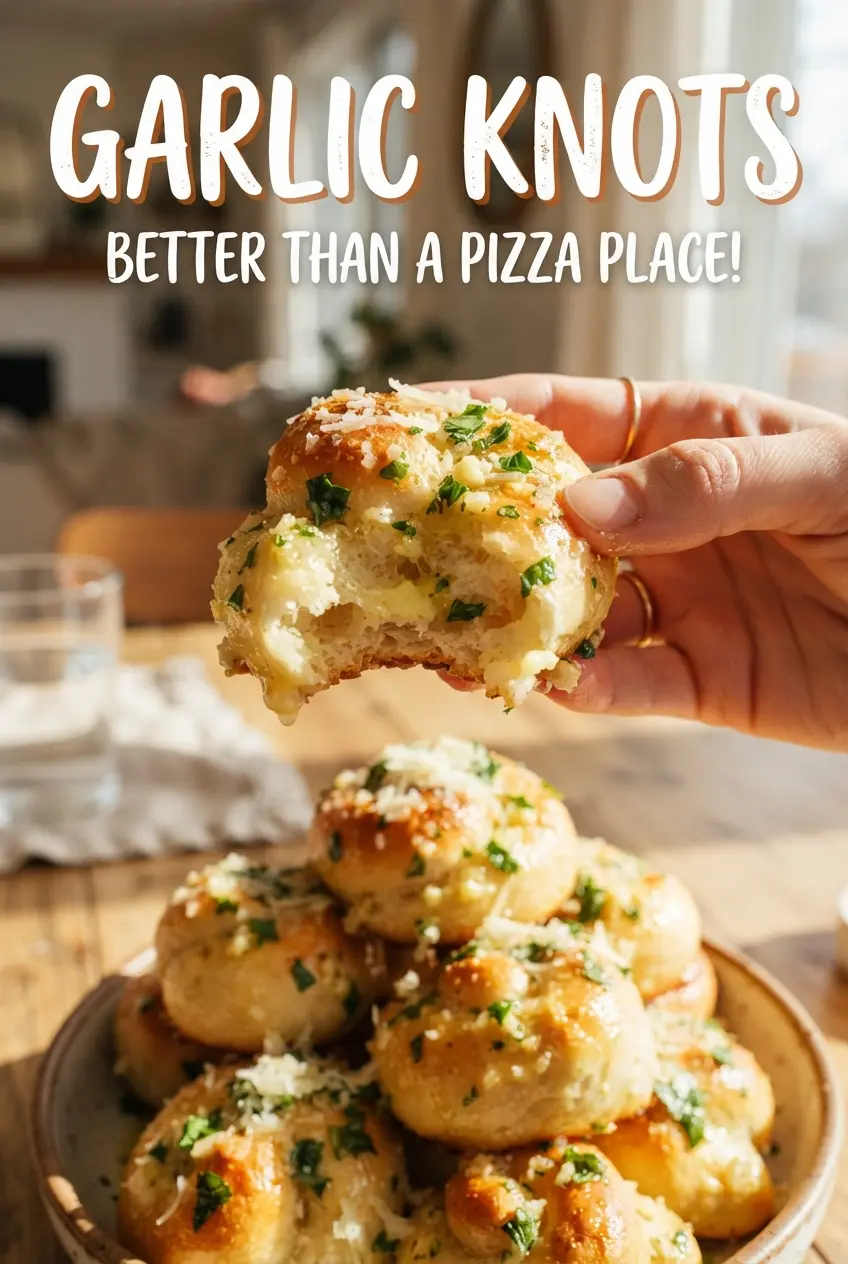
Golden garlic knots hit that sweet spot between soft dinner rolls and pizza-night bread. The outside turns lightly crisp and browned while the inside stays tender and stretchy, and the garlic butter soaks into every twist and fold instead of just sitting on top. They disappear fast because each one pulls apart in layered pieces, which is exactly what you want when there’s marinara nearby.
The trick is using room-temperature pizza dough so it relaxes enough to roll without snapping back. A quick first brush of plain butter helps the knots bake up with color, then the garlic-parsley butter goes on after baking so the garlic stays fragrant instead of turning bitter in the oven. Parmesan finishes the job with a salty, savory edge that clings to the warm bread.
Below, you’ll find the small details that keep the knots soft in the middle, plus the easiest way to adapt them if you want to use homemade dough or make them ahead for a crowd.
The knots baked up soft in the middle and the garlic butter soaked right into the swirls. I brushed them while they were hot and the Parmesan melted just enough to stick without getting greasy.
Love these buttery garlic knots? Save them to Pinterest for pizza nights, pasta dinners, and easy homemade bread on the side.
The Trick to Garlic Knots That Stay Soft, Not Dry
Garlic knots dry out when the dough gets overworked or the oven runs too hot. Rolling the dough into ropes and tying loose knots keeps the interior light, but tight knots squeeze out the soft texture you want. The other big mistake is brushing on all the garlic butter before baking; garlic can scorch fast, and once it turns bitter, there’s no bringing it back.
Room-temperature dough is easier to shape and rises more evenly in the oven. If your dough keeps springing back while you roll it, give it five to ten minutes to rest. That short pause relaxes the gluten and makes the knots cleaner, softer, and easier to tie without tearing.
What Each Ingredient Is Actually Doing in This Recipe
- Primary ingredient (the star) — Quality matters most. Choose the best you can find.
- Cooking medium (oil, butter, or broth) — This carries flavors and prevents dryness.
- Seasonings (salt, pepper, spices, herbs) — Layer flavors so nothing overpowers. Build depth gradually.
- Aromatics (garlic, onion, herbs) — Cook with fat to bloom flavors. Become the foundation.
- Supporting ingredients — Complement the main ingredient without overpowering it.
- Sauce or liquid (if applicable) — Brings flavors together. Balance richness with acid.
- Acid (lemon, vinegar, wine, or other) — Brightens and prevents flat-tasting results.
- Final finish (garnish, glaze, or sauce) — Prevents one-dimensional taste and adds visual appeal.
Why the Butter Goes on in Two Separate Layers
Refrigerated pizza dough — This is the backbone of the recipe and the reason it stays simple. Store-bought dough gives you reliable structure and a soft chew without the extra time of making dough from scratch. If you use homemade dough, use a basic pizza dough that’s been proofed until puffy, not a stiff dough that fights you while shaping.
Butter — The first light brushing helps the knots brown and keeps the surface from drying out. The second, garlicky brush after baking is where the flavor happens. Use real butter here; margarine won’t give you the same richness or the glossy finish on the bread.
Garlic and parsley — Fresh minced garlic matters because it perfumes the butter without tasting harsh, but it only works after baking. Parsley adds freshness and keeps the finish from tasting one-note. If you only have dried parsley, use less and rub it between your fingers before stirring it in so it softens a bit in the butter.
Parmesan — Use finely grated Parmesan so it melts onto the hot knots instead of falling off in clumps. The saltiness sharpens the butter and makes the bread taste finished. A wedge grated fresh will give you the best melt and the cleanest savory finish.
Shaping, Baking, and Brushing Without Losing the Garlic
Cutting and Knotting the Dough
Divide the dough into 16 even pieces so they bake at the same rate. Roll each piece into a rope about 7 inches long, then tie it into a loose knot and tuck the ends underneath. If the dough tears, it was rolled too thin in one spot or it needed a few minutes to rest before shaping. Keep the knots relaxed; packed-tight knots bake up dense in the center.
Getting the First Bake Right
Arrange the knots with space between them on a parchment-lined baking sheet, then brush them lightly with melted butter. That thin layer helps the surface color and gives the bread a little sheen. Bake until the tops are golden brown and the bottoms are set, about 13 to 15 minutes. If they still look pale and doughy underneath, give them another minute or two; underbaked knots collapse once you brush them with butter.
Finishing While They’re Hot
Stir the garlic, parsley, and salt into the remaining melted butter while the knots bake. As soon as they come out of the oven, brush the butter over the hot bread so it sinks into the cracks and swirls. Sprinkle the Parmesan on right away so it clings to the surface instead of sliding off. Serve them warm with marinara, because garlic knots lose a little of their magic once they cool all the way down.
How to Change These Up Without Losing the Good Part
Dairy-Free Garlic Knots
Use a plant-based butter that melts smoothly and has a clean flavor, not a hard margarine that stays waxy. The texture of the knots stays the same, but the finish will taste a little less rich, so keep the garlic and parsley generous. Skip the Parmesan or use a dairy-free grated topping that melts well enough to cling to the hot bread.
Using Homemade Pizza Dough
Homemade dough gives you a little more chew and a slightly bolder bread flavor. Let it rest until it’s soft and airy before shaping, or the knots will spring back and fight you. If the dough is cold from the fridge, give it time to warm up before you start rolling.
Extra-Cheesy Garlic Knots
Add a light sprinkle of Parmesan before the first bake if you want more browned cheese flavor on the tops, then finish with more after baking. Too much cheese in the oven can blur the knots’ shape and make the bottoms greasy, so keep the first layer light. The result is a little more savory and a little less bread-forward.
Storage and Reheating
- Refrigerator: Store in an airtight container for up to 3 days. They’ll soften a little, but they still reheat well.
- Freezer: Freeze baked knots in a zip-top bag for up to 2 months. Thaw at room temperature before reheating so the centers warm evenly.
- Reheating: Warm in a 350F oven for 5 to 8 minutes. The mistake to avoid is microwaving them too long, which makes the bread rubbery and the butter greasy instead of glossy.
Questions I Get Asked About This Recipe
Garlic Knots
Ingredients
Equipment
Method
- Preheat oven to 400F and line a baking sheet with parchment. This prevents sticking and helps the knots brown evenly.
- Cut refrigerated pizza dough into 16 pieces, then roll each into a 7-inch rope and tie into a knot. Keep the ends tucked to hold the shape while baking.
- Place knots on the baking sheet, leaving a little space between them. Brush lightly with melted butter so they start glossy before baking.
- Bake at 400F for 13-15 minutes, until golden brown. Look for deep golden edges and set dough.
- Stir garlic, parsley, and salt into the remaining butter, then brush over the hot knots. The butter should soak in right away for maximum flavor.
- Sprinkle with grated Parmesan and serve with marinara. Add it at the end so the cheese melts lightly and adheres to the buttered surface.