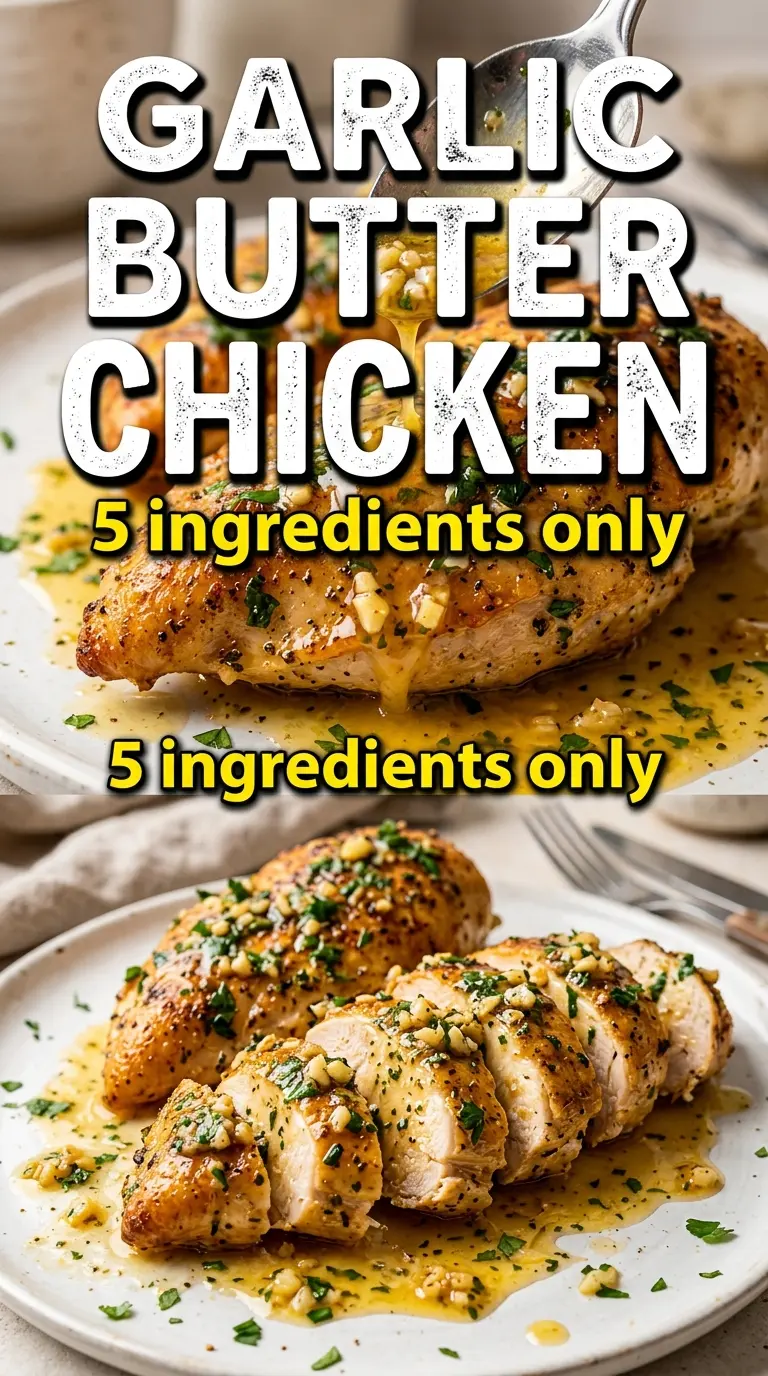
Garlic butter baked chicken breast lands on the table juicy, glossy, and full of flavor without needing a skillet full of babysitting. The butter bakes into a fragrant herb sauce that coats every bite, and the pan juices give you a built-in finish that keeps the chicken from tasting dry or flat. It’s the kind of simple dinner that still feels cared for.
The trick is in the oven temp and the butter baste. A hot oven gives the chicken a little color before the butter dries out, while the melted butter carries garlic, parsley, thyme, rosemary, and lemon straight into the meat as it cooks. Basting once halfway through does more than look nice — it redistributes the fat and keeps the top from baking up pale and sealed off.
Below, I’ll walk through the small choices that matter here, like how to season the chicken so the flavor isn’t all sitting on the surface and how to tell when it’s done without slicing into it early. There’s also a few smart swaps if you need to work with what’s already in your kitchen.
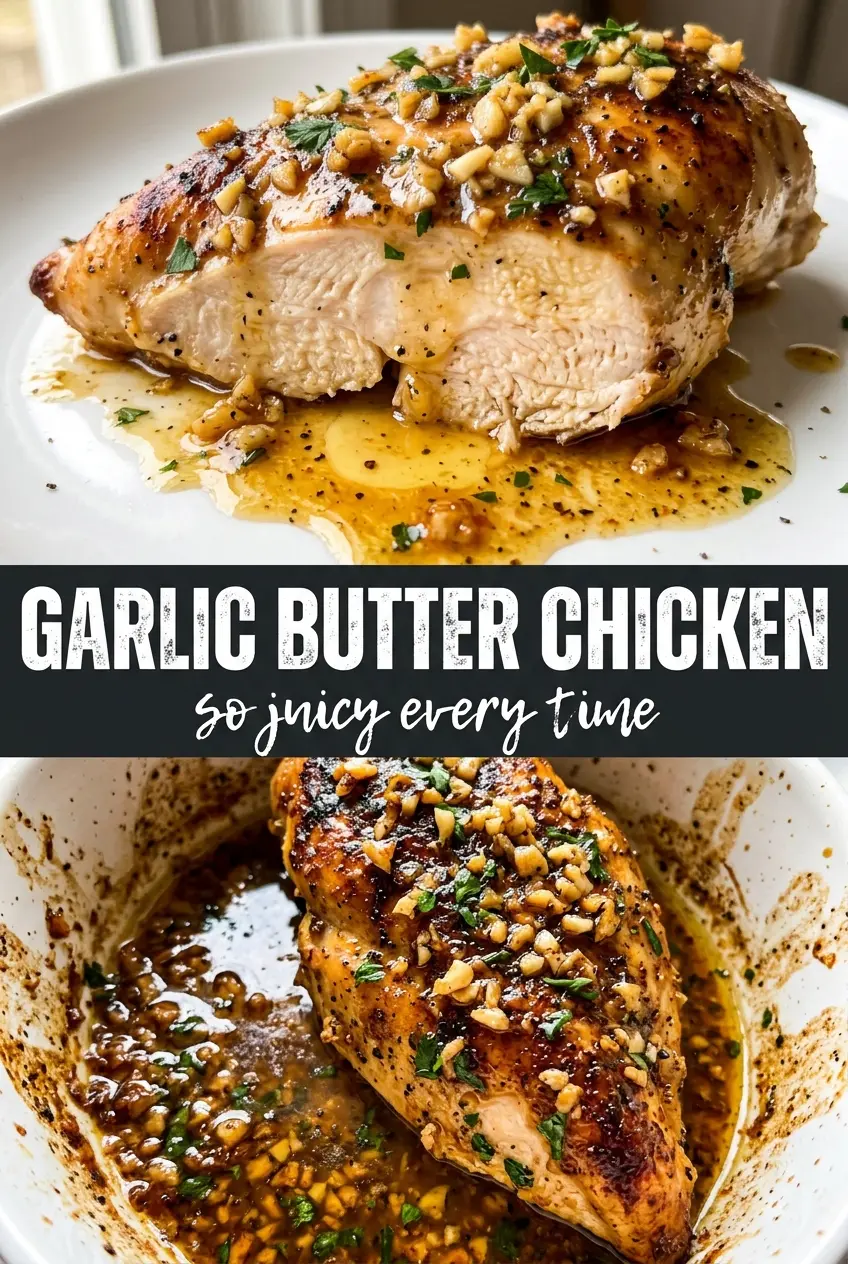
The butter sauce pooled under the chicken and kept everything moist, and the lemon at the end made the garlic and herbs taste fresh instead of heavy.
Garlic butter baked chicken breast with those golden pan juices is the kind of weeknight dinner worth keeping close.
The Difference Between Juicy Chicken and Dry Chicken Starts Before the Oven
Chicken breast dries out when the outside races ahead of the center. That’s why this recipe leans on a hot oven, a generous butter coating, and a short cook time instead of a long bake. The butter helps protect the surface, and the pan juices keep the meat basting in its own flavor as it cooks.
The other mistake is under-seasoning the chicken itself and expecting the butter to do all the work. It won’t. A good layer of salt, pepper, garlic powder, and smoked paprika on both sides gives the meat its backbone, while the herb butter finishes it with something richer and more aromatic.
- Chicken breasts — Use evenly sized pieces if you can. If one breast is much thicker than the others, pound the thick end lightly so everything cooks at the same pace.
- Butter — This is what carries the garlic and herbs and keeps the chicken from baking up dull. Salted or unsalted both work, but if you use salted butter, ease up a bit on the seasoning.
- Lemon juice — A small splash keeps the butter from tasting heavy. Fresh lemon matters here because bottled juice can taste flat after baking.
- Fresh herbs — Parsley, thyme, and rosemary bring the dish to life. Dried herbs work in a pinch, but cut the amount by about two-thirds and crush the rosemary well so it doesn’t stay pokey and tough.
What to Do So the Butter Browns Without Burning the Garlic
First, season the chicken before it ever goes into the dish. That layer on the meat matters more than people think, because butter on top won’t season all the way through. When you mix the melted butter with garlic and herbs, stir just until combined; you’re not cooking the garlic here, just coating it so it can perfume the chicken in the oven.
Once the chicken is in the baking dish, spoon the butter mixture over the top and let some of it collect underneath. That pool is the whole point. Halfway through baking, baste with the pan juices so the top stays glossy and the herbs don’t dry out. Pull it when the thickest part hits 165°F, then let it rest for 5 minutes so the juices settle back into the meat instead of running onto the cutting board.
- Herb butter — This is the flavor engine. If you need to stretch it, add a teaspoon of olive oil, but don’t replace the butter entirely or you’ll lose the richness that makes the pan juices worth spooning over the chicken.
- Smoked paprika — It adds color and a little warmth without making the dish taste smoky in a heavy way. Regular paprika works too, but you’ll lose that subtle roasted edge.
- Garlic — Fresh minced garlic gives the best aroma here. Garlic powder can’t match it, but you can add 1 teaspoon garlic powder to the seasoning mix if your cloves are tiny or not very strong.
- Lemon wedges — Serve them on the side, not in the pan. A squeeze right before eating brightens the butter and keeps the dish from tasting one-note.
Building the Herb Butter So It Bakes Into the Chicken, Not Off the Side
Season the Chicken First
Lay the chicken breasts in the baking dish and season both sides before adding any butter. The seasoning clings better to the dry surface, and that keeps the chicken from tasting like it was only brushed on top. If the breasts are very thick, press them gently so the center isn’t much taller than the edges; that keeps the bake even and prevents dry outer layers.
Mix the Butter Just Until It Looks Even
Stir the melted butter with garlic, parsley, thyme, rosemary, and lemon juice until the herbs are evenly suspended. Don’t overwork it or let it sit too long while melted, because the garlic can settle and the herbs can clump. You want the mixture pourable so it coats the chicken in a thin, even layer.
Baste at the Halfway Mark
When the chicken has baked about halfway, spoon the pan juices back over the tops. That’s the moment that keeps the surface from drying out and helps the herbs stick where they belong. If the butter looks a little separated in the pan, that’s fine; the spooning action brings it back together enough for a glossy finish.
Rest Before Serving
Let the chicken sit for 5 minutes after it comes out of the oven. If you cut it right away, the juices spill out and the center can look drier than it really is. Resting gives you cleaner slices and keeps the sauce in the pan where it belongs, ready to spoon over the top.
How to Adapt This for What’s in Your Kitchen
Dairy-Free Version
Swap the butter for a good dairy-free butter substitute that melts smoothly. You’ll still get a rich pan sauce, though it won’t have quite the same round, buttery finish as the original.
Use Dried Herbs When Fresh Aren’t Available
Use about one-third the amount of dried herbs, since they’re more concentrated. Crush the rosemary with your fingers before adding it so the pieces soften in the butter and don’t feel woody on the chicken.
For Thicker Chicken Breasts
If your breasts are especially large, pound them to an even thickness or slice them in half horizontally. That helps them cook through before the garlic butter dries out, and it keeps the outside from getting tough.
Make It Lower-Carb Friendly Without Changing the Dish
The recipe already fits a low-carb meal as written. Serve it with roasted vegetables, cauliflower mash, or a simple salad so you keep the garlic butter sauce front and center without adding anything that dulls it.
Storage and Reheating
- Refrigerator: Store leftovers in an airtight container for up to 4 days. The sauce will firm up when chilled, which is normal.
- Freezer: It freezes well for about 2 months, though the butter sauce may separate a little after thawing. Freeze the chicken with some of the pan juices and thaw overnight in the refrigerator.
- Reheating: Reheat covered at 325°F with a spoonful of the pan juices or a splash of water so the chicken doesn’t dry out. The common mistake is blasting it in the microwave until the edges turn rubbery.
Questions I Get Asked About This Recipe
Garlic Butter Baked Chicken Breast
Ingredients
Equipment
Method
- Preheat the oven to 425°F and lightly grease a baking dish so the chicken releases easily after baking.
- Pat the chicken breasts dry, then season both sides with salt, pepper, garlic powder, and smoked paprika until evenly coated.
- Melt the butter, then stir in the minced garlic, parsley, thyme, rosemary, and lemon juice until combined and fragrant.
- Place the seasoned chicken in the prepared dish, then pour the garlic herb butter over each breast and coat thoroughly.
- Bake for 20 to 25 minutes, basting once at the halfway point with the pan juices, until the surface is golden and the chicken reaches an internal temperature of 165°F.
- Rest the chicken for 5 minutes so the juices redistribute, then serve with pan juices spooned over and lemon wedges alongside.