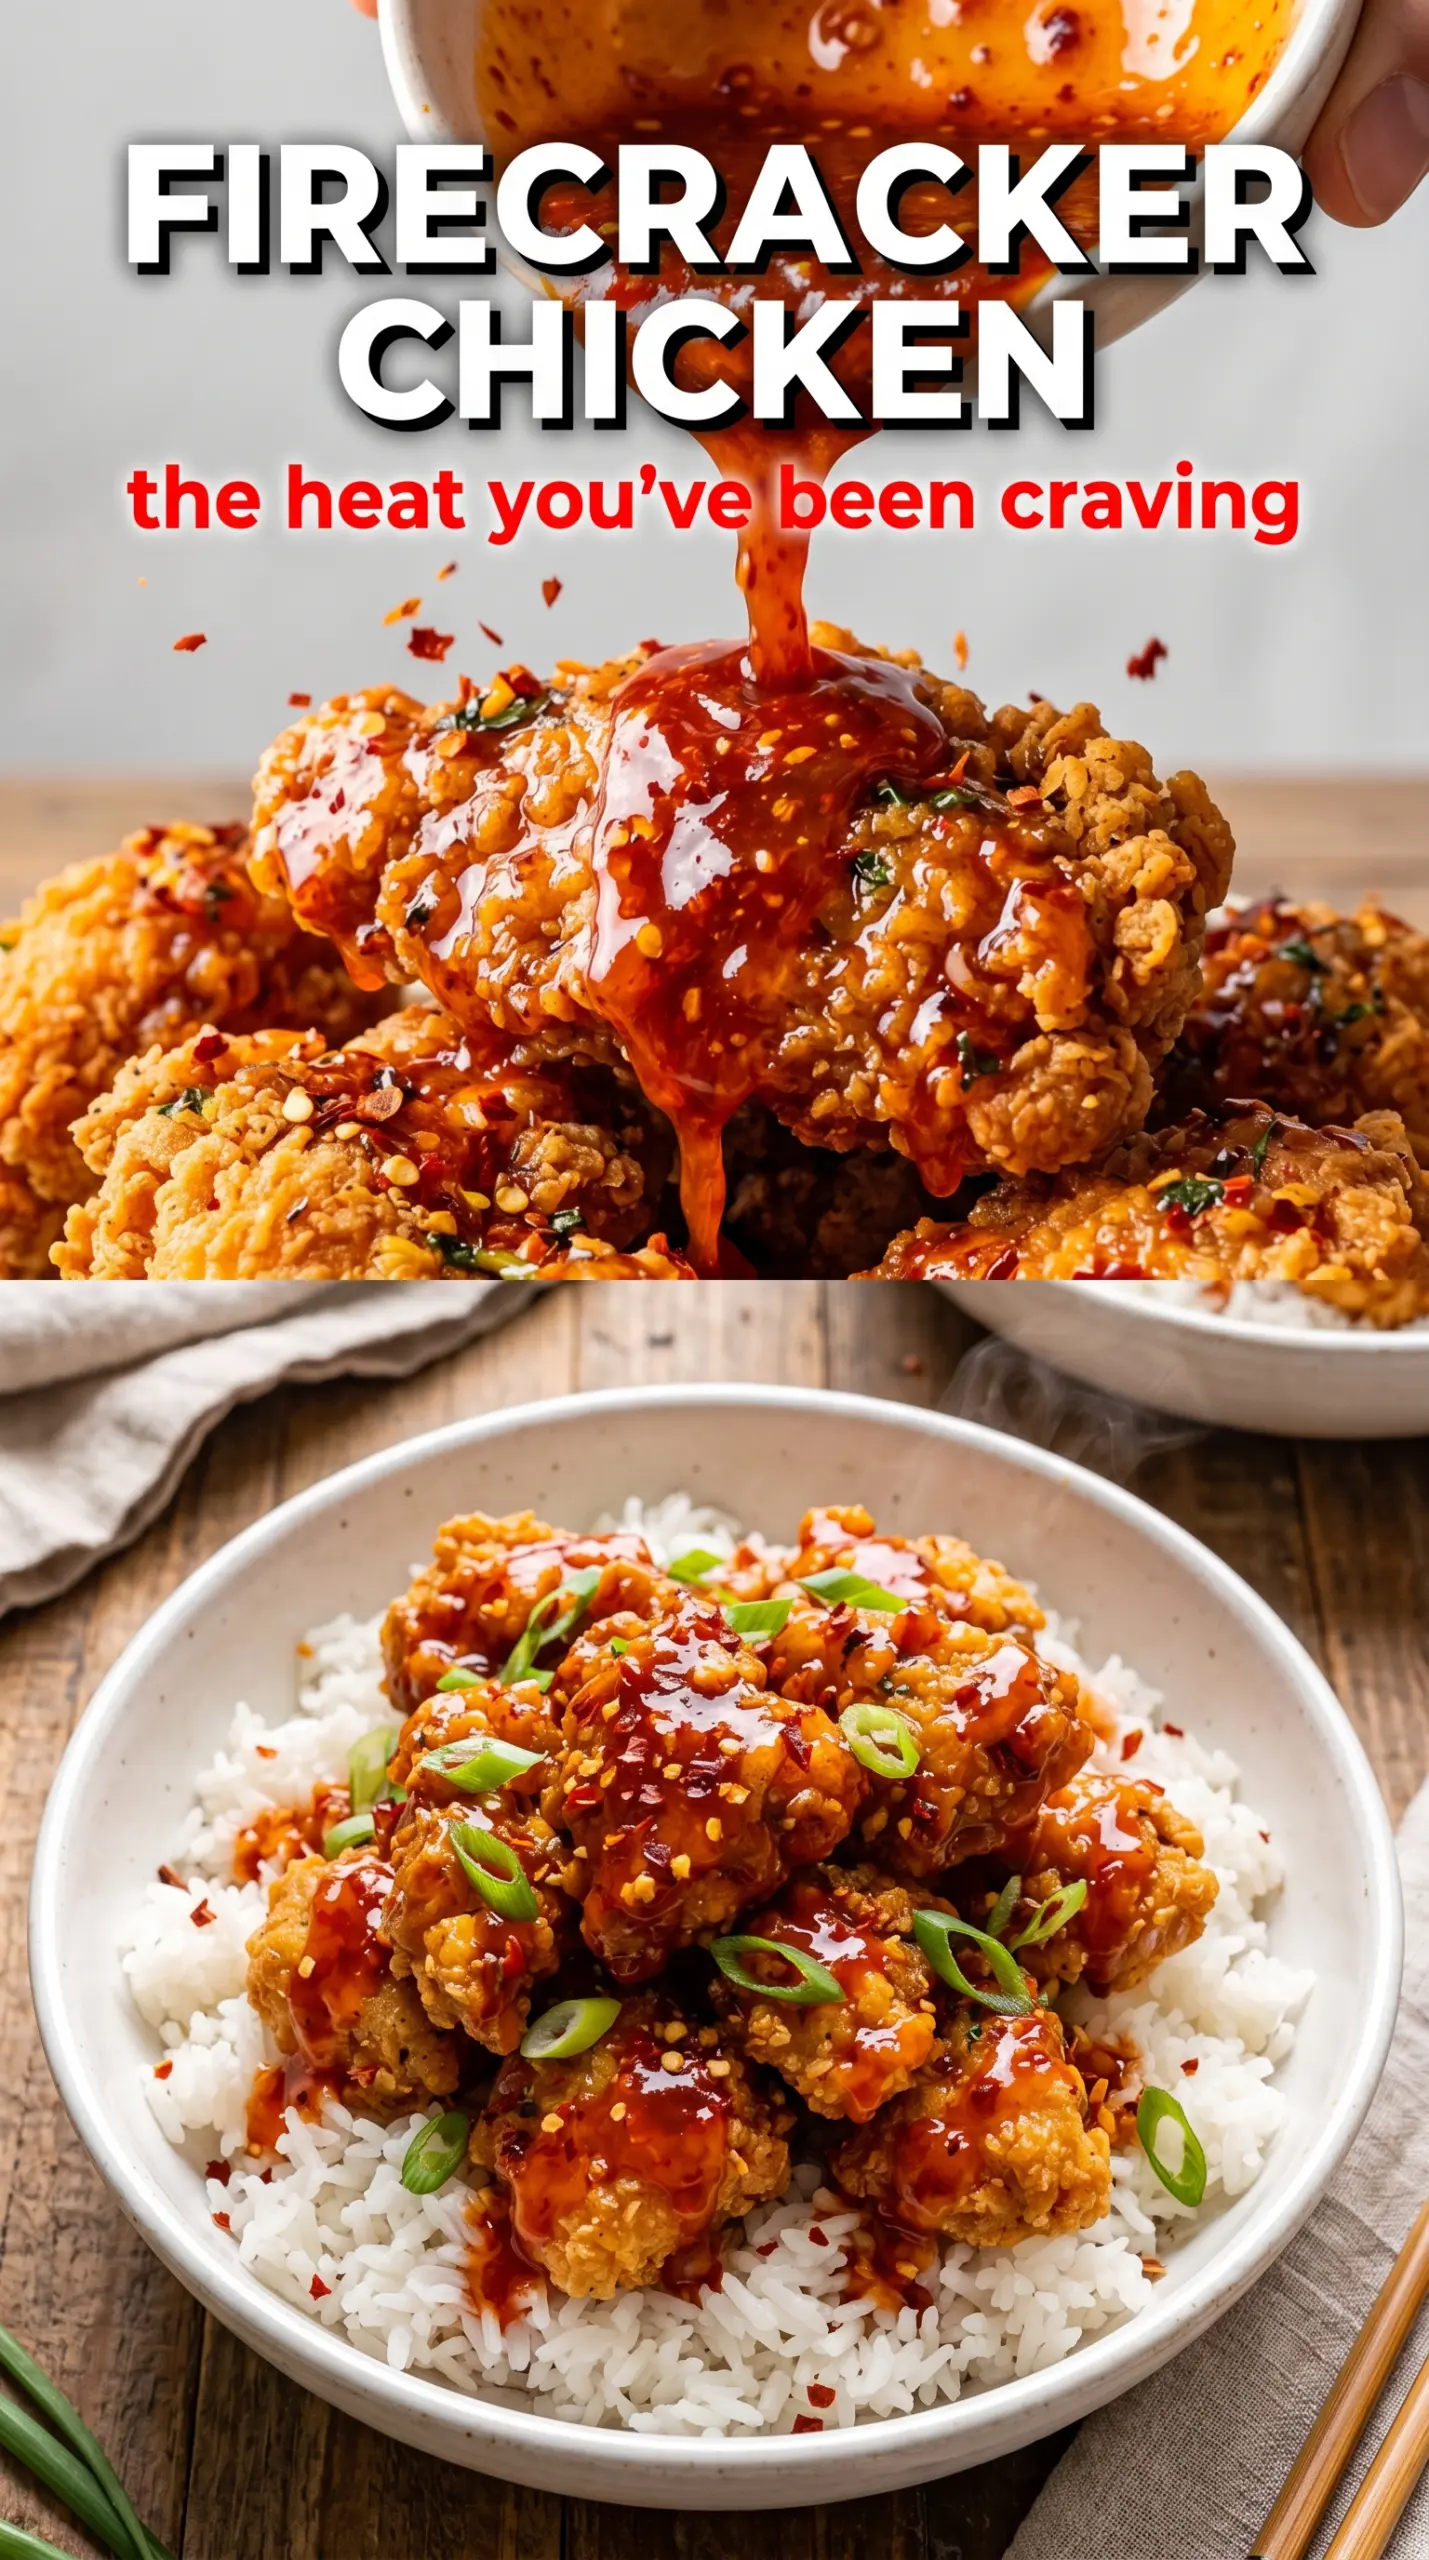
Crispy chicken bites wrapped in a sticky red-orange glaze earn their place on repeat fast. The coating stays light and crackly under the sauce, and the sauce itself lands in that sweet-spicy middle ground that keeps people reaching back for one more piece. It’s the kind of dinner that tastes like it took more effort than it did.
The trick is in the order. The chicken gets a dry coating first, which gives you that rough surface the sauce can cling to instead of sliding off. Then the sauce cooks just long enough to turn glossy and lightly thickened before the chicken goes back in for a short caramelizing finish. If you rush that last part, the sauce stays thin. If you overdo it, the coating softens too much.
Below you’ll find the small details that matter most: how hot the oil should be, when the sauce is ready, and how to adjust the heat without throwing off the balance. Those are the places where this dish either stays crisp and bold or turns limp and muddy.
The sauce turned sticky and glossy just like you said, and the chicken stayed crisp even after tossing it twice. I used the lower end of the red pepper flakes and it still had a nice kick without overwhelming the brown sugar.
Crispy firecracker chicken tastes best when the sauce stays glossy and the coating still has some crunch, so this is the one to pin for a quick sweet-heat dinner over rice.
The Coating Has to Stay Dry Enough to Crisp, Not Cement the Chicken
The biggest mistake with firecracker chicken is letting the coating turn pasty before it hits the oil. Cornstarch and flour work together here: the flour gives structure, and the cornstarch keeps the crust lighter and craggier. If the chicken looks like wet clumps before frying, it will fry up heavy instead of crisp.
Oil temperature matters just as much. At 375°F, the coating sets fast enough to seal the surface before the chicken starts shedding moisture into the pan. If the oil is too cool, the breading absorbs oil and goes dull. If it’s too hot, the outside browns before the center cooks.
What Each Ingredient Is Doing in the Firecracker Sauce
- Hot sauce — This is the backbone of the sauce, so use a vinegar-forward hot sauce like Frank’s RedHot for the right sharpness. A thicker chili sauce won’t taste the same here; it changes the whole balance and makes the sauce heavier.
- Brown sugar — This is what turns the heat into a sticky glaze instead of a sharp glaze. Light or dark brown sugar both work, but dark brown sugar gives a deeper molasses note and a slightly darker sauce.
- Butter — Butter smooths out the acid and helps the sauce cling to the chicken. Don’t skip it unless you’re changing the whole recipe for dairy-free cooking; otherwise the sauce tastes thinner and more aggressive.
- Apple cider vinegar — The vinegar keeps the sauce from tasting one-note sweet. If you’re out, rice vinegar is the closest swap; plain white vinegar works in a pinch but tastes a little harsher.
- Soy sauce — Just a small amount adds salt and depth without turning this into teriyaki. Use low-sodium soy sauce if that’s what you keep on hand, since the hot sauce already brings plenty of salt.
- Red pepper flakes — These give the sauce that visible firecracker look and add a second layer of heat. Start with the smaller amount if you want sweet heat, or go up to the full teaspoon for a sharper finish.
From Fry Pan to Glaze: The Part That Gives You That Sticky Finish
Coating the Chicken Evenly
Toss the chicken pieces until every side is dusty but not buried in flour. You want a thin, even layer that looks dry to the touch. If the coating feels gummy, add a little more flour and cornstarch, but stop before the pieces start looking like dough balls.
Frying Until the Crust Sets
Lay the chicken into the oil in a single layer and don’t crowd the pan. Crowding drops the oil temperature and gives you pale, soggy coating instead of crisp edges. The chicken is ready when it’s deep golden and the sound of the bubbling quiets down a little near the end.
Building the Sauce
Combine the sauce ingredients over medium heat and stir until the butter melts and the mixture turns smooth and shiny. It should look glossy and slightly syrupy, not thick like caramel. If the sauce looks broken or greasy, the heat was too high; pull it down and keep stirring until it comes back together.
Tossing and Caramelizing
Add the chicken to the sauce and coat every piece quickly. Then return it to the pan for a short finish so the sauce tightens onto the crust instead of pooling underneath. That last minute or two is where the glaze goes from good to clinging in all the right places.
Bake It Instead of Frying
Toss the coated chicken with a little oil and bake it on a wire rack at 425°F until crisp and cooked through. The texture won’t be quite as shattery as fried chicken, but you still get a good crust, and the sauce clings well if you return the chicken to the pan only long enough to glaze it.
Make It Dairy-Free
Swap the butter for a neutral dairy-free butter substitute or use a little more oil plus a splash of water to help the sauce emulsify. You’ll lose a bit of richness, but the heat, sweetness, and glossy finish still come through.
Lower the Heat Without Losing the Sweet Spot
Cut the red pepper flakes in half and keep the hot sauce amount the same. That keeps the sauce tangy and sticky while softening the burn, which is the better move than reducing the sugar and flattening the whole dish.
Storage and Reheating
- Refrigerator: Store leftovers for up to 3 days. The coating softens as it sits, but the flavor stays strong.
- Freezer: Freeze the fried chicken pieces and sauce separately if you want the best result. The sauced chicken freezes poorly because the crust loses its texture once thawed.
- Reheating: Reheat the chicken in a 400°F oven or air fryer until hot and re-crisped, then warm the sauce separately and toss them together at the end. Microwaving turns the coating limp and makes the glaze slide off.
Questions I Get Asked About This Recipe
Firecracker Chicken
Ingredients
Equipment
Method
- Toss the chicken pieces with cornstarch, flour, salt, pepper, and garlic powder until every piece looks evenly coated. Rest the coated chicken for 20 minutes so the coating clings better.
- Heat vegetable oil in a Dutch oven or cast iron skillet to 375°F. The oil should be hot enough to sizzle when a coated piece is added.
- Fry the chicken in 1/2 inch of oil for 3-4 minutes per side until the exterior is golden and the chicken is cooked through. Flip once when the underside turns a deep golden color.
- Drain the fried chicken briefly so excess oil doesn’t thin the sauce. Transfer to a sheet pan in a single layer.
- Combine hot sauce, brown sugar, butter, apple cider vinegar, soy sauce, garlic powder, and red pepper flakes in a saucepan over medium heat. Stir until the butter melts and the sauce turns smooth and glossy, about 2-3 minutes.
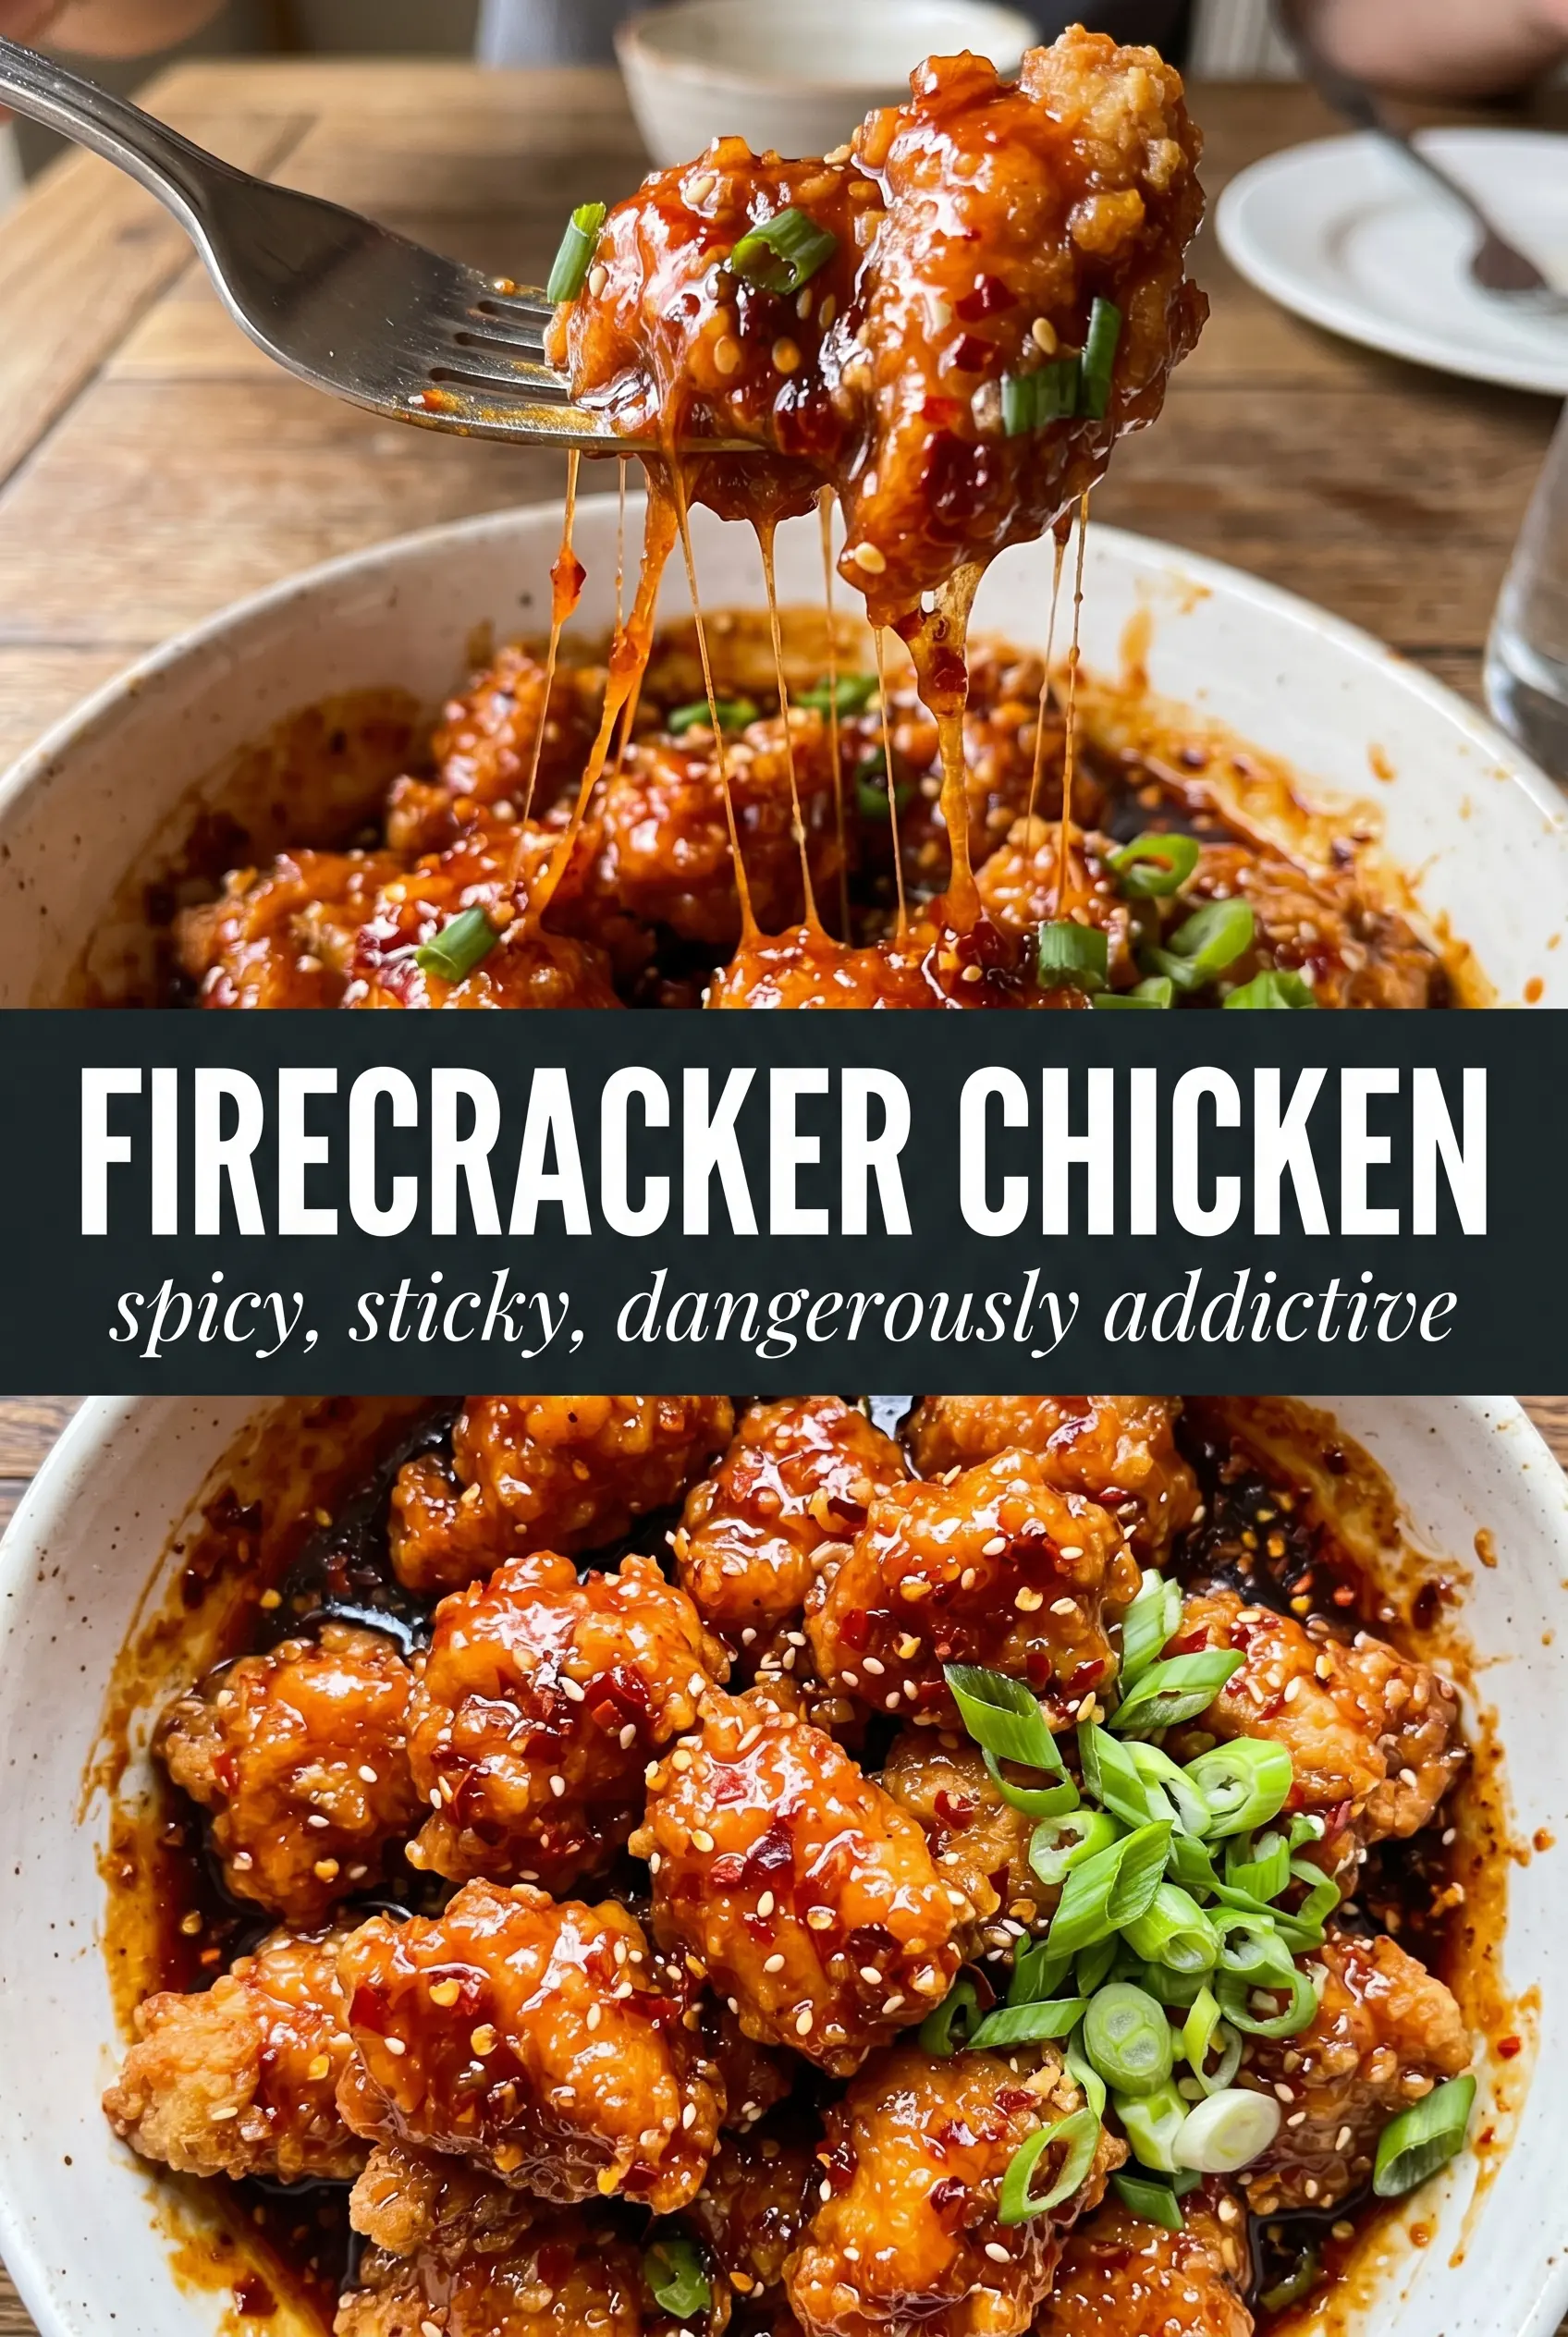
- Toss the crispy chicken in the firecracker sauce until every piece is fully coated and glows vivid red-orange. The visible red pepper flakes should distribute across the glossy coating.
- Return the sauced chicken to the pan and cook for 1-2 minutes to caramelize the coating. Watch for thicker sauce clinging to the chicken instead of running off.
- Serve the firecracker chicken over steamed rice. Finish with sesame seeds and sliced green onions so the top looks speckled and fresh.