Shatteringly crisp panko crust, juicy chicken, and a deep golden finish make these chicken breasts worth keeping in regular dinner rotation. The coating bakes up light and crunchy instead of dense, so every bite has that brittle, airy crunch you want from breaded chicken without a skillet full of oil.
The trick is in the setup: even-thickness chicken breasts cook at the same pace, the flour helps the egg cling, and the Parmesan mixed into the panko adds salty depth while helping the crust bronze in the oven. A final drizzle or spray of olive oil gives the breadcrumbs the heat they need to toast into that tall, crackly shell.
Below, you’ll find the small details that keep the crust from slipping, the best way to season each layer, and a few swaps that still keep the coating crisp.
The crust stayed crunchy all the way through baking, and the Parmesan gave it this salty, toasted edge that made it taste like restaurant chicken. I used the wire rack and the bottom never got soggy.
Save these crispy panko crusted chicken breasts for the nights when you want a crackly oven-baked crust without frying.
The Part That Stops the Crust From Going Flat
Panko behaves differently than regular breadcrumbs. It’s lighter, dryer, and fuller in texture, which is exactly why it bakes up with that dramatic crunch instead of turning into a tight, sandy coating. The one thing that ruins it is moisture on the chicken before breading or a pan that traps steam underneath. That’s why the rack matters. Air has to move around the chicken so the bottom sets at the same pace as the top.
Pressing the crumbs on firmly is just as important as the oven temperature. If the coating looks shaggy or loose before it goes in, parts of it will fall off when you flip or transfer the chicken. A hot oven at 425°F gives the Parmesan and panko enough heat to toast fast before the chicken dries out, and the olive oil or spray helps the crumbs color instead of staying pale.
- Even-thickness chicken breasts — pounding them to the same thickness keeps the thick end from drying out before the thin end is cooked. This is the difference between juicy chicken and one dry edge.
- Panko breadcrumbs — standard breadcrumbs won’t give the same airy crunch. If panko is all you have, pulse it briefly if the pieces are extra large, but don’t turn it into crumbs.
- Wire rack — this is the safeguard against soggy bottoms. If you skip it and bake directly on a sheet, the underside steams instead of crisping.
What Each Layer Is Doing Before It Hits the Oven
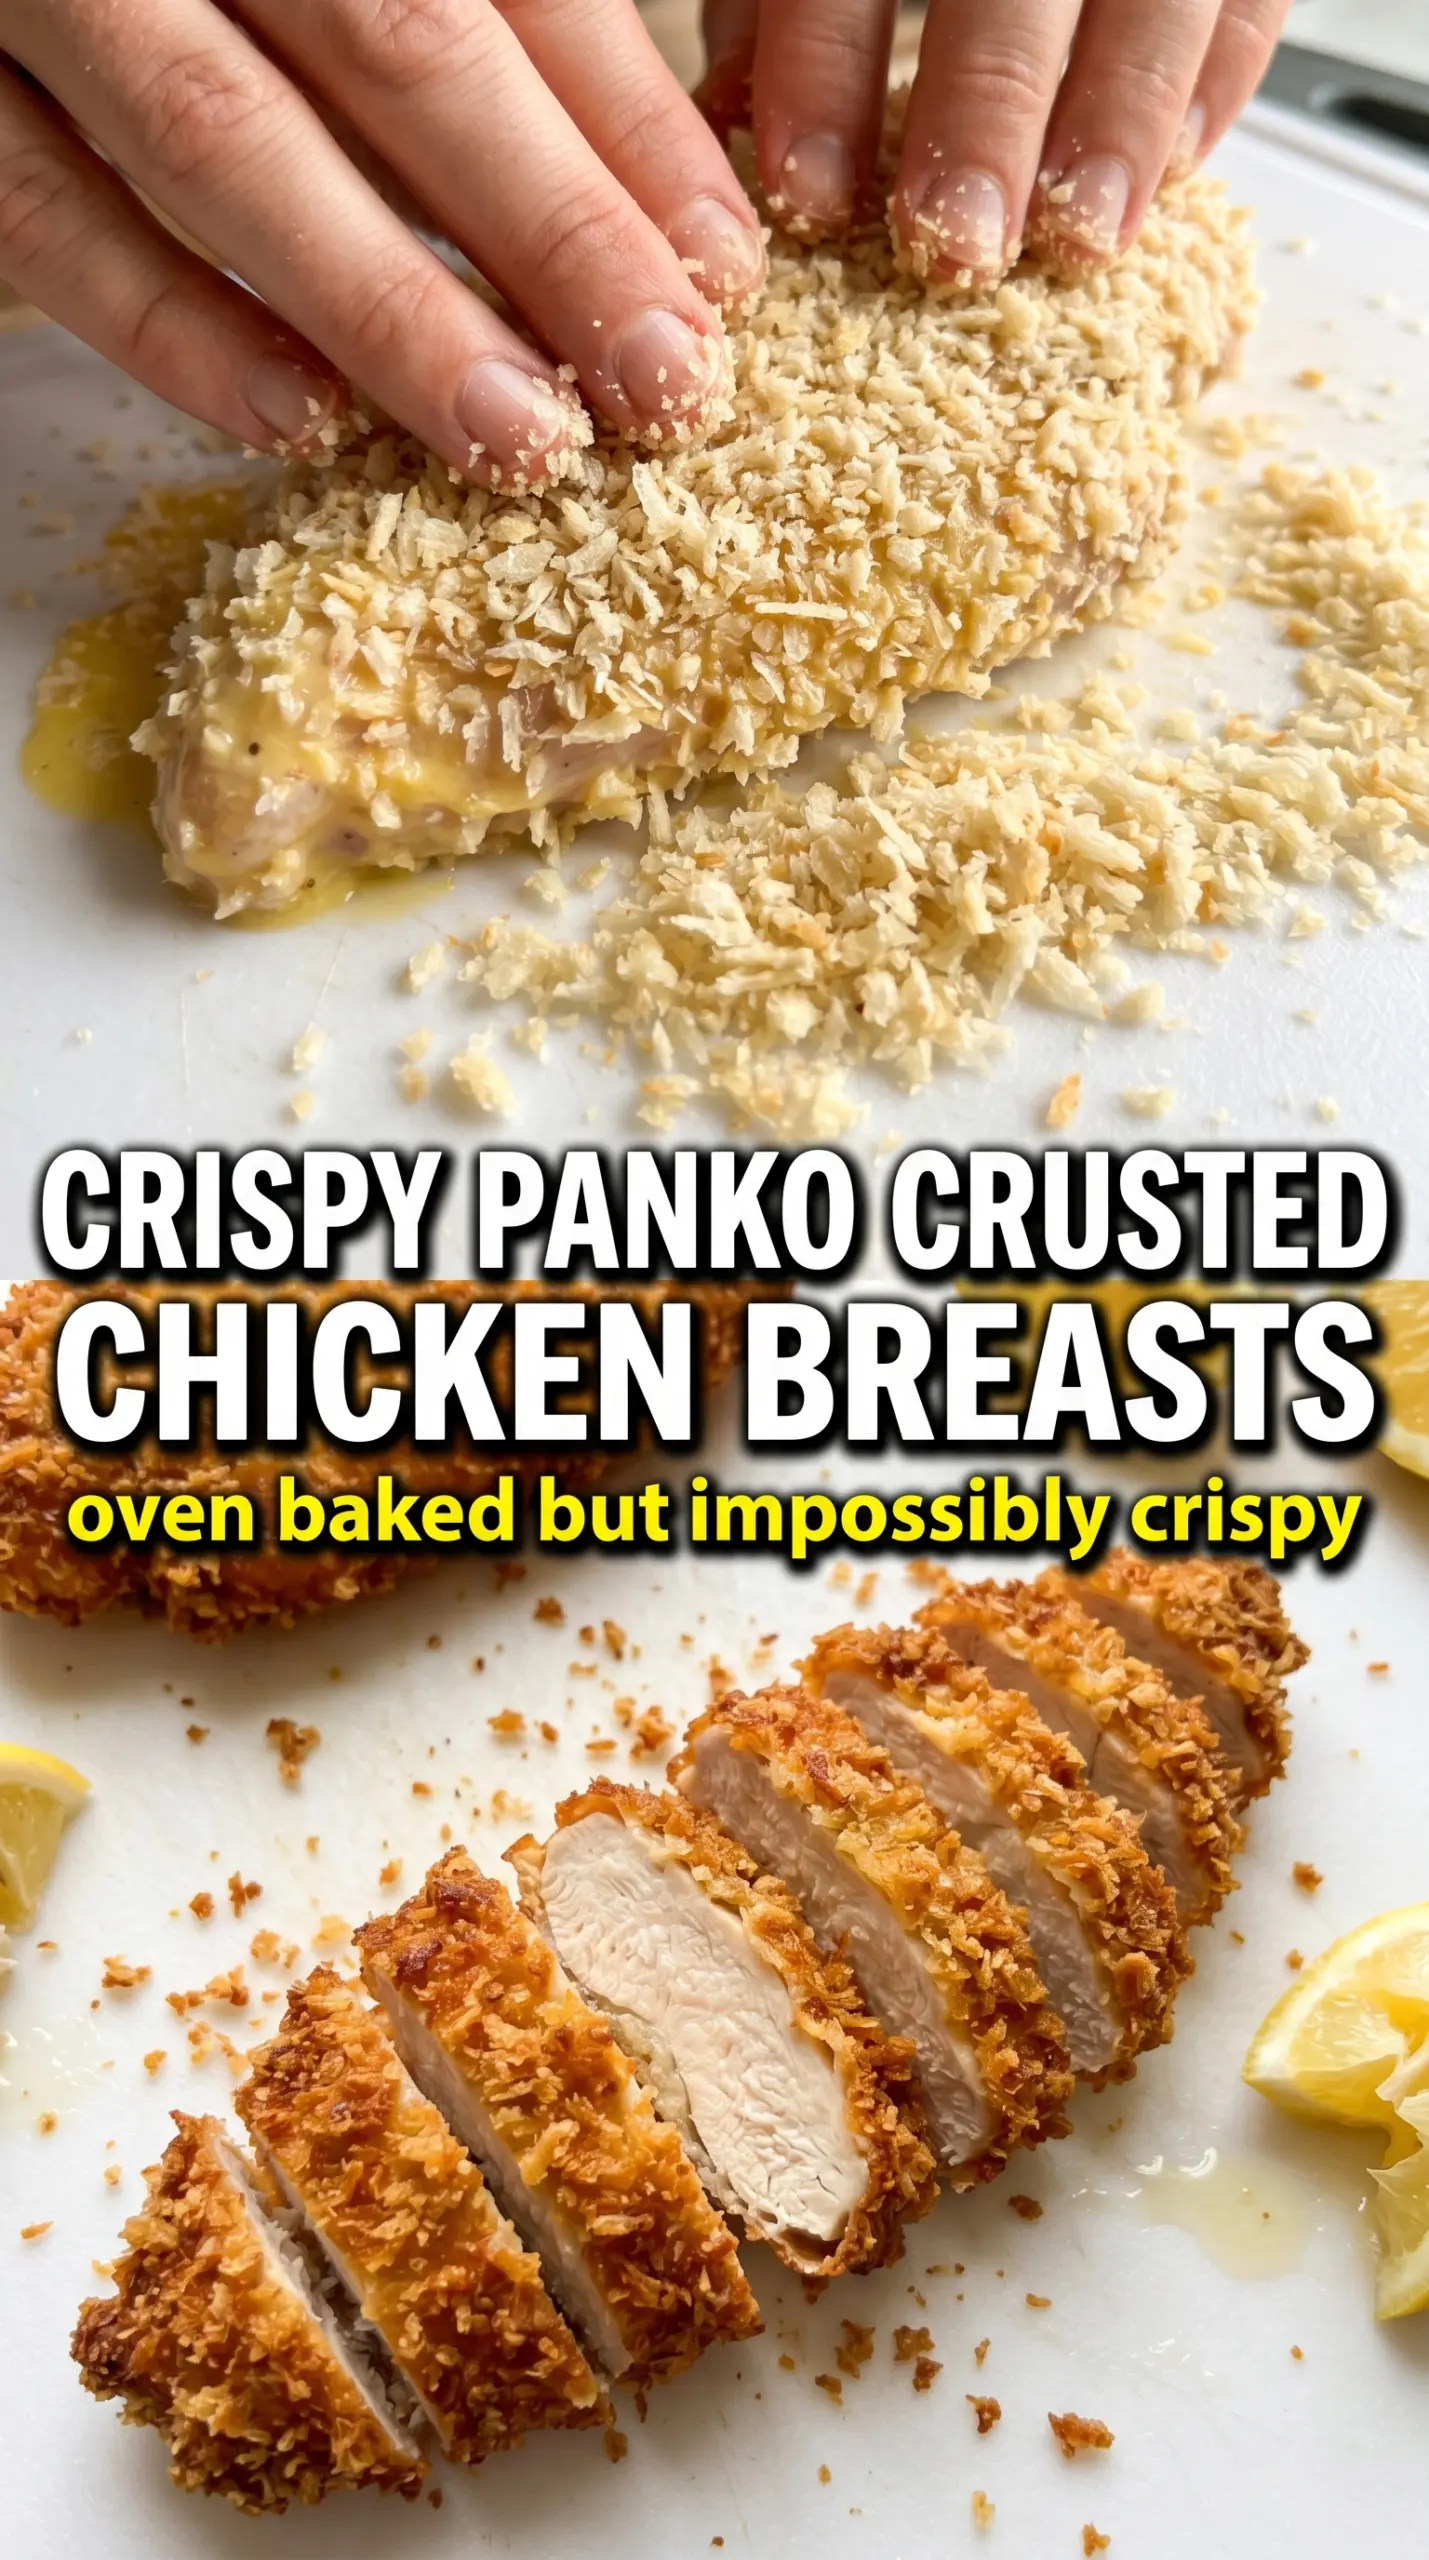
- Chicken breasts — boneless, skinless breasts are ideal here because they give you a wide surface for the crust and cook quickly. Pound them to an even thickness so they finish together instead of overcooking at the thinner edge.
- Flour — this dry layer gives the egg something to grip. Skip it and the coating can slide right off after baking.
- Egg — beaten egg acts like glue. A full, even dip matters more than a thick layer.
- Panko and Parmesan — panko makes the crust crisp; Parmesan helps it brown and adds a salty, nutty finish. Grate the cheese finely so it blends into the crumbs instead of clumping.
- Italian seasoning, garlic powder, smoked paprika — this is the seasoning that gets baked into the crust itself, which tastes better than sprinkling everything on at the end. Smoked paprika adds a little warmth without making the coating taste smoky.
- Olive oil or cooking spray — this is not optional if you want a deep bronze crust. Dry breadcrumbs stay pale; a little fat is what toasts the top into that shattery finish.
Building the Crunch in the Right Order
Setting Up the Breading Station
Lay out the flour, egg, and panko mixture in separate shallow dishes before you touch the chicken. That keeps your hands cleaner and stops the breading from turning gummy halfway through. Season the chicken itself before dredging so the meat has flavor under the crust, not just on top. If the chicken surface is wet, pat it dry first or the flour will paste up instead of coating evenly.
Pressing the Coating So It Stays Put
Drop each breast into the flour, shake off the excess, then coat it in egg and press it firmly into the panko mixture on all sides. The pressing matters more than people think; you want a visible layer of crumbs attached, not a dusting. Set each coated piece on the rack as you go and don’t stack them, or the coating on the bottom will soften before it bakes.
Baking to Deep Golden Bronze
Drizzle or spray the tops well with olive oil before they go into the oven. That fat helps the crust turn a deep golden bronze instead of a dry beige. Bake until the coating is crisp and the thickest part of the chicken reaches 165°F, usually 20 to 22 minutes depending on thickness. If the crust looks done but the chicken is still under, keep baking; undercooked chicken is not something this recipe forgives.
The Short Rest That Protects the Juices
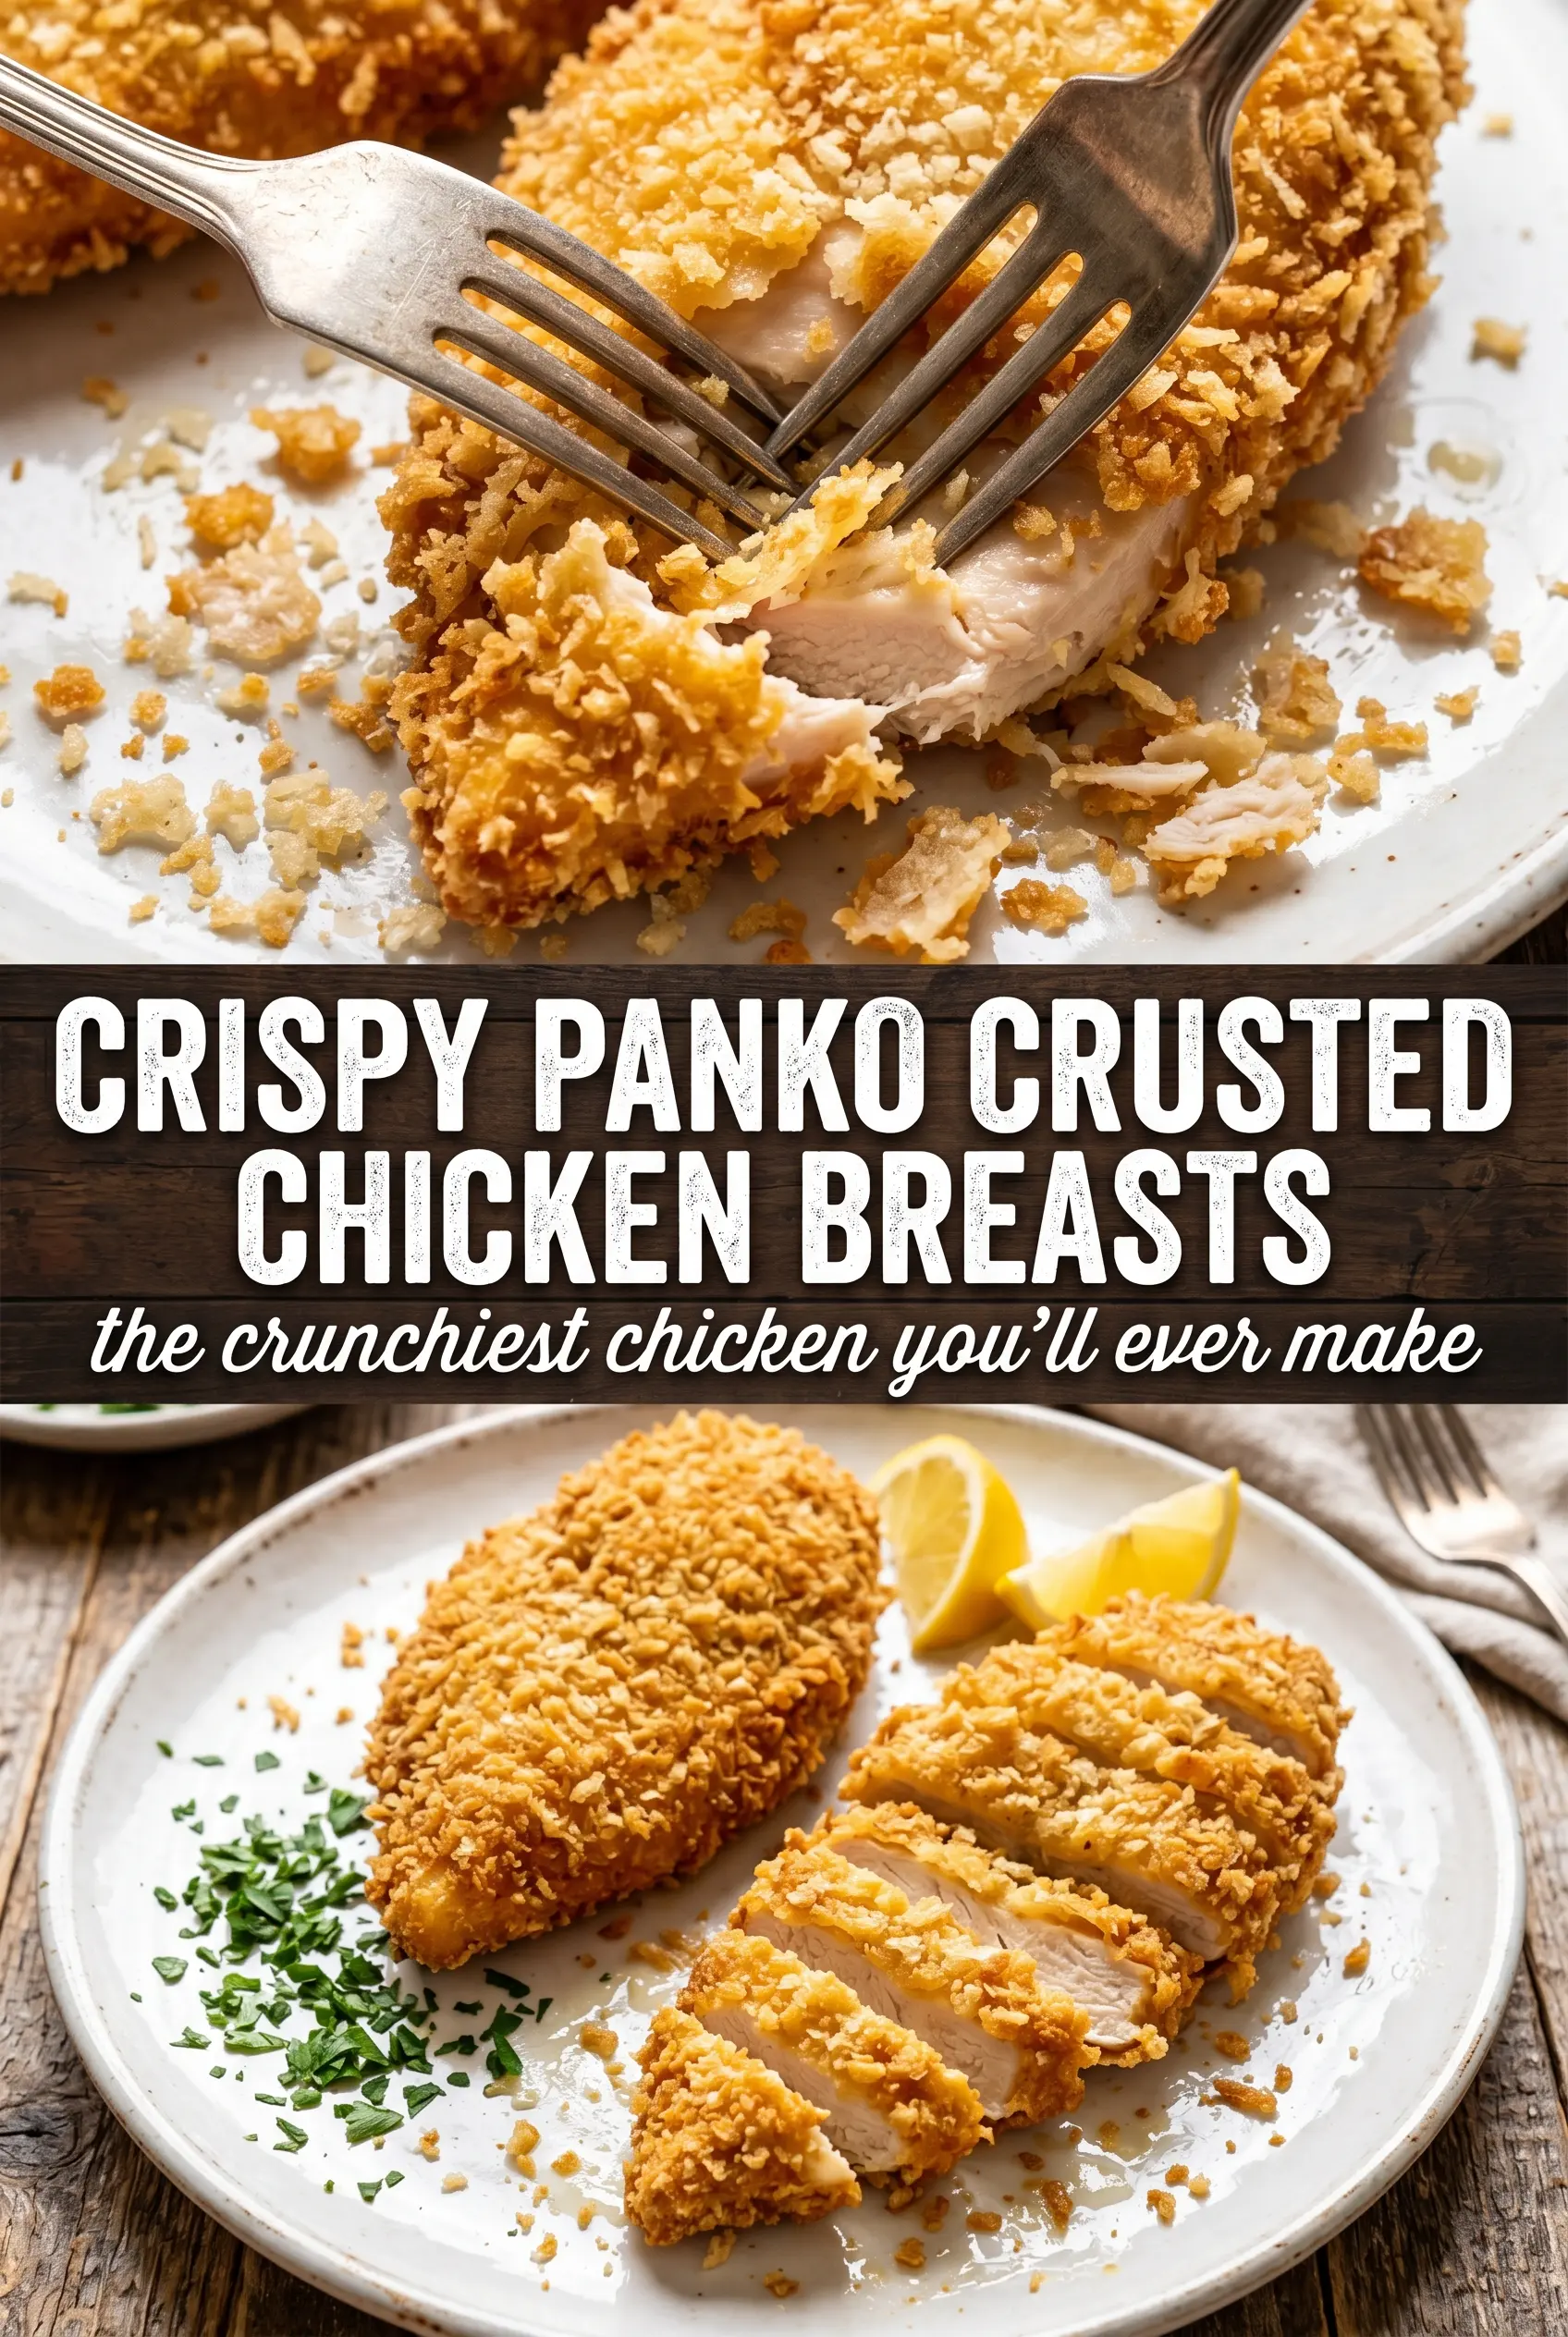
Let the chicken rest for 3 minutes before slicing. That tiny pause keeps the juices from flooding out the second the knife hits the crust. Slice too soon and the coating can soften from the steam. Finish with parsley and lemon wedges; the lemon cuts through the richness and makes the crust taste even brighter.
How to Adapt This Without Losing the Crunch
Gluten-Free Panko Chicken
Use a gluten-free flour blend for the first dredge and gluten-free panko in place of regular panko. The texture stays crisp, though some gluten-free crumbs brown a little faster, so watch the color in the last few minutes and pull the chicken once it’s deep golden, not dark.
Dairy-Free Version
Skip the Parmesan and add an extra 2 tablespoons of panko plus a little more salt. You’ll lose some of the nutty browning, but the crust still gets crunchy if you use enough oil on top.
Using Chicken Cutlets Instead
Thin cutlets cook faster, usually in 14 to 16 minutes. They’re a good choice when you want extra crust-to-chicken ratio, but they can dry out quickly if you keep them in the oven for the full time meant for thicker breasts.
Storage and Reheating
- Refrigerator: Store leftovers in an airtight container for up to 3 days. The crust softens a bit, but it holds up better than most breaded chicken.
- Freezer: Freeze after baking and cooling completely. Wrap each piece tightly, then thaw in the fridge before reheating; freezing raw breaded chicken is messier and the coating is more likely to fall off.
- Reheating: Reheat on a rack in a 375°F oven or air fryer until hot and crisp again. The biggest mistake is using the microwave, which turns the coating damp and chewy.
Answers to the Questions Worth Asking
Crispy Panko Crusted Chicken Breasts
Ingredients
Equipment
Method
- Preheat the oven to 425°F. Line a baking sheet with a wire rack and spray with cooking spray so the coating can crisp under airflow.
- Season the chicken breasts with salt, pepper, and garlic powder, then pound to even thickness if needed. Keep the seasoned chicken ready for dredging to ensure full coverage.
- Mix the panko breadcrumbs with Parmesan cheese, Italian seasoning, garlic powder, and smoked paprika. Stir until the crumbs are evenly speckled.
- Dredge each chicken breast in all-purpose flour, shaking off the excess. The dry layer helps the egg grip for a thicker crust.
- Dip the floured chicken into the beaten large eggs until coated. Let it drip briefly so the coating stays clingy, not runny.
- Press the chicken firmly into the panko mixture on all sides. Add extra crumbs if you see any gaps so the crust bakes up shatter-crunchy.
- Drizzle or spray the breaded chicken with olive oil or cooking spray, then place on the prepared rack. Arrange with space between pieces for even browning.
- Bake at 425°F for 20-22 minutes until the crust is deep golden brown and the internal temperature reaches 165°F. Look for a bronze, crisp surface that stands up above the chicken.
- Rest the chicken for 3 minutes. This short rest helps the juices settle so the crust stays crunchy when you slice.
- Garnish with fresh parsley and serve with lemon wedges. Squeeze lemon over the chicken to brighten each bite.