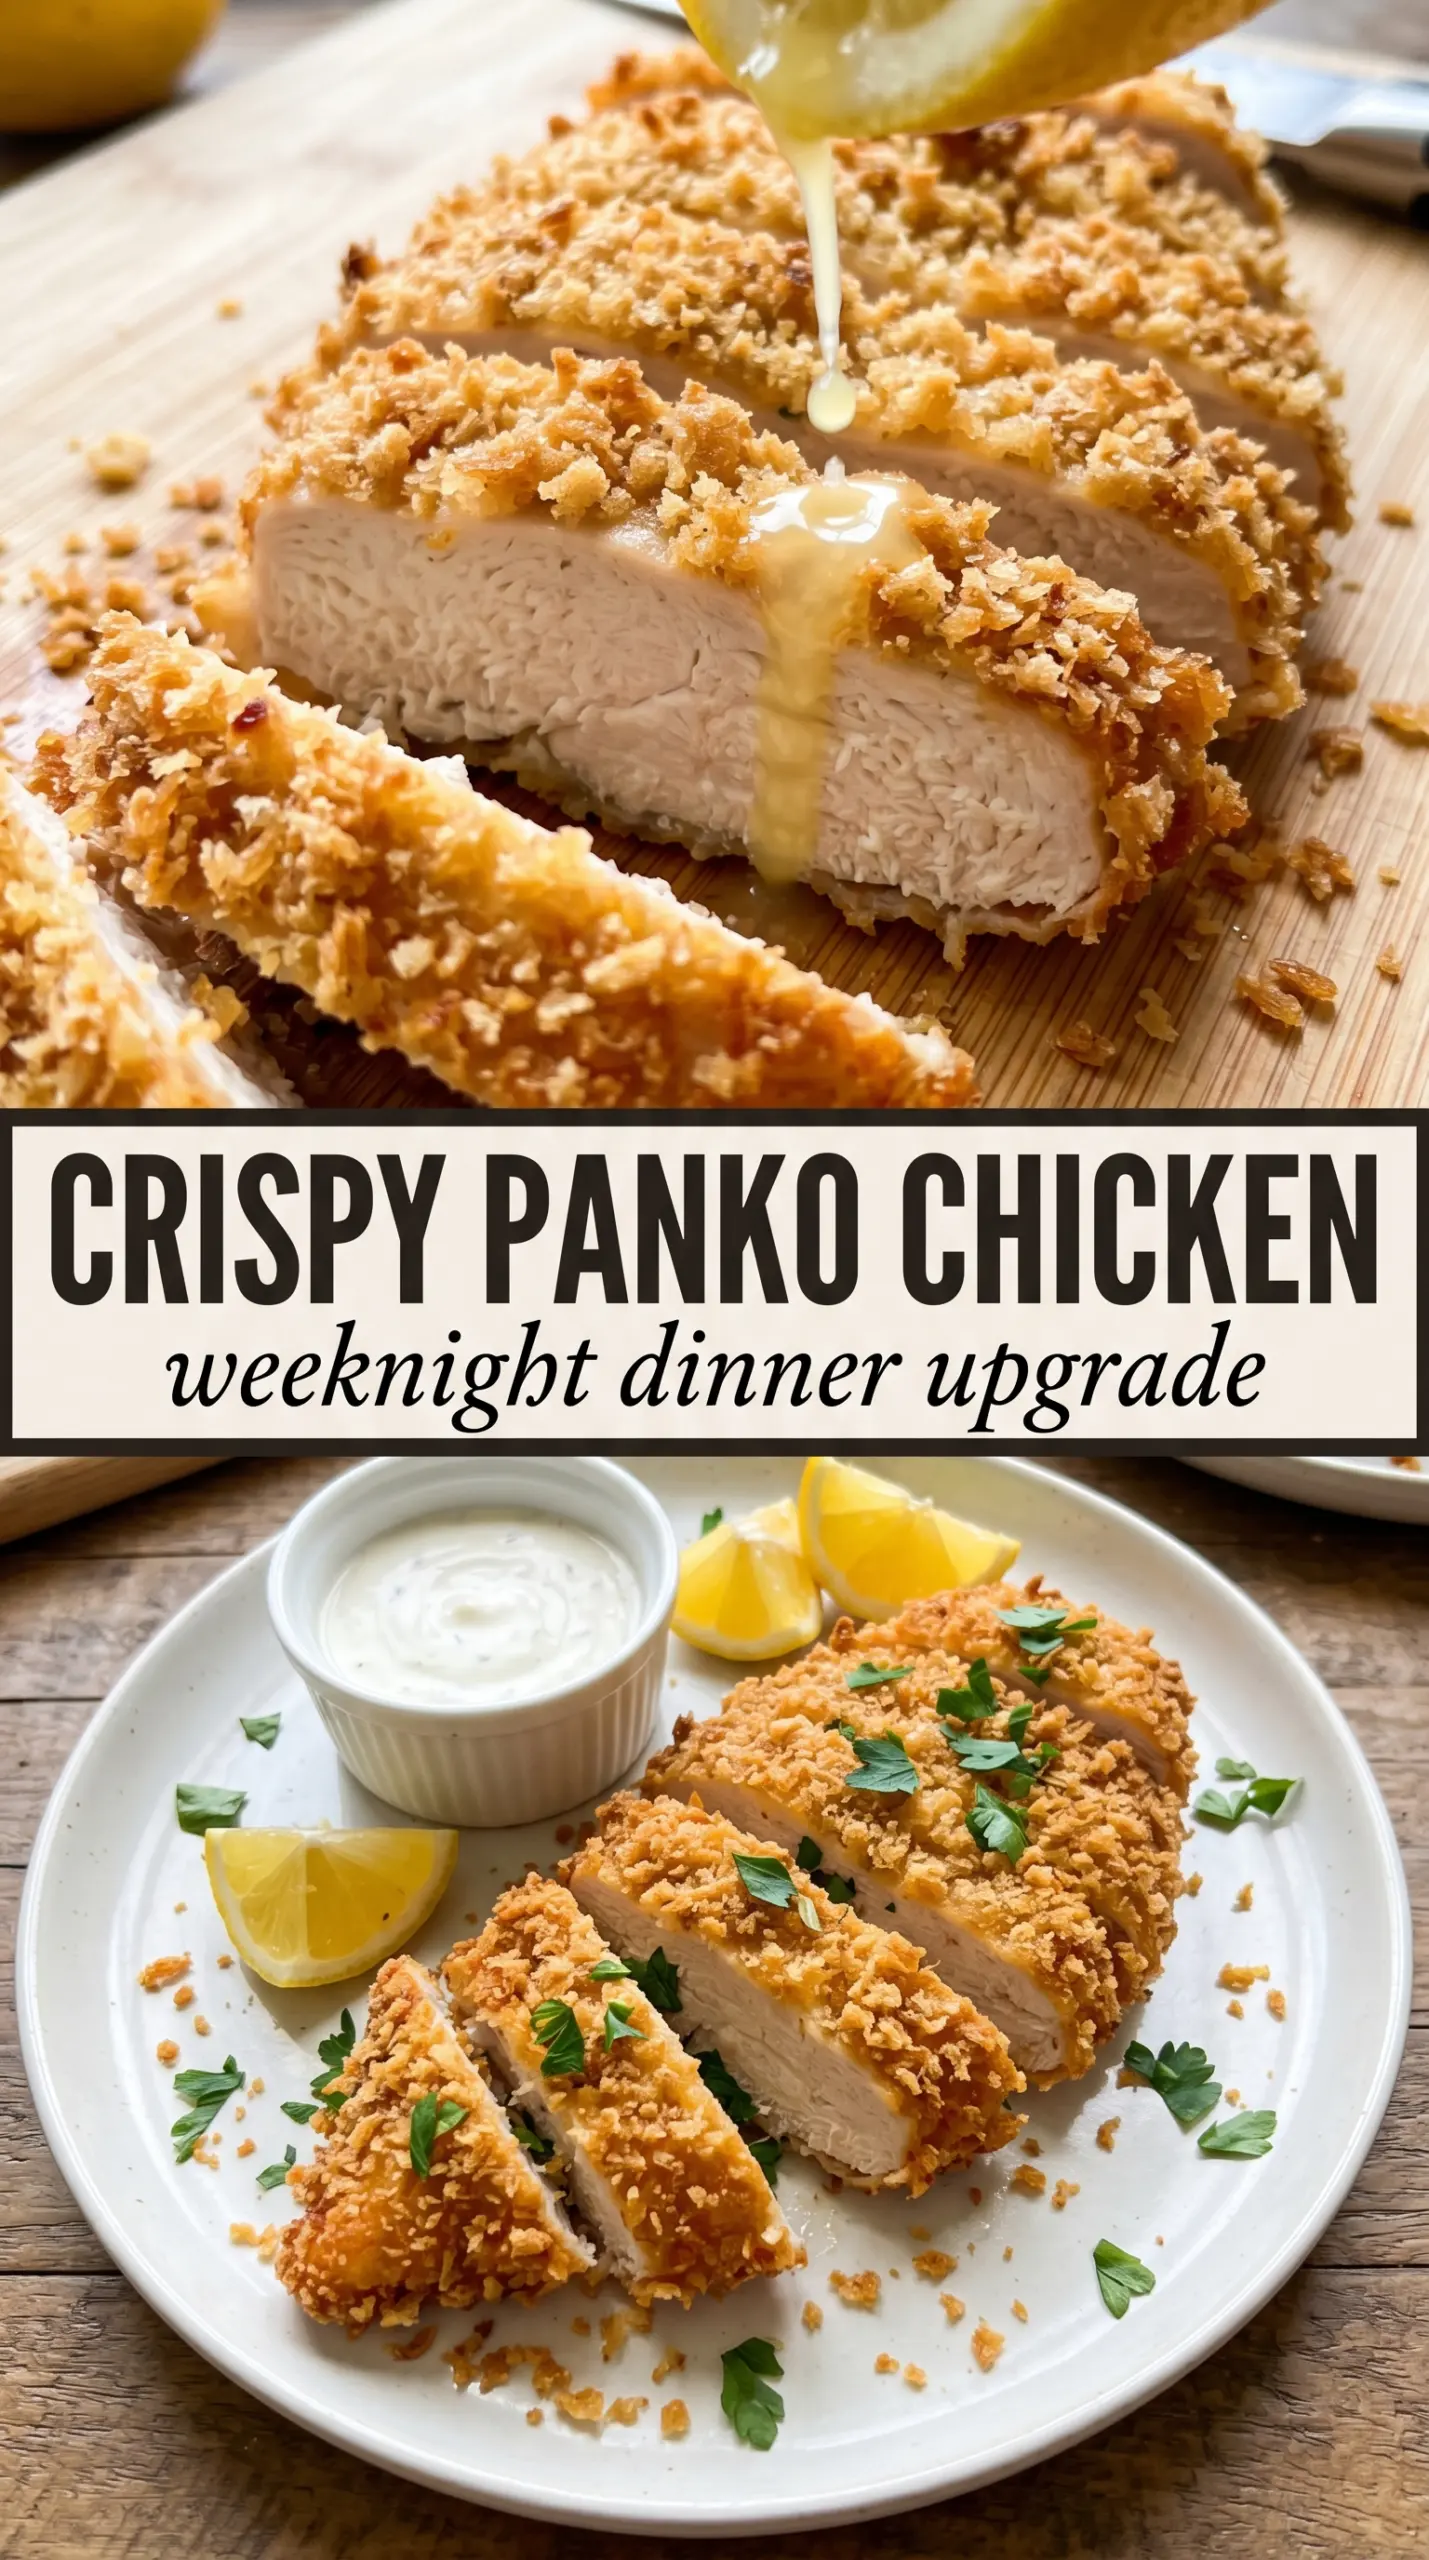
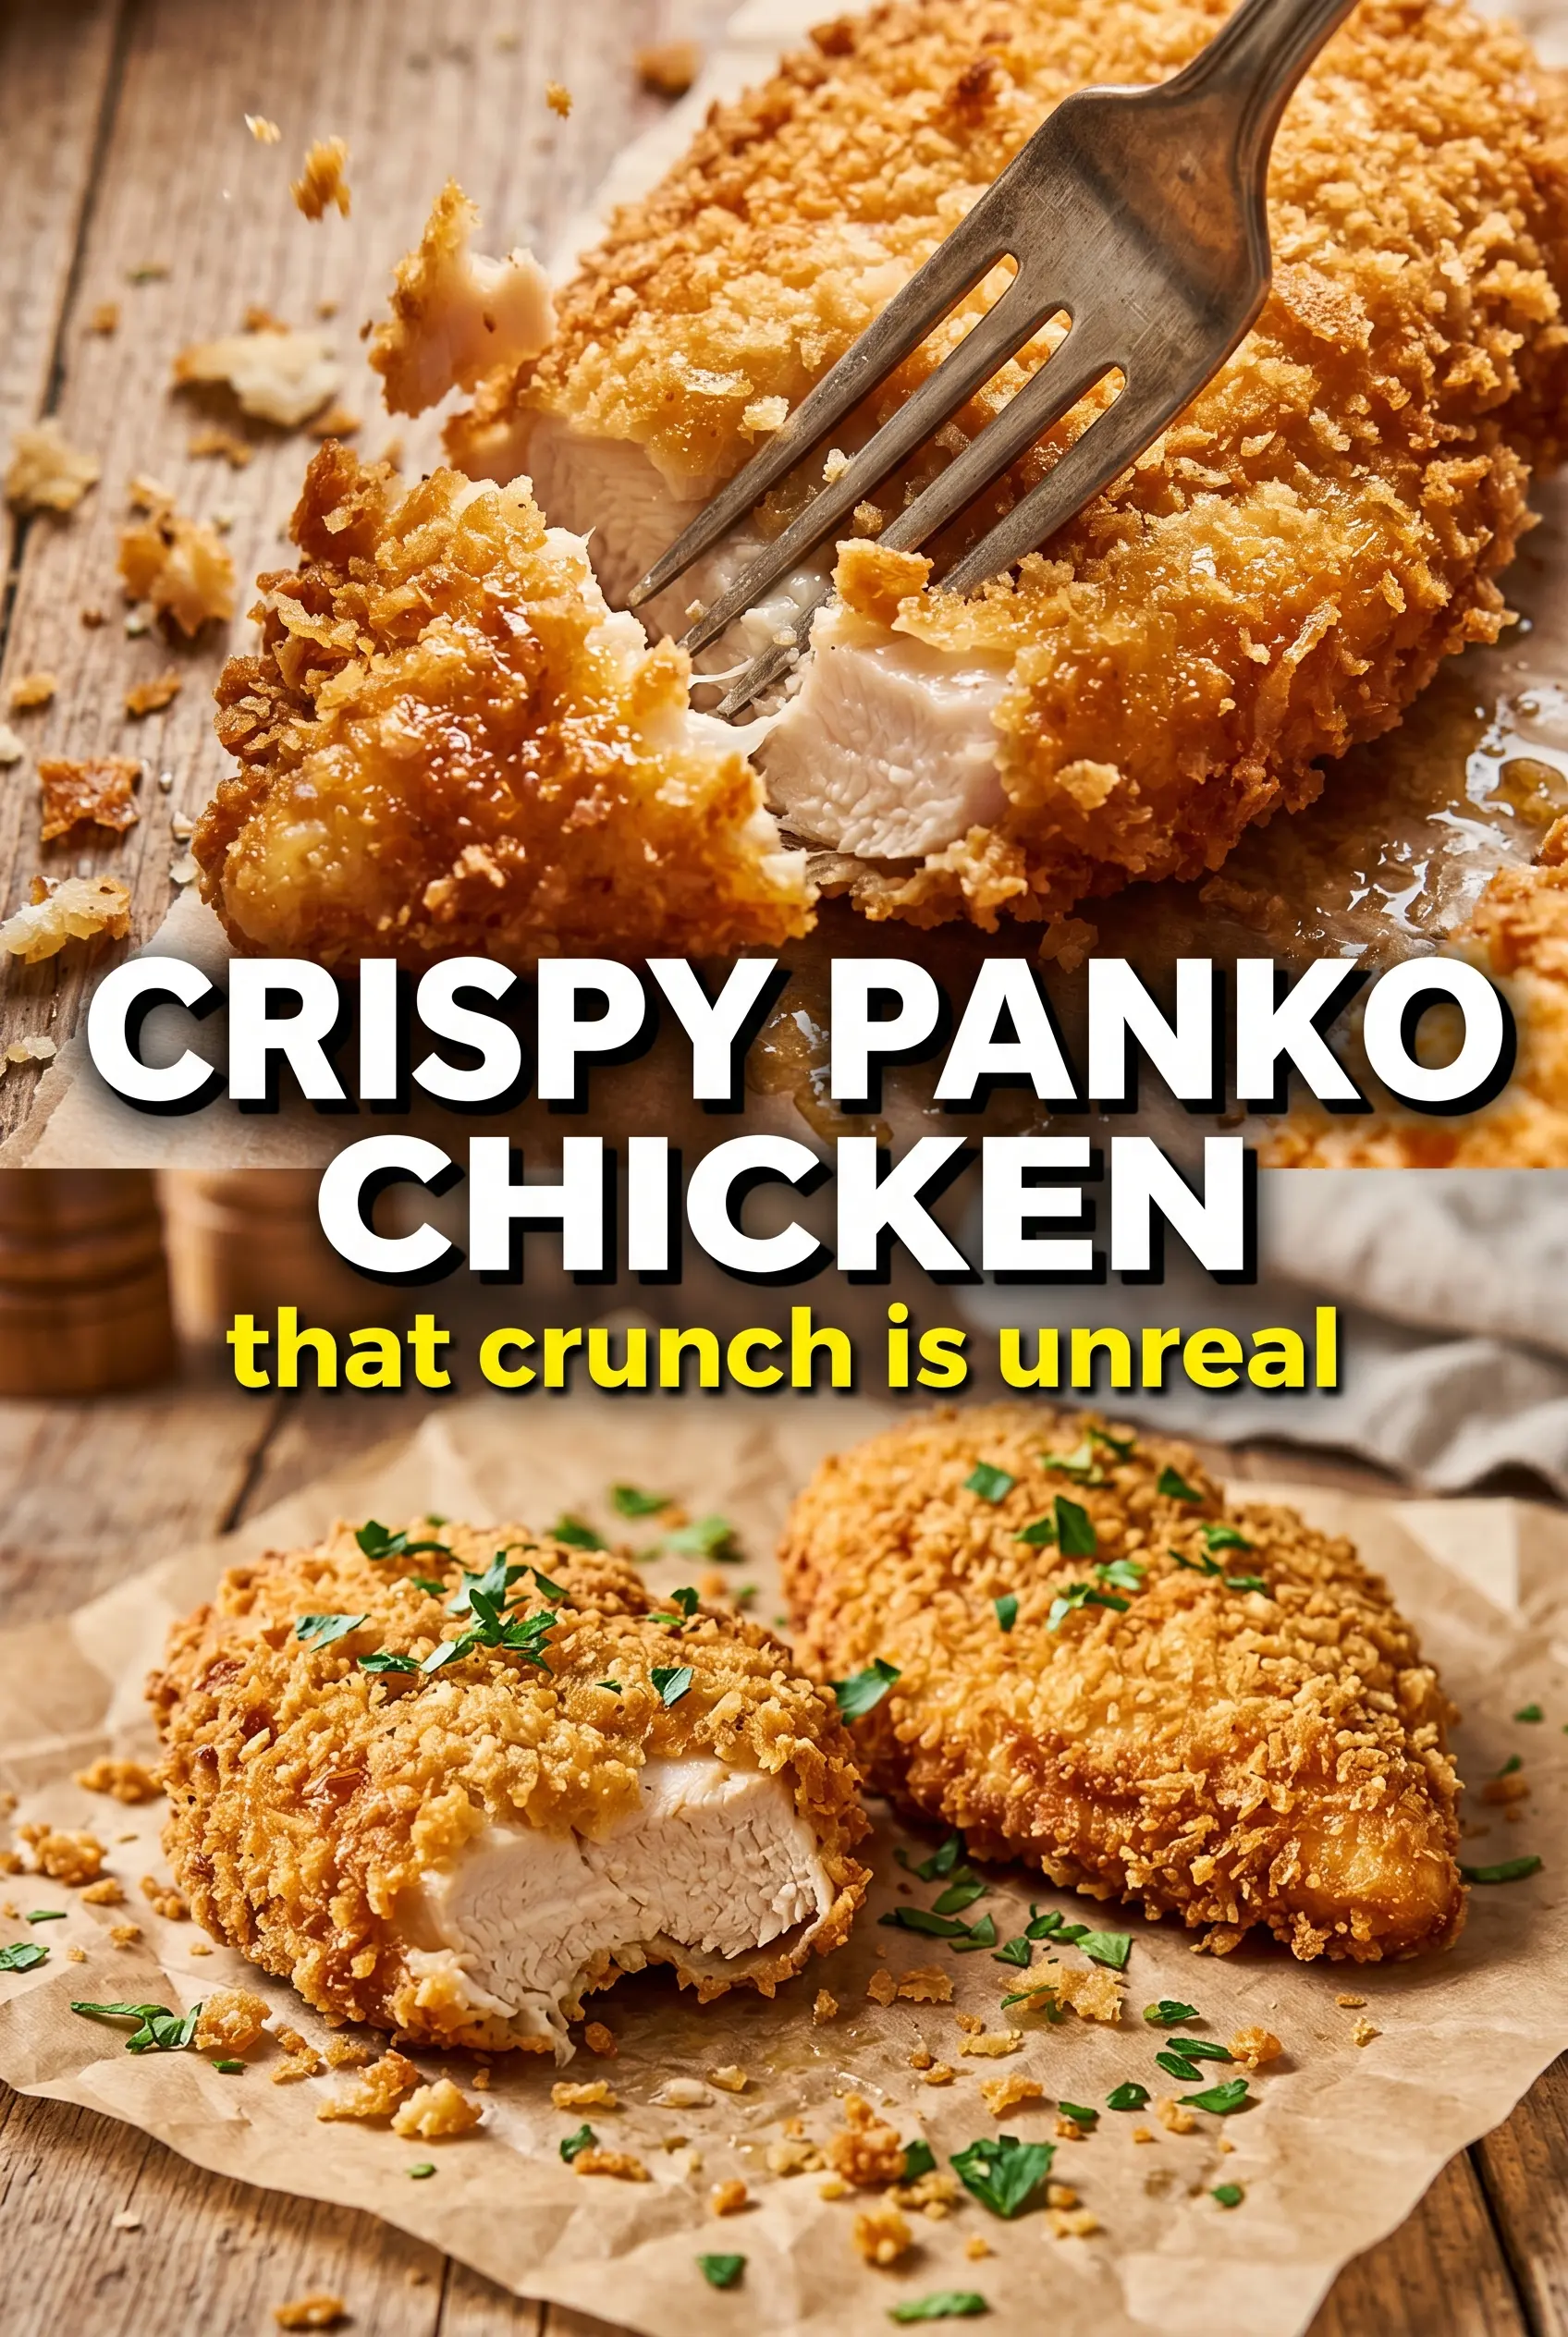
Crispy panko crusted chicken breasts deliver the kind of crunch that holds up from the first bite to the last. The coating bakes into a deep golden bronze with a light, airy texture that stays shattery instead of turning heavy or greasy, and the chicken underneath stays juicy when it’s pounded to an even thickness.
The trick is in the breading order and the finish. Flour gives the egg something to grab onto, the egg gives the panko a tacky surface, and pressing the crumbs on firmly helps the crust stand up in the oven instead of slipping off the chicken. A little Parmesan adds salt and browning, while olive oil or spray gives the breadcrumbs enough fat to toast properly.
Below, I’ll walk through the part that matters most if you want that dramatic crunch: how to keep the crust from going soft under the chicken. I’ve also included the swaps that still give you a crisp finish when you need a gluten-free or dairy-free version.
The crust came out audibly crunchy and stayed that way even after sitting for a few minutes. I used the wire rack like you suggested and the bottom never got soggy.
Love that deep golden panko crust? Save these crispy panko crusted chicken breasts for the nights when you want oven-baked chicken with real crunch.
The One Move That Keeps the Panko Crust from Sliding Off
The biggest mistake with breaded chicken is rushing the coating and then handling it too much once it hits the pan or rack. Panko needs pressure. When you press the crumbs onto every side of the chicken, the egg layer grabs them firmly and builds a crust that bakes into one even shell instead of patchy spots that fall away as soon as you cut in.
The other thing that matters here is heat from the start. A 425°F oven gives the panko enough blast to toast before the chicken dries out, and the wire rack keeps air moving underneath so the bottom stays crisp instead of steaming. If the chicken breasts are uneven, the thin end will overcook before the thick end is done, so pounding them to the same thickness is not busywork — it’s what keeps the texture right.
- Panko breadcrumbs — These are worth using here because they bake up lighter and crunchier than regular breadcrumbs. If you swap in standard crumbs, the coating will be denser and won’t have that shattery finish.
- Parmesan cheese — This adds salt, browning, and a little savory depth. Use the grated kind, not a wet fresh shred, so it mixes evenly into the crumbs and doesn’t clump.
- Olive oil or cooking spray — The coating needs fat to turn properly golden in the oven. A light, even spray works well, but if you drizzle oil, keep it minimal or the crust can go patchy instead of crisp.
- Chicken breasts — Pounding them to an even thickness is what keeps them juicy and lets the crust finish at the same time the center hits 165°F. Thick, uneven pieces are the fastest path to dry chicken with a pale crust.
What Each Ingredient Is Actually Doing in This Recipe
- Primary ingredient (the star) — Quality matters most. Choose the best you can find.
- Cooking medium (oil, butter, or broth) — This carries flavors and prevents dryness.
- Seasonings (salt, pepper, spices, herbs) — Layer flavors so nothing overpowers. Build depth gradually.
- Aromatics (garlic, onion, herbs) — Cook with fat to bloom flavors. Become the foundation.
- Supporting ingredients — Complement the main ingredient without overpowering it.
- Sauce or liquid (if applicable) — Brings flavors together. Balance richness with acid.
- Acid (lemon, vinegar, wine, or other) — Brightens and prevents flat-tasting results.
- Final finish (garnish, glaze, or sauce) — Prevents one-dimensional taste and adds visual appeal.
Building the Crunch in the Right Order
Set Up the Breading Line
Set out the flour, beaten eggs, and the panko mixture in separate shallow dishes before you touch the chicken. That keeps your hands cleaner and makes the coating go on in the right order without clumps of raw flour in the crumb layer. Season the chicken before breading so every bite has flavor under the crust, not just on top of it.
Press for Coverage, Not Just Coating
Dip the chicken in flour first, then egg, then press it firmly into the panko mixture. The pressing is what matters most here; if you just dip and lift, the crumbs sit loosely and fall off once the chicken starts baking. Turn each piece and press again so the sides and edges are covered too, especially the thicker end where crumbs like to slide away.
Bake Until the Crust Turns Bronze
Place the breaded chicken on the prepared rack and spray or drizzle the top lightly with oil. Bake until the crust is deep golden brown and the chicken reaches 165°F in the center, usually 20 to 22 minutes depending on thickness. If the crust is browning too slowly, your oven may be running cool; if it darkens too fast, move the pan one rack lower and keep baking until the center is done.
Rest Before You Slice
Let the chicken rest for 3 minutes before cutting. That short pause keeps the juices in the meat instead of running onto the plate and softening the crust right away. Slice with a sharp knife and serve with lemon wedges, which wake up the Parmesan and cut through the richness of the breading.
How to Adapt These Chicken Breasts Without Losing the Crunch
Gluten-Free Crunch With the Same Oven Finish
Use gluten-free panko and a gluten-free flour blend in place of the all-purpose flour. You’ll still get a crisp crust, though the coating may be a little more delicate, so press it on well and lift the chicken carefully onto the rack.
Dairy-Free Version That Still Browns Nicely
Leave out the Parmesan and add a little extra salt plus 2 tablespoons of nutritional yeast if you want some of that savory depth back. The crust will be a touch lighter in color, but the texture stays crisp as long as you still use oil or spray on the outside.
Turn It Into Cutlets for Faster Weeknight Cooking
If you slice the chicken breasts into thinner cutlets before breading, the cook time drops and the crust-to-chicken ratio goes up. The result is extra crunchy and a little more delicate, which is great if you want quicker baking and more surface area for lemon and parsley.
Storage and Reheating
- Refrigerator: Store leftovers in an airtight container for up to 3 days. The crust softens a bit in the fridge, but it still reheats well.
- Freezer: It freezes best after baking and cooling completely. Wrap each piece tightly and freeze for up to 2 months; expect the crust to be a little less crisp after thawing.
- Reheating: Reheat on a wire rack set over a baking sheet at 375°F until hot and crisp again, about 10 to 15 minutes. The common mistake is microwaving it, which turns the panko coating soggy before the center is warm.
Questions I Get Asked About This Recipe
Crispy Panko Crusted Chicken Breasts
Ingredients
Equipment
Method
- Preheat oven to 425°F and line a baking sheet with a wire rack; spray the rack with cooking spray so the bottom stays crisp.
- Season the chicken with salt, pepper, and garlic powder, then set up three stations: flour, beaten egg, and panko mixed with Parmesan, Italian seasoning, garlic powder, and smoked paprika.
- Dredge each chicken breast in flour, shaking off excess to create an even base.
- Dip the floured chicken into the beaten egg, letting any excess drip back into the egg station.
- Press the chicken firmly into the panko coating on all sides so the breadcrumbs adhere and form a thick, crunchy layer.
- Drizzle or spray the breaded chicken with olive oil and place on the prepared rack.
- Bake for 20-22 minutes at 425°F until the crust is deep golden brown and the internal temperature reaches 165°F.
- Rest the chicken for 3 minutes, then garnish with parsley and serve with lemon wedges.