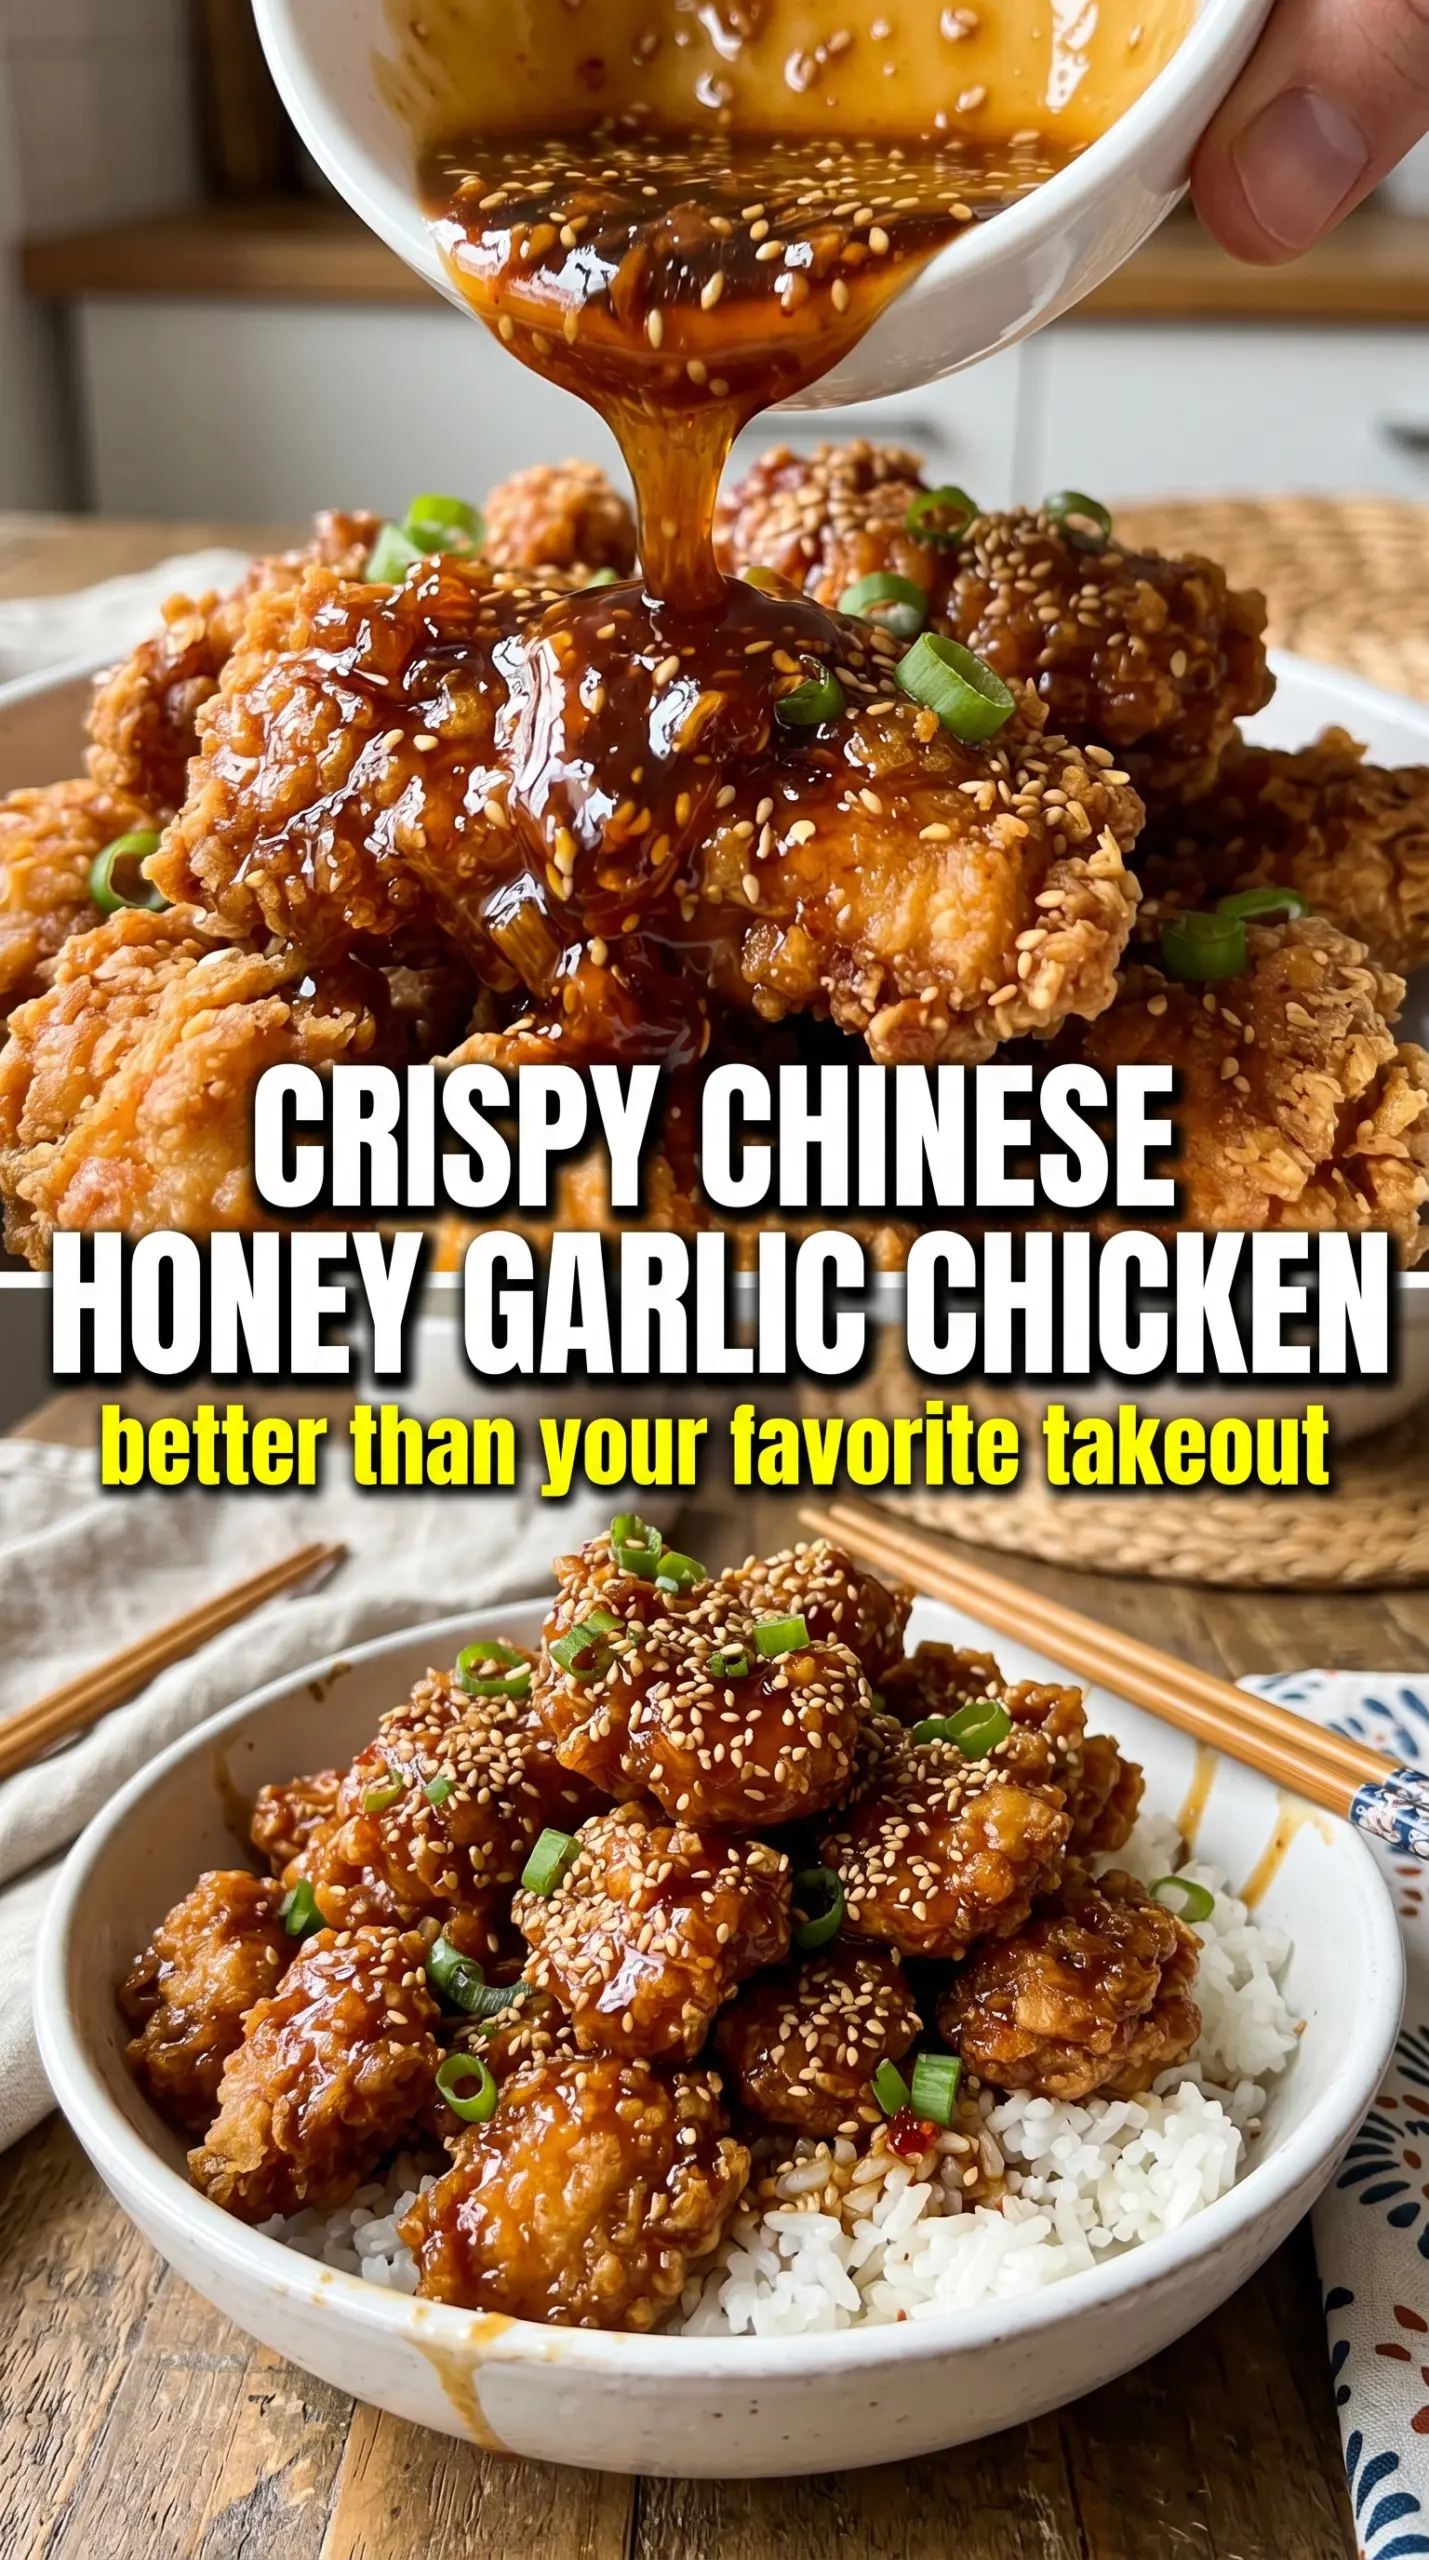
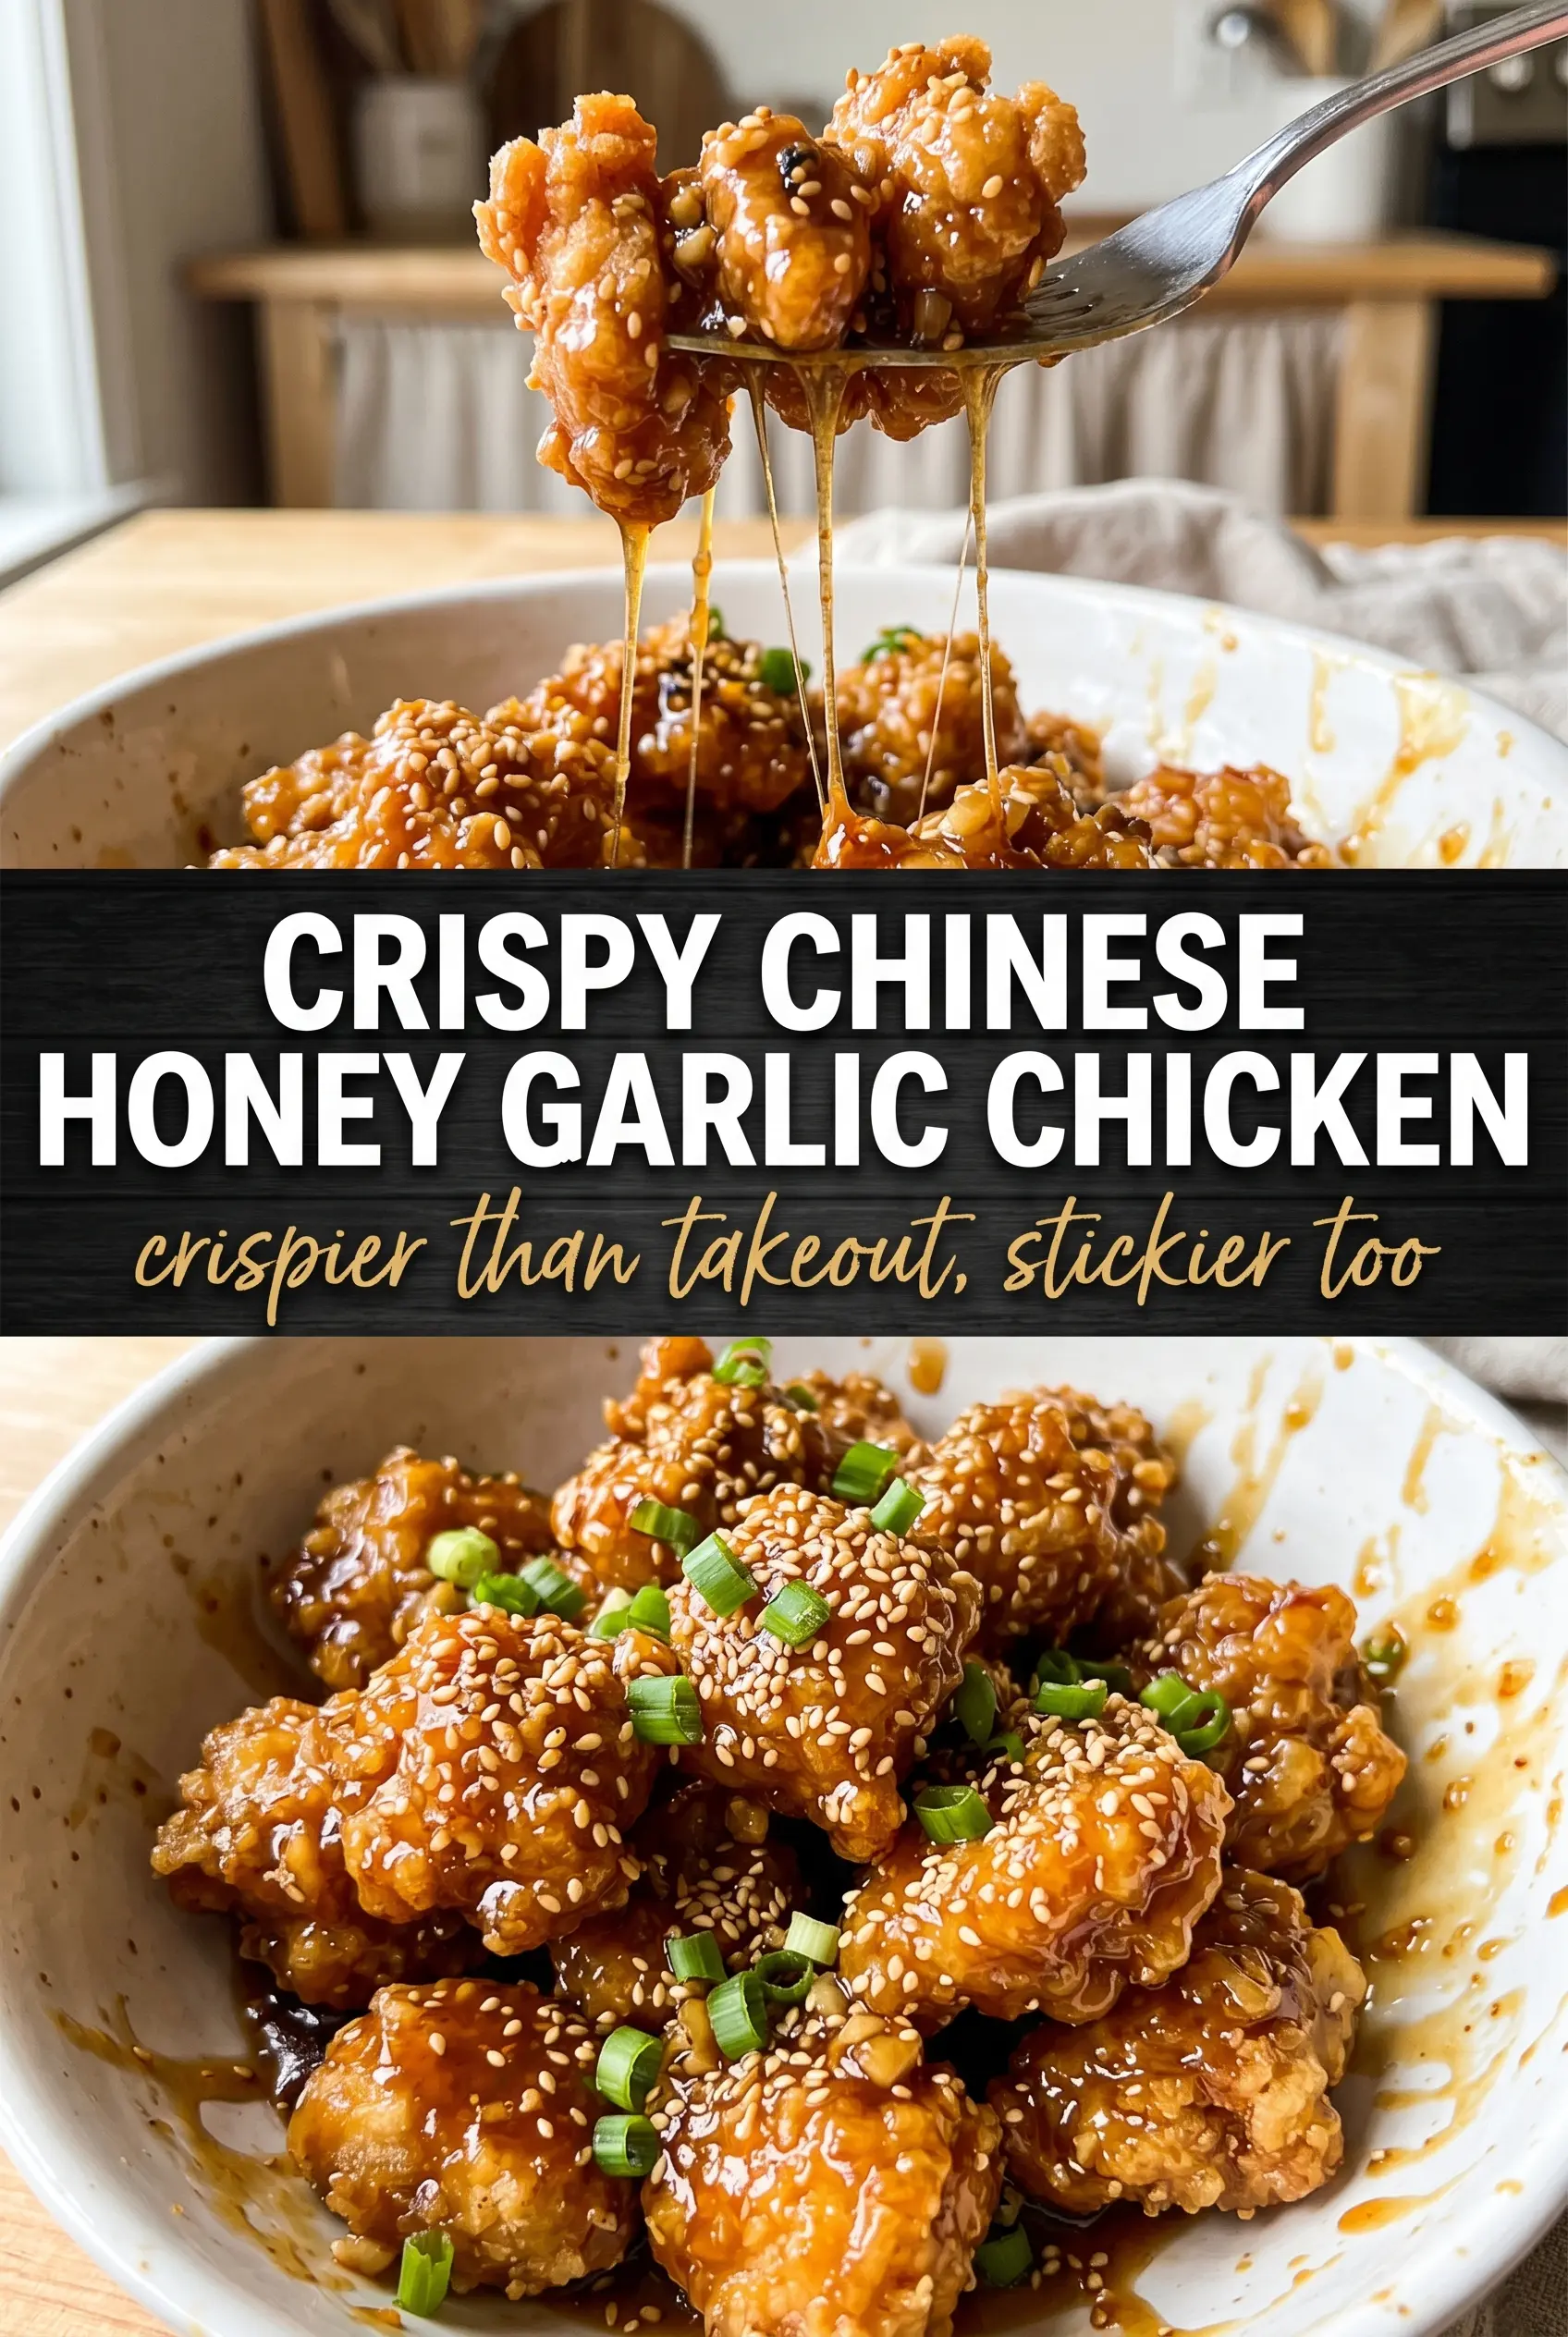
Shatteringly crisp chicken bites coated in a sticky honey garlic glaze hit that sweet-savory balance that keeps this dish on repeat. The coating stays light and craggy instead of turning heavy, and the sauce clings in a glossy layer that turns deeply amber as soon as it warms through the hot chicken. It tastes like the best part of takeout, only fresher and a lot more satisfying to make at home.
The trick is building texture in two places: a cornstarch-flour dredge for a crisp shell, then a sauce that thickens on the stove before the chicken ever sees it. The egg gives the coating something to grab, while the cornstarch in the sauce helps it go from thin and glossy to lacquered without needing a long simmer. That means the garlic stays punchy and the honey tastes rounded, not scorched.
Below, I’ll walk through the exact frying cue that keeps the chicken crisp and the sauce from getting sticky in the wrong way. I’ve also included the swaps that work when you want to bake or air-fry instead of frying in oil.
The chicken stayed crisp even after I tossed it in the sauce, and the garlic-honey glaze thickened up fast without turning grainy. My husband kept stealing pieces straight from the pan.
Save this crispy Chinese honey garlic chicken for the night you want shatteringly crisp chicken and a glossy amber sauce over rice.
The Secret to Keeping the Coating Crisp After the Sauce Hits
The usual failure with honey garlic chicken is rushing the sauce toss. If the sauce is too thin, it slides off and leaves the chicken wet. If it’s too thick before you add the chicken, it starts to seize and gets gummy on the crust. This version works because the sauce gets cooked to a light syrup first, then the chicken goes in just long enough to get coated.
That last step matters. You want the chicken hot, the sauce hot, and the toss fast. The coating has already set from frying, so it can take a quick bath in sauce without collapsing. If you let the chicken sit in the pan on low heat after saucing, the crust softens fast. Serve it immediately once every piece is glossy.
- Cornstarch — This is what gives the coating that crisp, slightly airy crunch. It also helps thicken the sauce into a shiny glaze. Don’t swap it out entirely for flour or the crust turns heavier and less brittle.
- Chicken thighs — Thigh meat stays juicy through frying and tosses better than breast meat. Breasts can work, but they dry out faster and need tighter timing. Cut them into even pieces so they finish at the same rate.
- Rice vinegar — This keeps the sauce from tasting flat. You need that sharp edge to balance the honey. If you don’t have it, use apple cider vinegar in the same amount.
- Sesame oil — Add it off the heat. It’s not there for cooking power; it’s there for that nutty finish that makes the whole dish taste complete. If you add it early, the aroma fades.
What Each Ingredient Is Actually Doing in This Chicken Recipe
- Chicken (the foundation) — Quality chicken starts with good sourcing. Even simple seasoning tastes better on good meat.
- Olive oil or butter (the cooking medium) — Fat carries flavors and keeps chicken from drying. It’s also what makes food taste delicious.
- Salt and pepper (proper seasoning) — Season generously; underseasoned chicken tastes bland. Apply inside and outside so the seasoning penetrates.
- Garlic and onion (the aromatic base) — These add depth and complexity. They sweeten slightly when cooked, becoming mellow and round.
- Acid (lemon, vinegar, wine, or tomato) — This brightens the dish and prevents it from tasting heavy. It also helps balance rich sauces.
- Fresh herbs or spices (the character) — These define the personality of the dish. Choose ones that complement your other flavors.
- Cream or sauce base (optional richness) — A sauce keeps the chicken moist and flavorful. Make sure it’s balanced with acid and herbs.
- Proper cooking technique (the final step) — Whether baking, pan-searing, or simmering, the right method ensures juicy, tender results without drying out the meat.
Frying, Glazing, and Tossing in the Right Order
Building the Dredge
Whisk the cornstarch, flour, garlic powder, salt, and white pepper until the mix looks even and a little dusty. Dip the chicken in egg first, then into the flour mixture, pressing lightly so the coating sticks in rough little crags. Those crags fry up crisp and give the sauce something to cling to. If the pieces look wet and pasty instead of textured, shake off the excess and dredge again with a light hand.
Frying Until the Crust Sets
Heat the oil to 375°F and fry in batches so the temperature stays steady. The chicken should sizzle immediately and turn deep golden in 5 to 6 minutes. If the oil drops too low, the coating drinks oil and goes greasy instead of crisp. Drain the chicken on a rack or paper towels, but don’t cover it tightly or the steam will soften the crust before saucing.
Cooking the Honey Garlic Sauce
Stir the honey, soy sauce, garlic, and rice vinegar in a saucepan and bring it to a simmer. Once the garlic smells fragrant and the liquid looks unified, stir in the cornstarch slurry and cook until the sauce turns glossy and thick enough to coat a spoon. If it still looks thin, give it another minute; if it starts to look paste-like, it went too far and needs a splash of water. Pull it from the heat and stir in the sesame oil right away.
The Final Toss
Add the crispy chicken to the sauce and toss fast until every piece is coated. You’re looking for a shiny, clingy glaze, not a puddle in the bottom of the pan. If the chicken sits in the sauce for several minutes, the crisp edge fades, so get it plated once it looks lacquered and deep amber. Finish with sesame seeds and green onions over rice while the coating still has some bite.
How to Adapt This for Different Pans, Diets, and Crunch Levels
Air Fryer Version
Coat the chicken the same way, then spray the pieces lightly with oil and air-fry at 400°F until crisp and cooked through, flipping once. You won’t get the same deep, shattery crust as frying, but the coating still turns crunchy enough to hold the sauce well. Toss it with the sauce right before serving.
Baked Honey Garlic Chicken
Bake the coated chicken on a rack set over a sheet pan at 425°F until browned and cooked through, then broil briefly for extra color. It won’t be as crisp as fried, but the rack keeps air moving around the pieces so the bottoms don’t go soggy. Use a little less sauce if you want to preserve more of the texture.
Gluten-Free Swap
Use a gluten-free all-purpose flour blend in place of the regular flour, and check that your soy sauce is gluten-free or use tamari. The coating still fries up well because the cornstarch carries most of the crisping work. The flavor stays the same, but the coating may be a touch more delicate, so handle the pieces gently after frying.
Lower-Sugar Version
Cut the honey slightly and add a spoonful of water to keep the sauce from getting too sticky as it reduces. You’ll lose a little of the deep caramel note, but the garlic and soy still carry the dish. If you reduce the honey too much, the sauce can taste thin, so keep enough sweetness to balance the vinegar.
Storage and Reheating
- Refrigerator: Store leftovers in an airtight container for up to 3 days. The coating softens in the fridge, but the flavor holds well.
- Freezer: You can freeze the cooked chicken before saucing for up to 2 months. Freeze the sauce separately; if you freeze the sauced chicken, the coating loses most of its crunch.
- Reheating: Reheat the chicken on a sheet pan in a 375°F oven or air fryer until hot and crisp, then warm the sauce separately and toss them together at the end. Microwaving makes the coating soggy fast.
Answers to the Questions Worth Asking
Crispy Chinese Honey Garlic Chicken
Ingredients
Equipment
Method
- Whisk together cornstarch, all-purpose flour, garlic powder, salt, and white pepper.
- Dip the beaten large egg into the coating mixture, then dredge the chicken pieces in the flour-cornstarch mix until coated.
- Heat 2 inches of vegetable oil to 375°F.
- Fry chicken in batches for 5-6 minutes until golden and cooked through, then drain on a sheet pan.
- Combine honey, soy sauce, garlic, and rice vinegar in a saucepan and bring to a simmer.
- Stir in the cornstarch slurry and cook for 2-3 minutes until thickened.
- Remove from heat and stir in sesame oil for a glossy finish.
- Toss the crispy chicken in the honey garlic sauce until fully coated and sticky.
- Serve over steamed rice topped with sesame seeds and green onions.