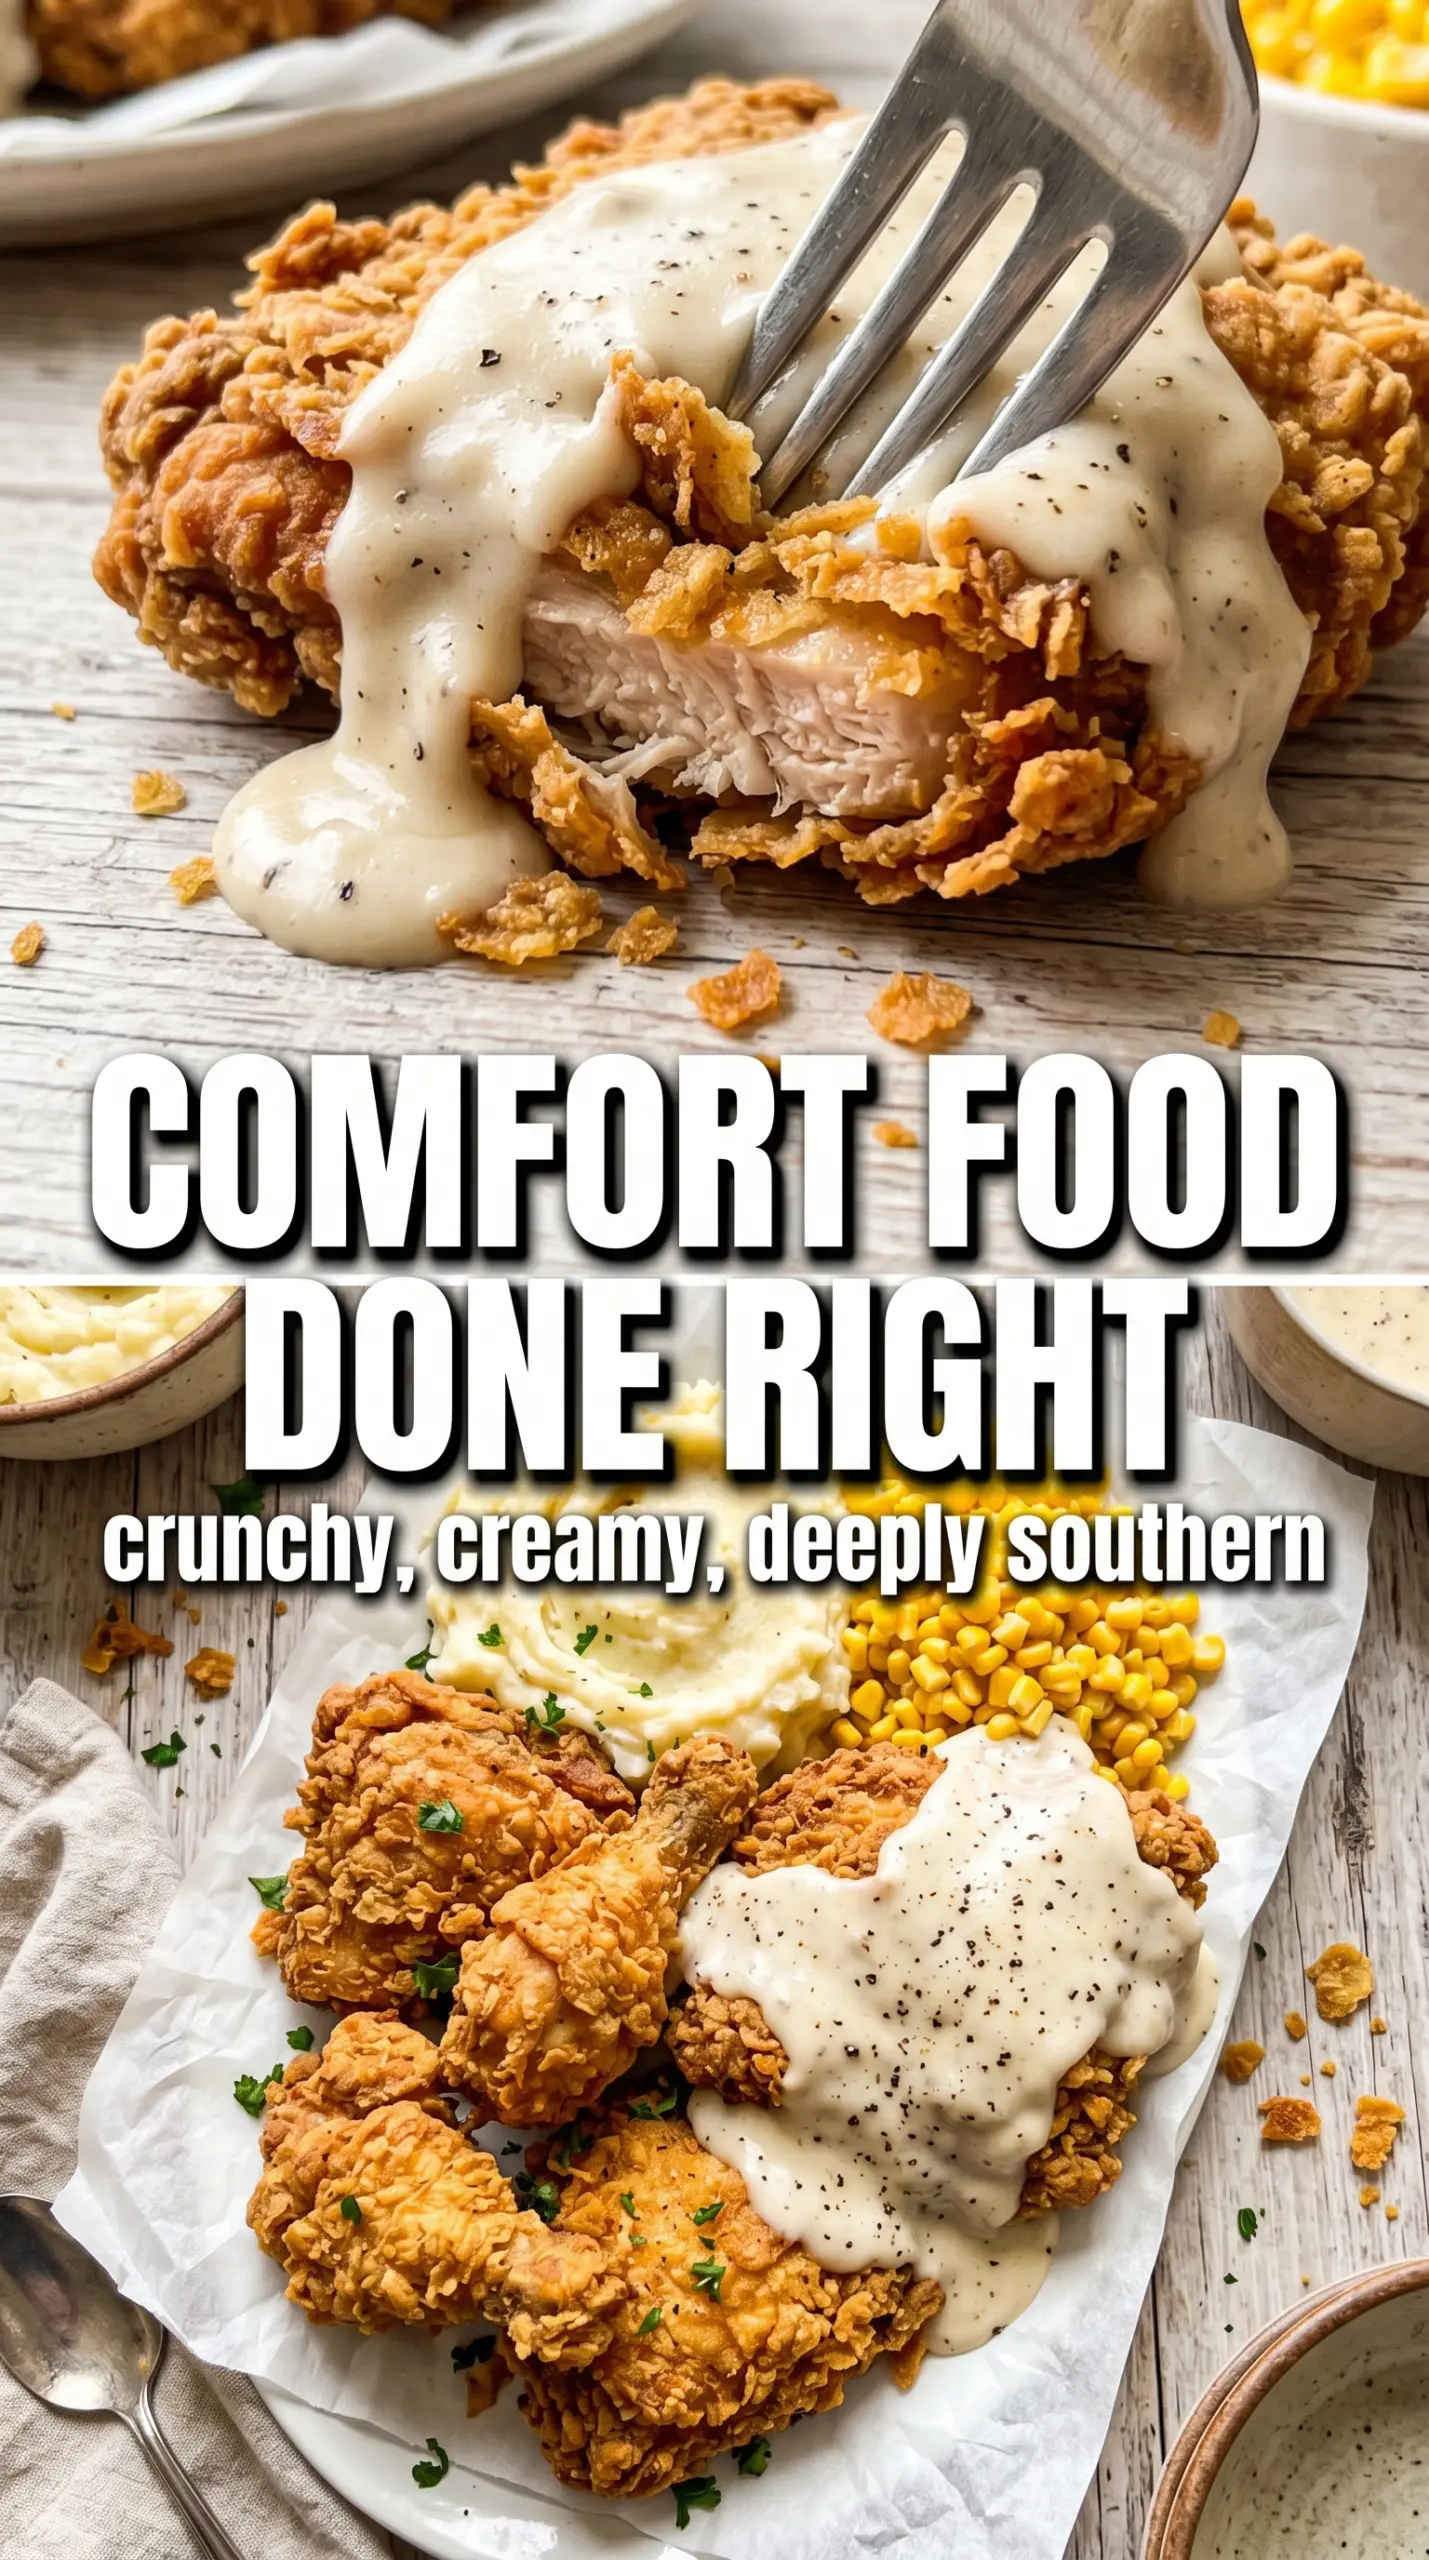
Shatteringly crisp country fried chicken starts with a coating that fries up rough, craggy, and deeply golden instead of pale and soft. The buttermilk soak gives the meat a little tang and helps the flour cling, while the second dredge builds those thick ridges that turn into the best kind of crunchy shell. When it’s done right, the chicken stays juicy under all that seasoning and gives you that loud, satisfying crackle when you cut into it.
The part that separates good fried chicken from forgettable fried chicken is the way the flour is handled. You want the chicken well coated, then pressed back into the flour so dry spots and shaggy bits stick around. Those uneven bits fry up into the texture everyone’s chasing. The gravy matters too, because it should be creamy and peppery enough to pool around the chicken without drowning the crust into mush.
Below, I’ve laid out the small details that make the biggest difference, including how to keep the coating from slipping and how to get the gravy smooth from the first whisk.
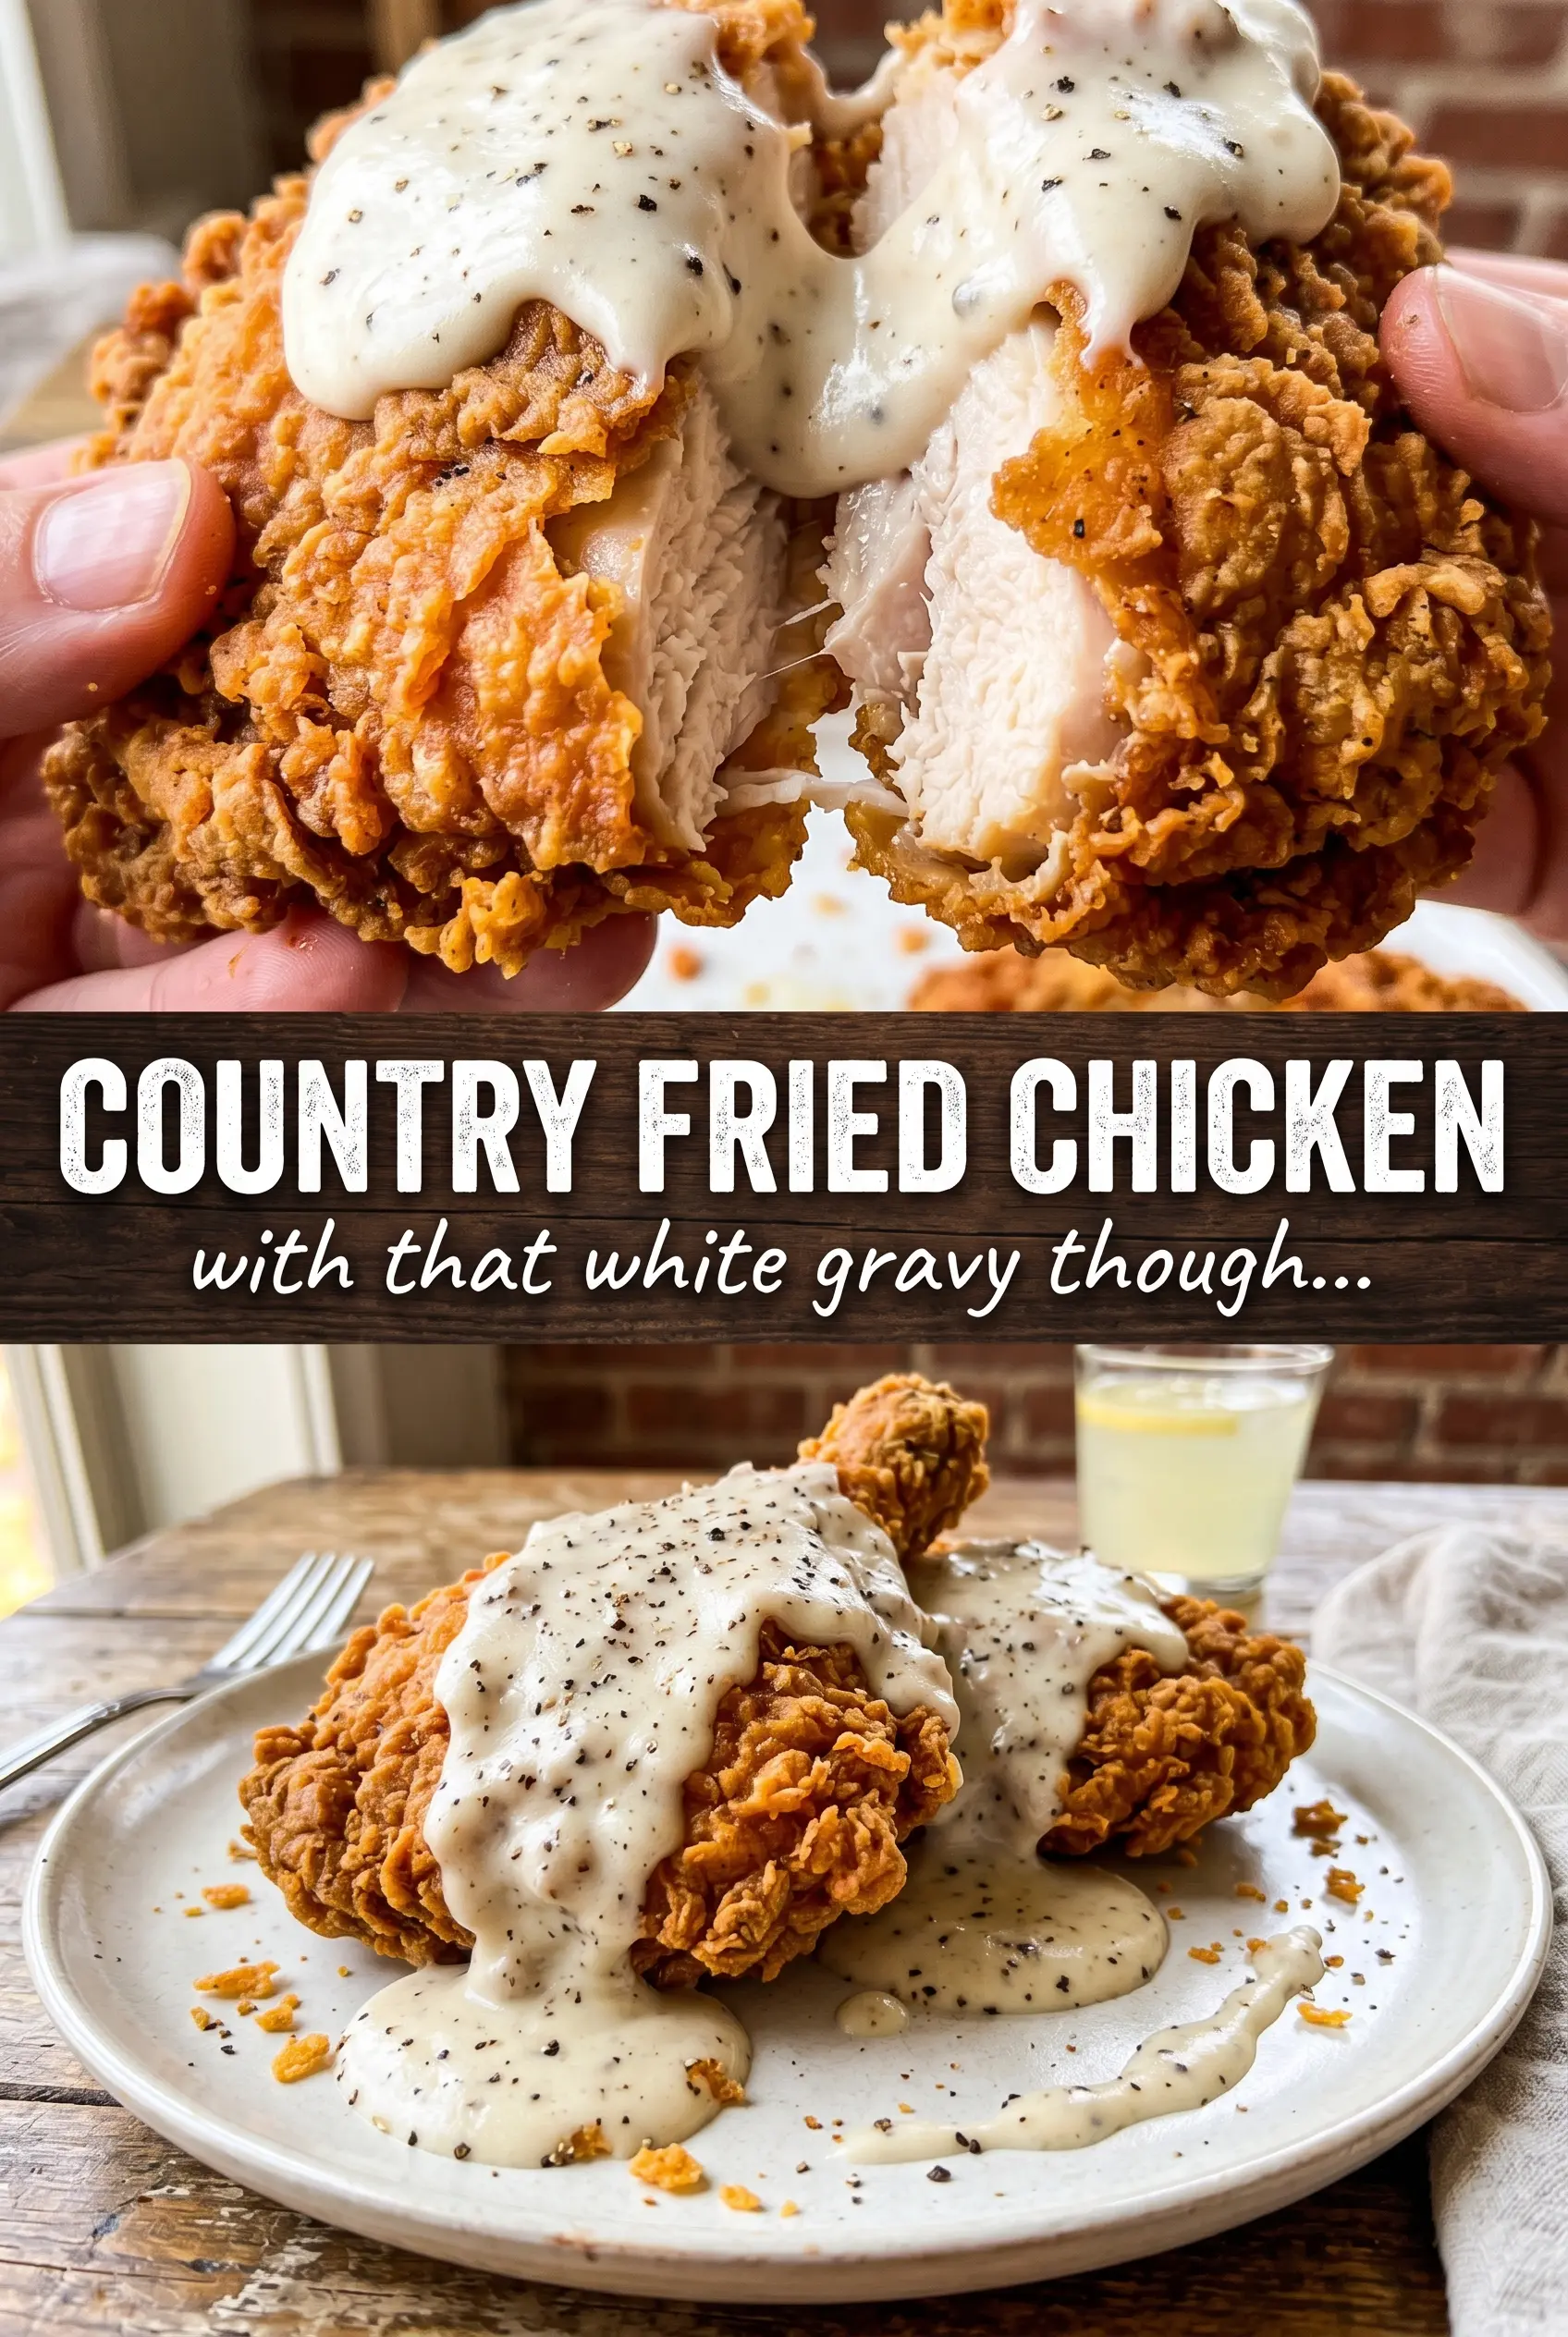
The coating stayed on beautifully and got those craggy little ridges I always want. I followed the double dredge, and the chicken came out juicy with a crust that stayed crisp even after I added the gravy.
Save this country fried chicken for the night you want a shattering crust, peppery gravy, and a plate that tastes straight from a diner.
The Trick to Keeping the Coating Ragged, Not Slick
The biggest mistake with fried chicken is rushing the dredge. If the flour layer is thin or too smooth, it turns into a tight shell that doesn’t give you much crunch. The rough, pebbly coating happens when you press the chicken into the flour, lift it out, and let those clumps stay attached instead of shaking them off.
That second dip matters because it builds contrast: a dry, seasoned exterior against moist meat inside. It also gives the chicken more surface area to brown. If your coating is slipping off in the oil, the chicken was either too wet when it went in or the flour wasn’t packed on firmly enough.
What Each Ingredient Is Doing in the Pan
- Buttermilk — This tenderizes the chicken and gives the flour something clingy to grab onto. Regular milk won’t give the same tang or the same thick coating base.
- Hot sauce — It doesn’t make the chicken spicy on its own; it wakes up the buttermilk and adds a little extra bite under the crust.
- All-purpose flour — This is the backbone of the crust and the gravy. For the coating, all-purpose flour gives you the best balance of crunch and browning.
- Smoked paprika, cayenne, garlic powder, and onion powder — These season the flour from the inside out, so the crust tastes good even before the gravy hits it. Cayenne can be reduced if you want a gentler finish, but don’t skip it entirely or the coating tastes flat.
- Vegetable oil — A neutral oil keeps the chicken tasting like chicken, not like the frying fat. Use enough depth for proper frying; shallow oil leaves the bottom of the crust uneven.
- Whole milk — This makes the gravy lush and smooth. Lower-fat milk works in a pinch, but the gravy won’t have the same body.
- Pan drippings — These bring the fried chicken flavor back into the gravy. If you don’t have enough, top it off with a little more oil, but the drippings are what give it depth.
How to Fry the Chicken Without Losing the Crust
Soaking the Chicken
Let the chicken sit in the buttermilk and hot sauce for at least 30 minutes so the seasoning starts working and the meat stays juicy. Overnight is even better if you’ve got the time. Pull the chicken from the marinade and let the excess drip off, but don’t wipe it dry; that thin wet layer is what helps the flour stick.
Building the Craggy Coating
Press the chicken firmly into the seasoned flour, then turn it and press again so every side picks up a thick coat. For extra crunch, dip it back into the buttermilk and flour a second time. If the coating looks too neat, it will fry up too smooth, so leave the rough edges alone.
Frying at the Right Temperature
Heat the oil to 350°F and keep it there. If it runs too cool, the chicken absorbs oil and turns greasy; if it’s too hot, the crust browns before the meat cooks through. Fry in batches so the oil doesn’t drop too much, and listen for a steady sizzle rather than a violent sputter.
Making the Gravy from the Drippings
Use the pan drippings while they’re still warm and full of flavor. Whisk the flour into the fat first and let it cook for a minute so the gravy won’t taste raw. Add the milk slowly while whisking, because dumping it in all at once can leave you with lumps that are hard to smooth out once the gravy thickens.
How to Adjust This Without Losing the Crunch
Make It Extra Peppery and Classic
Increase the black pepper in the flour and finish the gravy with another good grind on top. That sharper pepper bite cuts through the rich coating and makes the whole plate taste more like traditional diner-style country fried chicken.
Gluten-Free Version
Use a good 1:1 gluten-free flour blend in both the dredge and the gravy. The coating won’t be quite as shaggy as all-purpose flour, but it will still fry crisp if you press it on firmly and avoid crowding the pan.
Spice It Up
Add more cayenne or a little extra hot sauce in the marinade if you want a stronger kick. That heat lives mostly in the crust and the first bite, so it won’t overwhelm the whole dish unless you push it hard.
Storage and Reheating
- Refrigerator: Store leftovers in an airtight container for up to 3 days. The crust softens in the fridge, but it still reheats well.
- Freezer: Freeze the fried chicken without gravy for up to 2 months. Wrap pieces individually so the coating doesn’t get crushed, and thaw in the fridge before reheating.
- Reheating: Reheat on a wire rack set over a baking sheet in a 375°F oven until hot and crisp again. The mistake most people make is microwaving it, which turns the crust limp and the chicken rubbery.
Answers to the Questions Worth Asking
Country Fried Chicken
Ingredients
Equipment
Method
- Soak the chicken pieces in buttermilk and hot sauce for at least 30 minutes or overnight, fully submerging them for even flavor.
- Whisk together the all-purpose flour, garlic powder, onion powder, smoked paprika, cayenne pepper, salt, and cracked black pepper in a shallow dish until evenly combined.
- Remove the chicken from the buttermilk, letting excess drip off, then dredge firmly in the seasoned flour coating to coat well.
- Repeat the dip-and-dredge once more so the coating is thicker and crunchier after frying.
- Heat 2-3 inches of vegetable oil to 350°F in a large cast iron skillet.
- Fry the chicken for 10-12 minutes per side until deeply golden, flipping carefully once the crust sets.
- Keep frying until the internal temperature reaches 165°F, then drain on paper towels.
- Whisk pan drippings and flour in a skillet over medium heat for 1 minute to cook the flour.
- Gradually whisk in the whole milk and cook until thickened, keeping the gravy smooth.
- Season the gravy with salt and pepper to taste.
- Serve the chicken immediately with white country gravy poured over the top.