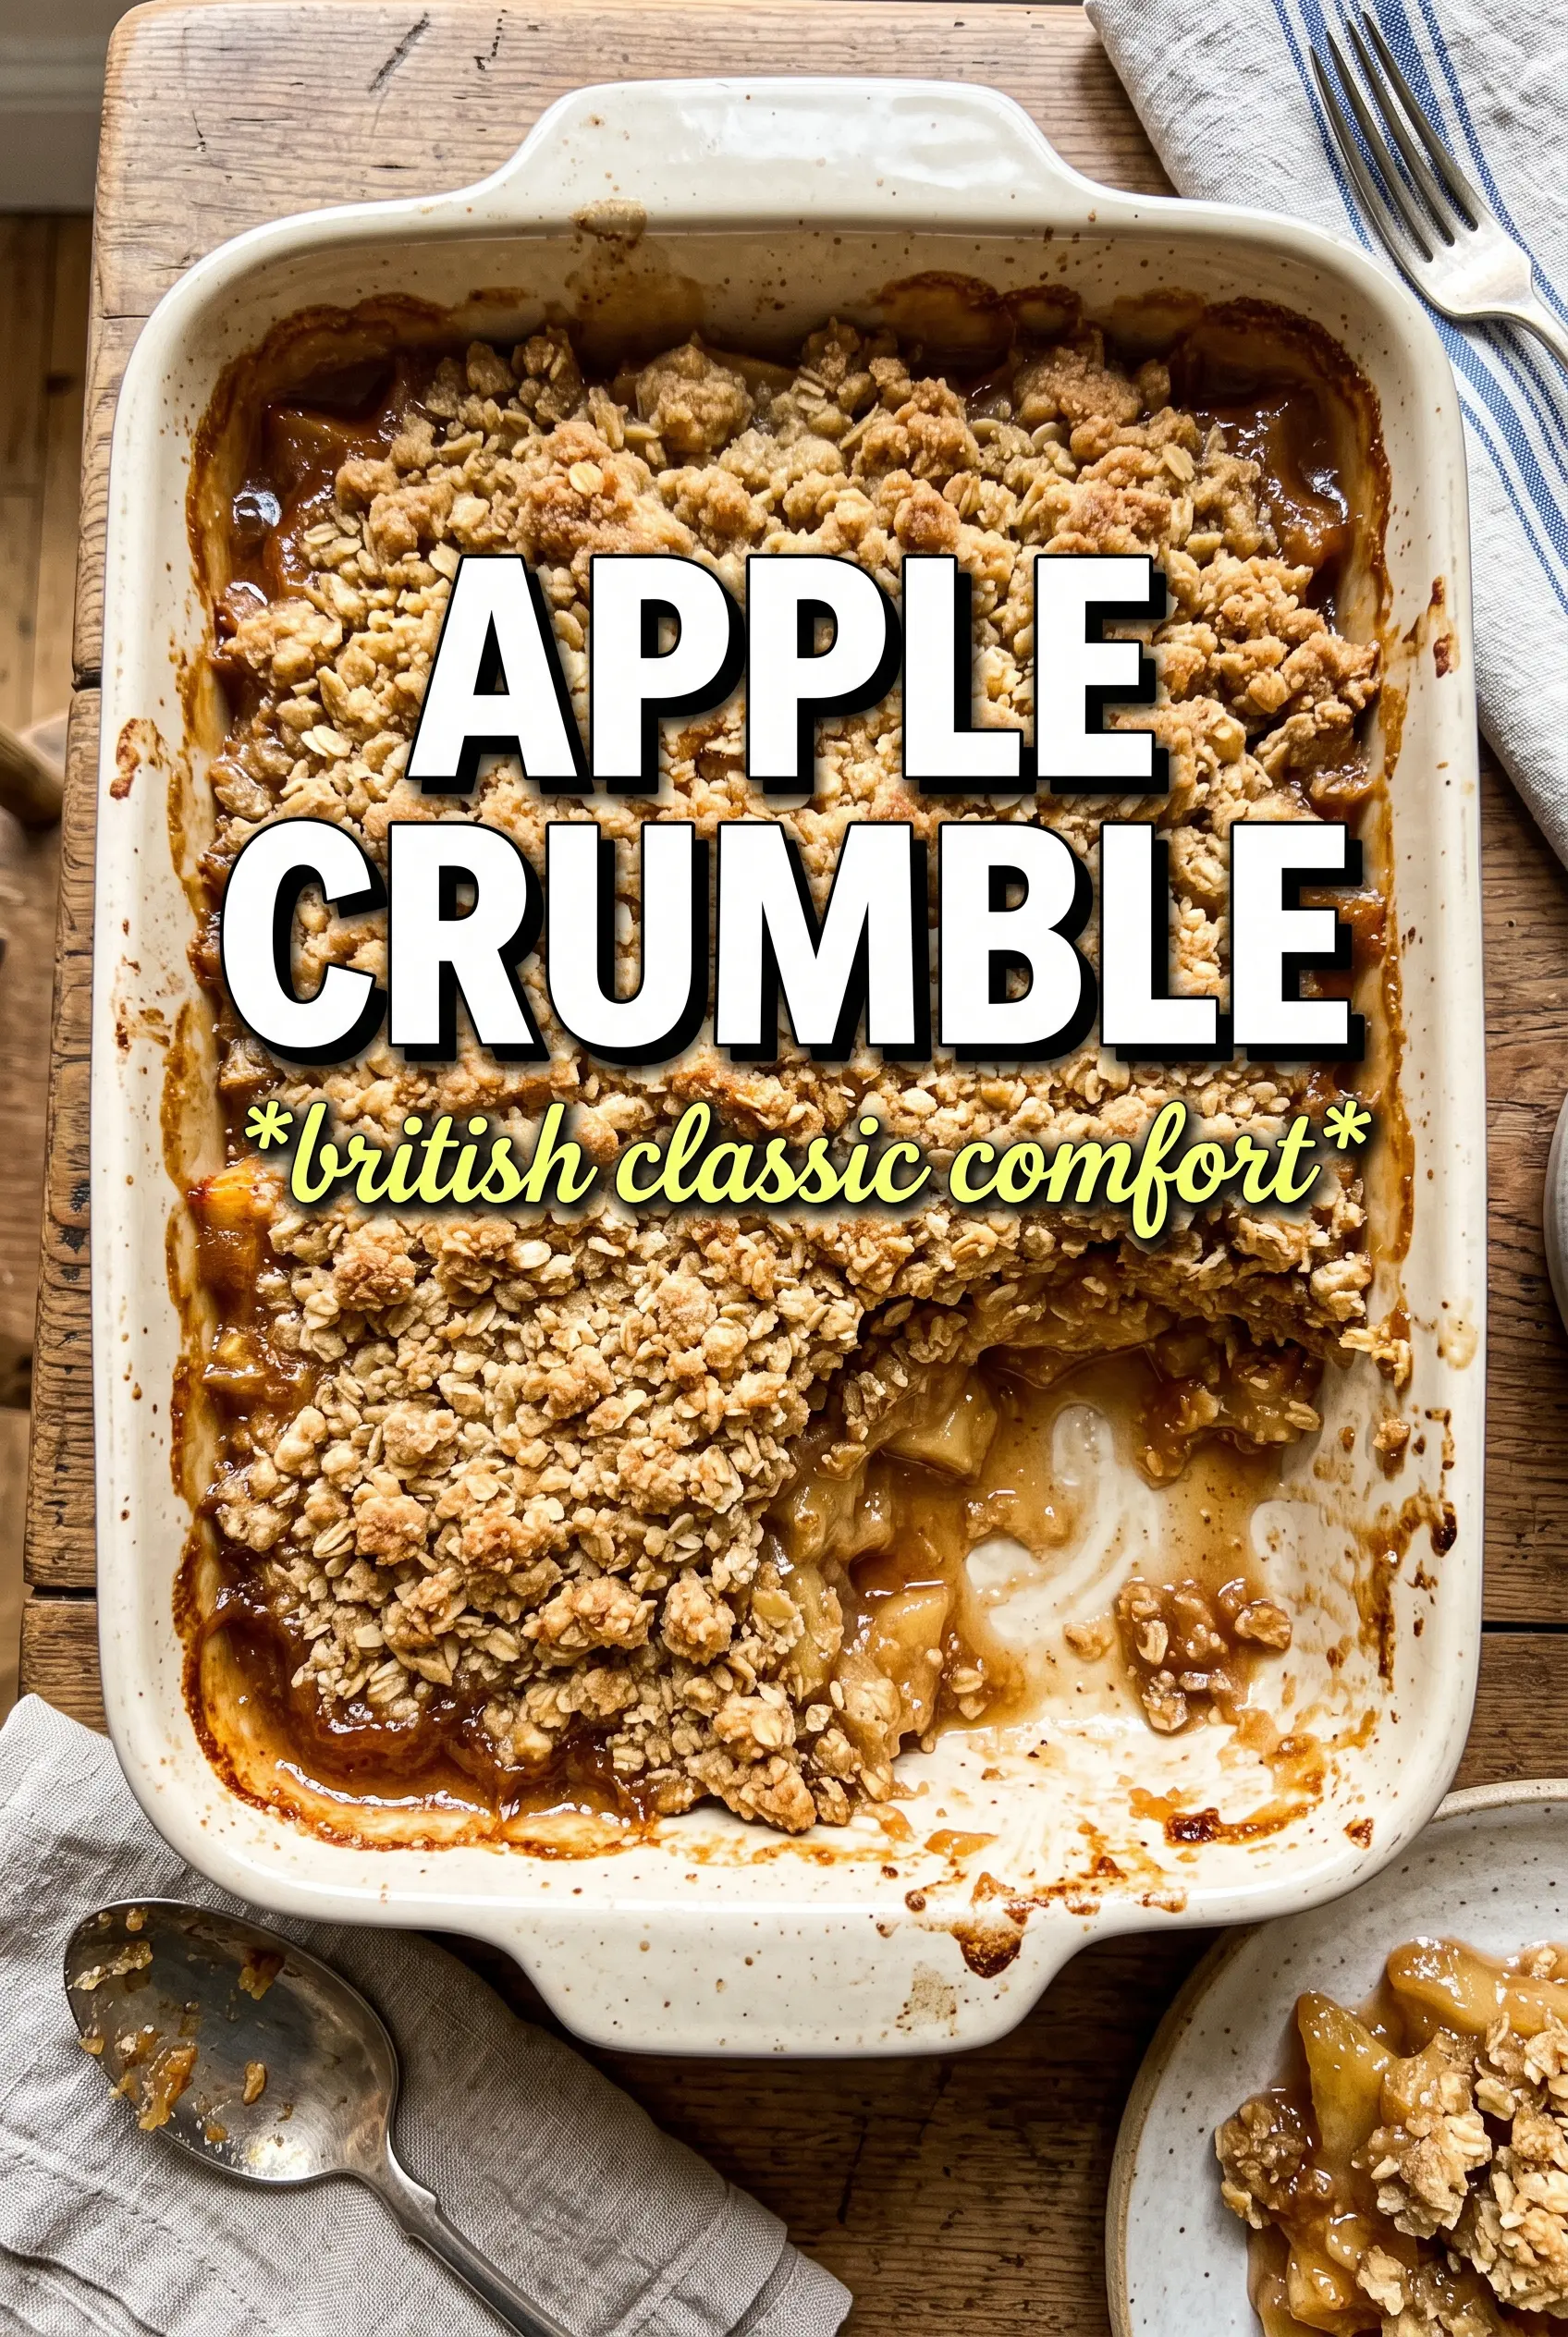
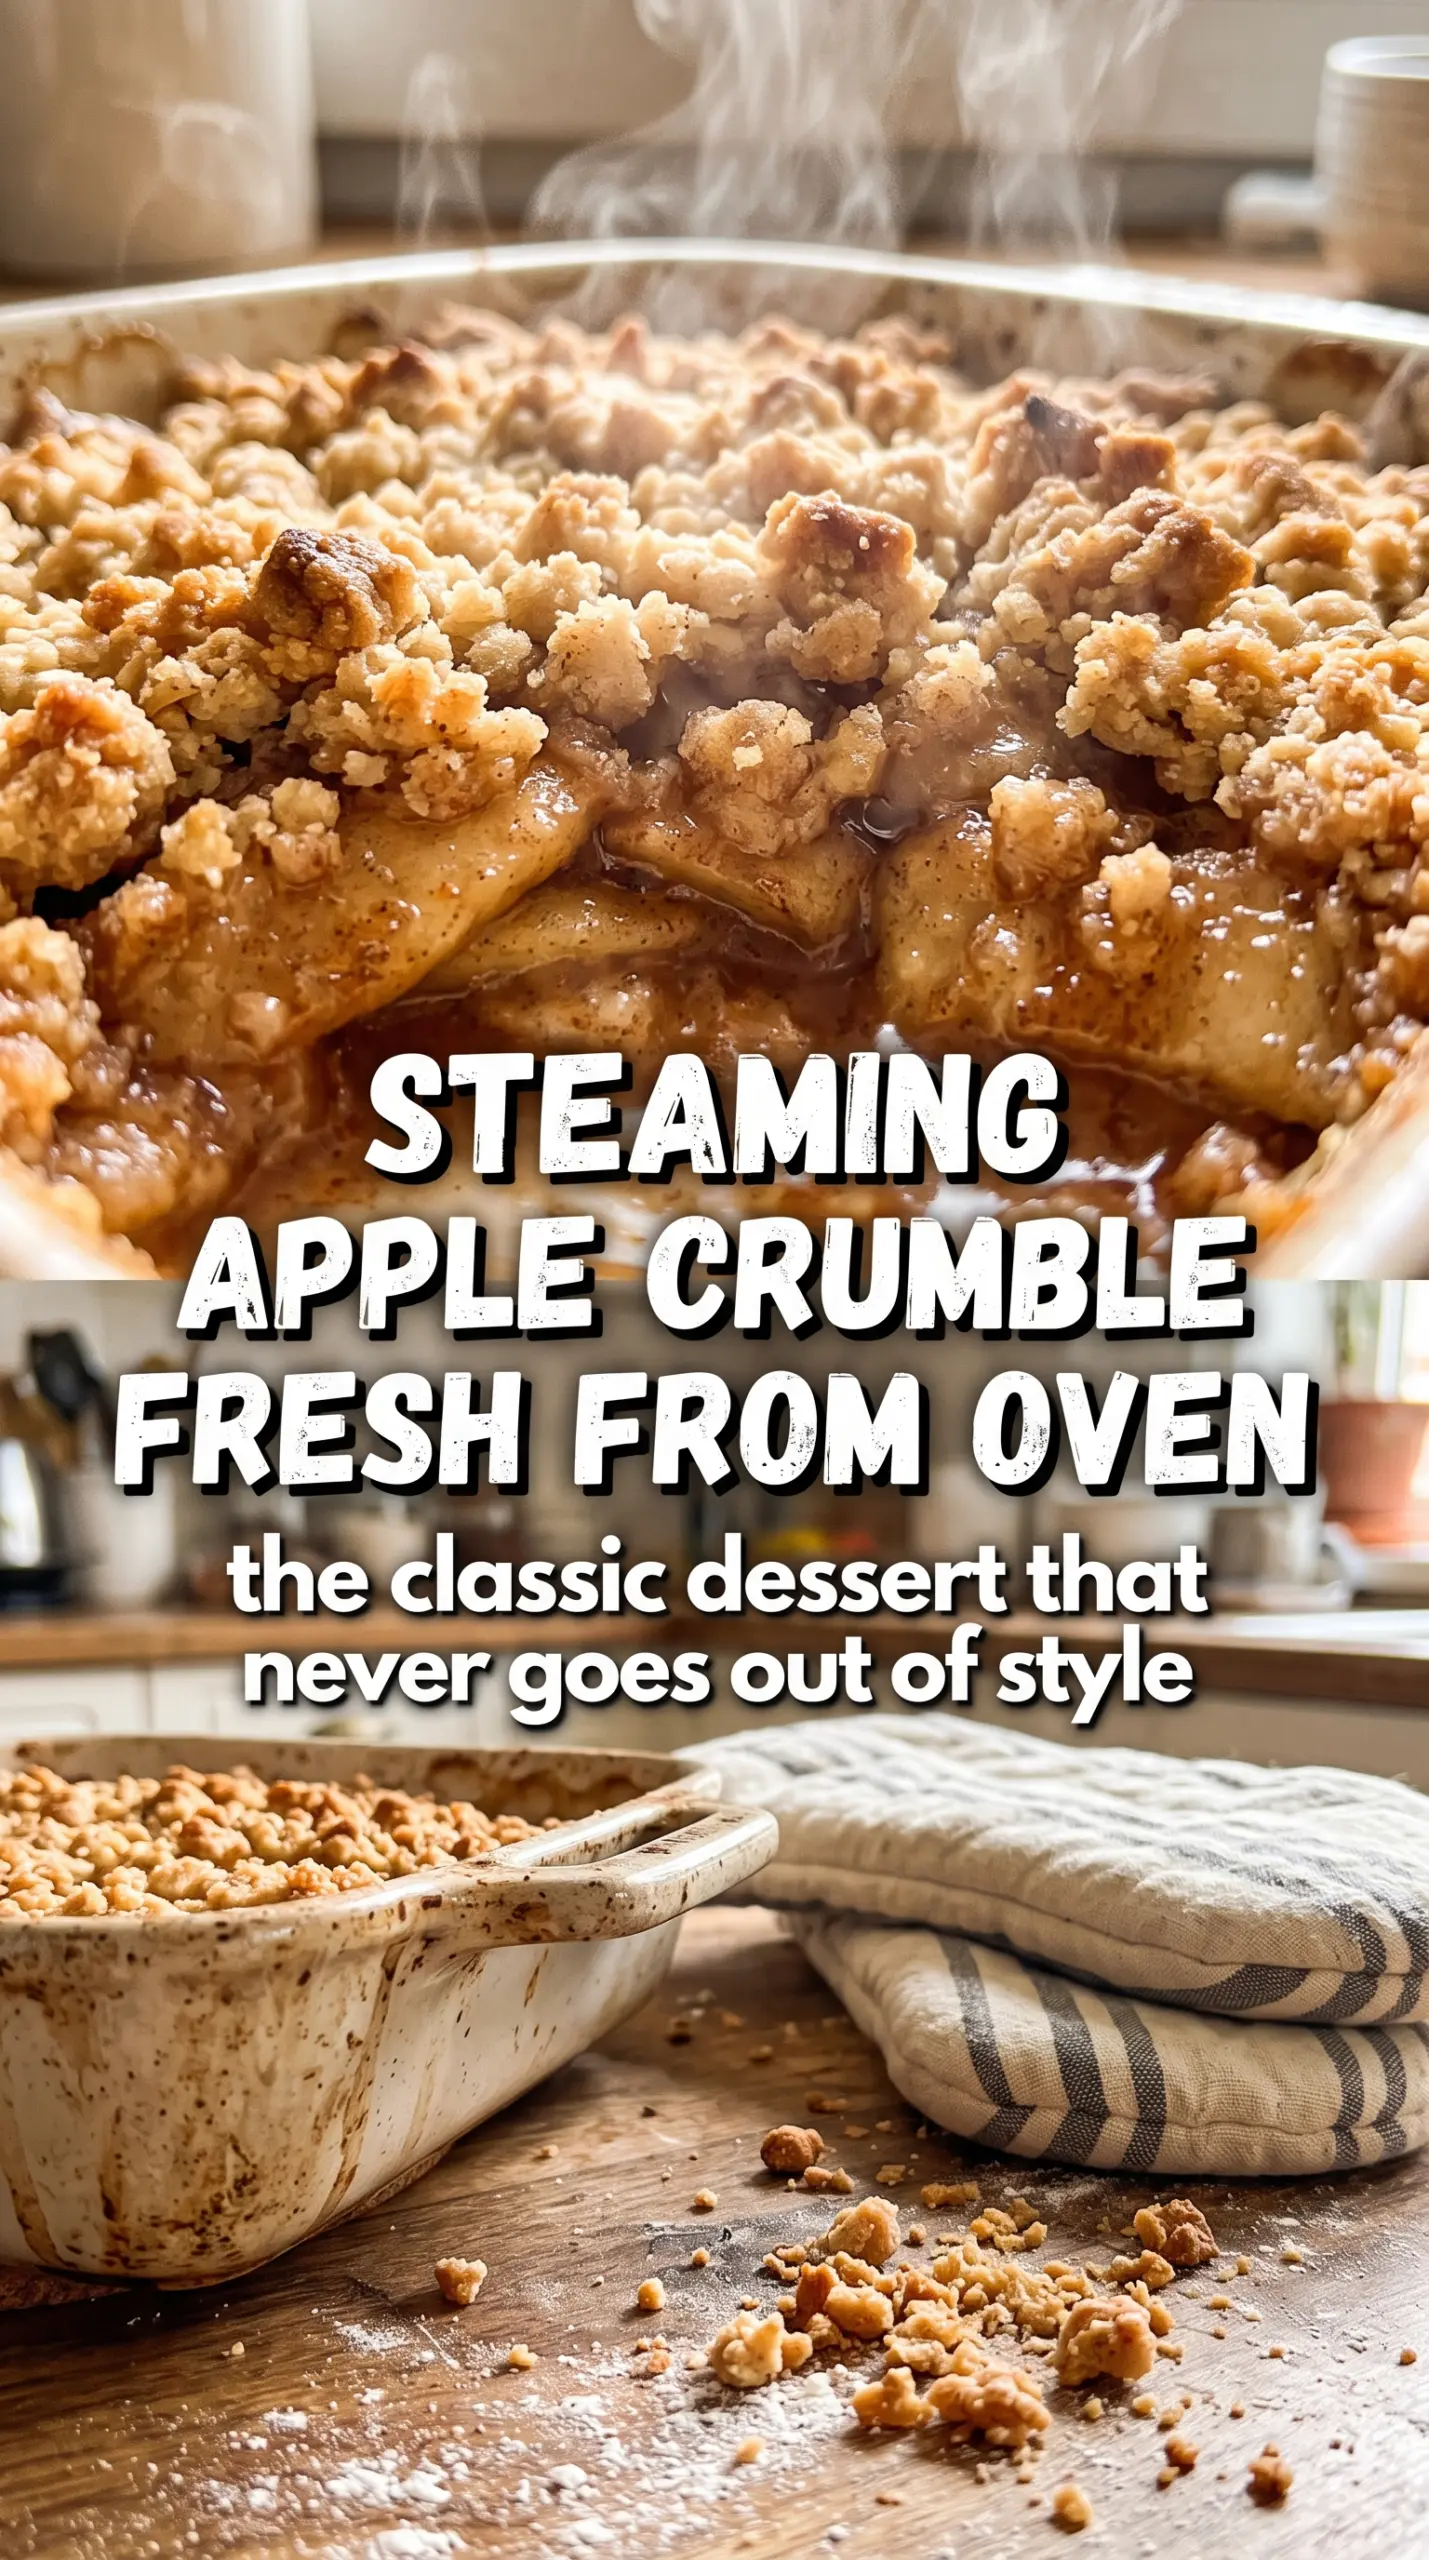
Apple crumble is the kind of dessert that disappears before it has time to cool properly. The best version gives you soft, cinnamon-laced apples underneath a sandy topping with crisp, caramelized edges, and every spoonful lands somewhere between tender fruit and buttery crunch. It’s comforting without being fussy, and it earns its place because it tastes like far more effort than it takes.
What makes this version work is the balance: enough sugar to draw out the apples’ juices, enough lemon to keep the filling bright, and cold butter rubbed into the flour so the topping bakes up crumbly instead of pasty. I like using cooking apples here because they hold their shape better and break down into that soft, spoonable filling without turning to applesauce. The brown sugar in the topping brings a deeper, almost toffee note that plain white sugar alone can’t give you.
Below, I’ve included the little details that keep the crumble crisp and the filling bubbling properly, plus a few ways to adapt it if you want to serve it with what’s already in the kitchen.
The topping stayed sandy and crisp instead of clumping up, and the apples baked down into that soft, syrupy layer underneath. I served it with custard and my husband went back for a second bowl before it cooled.
Like this apple crumble? Save it to Pinterest for the nights when you want tender baked apples and a crisp buttery topping with custard on top.
The Mistake That Turns Crumble Topping Doughy
The topping should look dry, uneven, and a little shaggy before it goes over the fruit. If you pack it down or work the butter too far into the flour, it bakes up compact instead of crisp, and you lose the nubby texture that makes apple crumble worth serving in the first place. Cold butter matters here because it leaves tiny pockets that melt in the oven and create those rough, golden bits.
The filling needs one other thing: space. If the apples are piled too high, they steam in the middle and the topping can brown before the fruit underneath softens. A wide baking dish gives the juices room to bubble at the edges, which is the clearest sign the crumble is baked through.
What Each Ingredient Is Doing in the Apple Crumble
- Cooking apples — These hold their shape and give you a filling with some structure. Eating apples can work in a pinch, but they soften faster and can turn the dessert mushy if they’re very sweet or very ripe.
- Lemon juice — This keeps the filling from tasting flat and helps the apples stay bright after baking. It doesn’t make the crumble tangy; it just wakes up the fruit.
- Cold unsalted butter — This is what makes the topping crumbly instead of cake-like. Salted butter can work, but if you use it, cut back or skip the added salt so the topping doesn’t taste harsh.
- Brown sugar — The light brown sugar gives the topping a deeper, almost caramel note and helps it clump into those crisp little clusters. Granulated sugar alone will still work, but the topping tastes flatter and a little less warm.
- Plain flour — This is the structure of the crumble. Don’t swap in self-raising flour unless you want a lighter, more biscuit-like topping.
Building the Crumble So the Top Stays Crisp
Prepping the apples
Toss the sliced apples with sugar, cinnamon, and lemon juice until every piece looks lightly coated, then spread them in an even layer in the dish. You want the slices tucked together but not smashed down, because tight packing traps steam and slows the bake. If the apples are cut too thick, they stay firm in the center; if they’re paper-thin, they collapse before the topping is ready.
Making the sandy topping
Rub the cold butter into the flour with your fingertips until the mixture looks like coarse breadcrumbs with some larger pieces mixed in. Those uneven bits are what bake into the best crusty patches, so don’t chase a perfectly uniform texture. Once the sugars, cinnamon, and salt go in, stir just enough to combine. If the mixture starts to look greasy or paste-like, the butter has warmed too much and the topping will bake dense.
Baking until the juices bubble
Scatter the topping evenly over the apples without pressing it down. Bake at 190C (375F) until the top is pale golden and the filling is bubbling at the edges, which tells you the apples underneath have softened and the juices have thickened. If the top browns too fast before the fruit is ready, lay a piece of foil loosely over the dish for the last part of baking.
Three Ways to Make This Apple Crumble Work for Your Kitchen
Dairy-Free Apple Crumble
Use a plant-based block butter with a firm texture, not a soft spread from a tub. The result is still crisp and crumbly, but the flavor will be a little less rich and the topping may brown a touch faster, so watch the last 10 minutes closely.
Gluten-Free Swap
Use a good 1:1 gluten-free flour blend in place of the plain flour. The texture stays close to the original, though the topping may be a little more delicate when scooping, so let the crumble rest for 10 to 15 minutes before serving.
Using Mixed Apples for More Depth
A mix of tart cooking apples and a few sweeter apples gives you a more layered filling, but keep the tart ones as the majority. Too many sweet apples can make the filling taste one-note and leak more juice, which softens the base of the crumble.
Storage and Reheating
- Refrigerator: Store covered for up to 4 days. The topping softens a little as it sits, but the flavor stays excellent.
- Freezer: Freeze the baked crumble in portions or as a whole dish, tightly wrapped, for up to 2 months. Thaw overnight in the fridge before reheating.
- Reheating: Warm in a 180C (350F) oven until hot through and the topping is crisp again. The microwave will heat the filling, but it turns the topping soft, which is the main mistake to avoid.