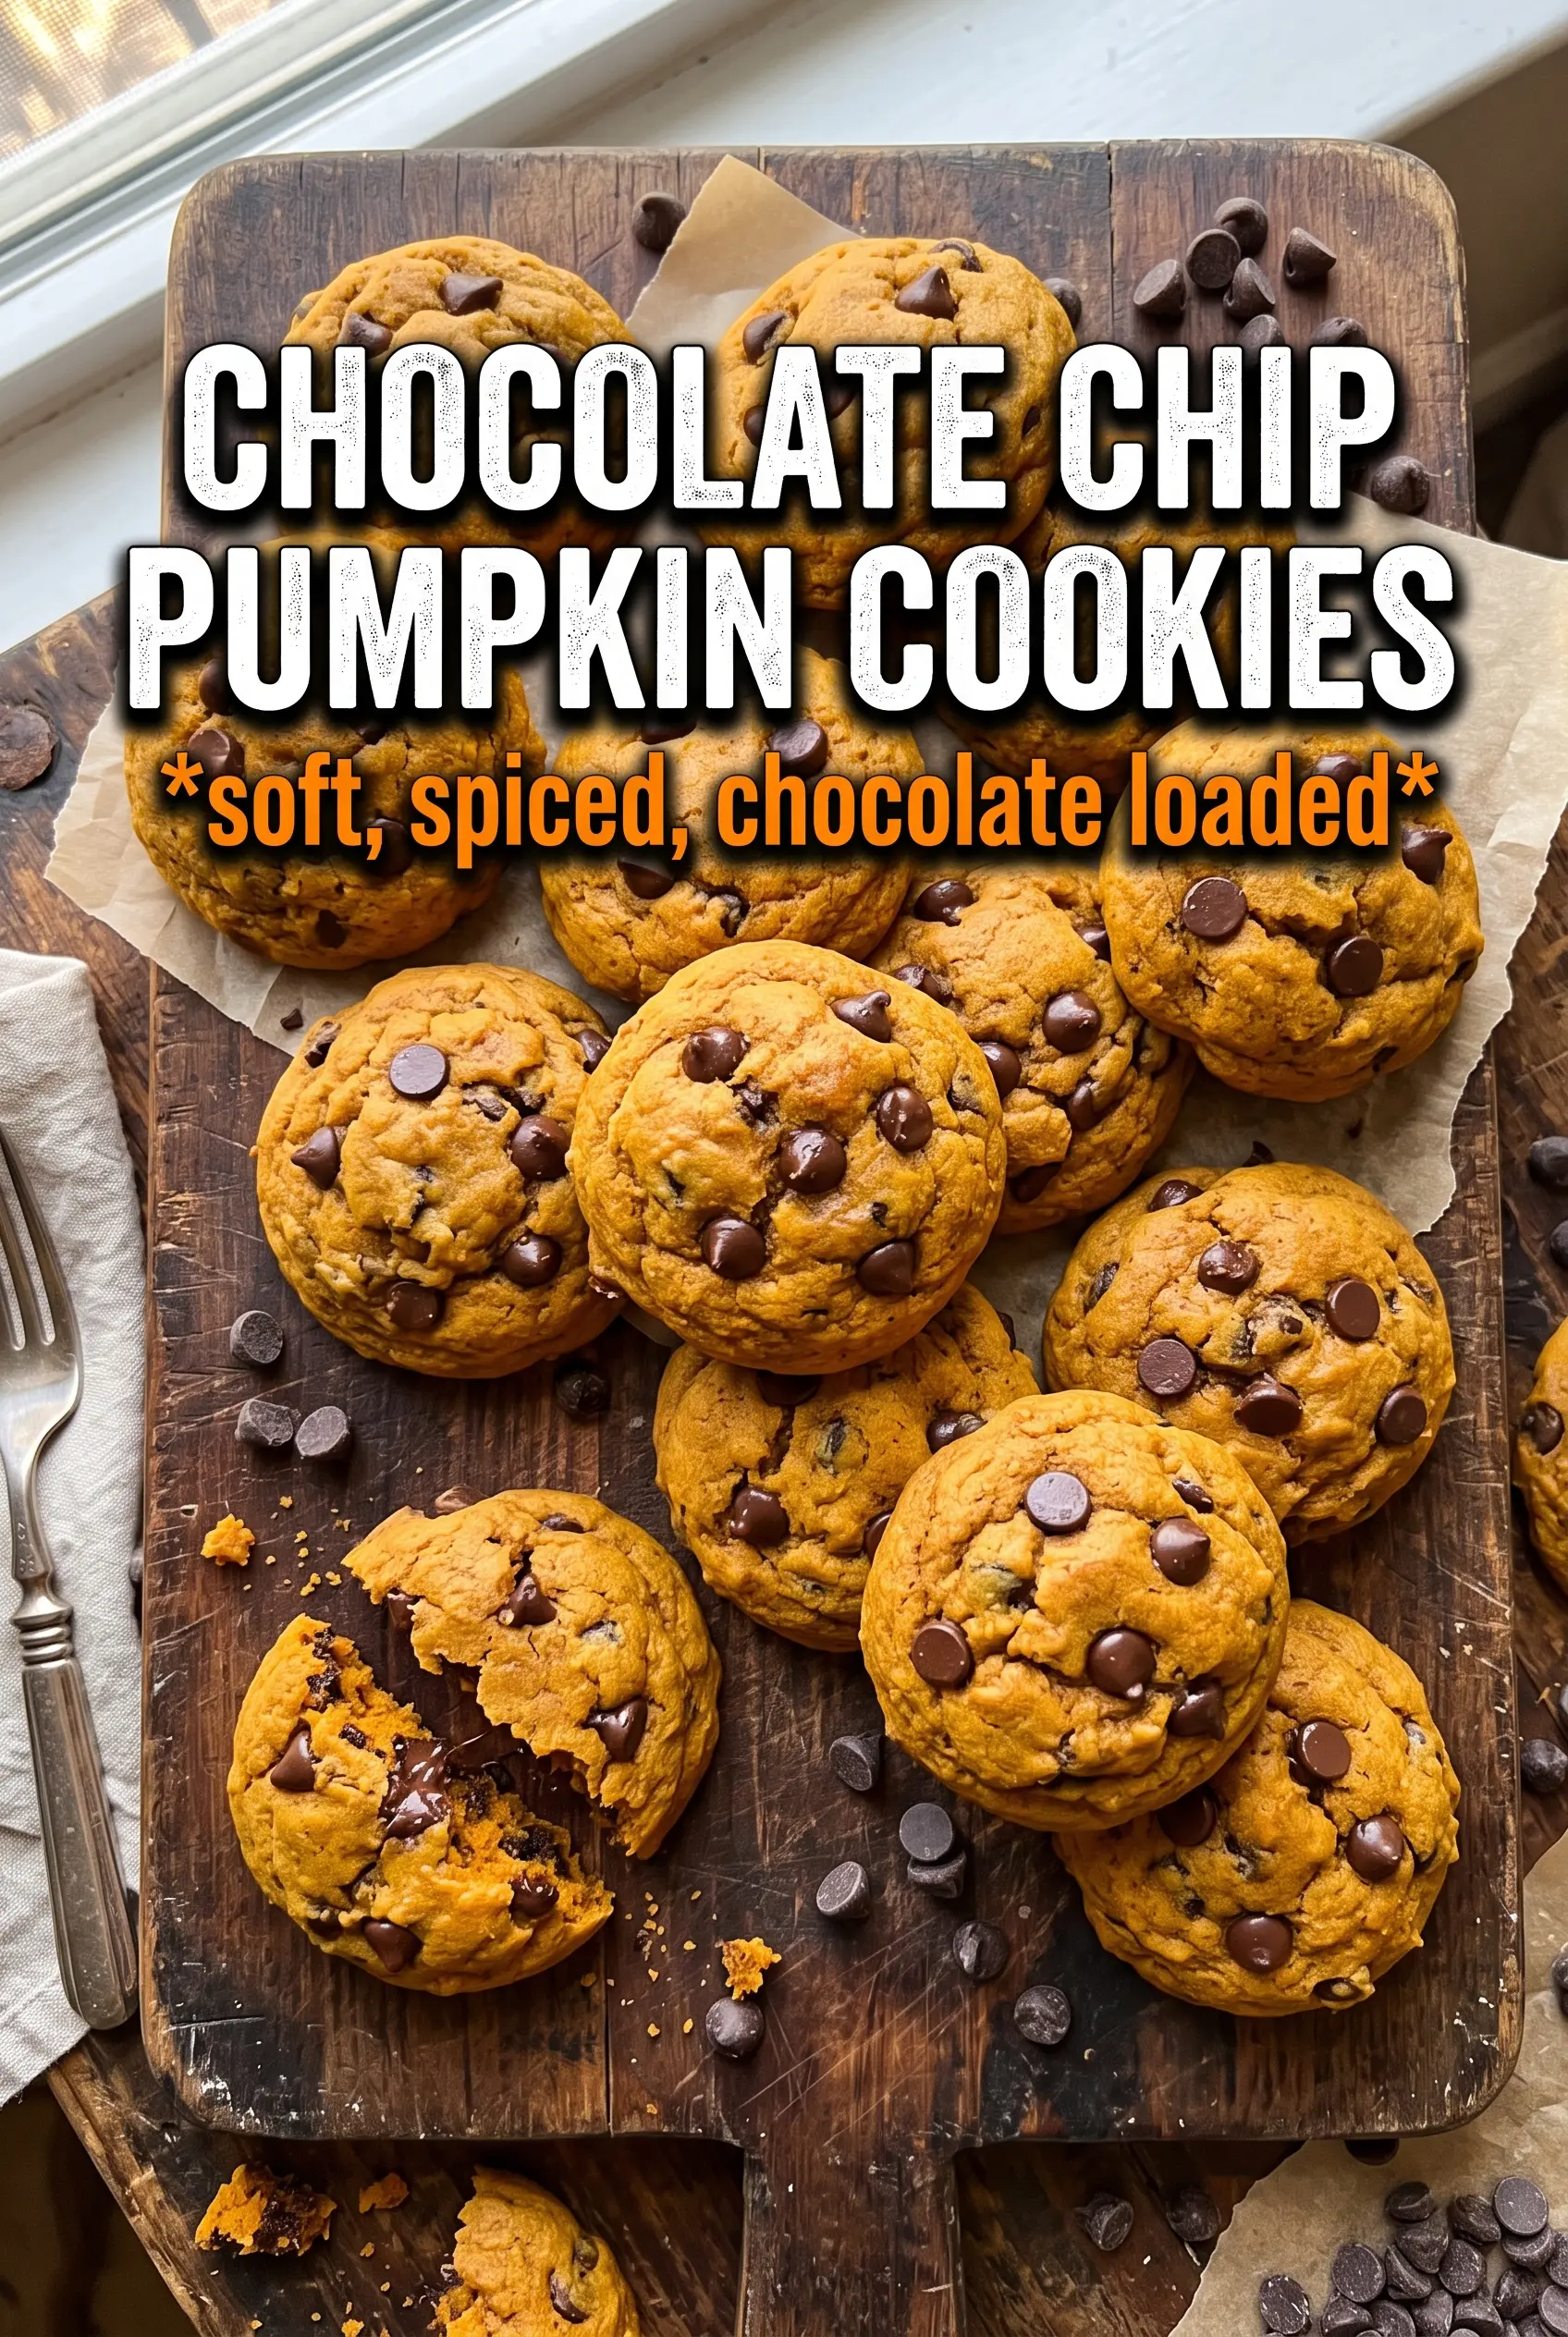
Chocolate chip pumpkin cookies land in that perfect middle ground between soft pumpkin spice cookies and classic bakery-style chocolate chip cookies. They bake up thick, tender, and just a little chewy at the edges, with melted chocolate puddles in every bite and a finish of flaky salt that keeps the sweetness in check. The pumpkin adds warmth and softness without turning the cookies cakey, which is where a lot of versions go off track.
The trick is starting with pumpkin puree that’s been blotted dry. Pumpkin carries a lot of extra moisture, and if you skip that step, the dough bakes up puffy and soft in the wrong way. Cornstarch helps keep the centers plush, brown sugar brings moisture and a deeper flavor, and the mix of pumpkin pie spice plus cinnamon gives the cookies that familiar fall bakery smell without overpowering the chocolate.
Below, I’ll walk through the one step that makes the biggest difference in texture, plus a few smart swaps if you need to work with what’s in the pantry. If you’ve ever had pumpkin cookies spread too much or come out too cake-like, this version fixes both problems.
I blotted the pumpkin like you said and the cookies came out thick instead of cakey. The chocolate stayed melty in the middle and the flaky salt on top made them taste like a bakery cookie.
Save these chocolate chip pumpkin cookies for the days when you want thick, soft centers, melted chocolate, and a salty-sweet finish.
The Pumpkin Mistake That Makes Cookies Puffy Instead of Thick
Pumpkin cookies usually fail for one of two reasons: too much moisture or too much flour. Add pumpkin puree straight from the can and the dough turns heavy, wet, and cake-like. Add extra flour to fix that and the cookies bake up dry. Blotting the pumpkin dry before it goes into the dough solves both problems because you keep the pumpkin flavor without the extra water.
The other piece that matters here is the balance between baking soda and cornstarch. Baking soda gives lift and browning, while cornstarch helps the centers stay soft instead of bread-like. That combination is what keeps these cookies thick with edges that set properly instead of spreading into flat puddles.
- Blotted pumpkin puree — This is the biggest texture fix in the recipe. Press it between layers of paper towel until it looks almost paste-like.
- Cornstarch — It softens the crumb and helps the cookies stay tender for days. Don’t skip it unless you want a firmer cookie.
- Brown sugar — It adds moisture and a deeper caramel note that works with pumpkin. Granulated sugar alone makes the cookies a little flatter and less rich.
- Flaky sea salt — It goes on at the end and sharpens the chocolate flavor. Use the good stuff here if you have it.
What Each Ingredient Is Doing in These Cookies

- All-purpose flour — This gives the cookies structure without making them dense. Spoon and level it so you don’t pack in too much, which would dry out the dough.
- Butter — Softened butter creams with the sugars and gives the cookies their tender, rich base. If it’s melted, the dough will spread more than you want.
- Brown sugar and granulated sugar — Brown sugar keeps the centers soft and adds depth, while granulated sugar helps the edges set and gives a little more lift. Using both matters here.
- Pumpkin puree — The pumpkin flavor is subtle but important. It needs to be blotted dry so it enriches the dough instead of watering it down.
- Egg plus yolk — The whole egg binds, and the extra yolk adds richness and chew. That yolk is part of why the cookies stay soft in the center.
- Semi-sweet chocolate chips — Semi-sweet keeps the cookies from tipping too sweet. Chunks work too if you want bigger melted pockets.
Building the Dough So the Cookies Stay Thick
Dry the Pumpkin First
Start by blotting the pumpkin puree on paper towels until it loses a noticeable amount of moisture. You want it to look thick and concentrated, not shiny and loose. If you skip this step, the dough will feel too soft and the cookies will bake up cakier than intended.
Cream the Butter and Sugars Until Light
Beat the softened butter with both sugars until the mixture looks fluffy and paler in color. That air you build here gives the cookies structure before the dry ingredients go in. Once the pumpkin, egg, yolk, and vanilla are added, mix only until combined so the dough stays tender.
Fold, Scoop, and Leave the Dough Alone
Stir in the flour mixture just until no dry streaks remain, then fold in the chocolate chips by hand. Overmixing after the flour goes in makes the cookies tougher and can develop too much gluten. Scoop mounds about 2 tablespoons each and bake until the edges are set and the centers still look slightly soft; they finish on the hot pan.
Salt Them While They’re Warm
Sprinkle the flaky sea salt right after the cookies come out of the oven. The residual heat helps it cling to the tops. Let them cool on the baking sheet for 5 minutes before moving them so they set up without breaking.
How to Adapt These Cookies Without Losing the Good Texture
Gluten-Free Version
Use a good 1:1 gluten-free baking flour in place of the all-purpose flour. The cookies will be a little more delicate, but the cornstarch and blotted pumpkin still keep them soft instead of gritty. Let the dough sit for 10 minutes before scooping so the flour can hydrate.
Dairy-Free Swap
Use a plant-based butter stick with a similar fat content to dairy butter. Tub spreads are usually too soft and can make the cookies spread more. The flavor will be a little less rich, but the texture stays close.
Chocolate Chip Upgrade
Swap half the chocolate chips for chopped chocolate if you want bigger melted pockets. Chips hold their shape more, while chopped chocolate melts into those soft, glossy spots that make the cookies look bakery-style.
Storage and Reheating
- Refrigerator: Store in an airtight container for up to 5 days. They stay soft, though the chocolate will firm back up after chilling.
- Freezer: Freeze baked cookies for up to 2 months, or freeze scooped dough balls on a tray before transferring them to a bag. Dough bakes from frozen with an extra minute or two.
- Reheating: Warm a cookie in the microwave for 8 to 10 seconds or in a low oven for a few minutes. The common mistake is overheating, which dries out the edges and makes the chocolate go dull instead of melty.