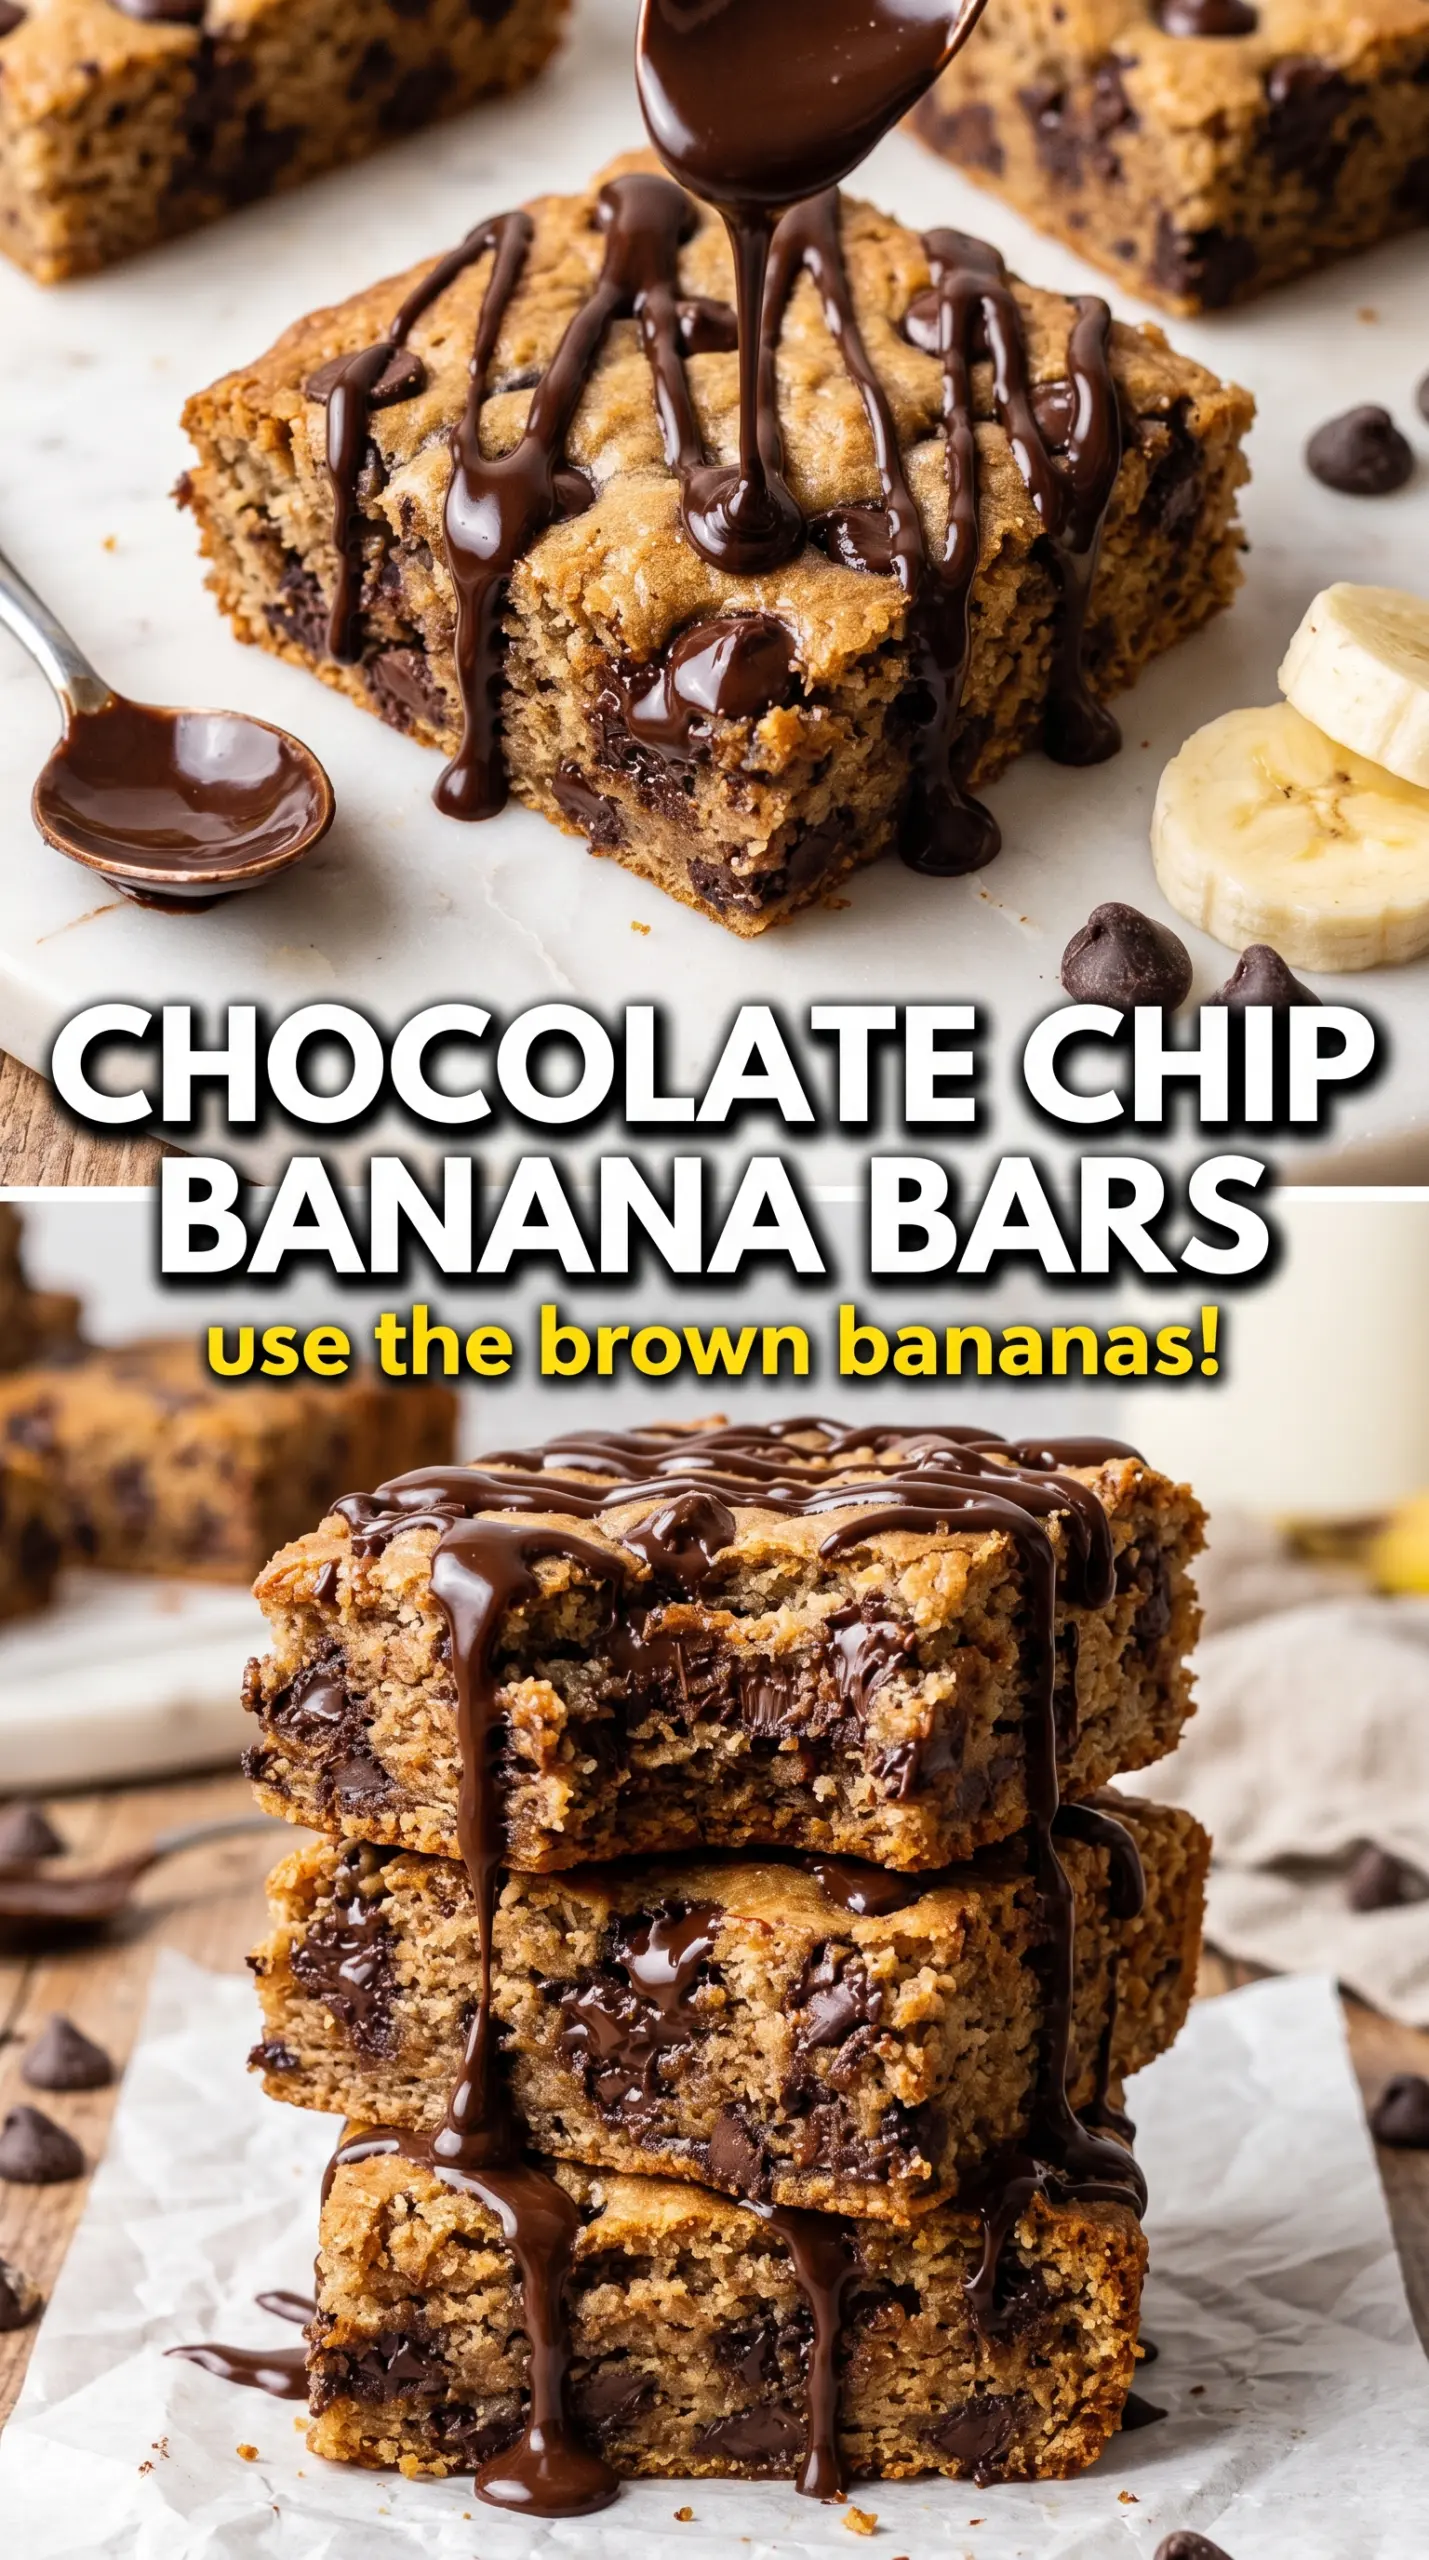
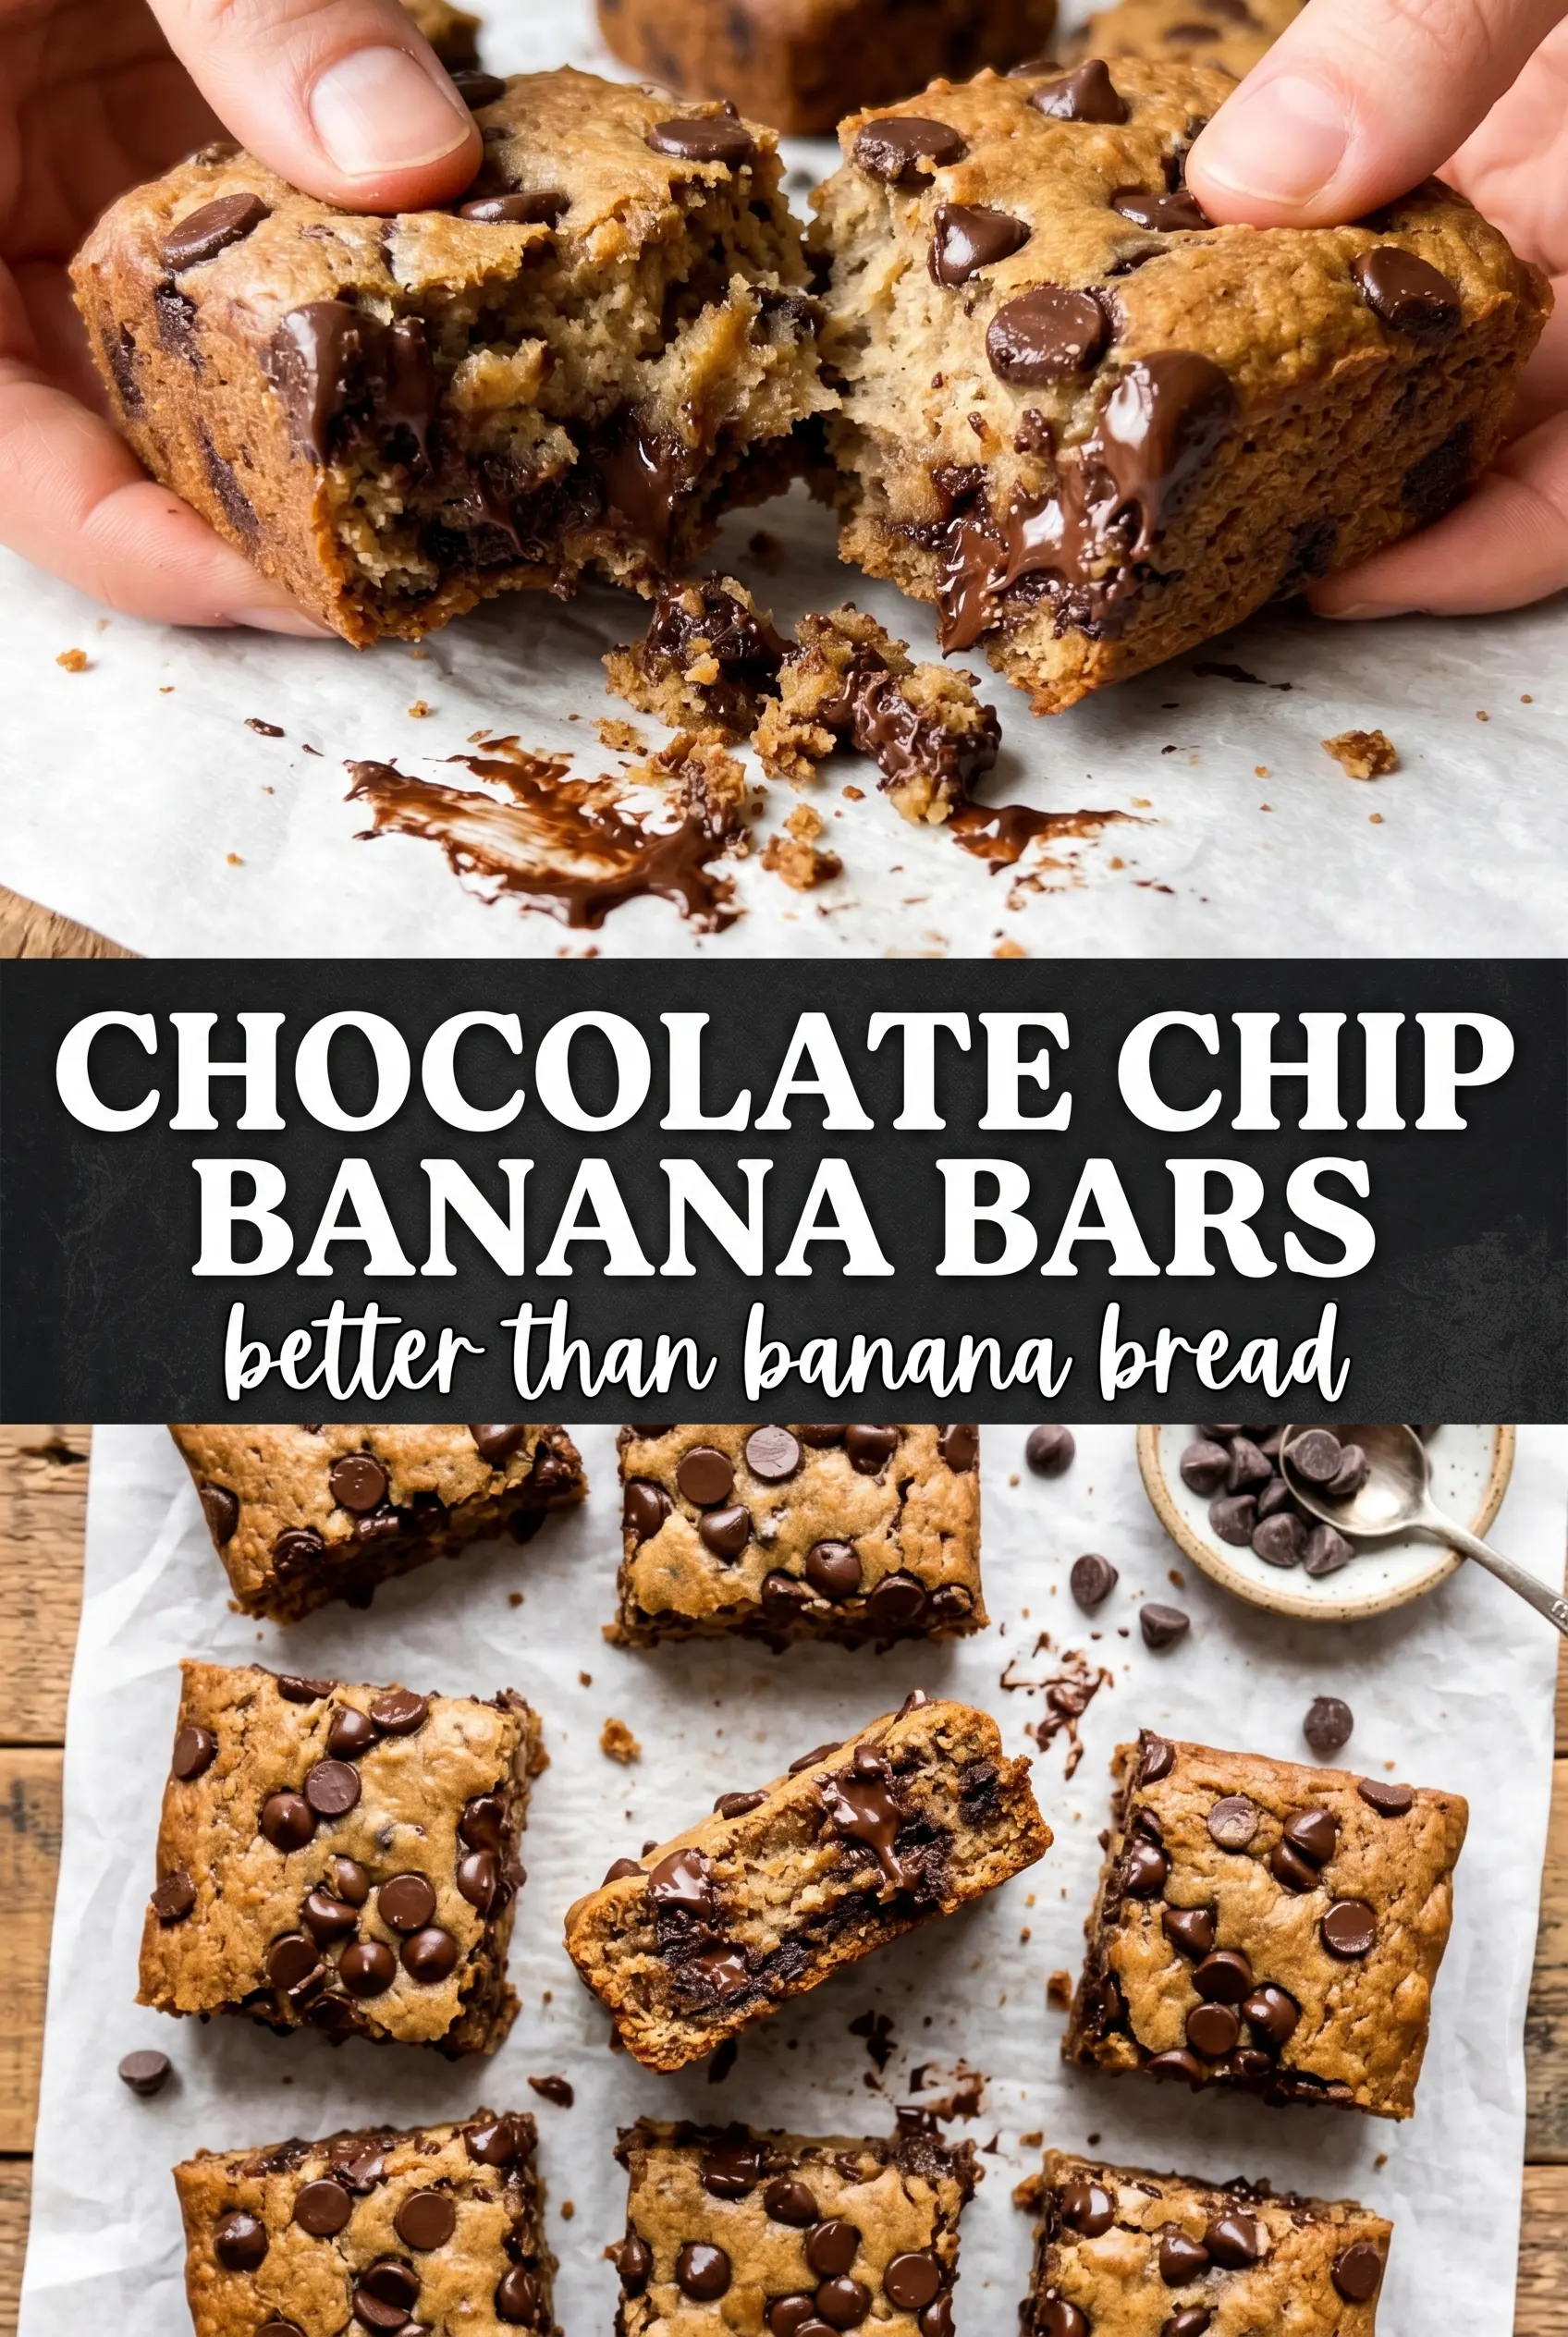
Chocolate chip banana bars bake up soft, chewy, and packed with banana flavor in every bite. The edges set into a tender blondie-like crumb while the center stays moist, and the chocolate chips melt into little pockets that keep each bar from feeling too sweet or one-note. They slice cleanly once cooled, which makes them just as good for lunchboxes and snack plates as they are for dessert.
The key is using ripe bananas that are fragrant and deeply speckled, because they bring both moisture and natural sweetness without making the bars heavy. Softened butter and brown sugar are beaten first so the base turns light instead of dense, then the flour goes in just until combined. Overmixing is what turns banana bars tough, and that extra minute with the spoon matters more than people think.
Below, I’ve included the small details that keep these bars soft in the middle, plus a few easy variations for changing up the chocolate or making them dairy-free without losing the texture that makes them worth baking.
The bars came out so soft and chewy, and the chocolate chips stayed melty even after they cooled. I used very ripe bananas and the texture was spot on, not cakey at all.
Save these chocolate chip banana bars for the days when your bananas are extra ripe and you want a soft, chewy dessert with almost no fuss.
The Secret to Bars That Stay Soft Instead of Turning Cake-Like
Banana bars can swing dense, gummy, or oddly bready if the batter is handled the wrong way. The most common mistake is overworking the flour after the bananas go in, which develops too much structure and steals the soft, chewy texture you want. The other thing that matters is moisture balance: ripe bananas add plenty of liquid, so the batter should look thick and spreadable, not pourable.
Here, the butter and brown sugar are creamed first, which gives the bars a lighter crumb and helps the sugar dissolve into the batter. Then the bananas are folded in just until they disappear, and the dry ingredients go in at the end with a light hand. That keeps the bars tender and lets the chocolate chips stay scattered through the crumb instead of sinking.
- Ripe bananas — The darker the peel, the better the flavor and texture. Bananas that are speckled or even heavily spotted mash smoothly and bring enough sweetness that the bars taste like banana, not just sugar.
- Brown sugar — This adds moisture and a little molasses depth that white sugar can’t match. If you swap in all white sugar, the bars will bake up drier and flatter in flavor.
- Chocolate chips — Semi-sweet chips keep the bars balanced. Milk chocolate makes them sweeter, while dark chocolate gives them a deeper, less candy-like finish.
- Cinnamon — It doesn’t make the bars taste spiced; it rounds out the banana and chocolate so the whole pan tastes warmer and more complete.
What Each Ingredient Is Actually Doing in This Recipe
- Primary ingredient (the star) — Quality matters most. Choose the best you can find.
- Cooking medium (oil, butter, or broth) — This carries flavors and prevents dryness.
- Seasonings (salt, pepper, spices, herbs) — Layer flavors so nothing overpowers. Build depth gradually.
- Aromatics (garlic, onion, herbs) — Cook with fat to bloom flavors. Become the foundation.
- Supporting ingredients — Complement the main ingredient without overpowering it.
- Sauce or liquid (if applicable) — Brings flavors together. Balance richness with acid.
- Acid (lemon, vinegar, wine, or other) — Brightens and prevents flat-tasting results.
- Final finish (garnish, glaze, or sauce) — Prevents one-dimensional taste and adds visual appeal.
Building the Batter Without Losing the Tender Crumb
Start with the butter and sugar
Beat the softened butter and brown sugar until the mixture looks pale and a little fluffy. That step traps air and gives the bars lift without making them cakey. If the butter is cold, the sugar won’t break down properly and the batter will look grainy, so let it soften on the counter first.
Work in the banana before the flour
Mix in the mashed bananas until the batter looks glossy and evenly speckled. The mixture may look a little loose at this point, and that’s right where it should be. If the bananas are chunky, mash them more before adding them; big pieces make the bars bake unevenly and can leave wet pockets in the middle.
Fold the dry ingredients just until the flour disappears
Add the flour, baking soda, salt, and cinnamon all at once, then stir only until no dry streaks remain. Stop as soon as the batter comes together. Once the flour is fully hydrated, keep the mixing to a minimum or the bars will tighten up and lose that soft, chewy bite.
Scatter the chips for the best texture
Fold most of the chocolate chips into the batter, then save the rest for the top. The chips on the surface melt into little glossy puddles and give you that golden, crinkled top that makes these bars look as good as they taste. Press them in lightly so they stick without sinking.
Ways to Change the Bars Without Losing the Soft Center
Make them dairy-free
Swap the butter for a good plant-based butter stick, not a spreadable tub version. The texture stays close to the original, though the bars may brown a little differently. Keep the bananas and flour amounts the same so the crumb doesn’t get loose.
Use dark chocolate for a less sweet bar
Swap some or all of the semi-sweet chips for dark chocolate chips or chopped dark chocolate. The bars taste a little richer and the banana comes through more clearly, but the chocolate won’t be as melty-sweet on top. This is the version I reach for when the bananas are very ripe and already bring plenty of sweetness.
Make them nutty
Add up to 3/4 cup chopped walnuts or pecans with the chocolate chips. The nuts give the bars a little crunch and help balance the soft crumb. Toast them first if you want a deeper, more pronounced flavor.
Storage and Reheating
- Refrigerator: Store in an airtight container for up to 5 days. The bars get a little firmer in the fridge, but the flavor stays great.
- Freezer: These freeze well. Wrap individual bars tightly and freeze for up to 2 months, then thaw at room temperature so the texture stays soft instead of drying out in the microwave.
- Reheating: Warm a bar for 10 to 15 seconds in the microwave if you want the chips soft again. Don’t overheat it or the banana crumb will turn rubbery.
Answers to the Questions Worth Asking
Chocolate Chip Banana Bars
Ingredients
Equipment
Method
- Preheat the oven to 350°F and grease a 9x13 baking pan or line it with parchment for easy bar release.
- Beat the softened butter and brown sugar together until light and fluffy, then beat in the egg and vanilla until smooth.
- Stir in the mashed bananas until fully incorporated with no dry streaks.
- Fold in the all-purpose flour, baking soda, salt, and cinnamon until just combined, keeping the batter thick.
- Fold in 1 cup of the chocolate chips so they’re evenly distributed throughout the batter.
- Spread the batter evenly into the pan, then scatter the remaining chocolate chips across the top so they look studded and glossy.
- Bake for 18–22 minutes at 350°F until the bars are golden and a toothpick comes out clean when tested in the center.
- Cool completely before cutting into bars so the soft, chewy texture sets and the chocolate chips don’t smear.