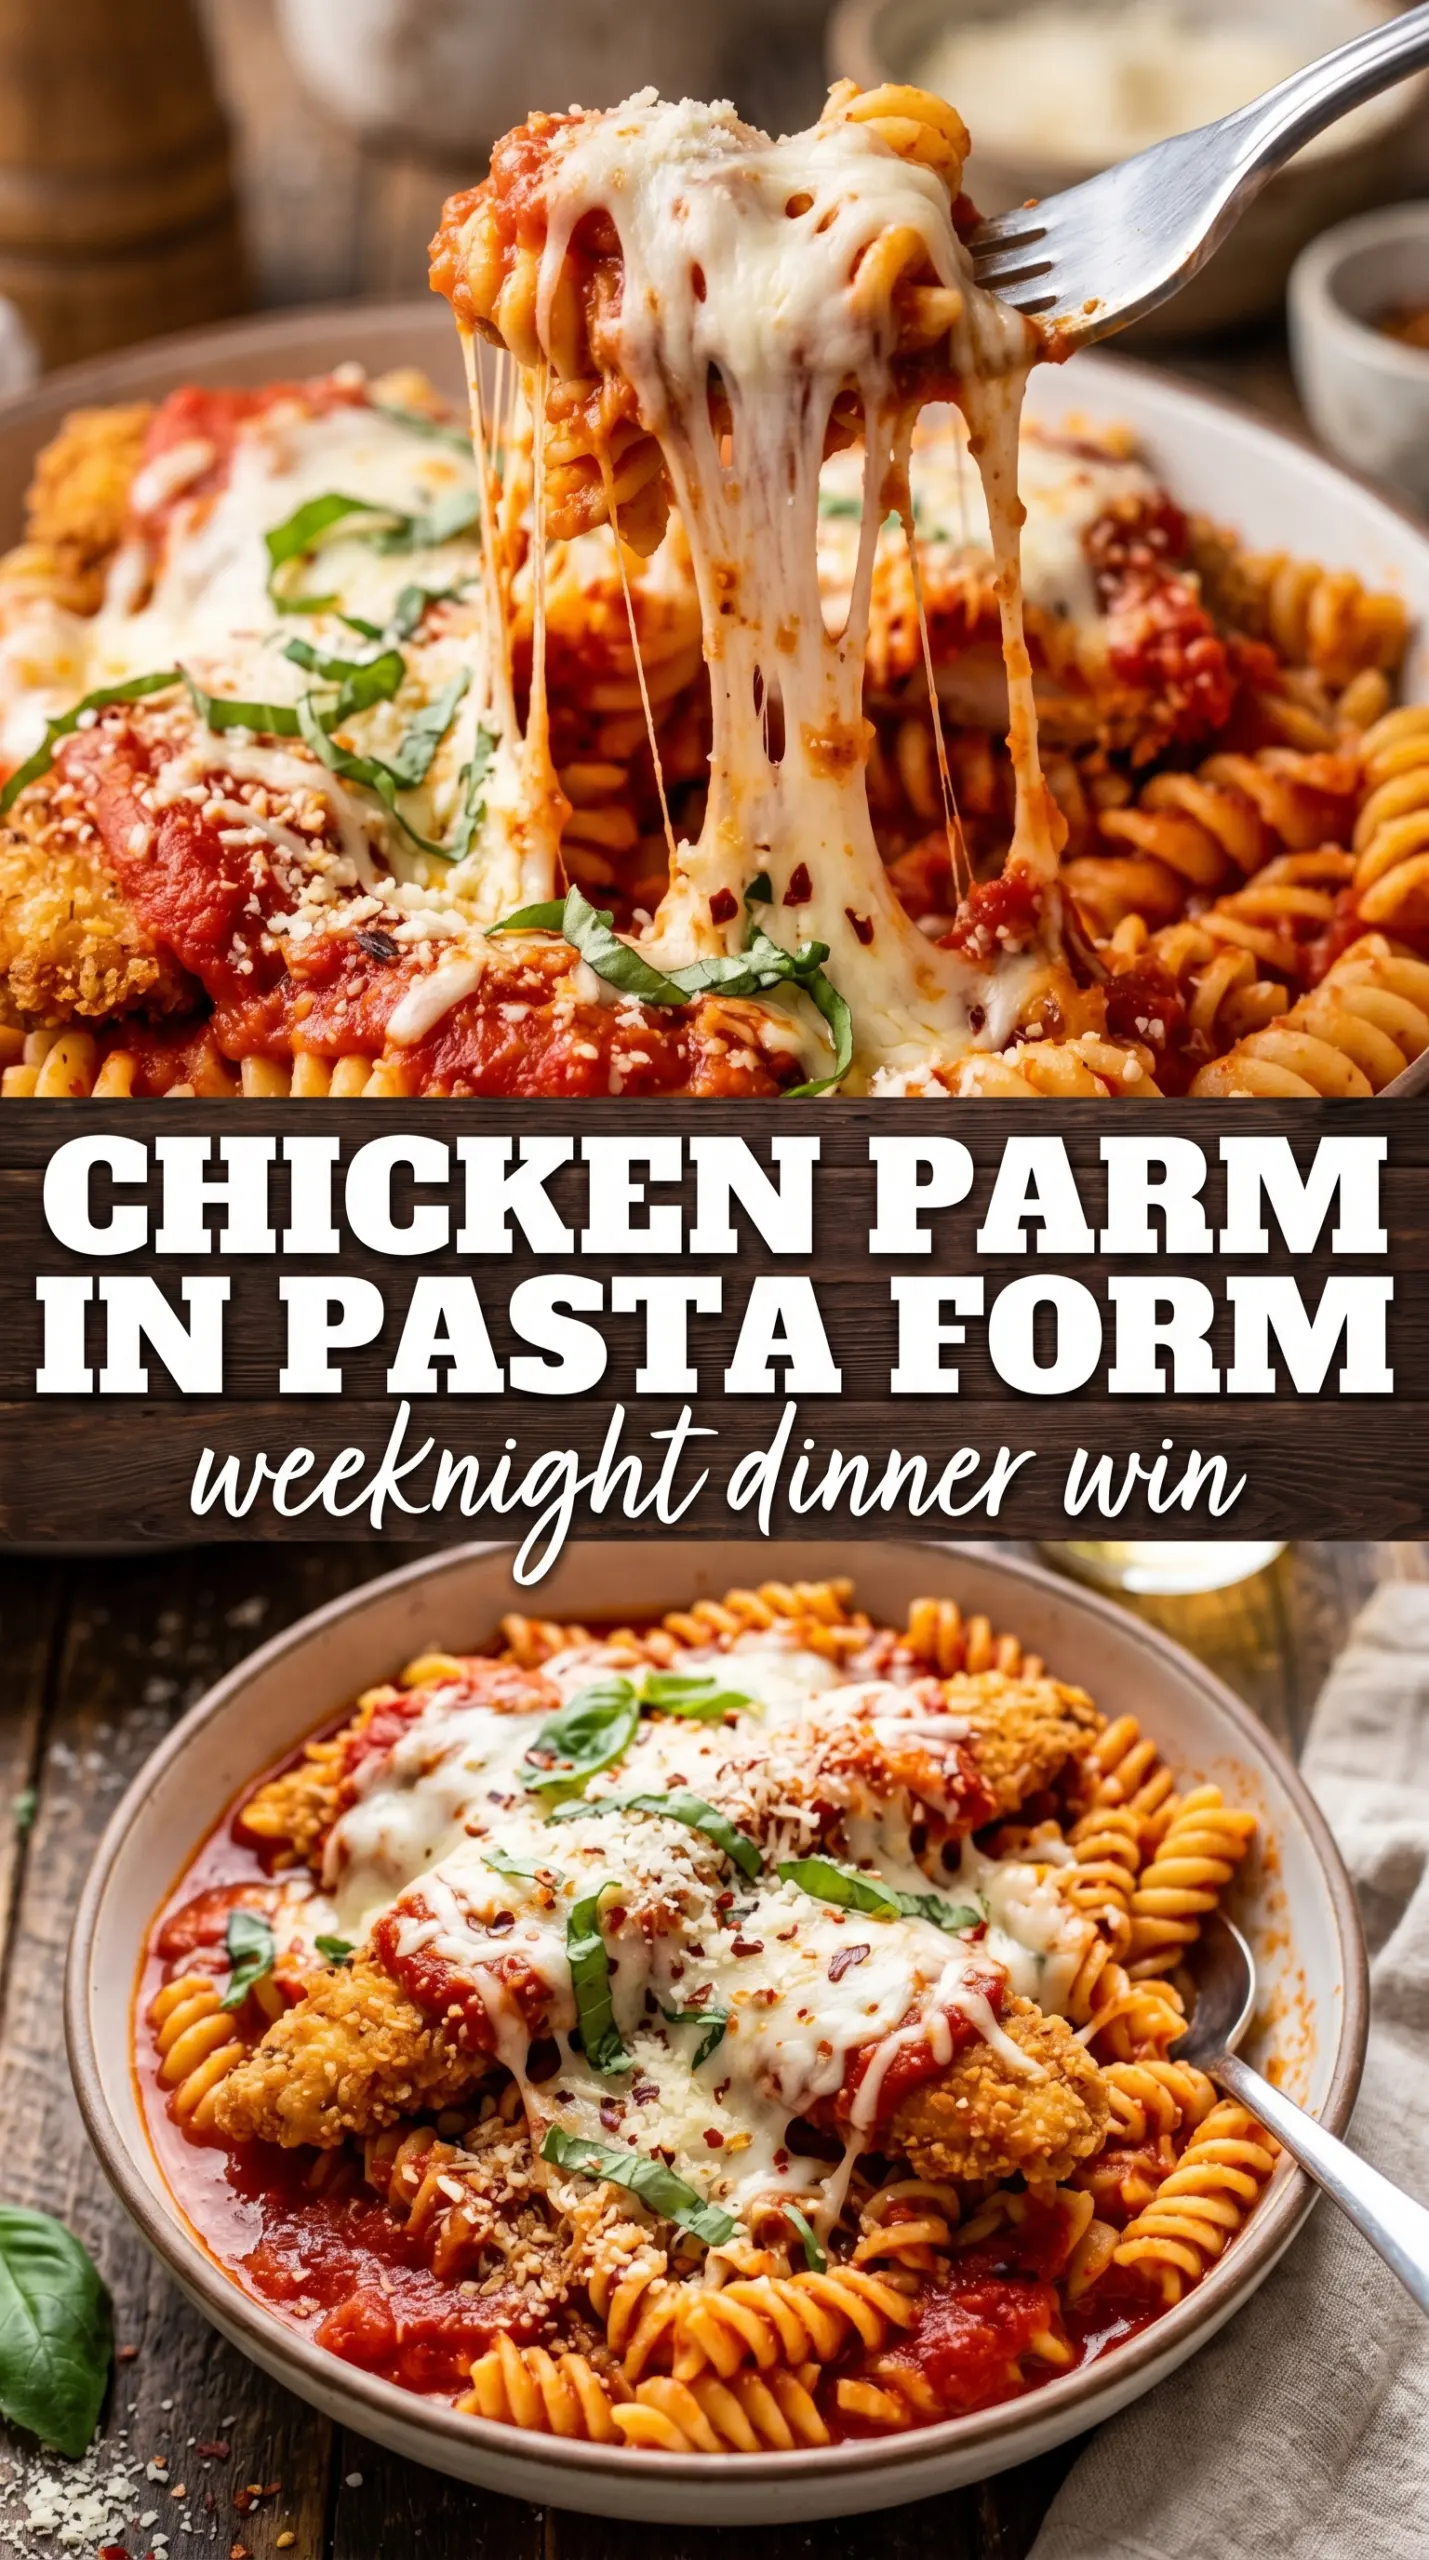
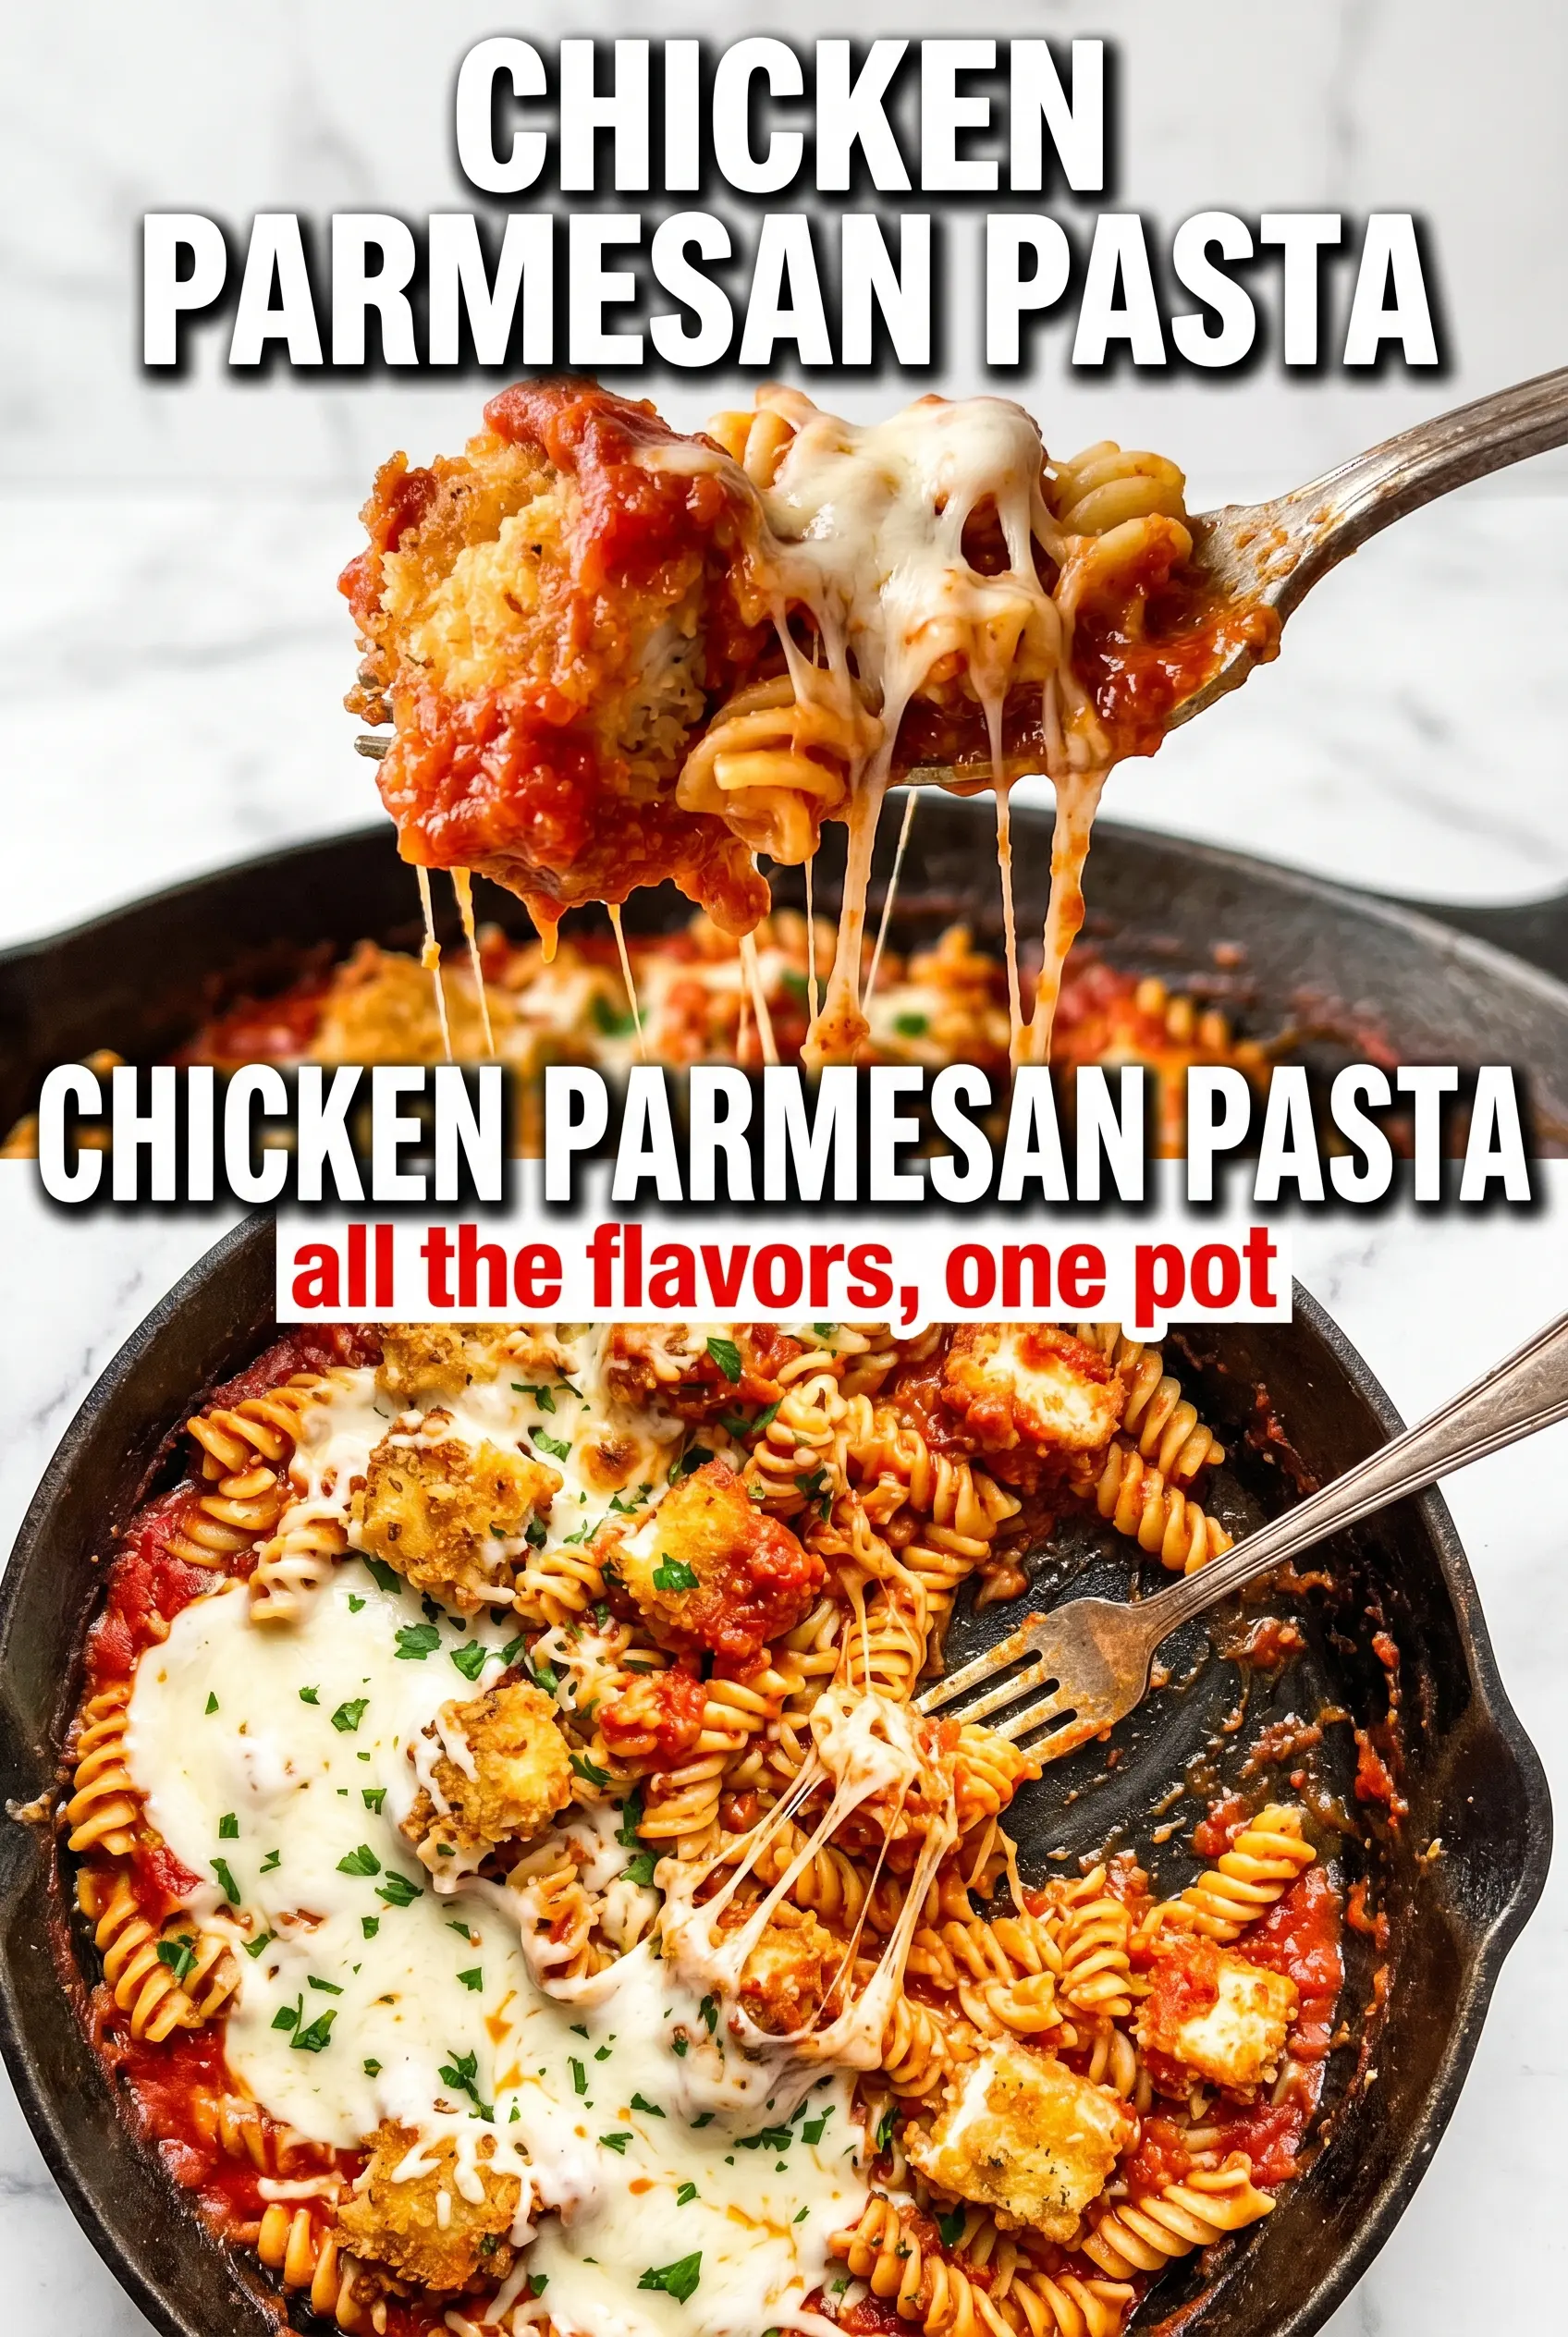
Chicken Parmesan Pasta brings everything people love about chicken parm into one bubbling baking dish: crispy breaded chicken, penne coated in marinara, and a blanket of melted mozzarella that pulls into long, stretchy strands when you scoop it out. It lands in that sweet spot between comforting and practical, with enough structure to feel special but none of the fuss of frying whole cutlets and building separate layers on the side.
What makes this version work is the order of operations. The chicken gets crisped first so the coating holds up under the sauce, and the pasta is tossed with marinara before it goes into the pan so every piece is seasoned instead of sitting dry underneath the cheese. Using both Parmesan in the breading and on top gives the dish a deeper savory edge, while the mozzarella does what it should: melt into a gooey lid without drowning the rest of the pan.
Below, I’m walking through the parts that matter most — how to keep the breading from going soft, why the pasta should be fully coated before baking, and a few swaps that make this easier to fit into a weeknight.
The chicken stayed crisp under the cheese, and tossing the penne with marinara first kept the whole dish saucy instead of dry. My husband went back for seconds before I even sat down.
Save this Chicken Parmesan Pasta for a saucy baked dinner with crisp chicken, penne, and a golden mozzarella top.
The reason the chicken stays crisp under the cheese
The biggest mistake with chicken Parmesan pasta is treating the chicken like it can sit in sauce for a long time before baking. Once breading meets marinara, it starts softening fast. That’s why the chicken gets browned first and then goes on top of the pasta instead of being stirred through it. The cheese melts down over the top, but the breading still has enough structure to give you a crisp bite where it matters.
Another detail that makes a difference: cook the chicken in a thin, even layer of oil over medium-high heat. If the pan is crowded, the breading steams and turns pale instead of forming that deep golden crust. You want the pieces cooked through and well-colored before they ever meet the oven.
What each part is actually doing in this dish
- Chicken breasts — Bite-sized pieces cook quickly and give you more breaded edges than whole cutlets. If you want, boneless thighs work too, but they’ll eat a little richer and won’t stay quite as lean.
- Italian breadcrumbs — These bring built-in seasoning and a finer coating that browns evenly. Plain breadcrumbs work in a pinch, but add Italian seasoning and a little garlic powder or the crust will taste flat.
- Parmesan — Some goes into the breading and some goes on top, and that’s not just for extra cheese. In the coating, it adds saltiness and helps the crust brown; on top, it sharpens the melted mozzarella and keeps the bake from tasting one-note.
- Marinara sauce — Use a sauce you’d actually eat on its own, because it’s carrying the entire pasta layer. A thicker marinara is best here; watery sauce can leave the pasta loose and the bottom of the dish soupy.
- Mozzarella — Shredded low-moisture mozzarella melts most evenly and gives you that classic pull. Fresh mozzarella can work, but it releases more liquid and can make the top look wet instead of stretchy.
Building the bake so the chicken doesn’t go soggy
Coating the chicken evenly
Set up the flour, egg, and breadcrumb mixture in separate shallow bowls and work one piece at a time. The flour helps the egg cling, and the egg gives the breadcrumbs something to grab onto. If the chicken comes out patchy, the coating usually got too wet too fast, so shake off the flour well before dipping and press the breadcrumbs on just enough to stick.
Pan-frying until the crust is set
Heat the olive oil until it shimmers, then add the chicken in a single layer. You’re looking for a deep golden crust and chicken that releases from the pan without fighting you; if it sticks, give it another minute. Pull the pieces once they’re cooked through, not after the coating has gone dark, because the oven will finish the job.
Layering the pasta and finishing in the oven
Toss the cooked penne with marinara until every piece is coated, then spread it in a greased baking dish. Nestle the chicken on top instead of burying it, then cover with mozzarella and Parmesan. Bake just until the cheese is melted and the edges are bubbling; if you leave it too long, the chicken coating tightens up and the pasta dries out underneath.
How to adapt this when you need a different finish
Gluten-free version
Swap in gluten-free flour and gluten-free breadcrumbs, then cook the pasta until just tender so it holds up under the bake. The crust will still brown, but it may be a little more delicate than the wheat version, so handle the chicken gently when you flip it.
Lighter, less cheesy bake
Cut the mozzarella back to 1 1/2 cups and keep the Parmesan on top. You’ll lose some of the heavy stretch, but the bake will still taste like chicken parm because the sauce, breadcrumbs, and Parmesan carry the flavor.
Make-ahead dinner for busy nights
Cook the chicken and pasta, then store them separately from the sauce. Assemble the dish right before baking so the breading doesn’t soften early. If you need to save even more time, you can bread the chicken a few hours ahead and keep it uncovered in the fridge so the coating dries slightly and browns better.
Swap the pasta shape
Rigatoni, ziti, or fusilli all work if that’s what’s in the pantry. Pick a shape with ridges or a tube so the marinara clings to it; very thin pasta can overcook and disappear under the cheese.
Storage and Reheating
- Refrigerator: Store leftovers in an airtight container for up to 4 days. The chicken coating will soften, but the flavor holds up well.
- Freezer: It freezes better before baking than after. Assemble the dish, wrap it tightly, and freeze for up to 2 months; baked leftovers can be frozen, but the pasta gets softer when thawed.
- Reheating: Reheat covered in a 350°F oven until hot in the center, then uncover for a few minutes to re-melt and lightly brown the cheese. The common mistake is blasting it in the microwave, which makes the chicken rubbery and the coating soggy.
Questions I Get Asked About This Recipe
Chicken Parmesan Pasta
Ingredients
Equipment
Method
- Dredge the chicken pieces in all-purpose flour, shaking off excess. Keep the pieces in a single layer so they brown evenly.
- Dip the floured chicken into the beaten large eggs. Let any excess egg drip back into the bowl for a tidy coating.
- Coat the chicken in Italian breadcrumbs mixed with 1/2 cup Parmesan cheese. Press lightly so the crumbs adhere to the surface.
- Pan-fry the breaded chicken in olive oil over medium-high heat for 3-4 minutes per side until golden and cooked through. Transfer to paper towels to drain.
- Toss the cooked penne with marinara sauce, then pour into a greased 9x13 baking dish. Spread into an even layer so the pasta heats through.
- Arrange the crispy chicken pieces over the pasta. Distribute them so every serving gets breaded chicken.
- Top with shredded mozzarella cheese and sprinkle with the remaining Parmesan cheese for topping. Cover the surface to create a melted, golden top.
- Bake at 375°F for 20-22 minutes until the cheese is melted and golden. Garnish with fresh basil immediately before serving.