Cheesy chicken bacon ranch tacos hit that sweet spot between crisp, creamy, smoky, and fresh in a way that keeps people reaching for a second one before they’ve finished the first. The tortillas turn golden and brittle at the edges, the cheddar melts into the chicken, and the bacon gives every bite a salty crunch that keeps the ranch from tasting flat. It’s the kind of taco night upgrade that feels familiar but lands with a little more punch than the usual lineup.
The key is dividing the ranch seasoning instead of dumping it all in at once. Half goes on the chicken so the meat gets seasoned from the inside, then the rest gets dusted on at the end so you still taste that ranch hit against the cool lettuce and tomatoes. Crisping the tortillas in a dry skillet also matters here; that dry heat gives you structure without making the shells greasy or soggy.
Below you’ll find the trick for keeping the tortillas crisp long enough to fill them, plus a few smart swaps if you need to stretch the filling or make it work with what’s in the fridge.
The tortillas got perfectly crispy without turning brittle, and the ranch seasoning on the chicken plus the final dusting made every bite taste layered instead of just salty. My husband went back for thirds.
Save these cheesy chicken bacon ranch tacos for taco night when you want crisp shells, smoky bacon, and a ranch finish that actually tastes built in.
The Trick to Keeping the Tacos Crispy After the Filling Goes In
The part that trips people up here is moisture. Warm chicken, ranch dressing, tomatoes, and lettuce all want to soften the tortilla fast, so the shell needs enough structure to hold up for the short time between griddling and serving. A dry skillet is the move because it browns the tortilla and helps the cheddar act like a little glue without adding extra grease.
The other detail that matters is letting the chicken rest before slicing. If you cut it the second it leaves the pan, the juices run onto the cutting board instead of staying in the meat, and those juices turn into soggy taco filling later. Rested chicken stays tender, and the slices tuck into the shell more cleanly.
- Dry skillet — This gives the tortilla its crisp shell without frying it. If the pan is too hot, the outside will brown before the cheese melts, so keep the heat at medium and give each side time to set.
- Cheddar — Sharp cheddar brings enough flavor to stand up to ranch and bacon. A pre-shredded bag works fine, but freshly shredded cheese melts faster and more evenly.
- Ranch seasoning — Dividing the packet is what keeps the flavor layered. Half seasons the chicken, while the rest finishes the tacos at the end so the ranch doesn’t disappear into the filling.
- Bacon — Crisp bacon matters here. Soft bacon turns chewy once it’s tucked into the taco, while properly cooked bacon adds the crunch that makes the filling feel complete.
What Each Ingredient Is Actually Doing in These Tacos
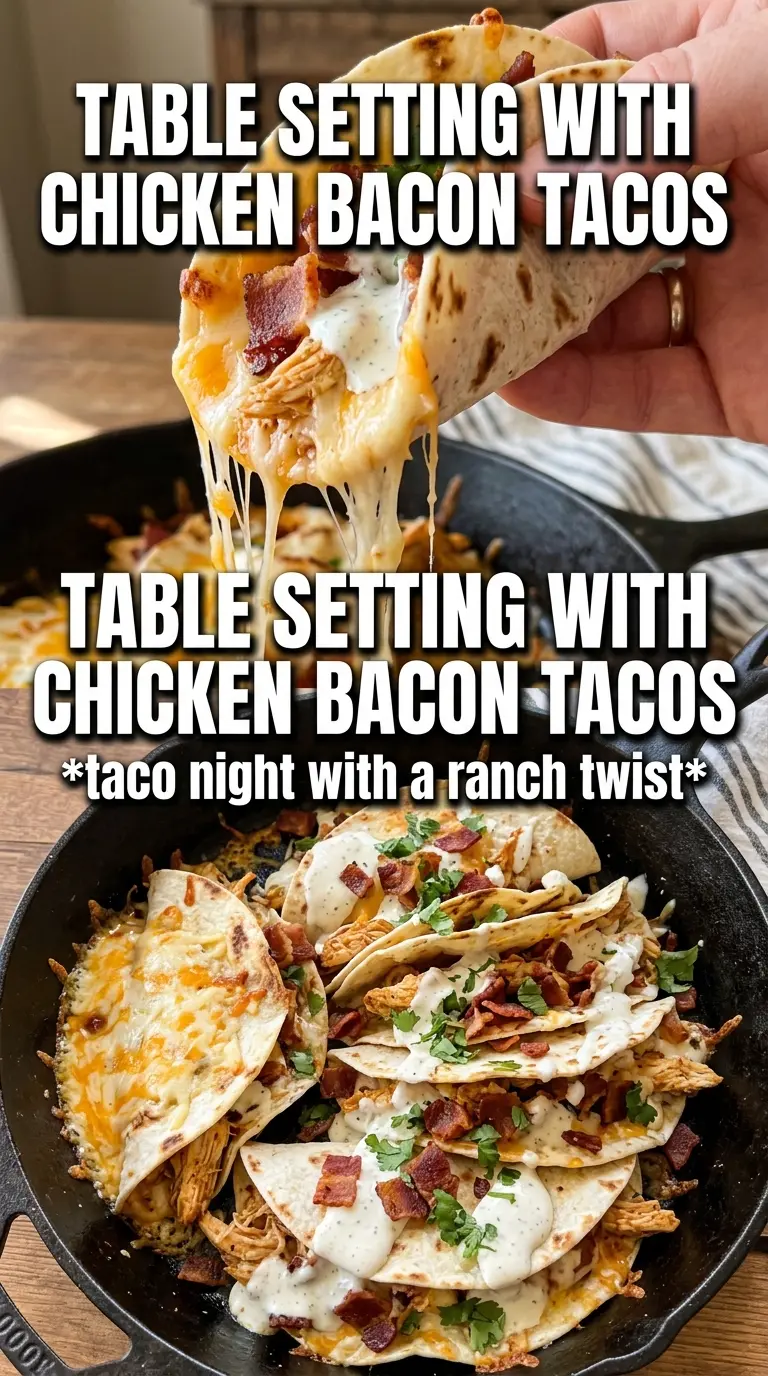
- Chicken breast — Thin slices cook quickly and stay juicy if you don’t crowd the pan. If your pieces are thick, they’ll need longer heat and the outside can dry out before the center is done.
- Ranch seasoning mix — This does more than add ranch flavor; it seasons the chicken and gives the finished tacos that familiar tang. If you use homemade ranch seasoning, keep the salt level in check because bacon and cheddar already bring plenty.
- Flour tortillas — These crisp better than corn for this style of folded taco. If yours are cold from the fridge, warm them for a few seconds first so they bend without cracking.
- Sharp cheddar — This is the melt that ties the taco together. Mild cheddar works, but the flavor gets lost next to bacon and ranch.
- Romaine, tomatoes, red onion — These add freshness and crunch right at the end. Keep them dry after washing; extra water is the fastest way to soften the shell.
- Ranch dressing — Use it as a drizzle, not a soak. Too much dressing turns the taco heavy and mutes the crisp tortilla.
Building the Filling and Shell in the Right Order
Season and Sear the Chicken First
Toss the sliced chicken with half the ranch packet before it ever hits the pan. The seasoning clings better to the raw meat, and the hot oil helps it bloom into the surface instead of sitting on top. Cook the slices in a single layer over medium heat until they’re cooked through and lightly browned at the edges. If the pan is crowded, the chicken will steam and you’ll miss the savory sear that gives the tacos depth.
Let the Chicken Rest, Then Slice or Chop
Give the chicken a few minutes off the heat before you cut it any further. That pause keeps the juices in the meat, which matters because this filling is built to sit inside a tortilla, not on a plate. Slice against the grain if you haven’t already, then toss the pieces with any juices left in the pan. Those pan juices carry a lot of the seasoning.
Crisp the Tortillas with Cheese Inside
Fold each tortilla in half and add the cheddar so it can melt into the fold as the tortilla crisps. A dry skillet over medium heat gives you a golden exterior and a pliable center at the same time. If you rush it on high heat, the outside will brown before the cheese softens, and the shell won’t hold together as well when you fill it. You want the tortilla crisp enough to stand up, but not so stiff that it shatters when you bite in.
Fill Fast and Finish Cold
Once the shells are crisp, load them right away with chicken, bacon, lettuce, tomatoes, and red onion. Finish with ranch dressing and the remaining ranch seasoning while the shells are still warm, but don’t drown them. The goal is contrast: hot chicken, smoky bacon, cool vegetables, and a crisp shell that stays intact long enough to get to the table.
How to Change These Tacos Without Losing What Makes Them Work
Make Them Gluten-Free
Use certified gluten-free corn tortillas if you need the recipe to fit a gluten-free table, but expect a different texture. Corn tortillas won’t crisp and fold the same way as flour, so warm them carefully and treat these more like soft tacos than sturdy shells.
Swap the Chicken for Rotisserie
Shredded rotisserie chicken saves time and still works well here. Toss it with a little olive oil and some of the ranch seasoning in a skillet just long enough to warm it through, then move on to the shells. You lose a little of the pan-seared flavor, but dinner comes together much faster.
Make It Lighter on Dairy
You can skip the cheddar inside and use a dairy-free ranch dressing for finishing, though the taco will lose some of its melty structure. If you go this route, add a little extra chicken and bacon so the filling still feels substantial.
Storage and Reheating
- Refrigerator: Store the chicken and bacon separately from the lettuce, tomatoes, and tortillas for up to 3 days. The shells will soften once assembled.
- Freezer: Freeze the cooked chicken and bacon for up to 2 months. Don’t freeze the assembled tacos; the vegetables and tortillas won’t hold up.
- Reheating: Reheat the chicken in a skillet over medium-low heat or in the microwave in short bursts, then rebuild the tacos fresh. If you reheat them already assembled, the tortilla loses its crisp edge and the lettuce wilts fast.
Answers to the Questions Worth Asking
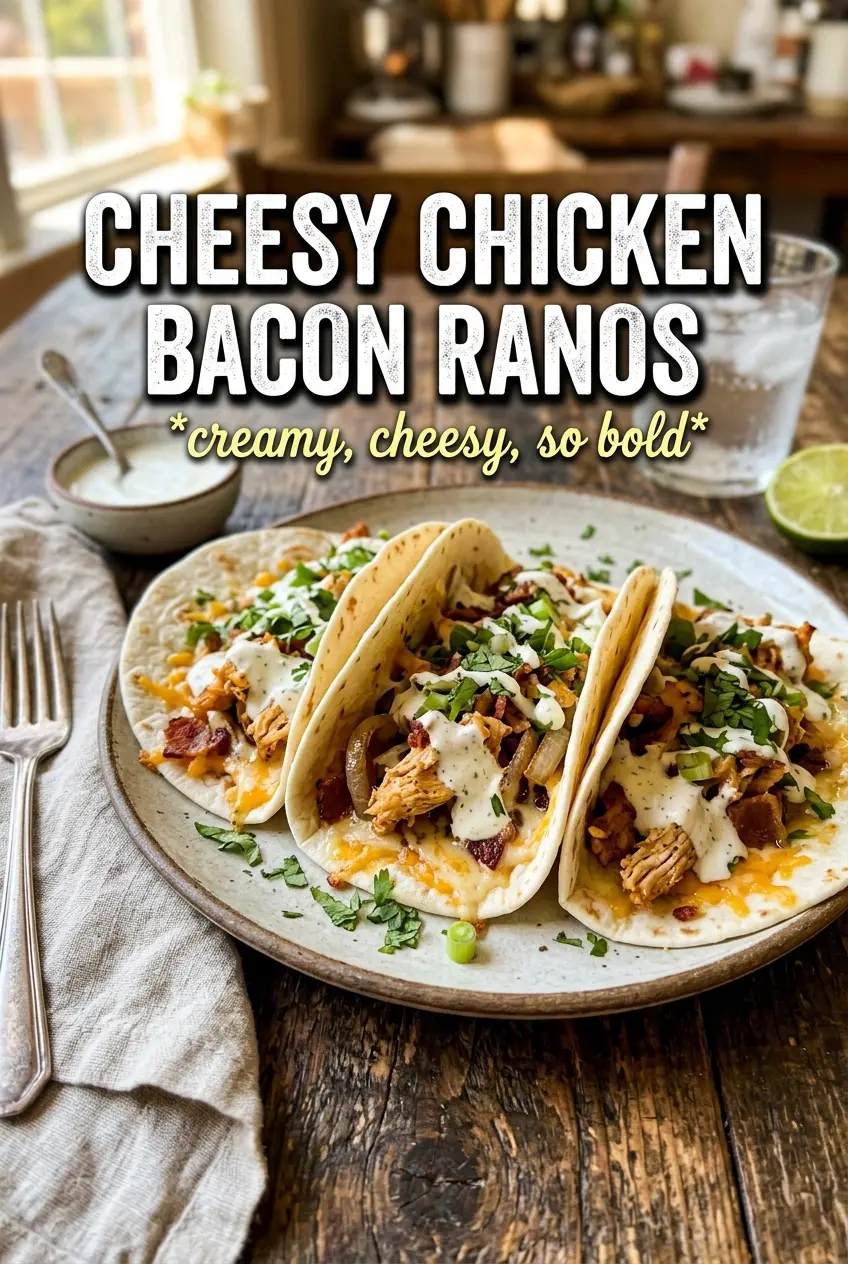
Cheesy Chicken Bacon Ranch Tacos
Ingredients
Equipment
Method
- Season the sliced chicken breast with half the ranch seasoning mix. Heat 2 tbsp olive oil in a cast iron skillet over medium-high heat and cook the chicken 4-5 minutes per side until cooked through.
- Remove the chicken from the skillet and rest briefly off the heat. Slice as needed so it’s easy to tuck into tacos.
- Fold each flour tortilla in half. Griddle in the dry cast iron skillet over medium-high heat until crispy on both sides and cheddar begins to melt inside.
- Fill each crispy taco shell with ranch chicken, crumbled bacon, shredded romaine lettuce, halved cherry tomatoes, and diced red onion.
- Drizzle with ranch dressing, then dust the tacos with the remaining ranch seasoning mix.